I have to admit I still have not completed a project I began months ago, making cushions for my garden furniture.
Partly lack of time, partly lack of inspiration, the cushion I made for the bench looked a little plain, amateurish, I’m still not sure whether to button it to pull the fabric tight,give it more character and a more professional look or just leave well alone. If I do button it I will have to button the chair cushions too.
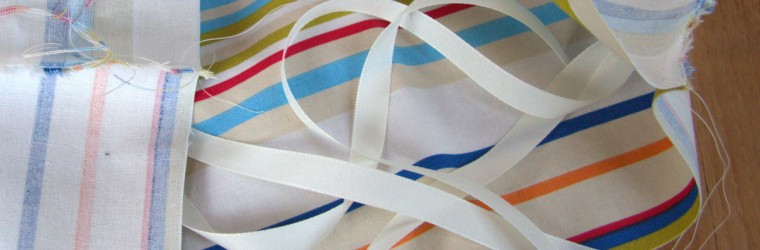
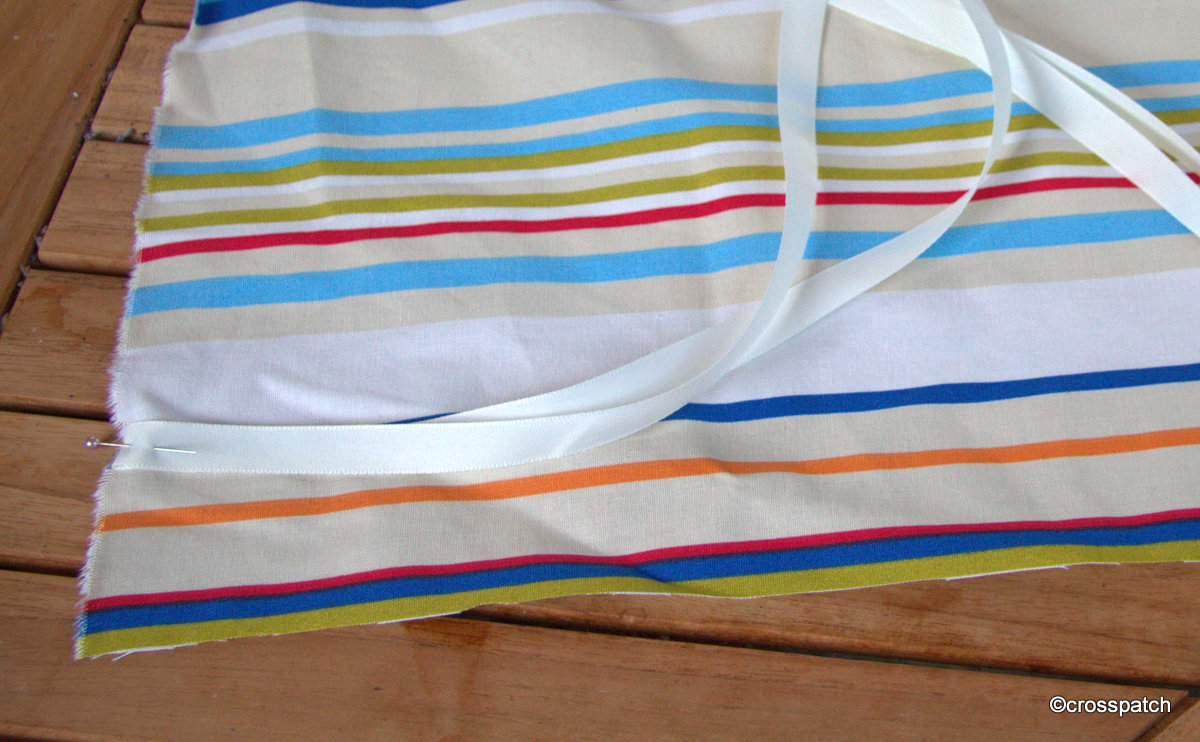
I wanted to be able to fasten them in place with ties. Initially I was going to use the spare fabric to make ties but was worried the fabric was too thick, and would not be effective, I decided to use tape. Turquoise tape was my first thought but impossible to find, so I bought cream, on a market stall in Clitheroe, from a little girl helping out her Mother, or perhaps her grandmother during the school holidays. She didn’t understand measurement in yards, so I had to translate for her, and she didn’t know how to wind up the 6 yards of tape to put it in a bag. She began to wind it round her hand but then it got so tight she could not get it off and had to begin again. The stall holder and I both laughed at her struggles, and her nonplussed little face. I watched the stall holder show her how to wind the tape round her splayed fingers, and then close her fingers to simply slip the tape bundle off her hand and into the bag. It set me thinking about how many skills we have that we don’t even recognise as skills, which we do without thinking about and have no memory of ever learning. I don’t remember learning that trick or how to thread a needle or set a knot in thread with a twist and flick of finger and thumb, but I can.
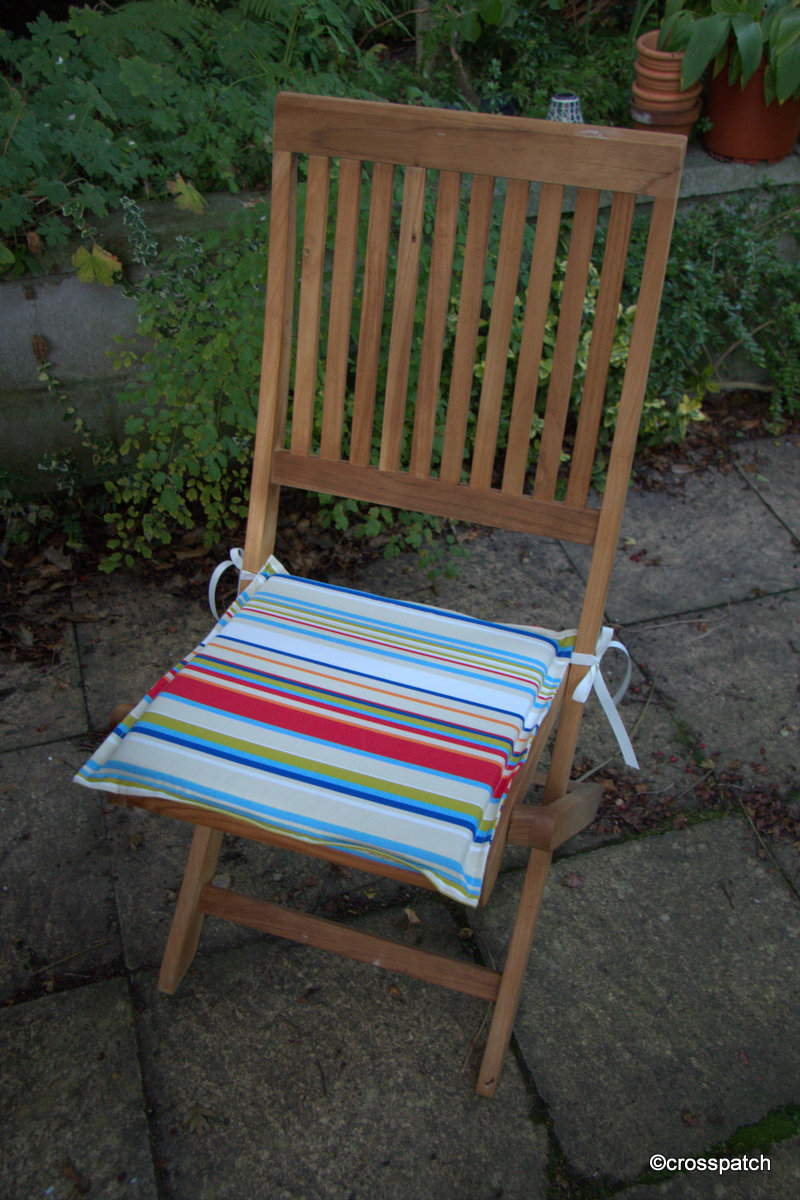
I wanted the cushion covers to fit well and the cushions to look plump, To get a tight fit of the cover I decided rather than make the cover tight and then struggle to get the cushion in, I would make it loose, and then finish it with an “Oxford“ edge , two rows of top stitching round the edge, making the cushions appear wider, allowing for the slight raised edge of the chairs; while at the same time giving a neat tight fit and a plump appearance.
This cushion cover won’t come off to be washed, but I think I can put each in the washing machine as needed.
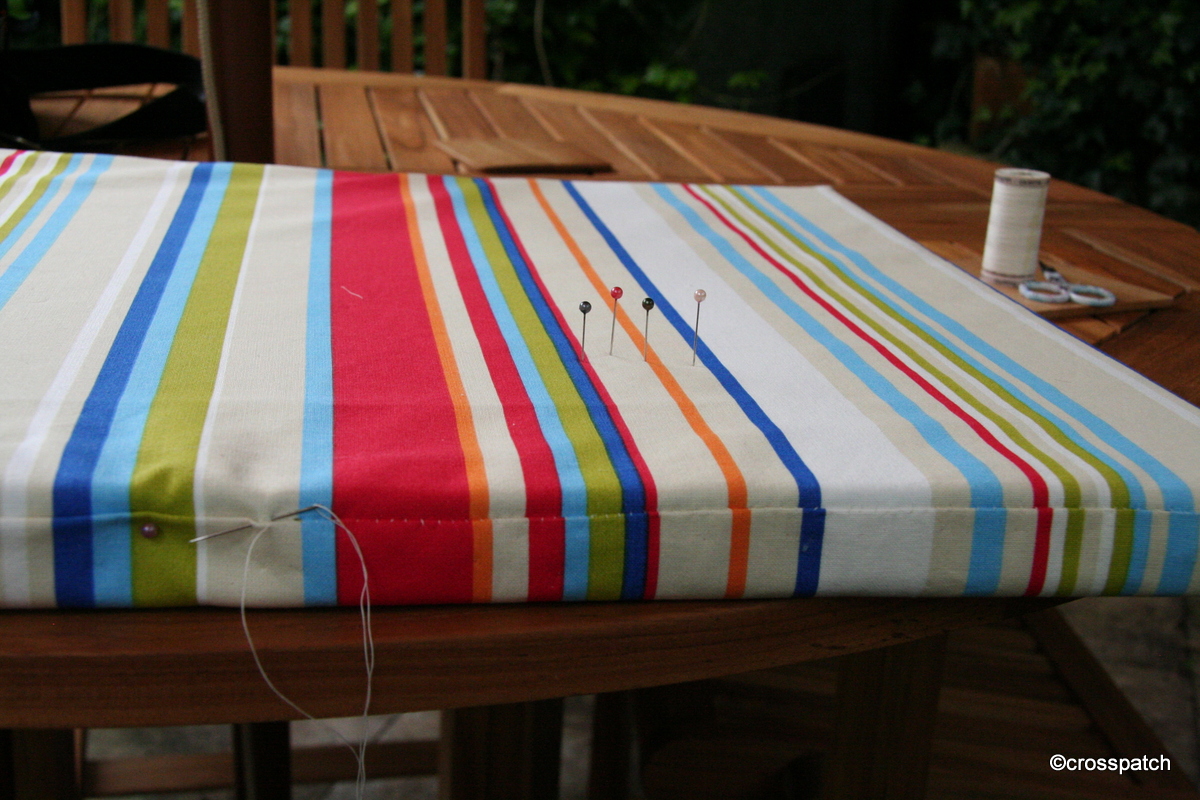
The fabric was cut on the generous side to allow about an inch of fabric all around. A narrow seam sewn on two sides with the tape caught in the seam close to the back on both sides, facing in, so that it is on the outside when complete. To close the back seam I tucked the raw edges in and tacked the opening closed, having put in the cushion pad. The top stitching would close the back opening. I tacked around the edge pulling the edges out and positioning the cushion pad at the same time so I had the same amount of spare fabric all round.
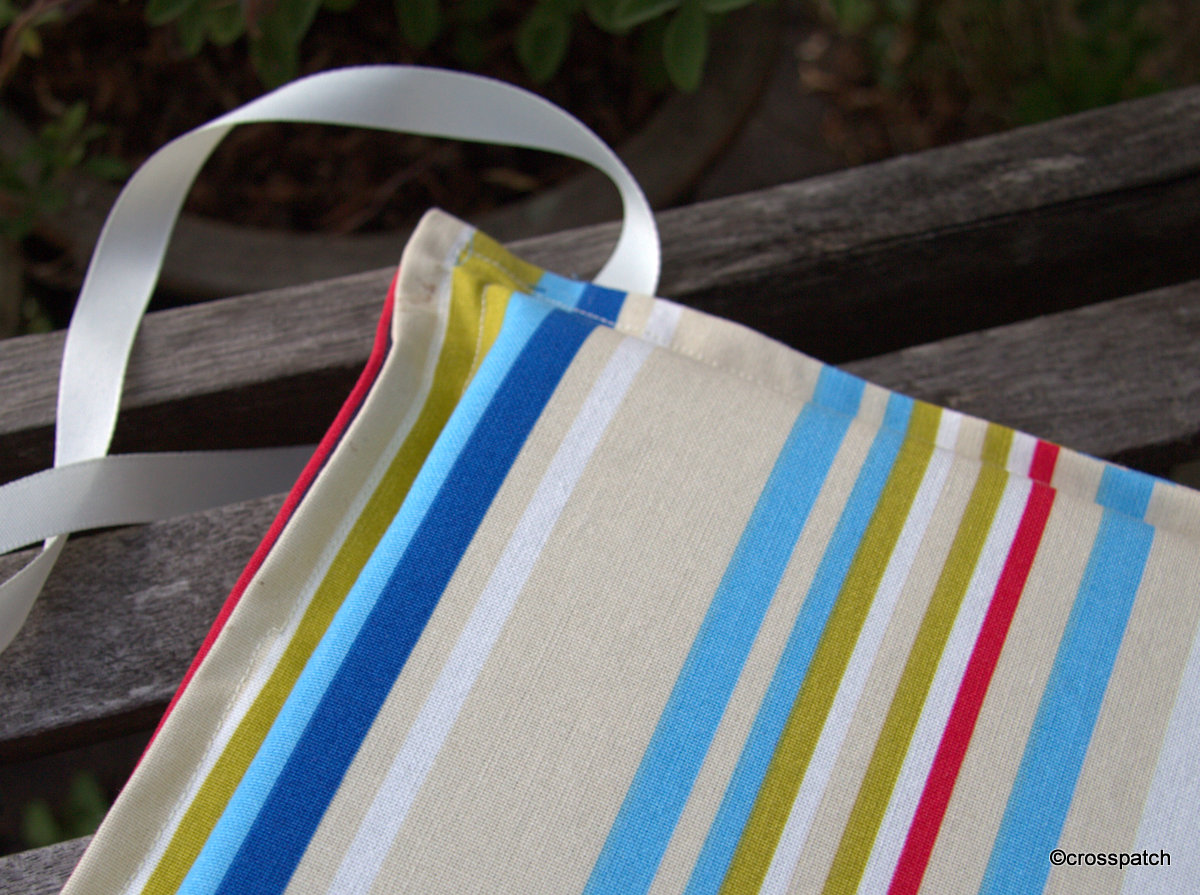
Now comes the difficult part, using a zipper foot, because I would have a lot of bulk on one side, I stitched around once; at this point the cushion cover still wasn’t tight. Going round again a quarter inch closer required a lot of effort, the cushion pad had to be pressed flat with my fingers to allow the presser foot to run over the fabric so close to the pad, and my stitching is a bit wobbly, but the finished article looks OK. One down, three to go, making cushions is easy. I might have them done before the clocks go back at the end of British Summer Time.