
My Scruffy Little Bear
I’ve not really been in the mood for sewing lately certainly not quilting and yet I recently found a need to sew for the solace it brings. My Beloved and I are heartsore and bereft. The Boy has left home! On the day he was coming to collect all his belongings, I spent the morning packing up his things, trying not to cry. The hardest thing for me to swallow was he wanted his childhood teddies. He has moved out and come home again a couple of times, but I guess its really final when they take their childhood companions. He really has left home this time. I’m fairly sure there are toys of mine still tucked away at my Mother’s house which I still think of as “home” but I have my childhood teddy Bear.
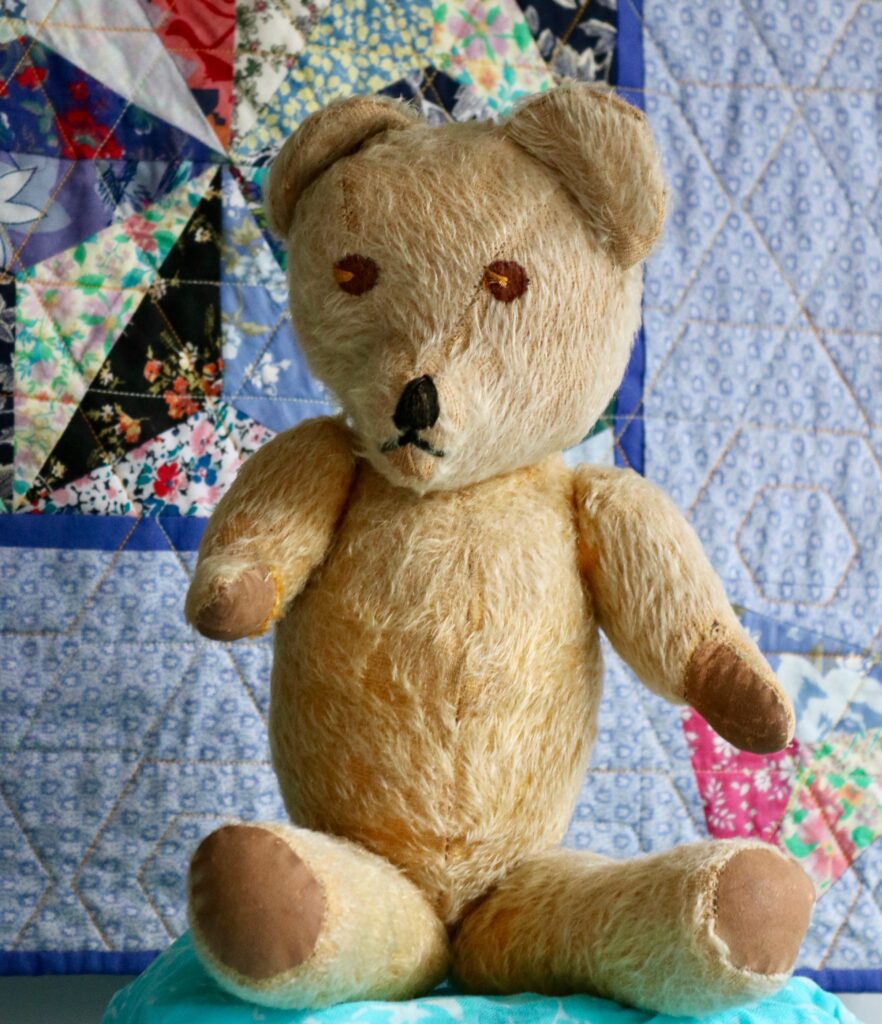
60 years on and still here
Once the packing was done, and while I waited for The Boy to arrive, I needed to find some calm. I settled down to listen to a podcast “ Bearly Begun, episode 4. ” (you can find it on Spotify or https://anchor.fm/bearlybegun/episodes )
If you are familiar with the BBC One TV program The Repair Shop you will know the two ladies who repair soft toys, not just bears, on that programme. (If you don’t know The Repair Shop you are missing a delight, seriously it’s one of the best , I wouldn’t miss it, everything about it is wonderful, and I can’t recommend it highly enough. If you are not in the UK, I think you can find it @netflix.
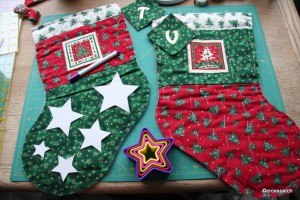
The Bear Ladies had a project to suggest to their listeners, a free pattern to make a little teddy bear called Scruffy Duffy, well that nearly set me off crying again… Scruffy is the name of The Boy’s bear, which I’d just packed up and said goodbye to, remembering the times I’d read bedtime stories to The Boy and his Scruffy bear. My Stepson and I had first bonded over making paper hats for his teddies from ‘The Dangerous Book for Boys’ by Conn and Hal Iggulden, when he was 7 years old.
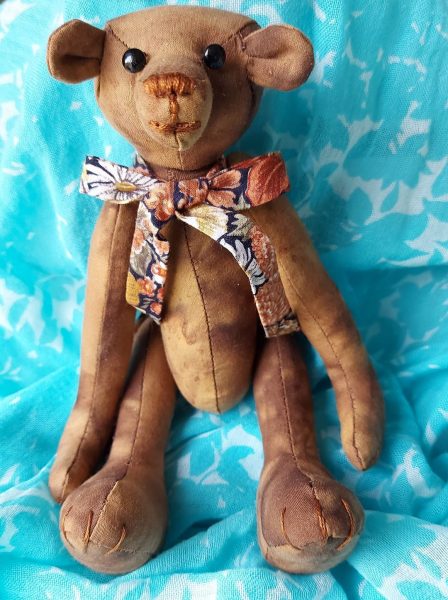
I thought maybe making this scruffy little bear could help me; having something to do and to think about would maybe help to get my sewing mojo back, and I could learn something new. So I downloaded the pattern, ordered the bits and bobs required to put it together, found a piece of fabric from my stash, and began.
Scruffy Duffy belongs to The Teddy Bear Ladies, if you are interested in making one you can find the free pattern here, http://bearitinmind.com/ and images of bears which have been made from the pattern can be found on their Pinterest account https://www.pinterest.co.uk/teddybearladies/, there is also an instagram account https://www.instagram.com/theteddybearladies/ where you can follow The Teddy bear ladies. Do watch them on The Repair Shop too.
So what did I learn while making this Scruffy Little Bear?
Now there’s an idea.
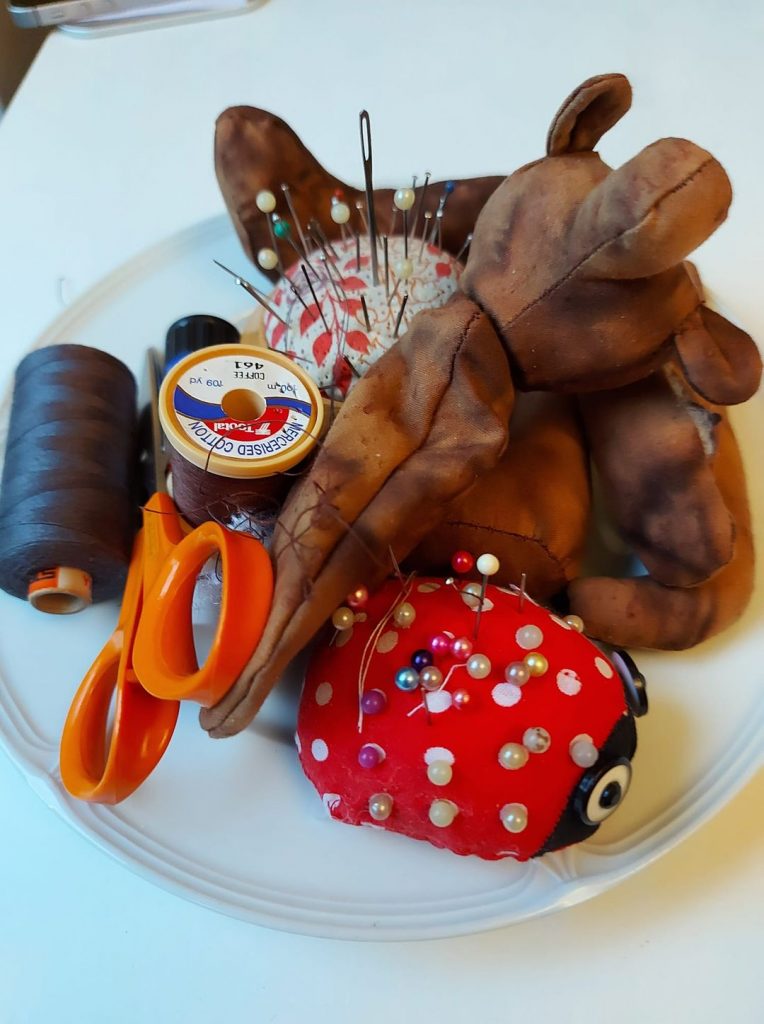
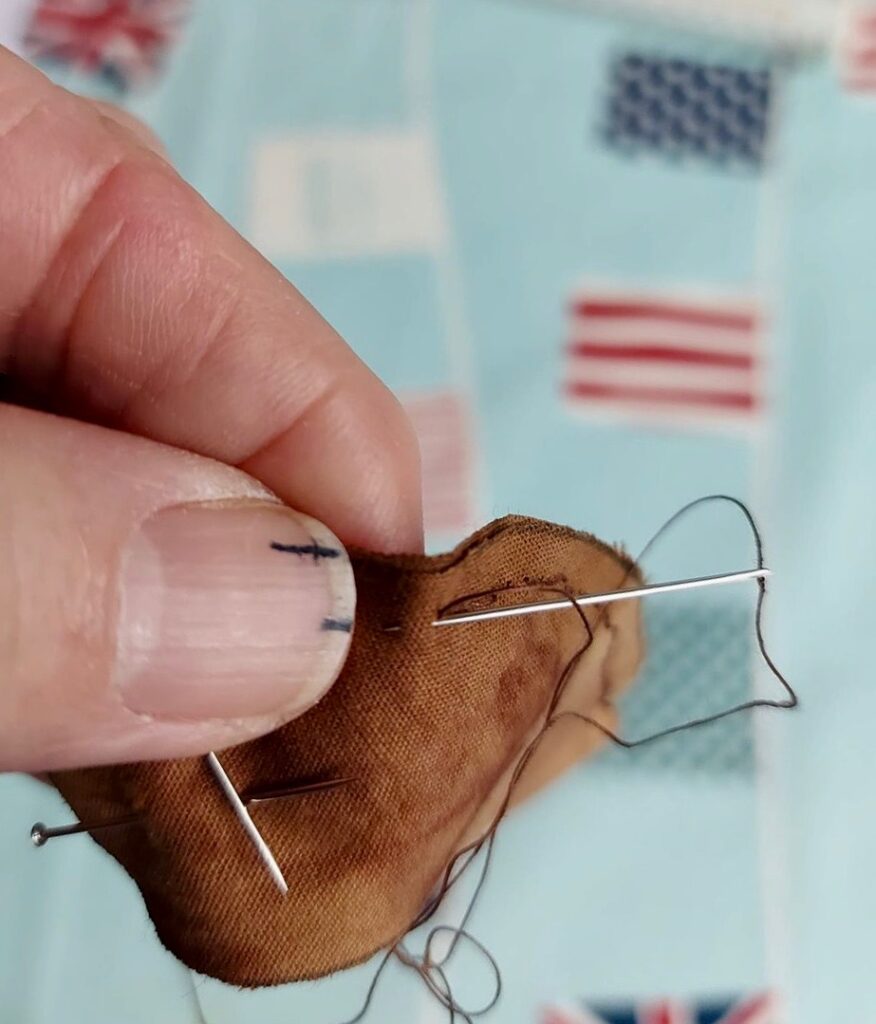
I learned that my hand sewing could do with more practice, that I’m not good at judging a half centimetre seam allowance by eye, but if you mark the seam allowance on your thumbnail, that works.
I learned that I’m not good at stuffing soft toys, but practice may make perfect, and a pencil helps.
I learned how to create a cotter pin joint; again practice may improve technique, thankfully I have some round nose pliers in my kitchen drawer.
I learned that mohair, despite being more expensive than free fabric from my stash, may have been a better choice, and the pile would likely cover a multitude of inaccurate stitching sins.
I learned that I have arthritis developing in my thumb joints, and that I need varifocal glasses.
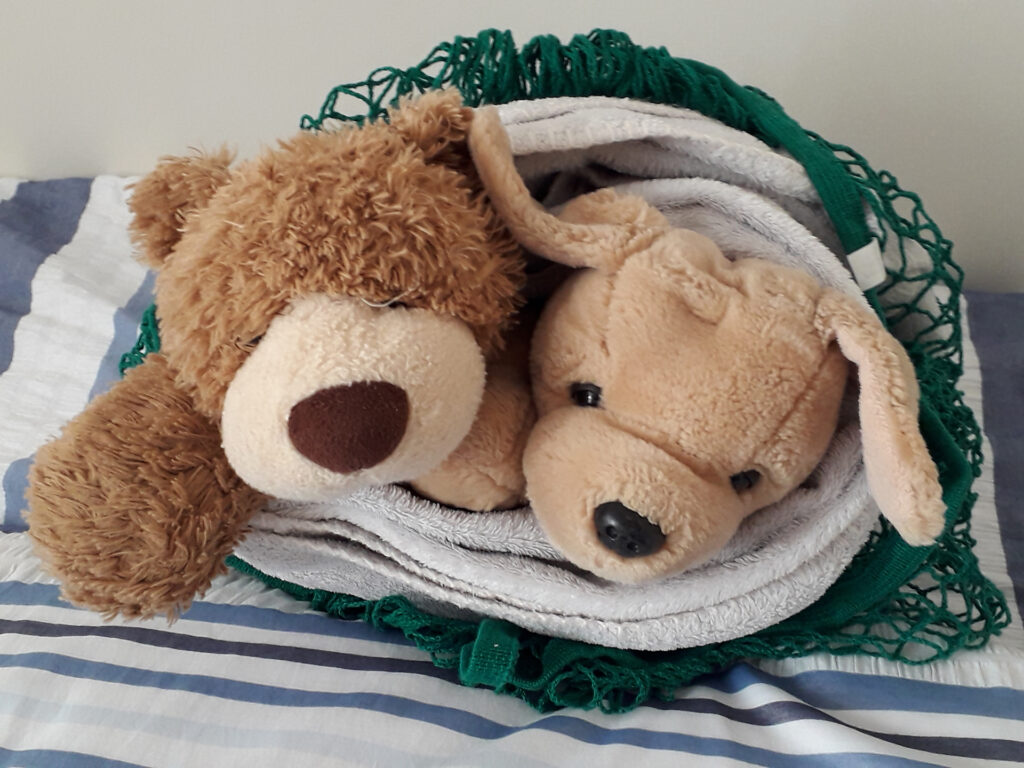
his childhood companions
Most importantly and with much reflection, I learned that you cannot keep your children close, they will leave home and you have to let them go with an open heart. I just hope he will let us know where he is and what he is up to, that he will come and see us occasionally. And if he does decide to join the Army as he says he will, perhaps he’ll need a foster home for his beloved childhood friends, Monty and Scruffy, I do hope so.