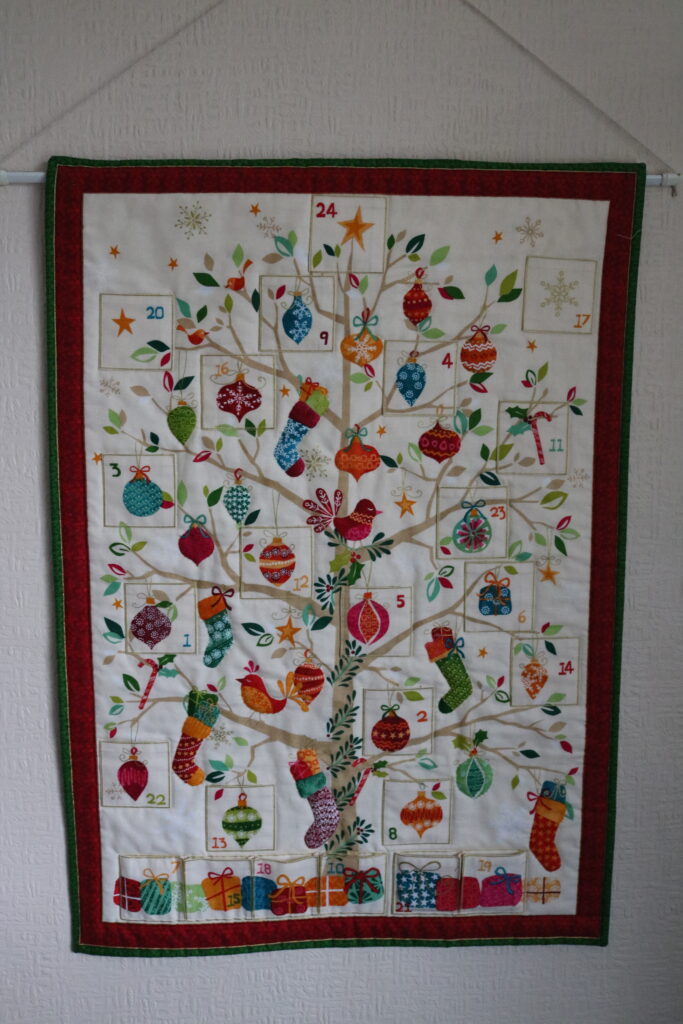
Advent Calendar

Traditionally, (I’m talking about my childhood in the 1960’s), Advent Calendars were a just paper, or card, the little windows had no chocolate or treats behind them, only a little picture and I remember the excitement of seeing what might be behind the little door each day.

I finished this in January of this year; I’d found the Advent Calendar panel, bought years ago, in amongst some Christmas fabrics when I was looking for something else.  I decided that although I’d not get it done for Christmas, Advent was almost half way through, I’d start and plan to finish it, a stitch in time, so that I could hang it for Advent 2021.

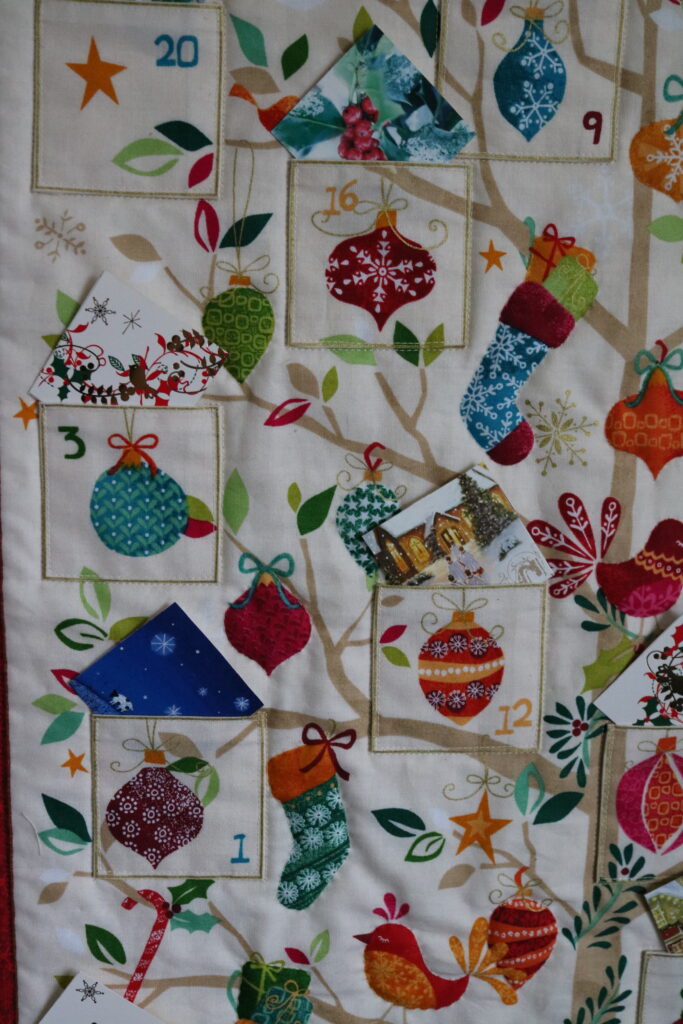
It’s just a panel, which has the printed background and a strip of pockets, which are to be cut out and applied to the same image on the background fabric.

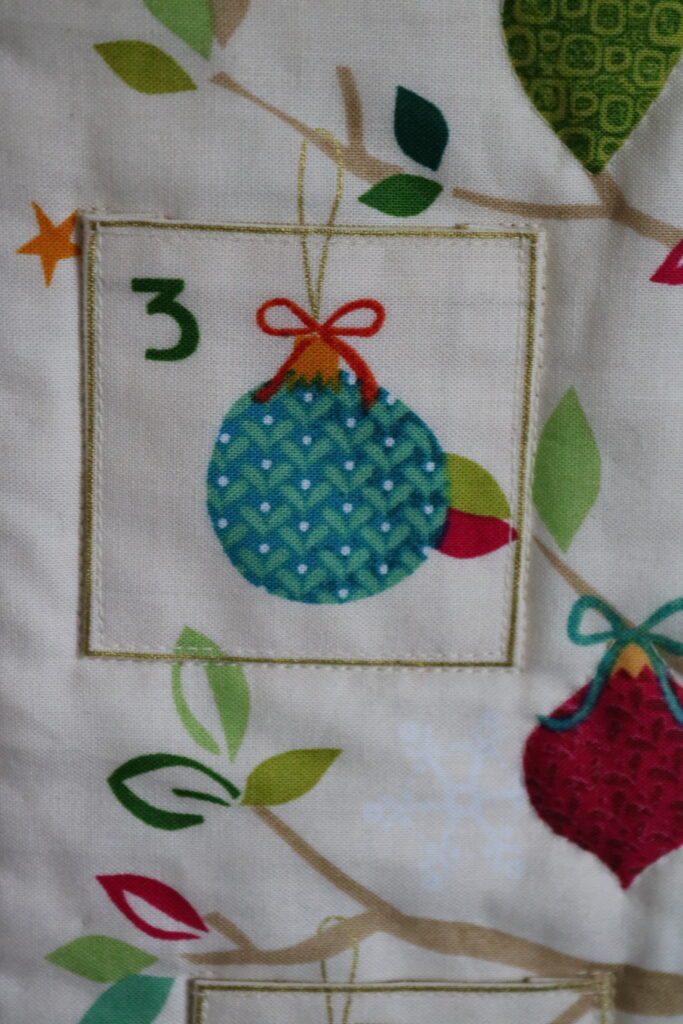
 Each pocket was cut, the raw edges turned and I tacked the edge down so that I could see the slim gold line at the edge. The plan was to topstitch the pockets onto the backing with a gold thread, but I didn’t like the effect, so I unpicked the ones I’d done and topstitched in a matching thread. 

 I also considered topstitching in various thread colours to match the colour of the pocket numbers, but that was beginning to look messy, that didn’t work either.

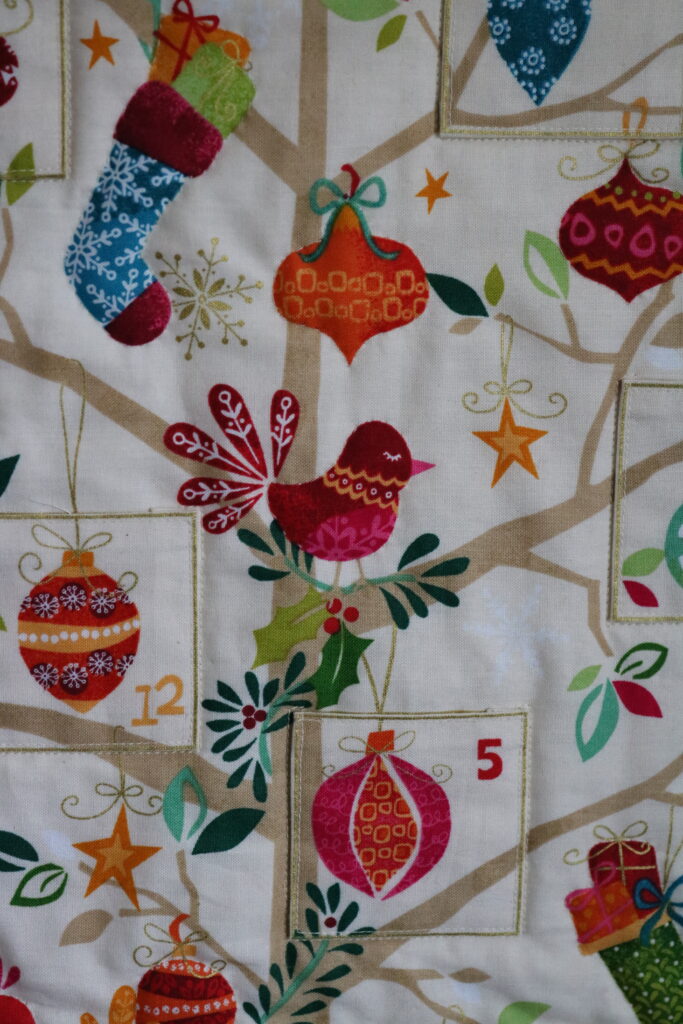
Once the pockets were sewn on, there needed to be more quilting to reduce the puffiness where the pocket were not placed.  I just picked out motifs in the same matching cream thread. Mostly these were hand stitched, because they were fiddly and in some cases too near the pockets for the machine foot to sew without pushing and pulling the fabric.

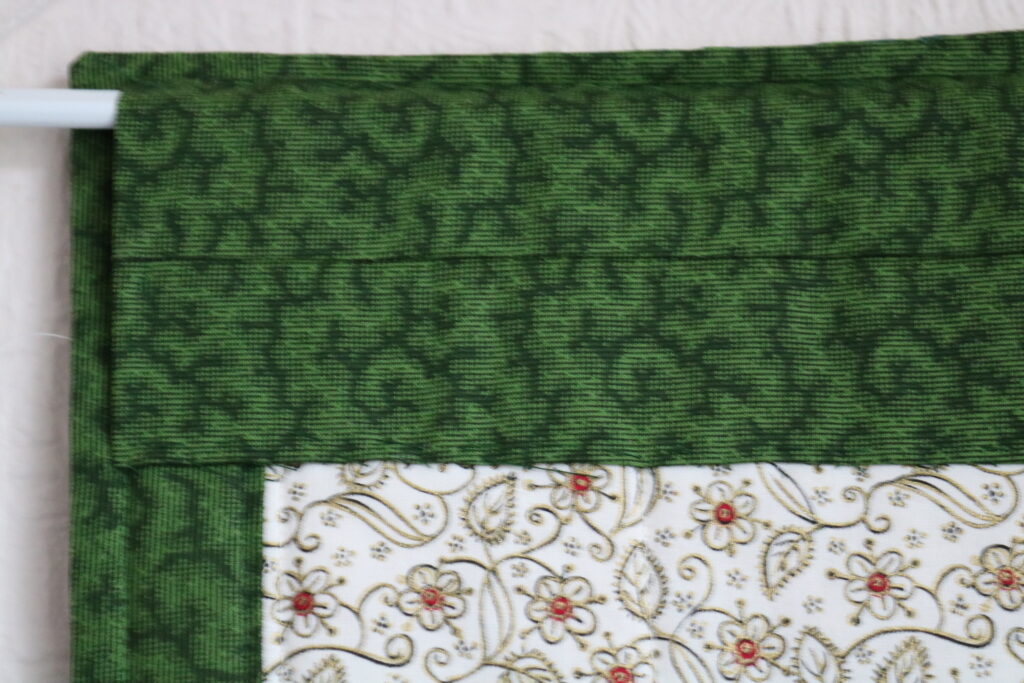
 I was determined not to buy any more fabric for this Advent Calendar project.  Seriously I have enough fabric to sink a ship. So I found a piece of ivory fabric with a gold and black motif in the Christmas box, which was not quite wide enough, and added green borders to make it fit the back. 

 The reason I chose green, (I’d rather have used red) was so that the edge at the front would match the edge on the back and any wobbliness or misalignment would be less apparent.  It worked and I’m happy with it. There was also enough of the green to make a hanging sleeve.

So the Advent Calendar was finished… well almost.  Traditionally, (I’m talking about my childhood in the 1960’s), Advent Calendars were a just paper, or card, the little windows had no chocolate or treats behind them, only a little picture and I remember the excitement of seeing what might be behind the little door each day.

 I didn’t want to just drop a sweet or wrapped chocolate in each pocket, I don’t need the calories anyway, and I couldn’t guarantee to have the self -discipline not to go chocolate rustling late at night, nor trust the beloved not to do so either. So what to put in the pockets?

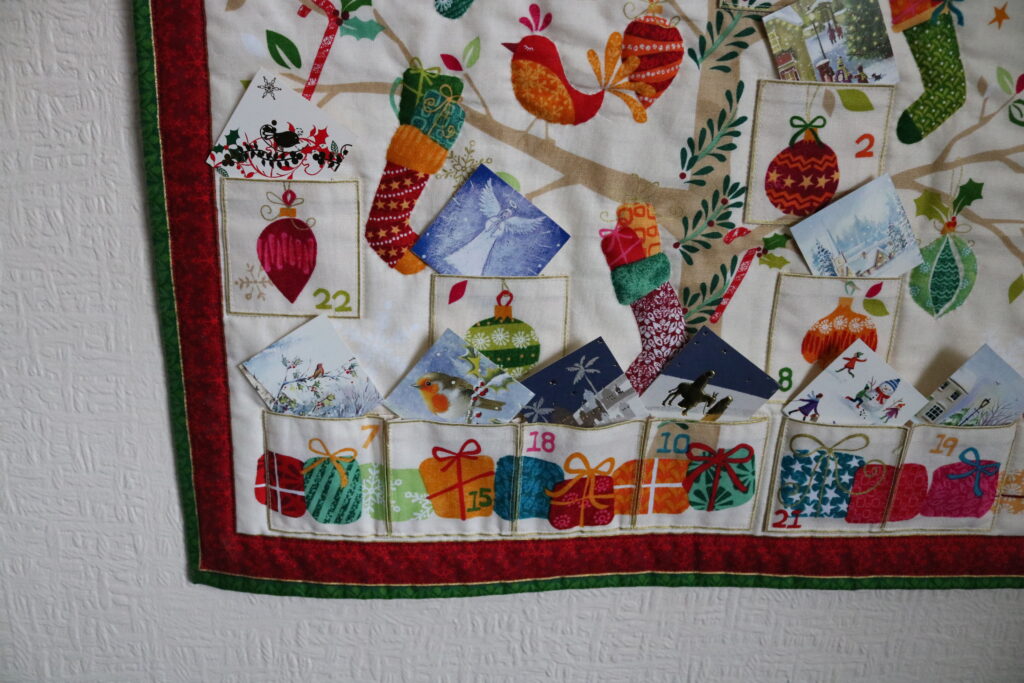
As I took down my Christmas cards at Epiphany I began thinking about those little pictures behind the doors on my childhood Advent Calendars.  Would an image on its own be enough?  I cut a number of cardboard squares, small enough to fit into the pockets, each with a Christmassy image, Robins seem to be well represented, but then I like Robins.

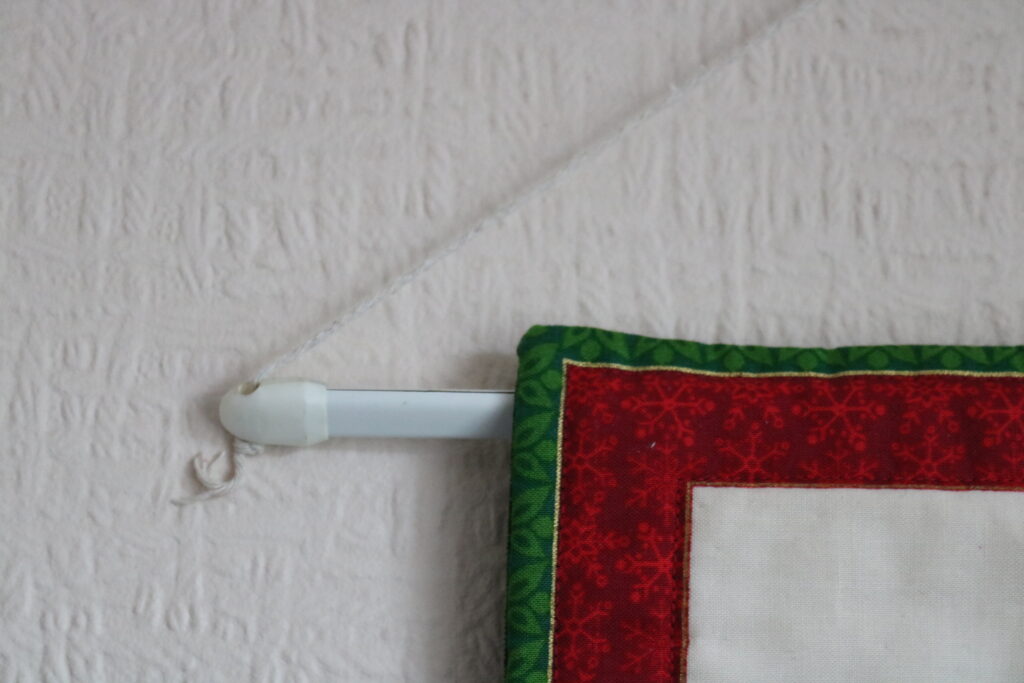
That’s where I left it, the Advent Calendar with a temporary hanging cane and a string to hang it by and the pockets full of little squares of Christmas card.

Last month I rooted out the Advent Calendar from its resting place and began thinking about how it should be finished.  I wanted a wellbeing theme, something positive to think about each day, something maybe to do for my wellbeing.  My Niece has an Advent Calendar, which she made from downloaded materials from Calm Moment you can find it here, (https://www.calmmoment.com/mindfulness/mindful-christmas-advent-calendar/ )

 I printed the 24 wellbeing suggestions from the Calm Moment Advent Calendar cut them approximately square and folded each one diagonally twice, tucking it into the pockets on the Advent Calendar. I also searched Pinterest for Christmassy quotes, printed those very small and glued one to each of my little squares of Christmas card.

 Through Advent I will have a Christmas affirming quote and a wellbeing suggestion for every day and not a calorie in sight.

The only thing is… The hanging arrangements still don’t work for me, I need a metre or so of gold cord, and a stick  (with knobs on,) that I can paint gold., and tie the gold cord to. Inevitably even with my best efforts, it wasn’t ready in time for Advent. Shoot me! I’m still working full time and looking after my old Ma, and we have to keep a sense of proportion.  I’ll go into town on Saturday and buy gold cord, the stick I have, knobs are on order, (wooden beads actually) and all will be complete before Advent is over, honestly!  

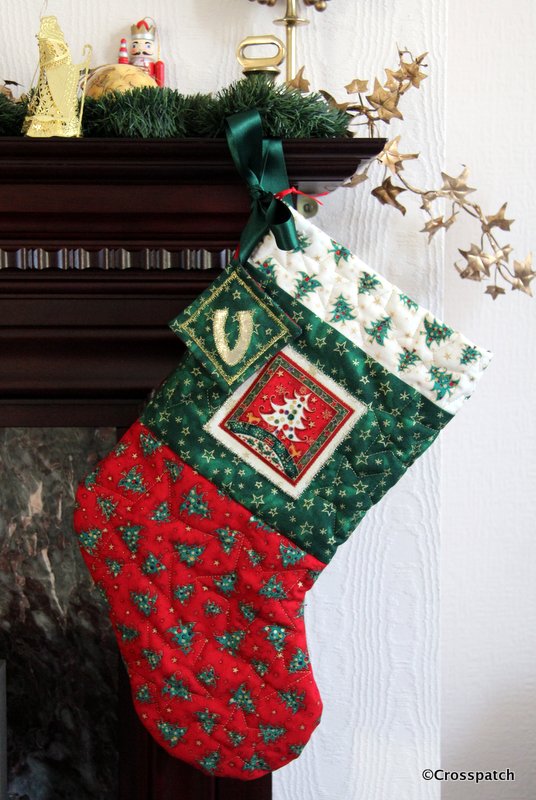
Christmas stocking, finished at last…

I’m celebrating finally finishing two Christmas stockings I began 8 years ago.

Christmas stockings
finished at last

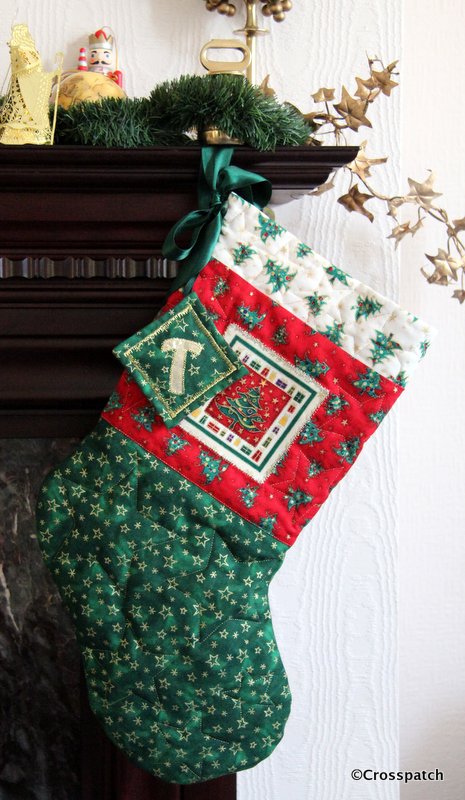
I’m celebrating finally finishing two Christmas stockings I began 8 years ago. The children for whom I began making them were 7 and 11, are now 15 and 19. If you want the whole story check out my archive for December 2012and January 2013. Suffice to say Christmas is always a busy time and sometimes you just have to prioritise, Sewing takes second place to shopping, cooking and cleaning only once a year, at Christmas.

Christmas stocking
both finished

So beginning where I left off, one of the stockings was quilted and ready to be made up, the other was not. I wanted them to be the same and I had lost the quilting templates, 5 little cardboard stars in graduated sizes which I created using cookie cutters, which I had also subsequently lost, and to this day have not turned up… I suspect foul play.

Thankfully the templates did turn up, and this Christmas I was determined to finish what I’d started. I used a disappearing pen, (which for some reason isn’t disappearing) and drew the stars on the lining of the stocking, then putting the gold thread in the spool and a transparent thread on the top I quilted from the back stars in different sizes to fill the spaces round the motif in the centre of the stocking leg, and in the foot of the stocking.

Christmas stockings
final finishing touches

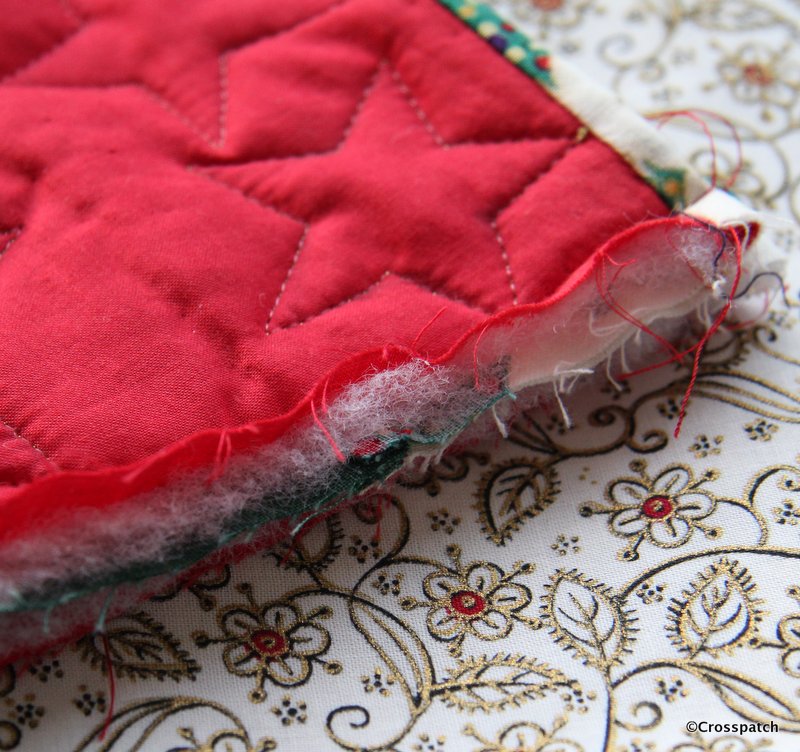
Putting the right sides together I stitched the two halves around the edge with a generous 3/8ths seam allowance to make it easier to neaten the edges. To finish the seams on the inside I cut away the wadding, and hand stitched the lining closed over the raw edges down to the bottom of the leg. Beyond there the foot still has raw edges showing, well not showing, but that’s the point, you can’t see it so I’m not going to worry about it, I may overlock the raw edges with a machine stitch…when I have a minute.

christmas stocking
another mistake

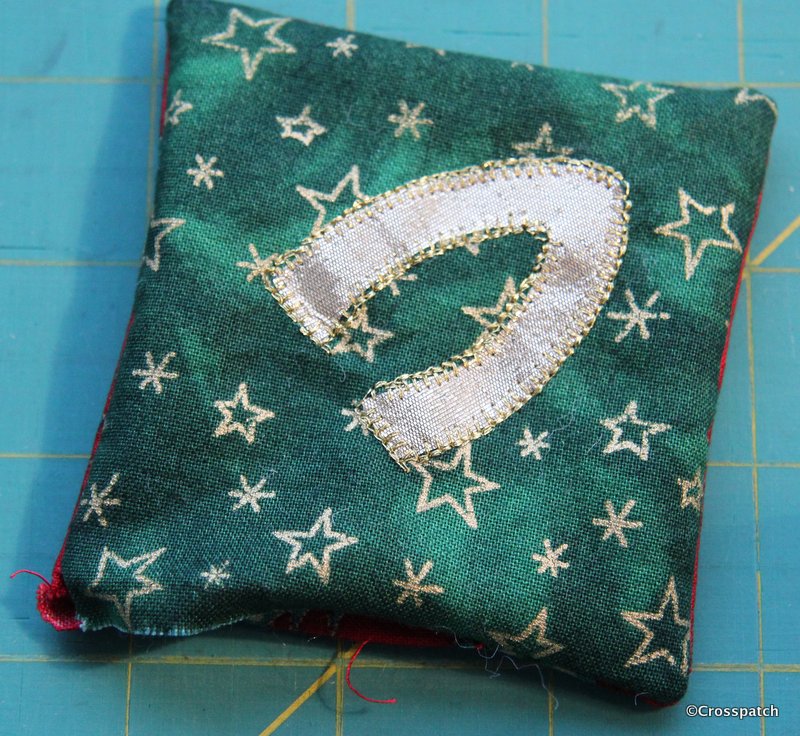
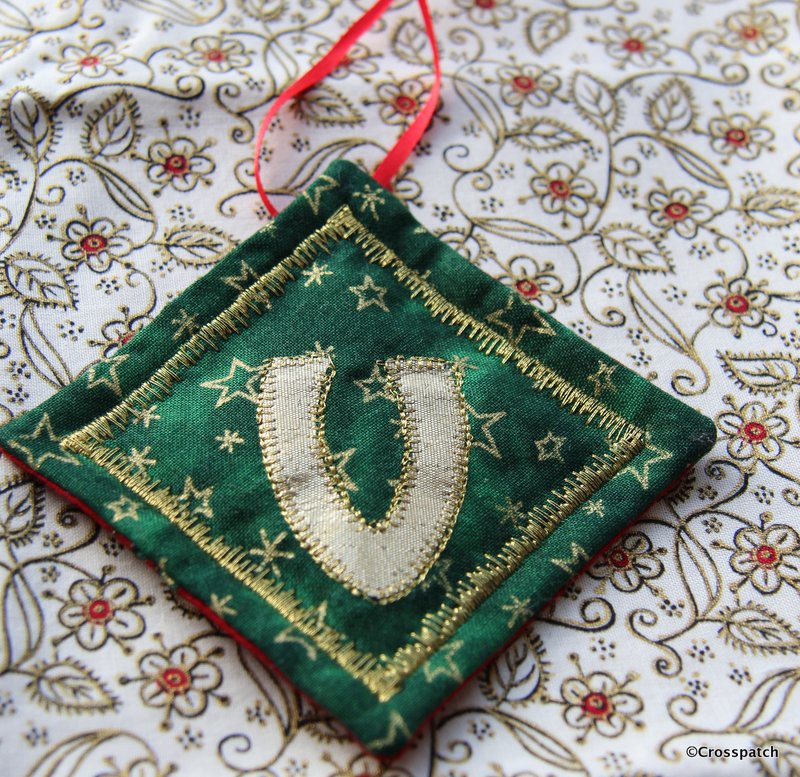
Next, I had to make the swing tags for each stocking, cutting two squares of fabric for each tag, and applying a gold letter to the green side of each. I worried that the gold letter might eventually peel off having been applied with Bondaweb, so I used my gold thread again and stitched around the edge with a machine blanket stitch, not very accurately I have to say, but I wasn’t about to unpick and start again.

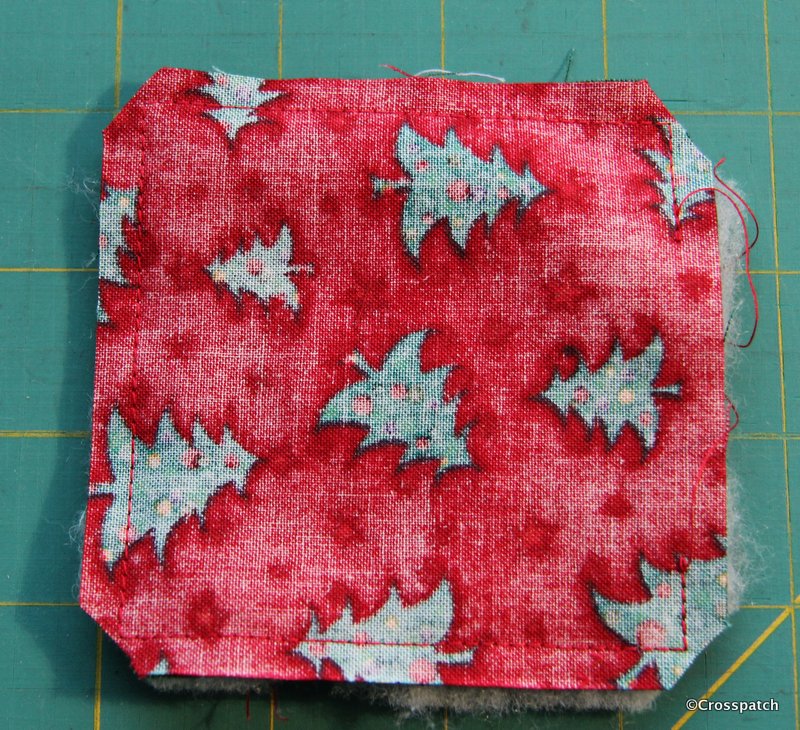
Right sides together again, with a little wadding on the back, I made another mistake; if you leave the hole to turn the fabric at a corner you’ll never achieve a neat closure… unpicked and did it again, this time with the turning gap amidships.

christmas stocking
better, all 4 corners stitched and clipped.

Having snipped the corners and turned each tag right ways out, I neatly closed the open edge by hand. Then I topstitched a gold border using another fancy machine stitch like the one I used on the stocking motifs.

Christmas Stocking
ribbon loop


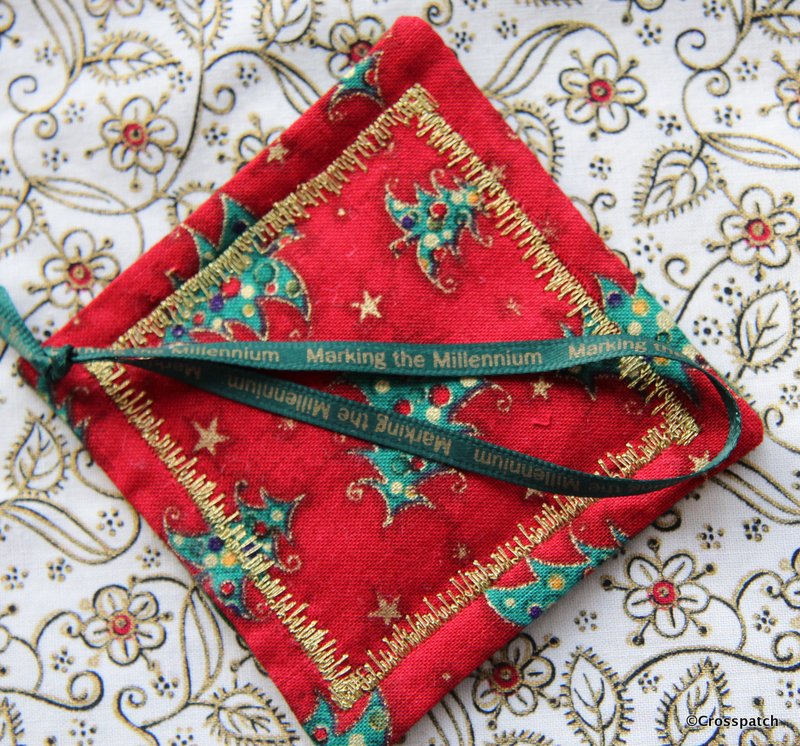
Finally a loop of ribbon was attached to the back of each tag, these ribbons tend to get ragged over time so rather than stitch it into the seam I’ve just tacked it to the back. The 15 year old is a Millennium baby, born in 2000, and when I first knew him at 7 he couldn’t say Millennium, he would a say Millellium, or Minnellium, it has always been a thing I could tease him with, so I used some ribbon I had tucked away since the Millennium, it has “Marking the Millennium” printed on it. Maybe if he keeps and treasures his stocking, it may make him smile every Christmas…long after my day.

christmas stocking
millennium ribbon

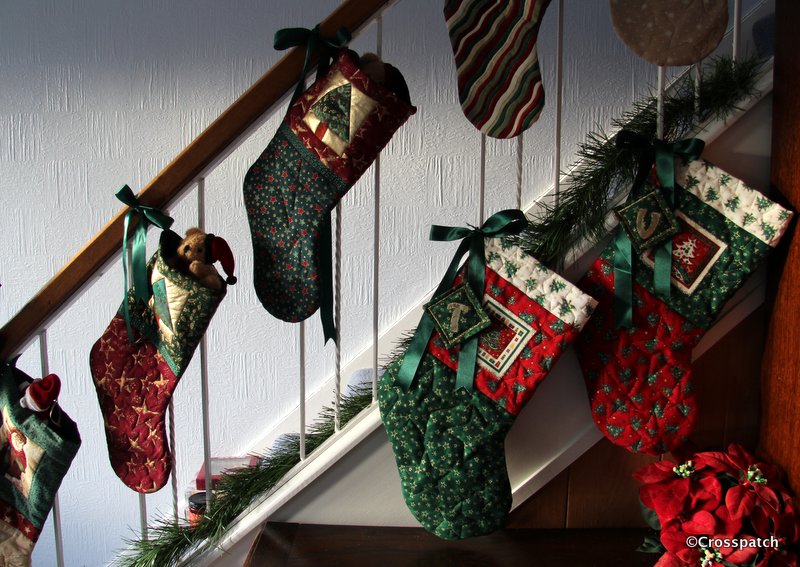
And so they are completed and hung up ready for Christmas… now all I have to do is help the 19 year old make a wall hanging, and start the wrapping, with only 3 days left till Christmas.

Christmas stocking
and here’s a few I made earlier


Bigger slippers

I love being able to mend and customise, fix my mistakes, and make something usable out of left over scraps from another project, retrieve the torn and damaged, create something usable out of what otherwise would be thrown away.

So what do you do when you have bought things for Christmas which turn out to be the wrong size? I recently had two such mistakes to solve, I bought my Dad a pair of soft jersey pants, which he finds comfortable to wear at leisure, but they had cuffs at the ankle and were too long, not a good look. Saggy grey cotton jersey doesn’t really suit anyone, no matter how old. I cut the cuffs off and finished the raw edge with an overlock stitch and double stitched hem. Problem solved, pants no longer sagging in the legs.

bigger slippers
we need bigger slippers

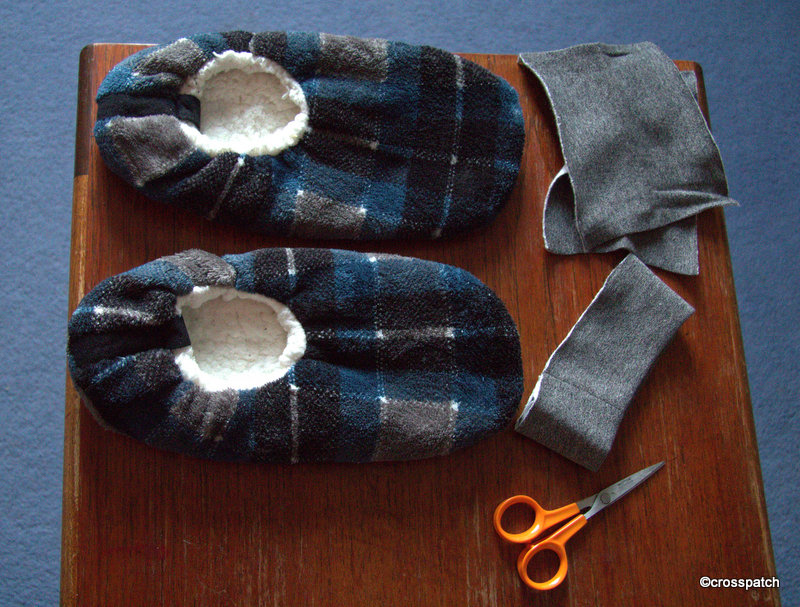
The next problem was a bit more difficult to solve, a pair of soft fleece slippers for the 14 year old. To me he’s still a boy, I keep forgetting how big he has grown, he is taller than me and his feet are larger than his dad’s, so how I managed to think Medium sized slippers would fit I don’t know! He likes his slippers, and wants to wear them but they are a tad too small, and although stretchy, not quite stretchy enough, so what to do? Make bigger slippers. Yes but what with? I was considering what I had which I could use to build an extension for the 14 year old’s toes, when I saw the cuffs I’d cut off Dad’s pants sitting on my sewing table, perfect colour, now how?
bigger slippers
problem solved, bigger slippers.

I cut one cuff along the seam and then cut it in half, each half was stitched along the two short edges to create a little pocket, then I opened up the toe of the slipper peeled back the fluffy faux lamb’s wool lining and stitched the little grey jersey pockets to the outside fabric. The lining was then hand stitched back into place covering the seam allowance so the lining is held in place and the seam hopefully will sit under the toes, where the toes meet the ball of the foot, and won’t be too uncomfortable.
They may look rather silly, but it worked, it solved the problem and the 14 year old tells me they are comfortable and a much better fit, of course the acid test is, does he wear his Bigger Slippers? Yes he does. I thought asking him to model them was pushing my luck too far, he would probably have a fit if he saw this post, so Sshh.
I love sewing, I love being able to mend and customise, fix my mistakes, and make something usable out of left over scraps from another project, retrieve the torn and damaged, create something usable out of what otherwise would be thrown away.

Owl quilt; part Two too wit too woo

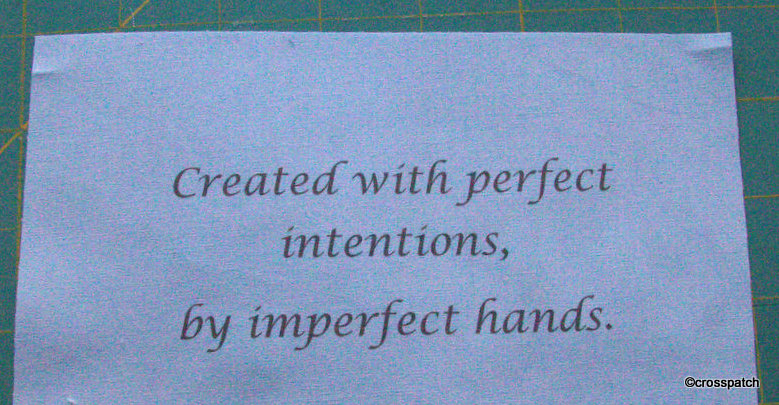
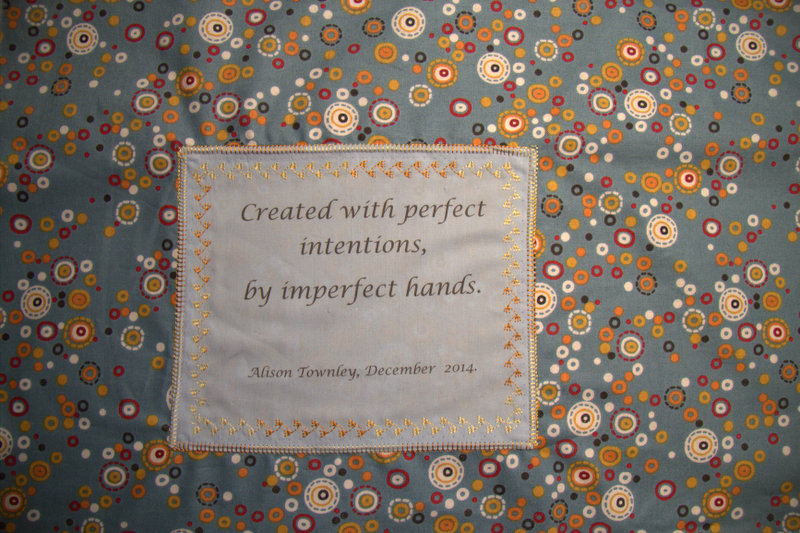
The label is a little wonky, but it matches the sentiment, made by imperfect hands.

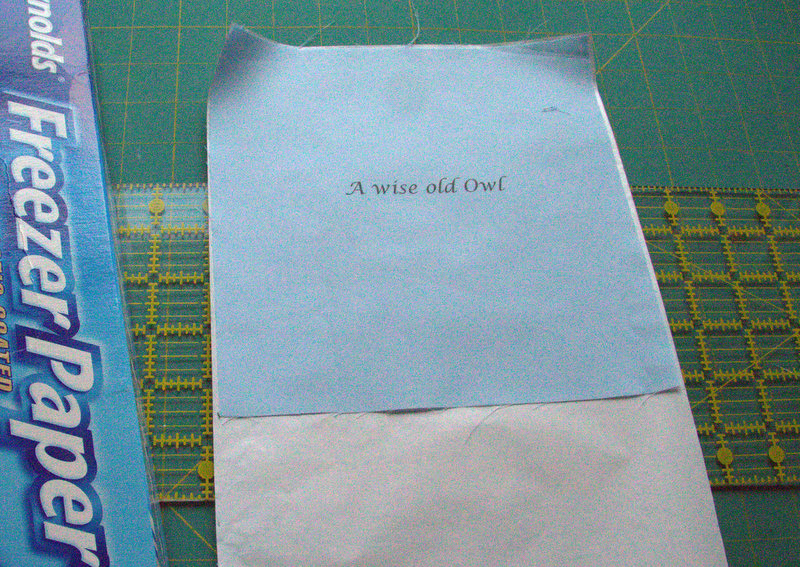
The technique for printing on fabric is really quite simple, cut a piece of freezer paper the same width as a piece of A4 printer paper, then cut a square of fabric and iron it to the freezer paper waxy side up, so the fabric is completely welded to the paper. I created a word document for each line of the poem, and tried to set the line in the centre of the printable area, bearing in mind the fabric is ironed to the top 7 inches of the paper.

Owl quilt
quilt label for the back

Put the paper in the printer, face down and press print.Then Presto, out comes a piece of fabric neatly printed with a line of the poem, just about centrally placed. Peel the fabric from the freezer paper. Trim the piece of fabric down to the desired size making sure the printing remains centred, and press with a really hot iron, to fix the ink onto the surface.

Owl quilt
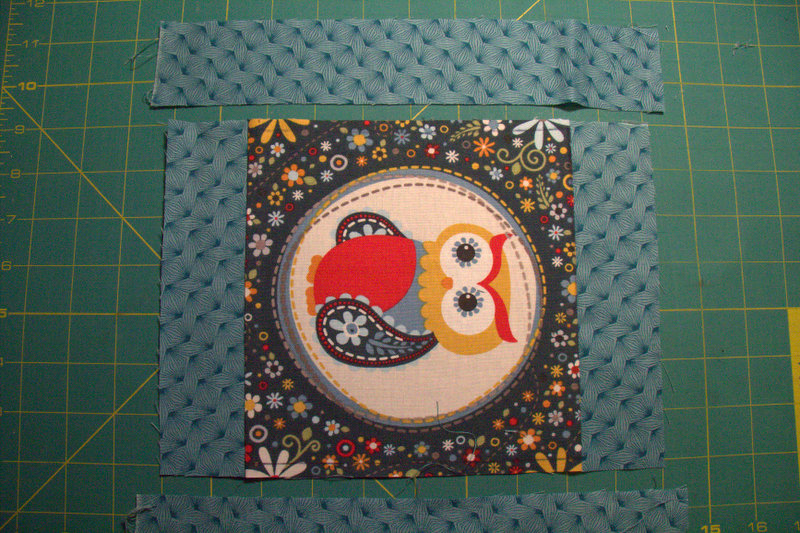
sashing from my stash

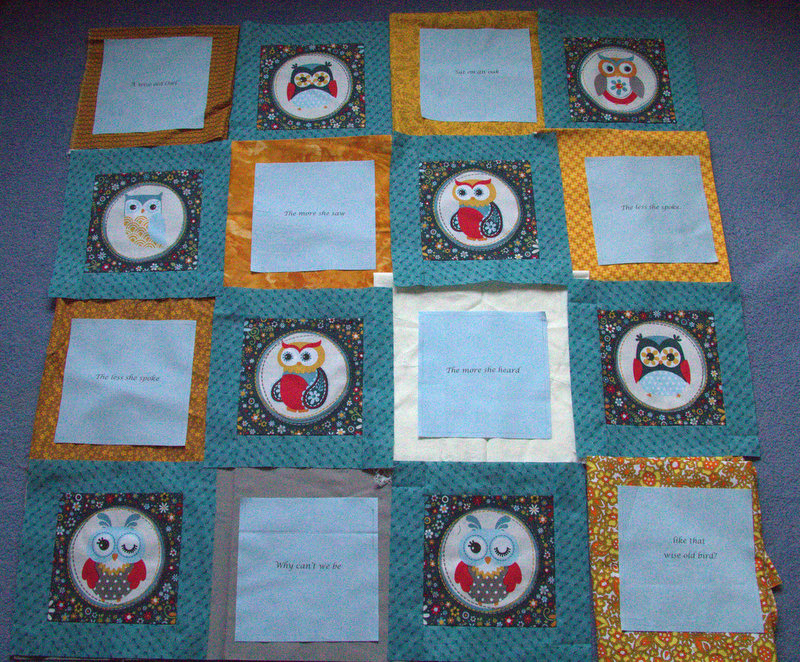
Challenge four, putting it all together. The sashing for the Owls came from my stash and was a perfect match, but I couldn’t find a fabric to sash the blue squares, nothing in my stash of fabrics was working, and I was running out of time. As you can see I tried various yellows, cream and taupe but it just wasn’t floating my boat and it looked too busy.

Owl quilt
nothing is working here

I decided the best option was to source some more fabric from the same range, the Internet was my only hope. I only had half a selvedge as a clue to what the fabric range was called and who made it. Nevertheless it only took me a few clicks of the mouse to trace it from the scrap I had, and find a supplier for the background fabric. I also found another fabric from the same range for the backing. Flashed the plastic, and the fabric arrived two days later, I love the Internet.

Owl quilt
that’s better!

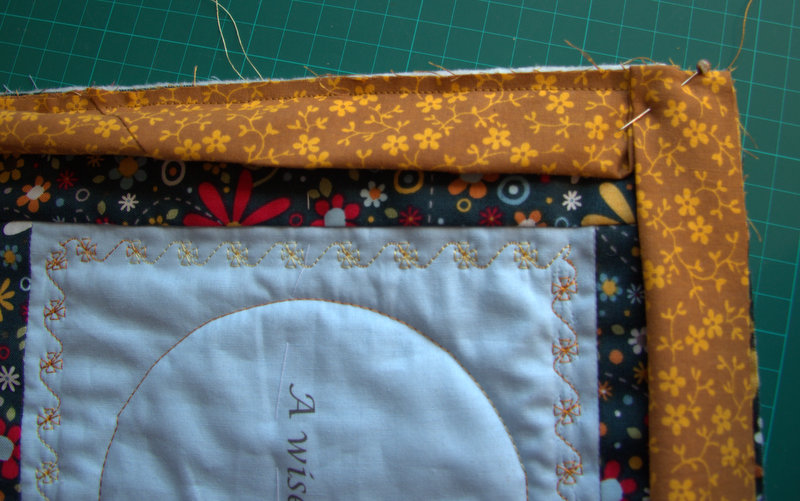
Challenge five, once I had the quilt top put together and the wadding and backing tacked in place I realised that the blue squares lacked something, there was too much plain space around the lettering, my first thought was to create a quilting template of an Owl and quilt the centre of the square but I wasn’t sure how that would work with the lettering. Maybe just a pair of Owl eyes, above the lettering, but that would be too asymmetric. I decided to keep it simple, a circle in the middle to echo the Owl medallions, and some flowers embroidered round the edge to echo the flowers on the background fabric, and to add colour. I used a space dyed thread, but I think a darker yellow or orange might have worked better.

Owl quilt
quilting and binding

I used one of the rejected yellows I had auditioned earlier for the sashing of the blue squares to bind the edge of the quilt and to add a little contrast. It worked well with the backing fabric too. The label is a little wonky, but it matches the sentiment, made by imperfect hands.

Owl quilt
Owl quilt label for the back.

And so, I managed this Christmas to complete a quilt in time to give it to my Dearest Friend, and even better my lovely Sister volunteered to make a detour from her day out with her daughter to a Spa to deliver it in person to my friend. It was the day before Christmas eve. I am so blessed in my Friend, and my Sister. Thank you both for being there for me.

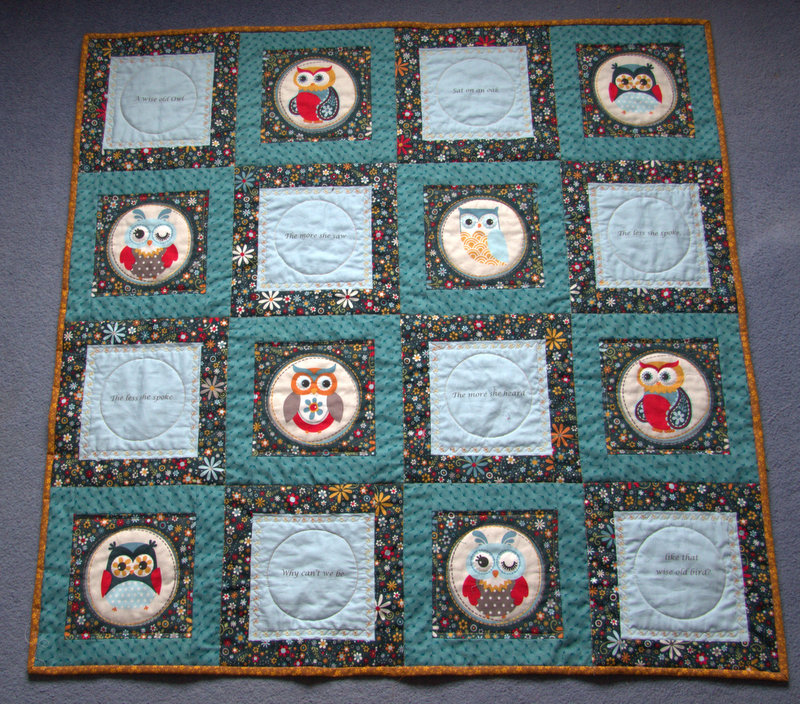
Owl quilt, finished
Owl quilt, finished

An Owl quilt for a dear friend

All I needed was some freezer paper and an iron, how difficult could it be?

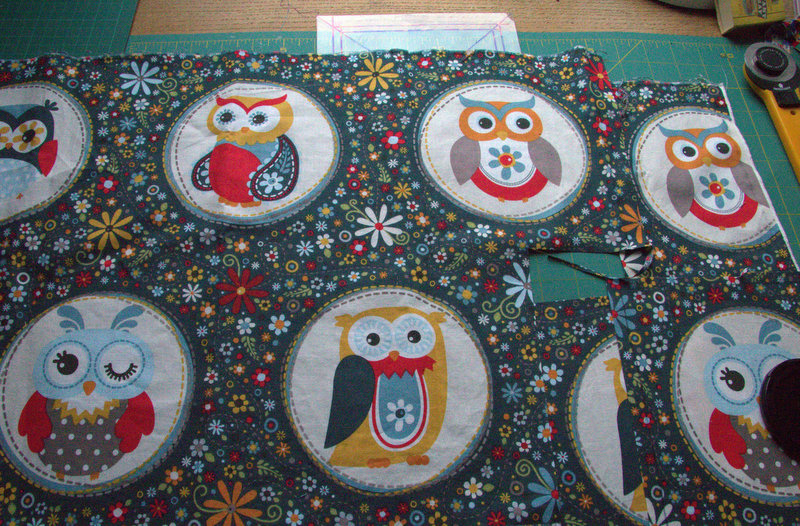
I have a dear friend who likes Owls, or “Wols” as she calls them, so when I came across this remnant of fabric being sold at my quilt group meeting I just had to buy it. I didn’t know what I would do with it but I knew I would come up with something. An Owl quilt, a lap quilt, a comforter, a virtual hug, that my friend could use whenever a hug was required and me not there to offer it.

owl quilt
a lucky find

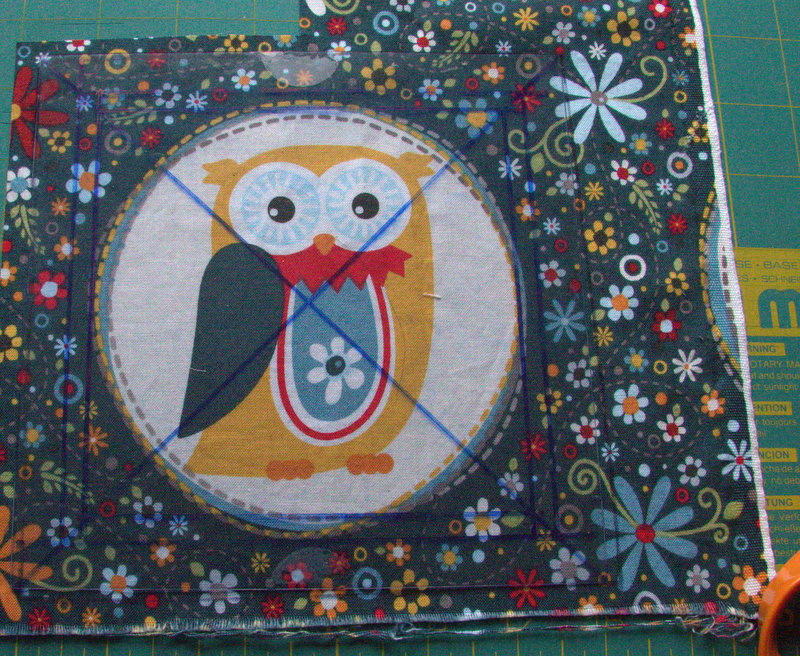
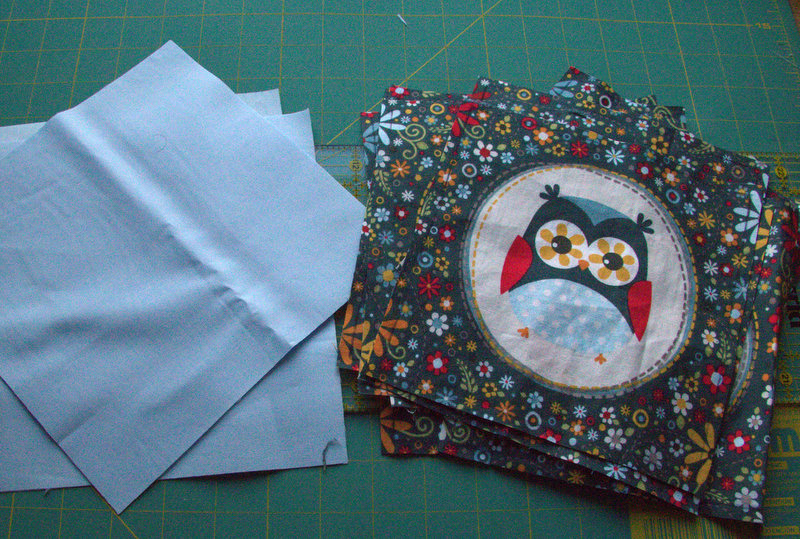
The first challenge was to cut out each Owl with as much fabric as possible surrounding the centre medallion, cut each one with the Owl dead centre in the medallion, and each the same size. The background fabric was too random to give me any help so I devised my own template using a piece of clear plastic  packaging. The circles were asymetrically placed so I needed two squares to fit them into, to “fudge ” a best fit with the centre of the medallion. The outer edge of the template I lined up by eye, given the background pattern was random I knew it wouldn’t cause me too much problem if it was slightly off the grain. In any case I don’t think it was printed entirely plumb with the straight grain of the fabric.

owl quilt
transparent template

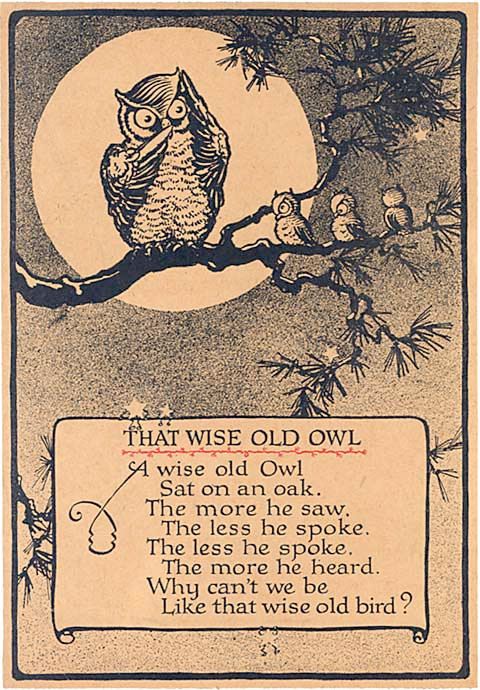
Next challenge, there were only 10 complete Owl medallions, and no way of buying more, I had to come up with a design which would make a lap quilt, at least a metre square, and quickly, I wanted to give it as a Christmas present and it was well into November when I began. While I was cutting out the medallions, I was reminded of an old nursery rhyme about a wise old Owl.
owl quilt
Happily its 8 lines long so I could alternate each of 8 Owl medallions with a line of the poem in a plain fabric, but what fabric? I went to the fabric shop thinking cream, and came home with blue, it often happens that way, when I get to see the fabrics together what I had in my mind’s eye just doesn’t work and so I always have plan B.

owl quilt
what to put with it?

Challenge three, how to apply the lines of poetry to the fabric? My handwriting is not good enough. My hand embroidery is even less appealing, not to mention how long it would take me to hand embroider each one. I could have used machine embroidery but I wasn’t convinced my machine would do a good job either, and centring the text would be a nightmare. I did however have a plan. I’d read on Pinterest a number of articles about printing onto fabric using an ordinary household ink jet printer. All I needed was some freezer paper and an iron, how difficult could it be?

owl quilt
perfect…ish, not quite central

The plain fabric was cut slightly larger than the Owl medallions and the printing planned to be in the centre and then trimmed down to the right size leaving a little wiggle room all round in case the centring wasn’t accurate.

Oh what a lovely pair of brassicas

from the scraps and a button I made another little cauliflower to fasten between them

Brassicas
cauliflower bra

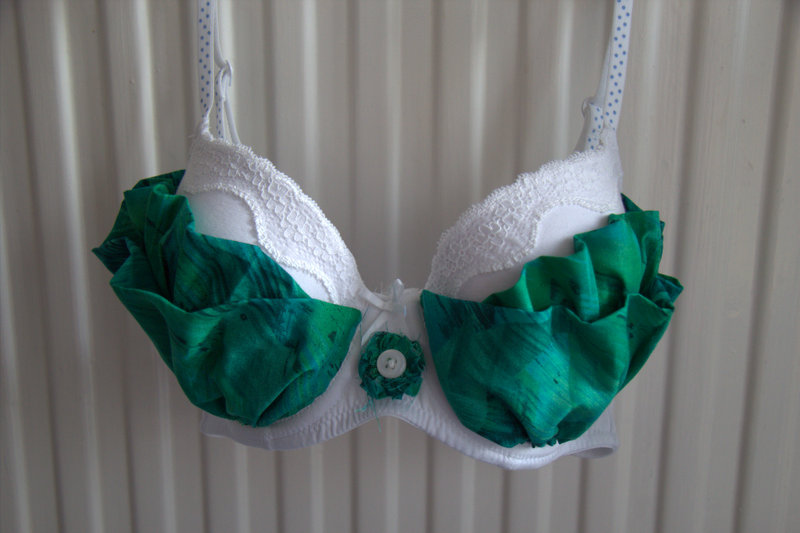
And secondly I found a little white bra in a charity shop 30D: a bra made for a generous little lady. Its not one I’ll ever fit into, but perfect for the challenge. It only needed a few strips of green fabric gathered onto the cups, and softly tacked down here and there; hey presto, two little brassicas (cauliflowers). From the scraps and a button I made another little cauliflower to fasten between them.
Both bras were entered into the bra challenge for the Christmas meeting of my quilter’s group, and will be entered into our exhibition planned for 17th to 19th April 2015.

I know its silly. It’s just a bit of fun, but I really enjoyed coming up with these ideas for words containing the letters BRA, and interpreting them in fabric, and bras. I don’t know who won the challenge, not that it matters. It’s not about winning, its about taking up the challenge.

If you happen to be in the North west of England this April do please try and visit our exhibition, you’ll find us on the A6 at Bilsborrow just North of Preston; in Bilsborrow Village hall. All welcome, see you there.

My lost fabric materialised too late.

a number of lost treasures which had fallen down the back, a few socks, a scarf, and my precious stash of special fabric. So that was an unexpected piece of good fortune.

The fabric which I had been seeking for months, the fabric I wanted to use to make a quilt for a good friend of mine, it turned up the moment I gave up seeking it. Isn’t it always the way? A cupboard which usually stands at the bottom of the stairs, and holds that part of my stash which I’m not planning to use any time soon, needed to be moved.

We had invited my parents to join us for Christmas dinner which meant the dining table needed to moved to the dining room from the sitting room where it normally lives ( long story, don’t ask), and the two arm chairs which normally live in the dining room, had to move to the sitting room.  The Christmas tree which would normally be put up in the dining room, would not fit in there this Christmas, so we decided to set it up in the hall; the only place it would fit was the spot where the cupboard was standing.

The cupboard clearly had not been moved for some time, and once moved there were a number of lost treasures which had fallen down the back, a few socks, a scarf, and my precious stash of special fabric. So that was an unexpected piece of good fortune.  ( Note to self, clean behind furniture more often.)

Turned up at last
Turned up at last

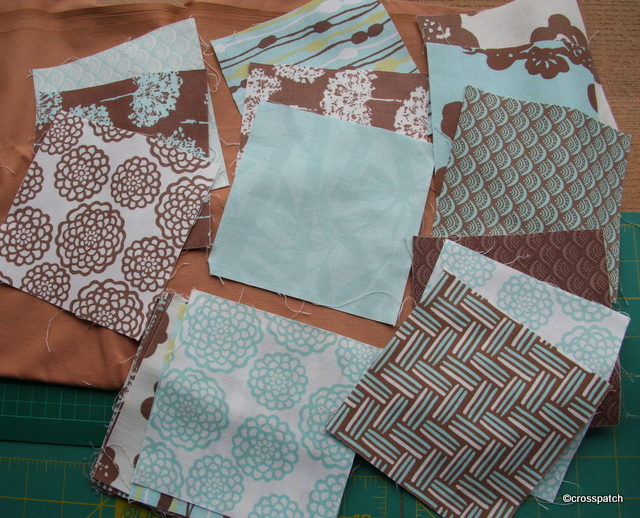
This is a charm pack of squares, which I need to put together with another bought fabric to tie them all together, and an accent colour to brighten them up a bit, I originally thought of using the terracotta fabric I’ve placed them on but it isn’t right, it just isn’t looking good, so I might see if I can find a mushroomy grey beige for sashing, and a guacamole or mushy pea green for the accent.

Lonely Planet have let the secret out

In autumn, the trees are laden with purple fruits and roadside stalls appear advertising damsons for sale.

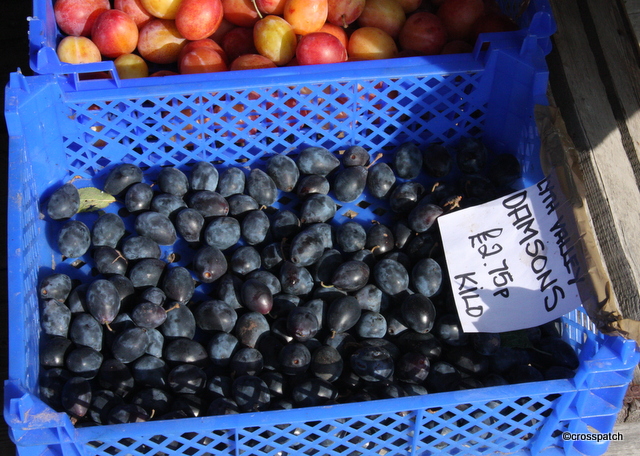
The last week in September I saw damsons for sale in my local Supermarket but at extortionate price, £4.99 a kilo, I ask you? As with my previous hedgerow makes it’s not the right thing simply to buy my ingredients in the sterile environment of a supermarket, I want to know where they were picked, to pick my own if I can. I wanted to make some damson gin for Christmas and perhaps some damson wine too, so I persuaded my Dearest that we needed to take a road trip up to the Lyth Valley over the County boundary in Cumbria.

The Lyth Valley
The Lyth Valley

The Lyth Valley has made the Lonely Planet beautiful world list. The Lonely Planet has published a new book to showcase beauty from across the globe,they describe the valley thus: “The unspoilt Lyth Valley is tucked in a hidden corner of Cumbria, where trees are laden with fruit and rolling hills are the most magnificent green.”
damsons picked locally

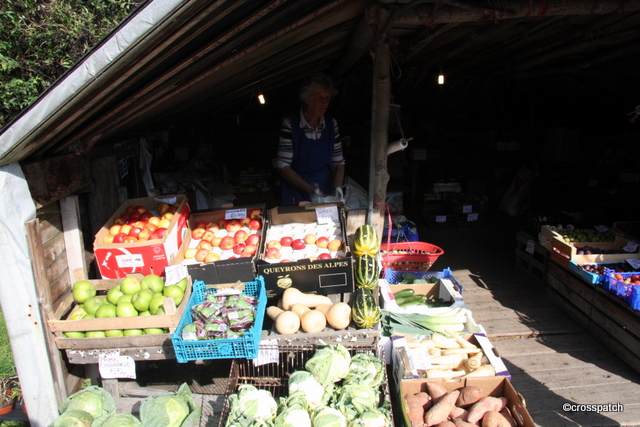
This hidden corner of Cumbria is famed for its damsons. In autumn, the trees are laden with purple fruits and roadside stalls appear advertising damsons for sale. That’s where we were headed; a stall we often pass and which I am always happy to see still trading. Up close it’s just a shack, but the produce on sale is good fresh locally grown goods.
local fruit  and veg stall
local fruit and veg stall

We got the last of her damsons ripe to the point of no return. She advised me to use them up immediately, so I did, a brew of wine and a jar of damsons steeping in gin were put to bed that very evening. It may have cost me more to drive up to the Lyth Valley to buy my damsons but a glorious sunny autumn afternoon in the Lyth Valley is priceless.
wonderful bloom
wonderful bloom

Damsons were originally imported from Damascus for their dye, and given the name ‘damascene’ – later shortened to damson. ( Prunus domestica subsp. insititia, or sometimes Prunus insititia), also archaically called the “damascene”) some say it was introduced by the Crusaders but others claim the Romans brought them, and there were damson stones found in archaeological digs of Roman York.
generous harvest
generous harvest

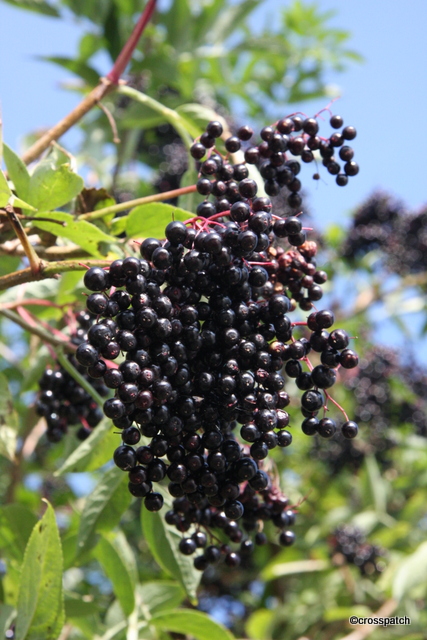
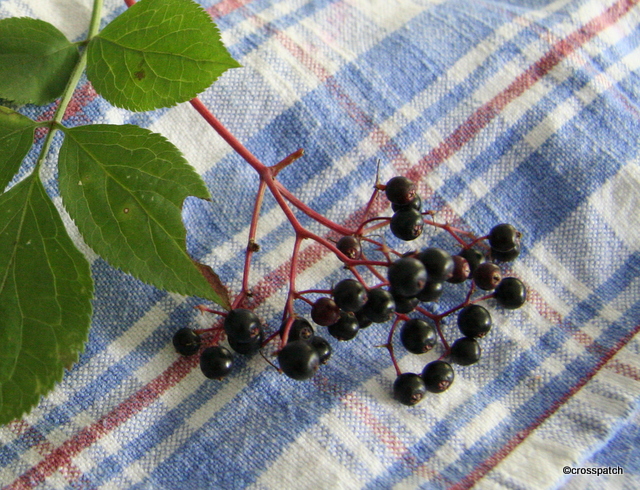
The proprietor, had a wonderful elderberry tree hanging heavily in fruit, she told me many people had asked her what she planned to do with the fruit to which her reply was “absolutely nothing” she said I could help myself… if only I’d known a couple of weeks earlier.

Harvest time

Having developed a yen for hedgerow harvesting; making good things out of my wild gatherings, I have begun another wine brew.

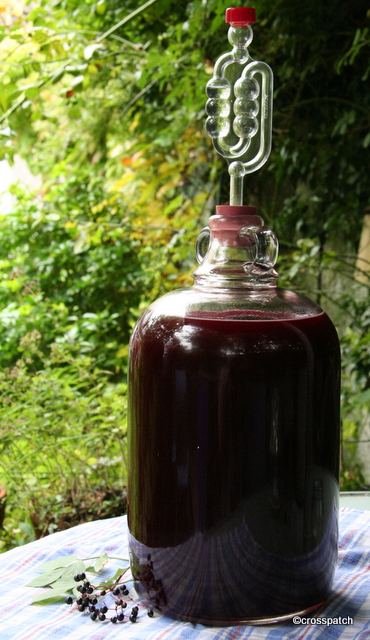
Having developed a yen for hedgerow harvesting; making good things out of my wild gatherings, I have begun another wine brew. A chance conversation with an expert brewer of wine set me off on a mission to brew a perfect red wine. Elderberry, blackberry and something else, a secret other berry, not strictly in season but easily available frozen, in various proportions to give perfume and body and tannins, will it be awful or perfect? It’s nearly ready to bottle now but it won’t be ready to drink till Easter, or maybe I’ll store it till next Christmas.

Picked in my garden, if only there was enough.

The first thing to gather were the elderberries, back to the spot where we picked the flowers in early summer, someone had been there before us so we struggled a little to find them plentiful and ripe, and equally not wanting to strip the trees bare we spent a little longer picking a few here and a few there. Washed and picked from the stems, they were frozen, with the intention that the freezing process would help break down the cell structure of the berries to release juice, colour and tannins.

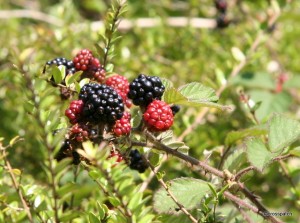
Beautiful juicy Blackberries

Next were the blackberries, these took two days to pick, we went out to pick and were rained off, being a hardy Northern girl a little rain does not bother me, this was torrential rain, coming down like stair rods, the kind of rain which batters your head, runs through your hair and down your neck; even I admitted defeat.

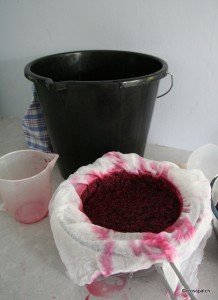
straining the brewing liquid off the fruit.

The next day was bright and breezy, a perfect picking day, we still got scratched and nettled, but the berries were beautifully ripe and juicy.
The berries were briefly boiled to break down and sterilise, then soaked in a bucket with water overnight before the wine yeast, and nutrient were added and mashed for several days. Then the liquid was strained off the berries, the grape concentrate was added, and put in a demijohn to brew. The liquid fermented vigorously for a week but slowed to a gentle tick, and will be racked off the lees this weekend, cleared and bottled.

Another satisfactory brew

Perhaps my Dearest will make me a label for my bottles if I ask him nicely.

To finish those stockings

I hit another snag, the mark didn’t show at all on the green fabric. Work came to a full stop again. Till I worked out that if I put the gold thread on the bottom bobbin and marked the quilting out on the lining, I could achieve the result I wanted, problem solved.

which fabric?

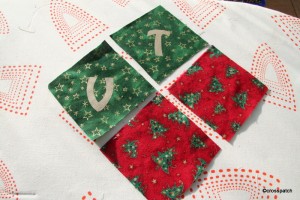
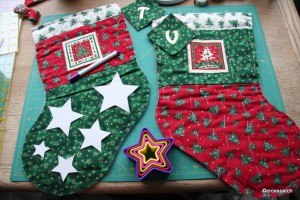
I wanted to make a swing tag for each stocking. A gold initial on a swing tag to hang from each one. I’d originally planned to put the initial on the red material of the stocking but realised it would not work visually; the material is too busy and the initial would not be well defined, so I chose the green fabric.

Font: Hobo

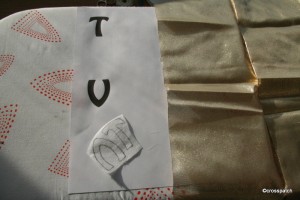
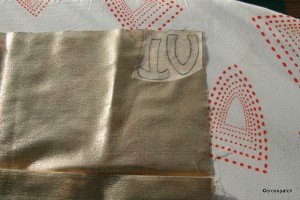
I chose a simple font, this is Hobo, which is chunky and nicely shaped without any difficult to cut out narrow bits which would have made appliqué complicated. I enlarged the font in bold, and traced the initials onto bondaweb (if you are going to do this do it rough side up or print off a reversed initial, or your finished initial will be the wrong way round).

bondaweb on gold tissue

I ironed the bondaweb onto some gold tissue fabric, cut out, peeled off and ironed into the green fabric. If this swing tag was likely to be washed I’d consider some stitching round the edge to keep it in place but I don’t think it will be necessary.

quilting design

To quilt my stockings I was struggling to find a suitable quilting pattern, I’d initially thought of using a holly and berry pattern I already had but it wasn’t right, then looking at the green fabric I realised throughout all the co-ordinating fabrics there were 5 pointed stars. Coincidentally I’d just bought a set of star cookie cutters. I drew round the 5 star cutters onto cardboard, the points were a little rounded which I didn’t want, so I cut them out sharper. I used the smallest star along the top edge of the stocking, the middle size down the sides of the panels, and all 5 size stars on the foot of the stocking.
Next problem! I planned to use an air erasable pen to mark the shapes onto the stocking, but in the bright sunshine streaming into the room, the mark was disappearing before I could stitch the stars. I gave up, and found something else to do till it went dark.
Then moving on to the foot of the stocking, I hit another snag, the mark didn’t show at all on the green fabric. Work came to a full stop again. Till I worked out that if I put the gold thread on the bottom bobbin and marked the quilting out on the lining, I could achieve the result I wanted, problem solved.