What do you do when a planned week of leave is promised cold, wet weather? I always have a wet weather plan. I spent calm, quiet mornings sewing. As a longstanding member of the Quilters’ Guild of the British Isles I was invited to contribute a block to the Covid Commemorative Quilt; a collaboration between the Quilters’ Guild and Bernina who make very fine sewing machines.
The remit was to “create a block which reflects your thoughts on the pandemic and the recovery from it… commemorate a loved one lost…the NHS…a key worker … (or) just be a ray of optimism as we emerge”
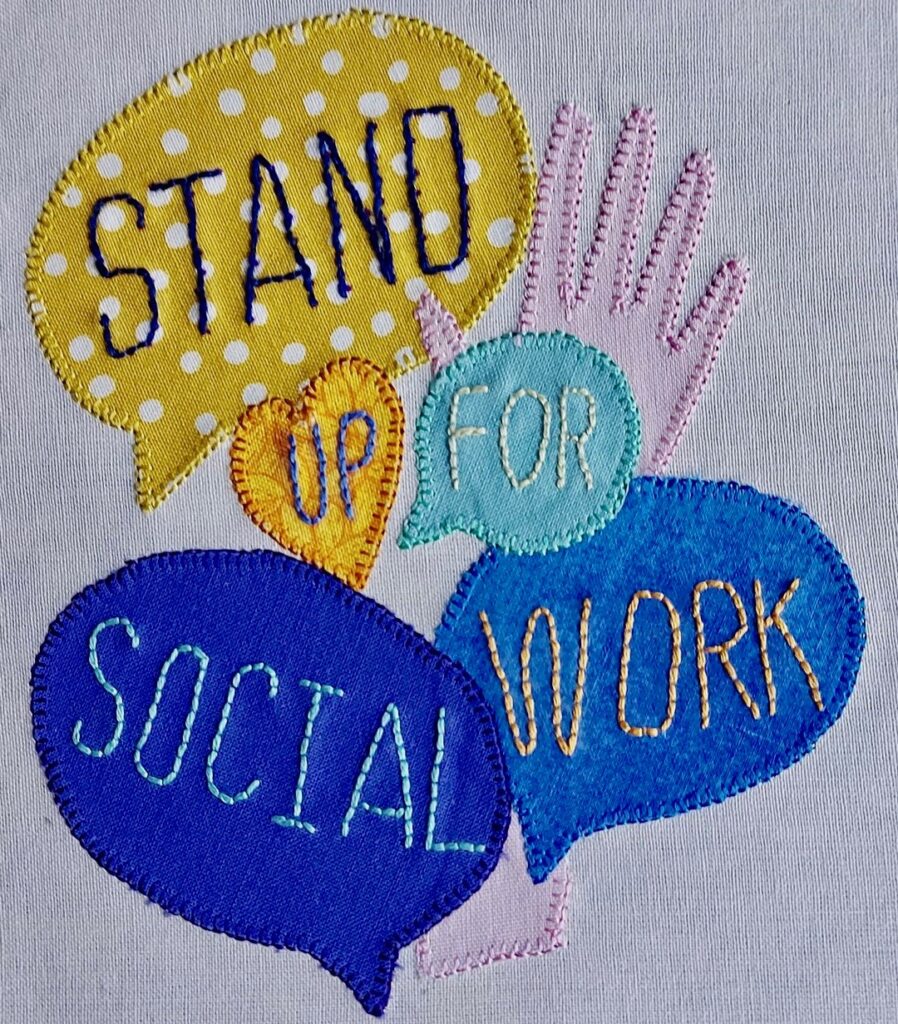
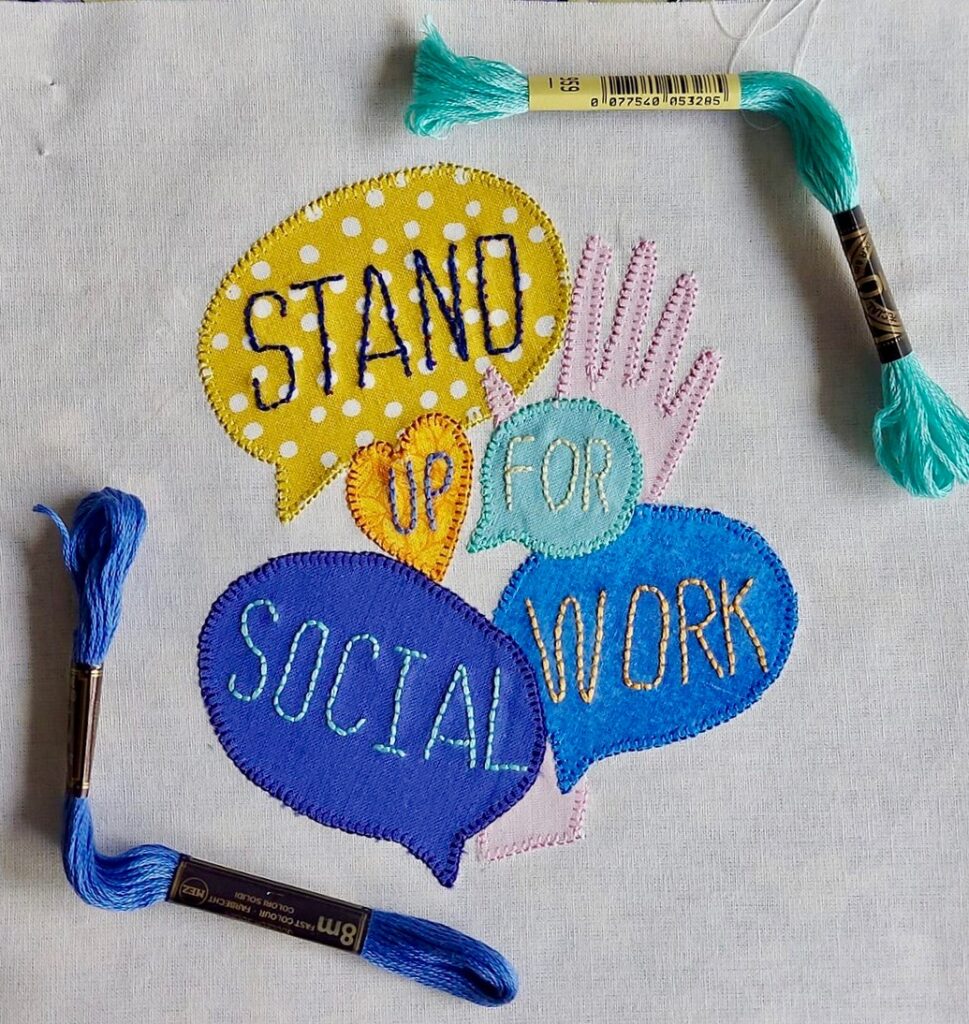
Finished, ready to be posted
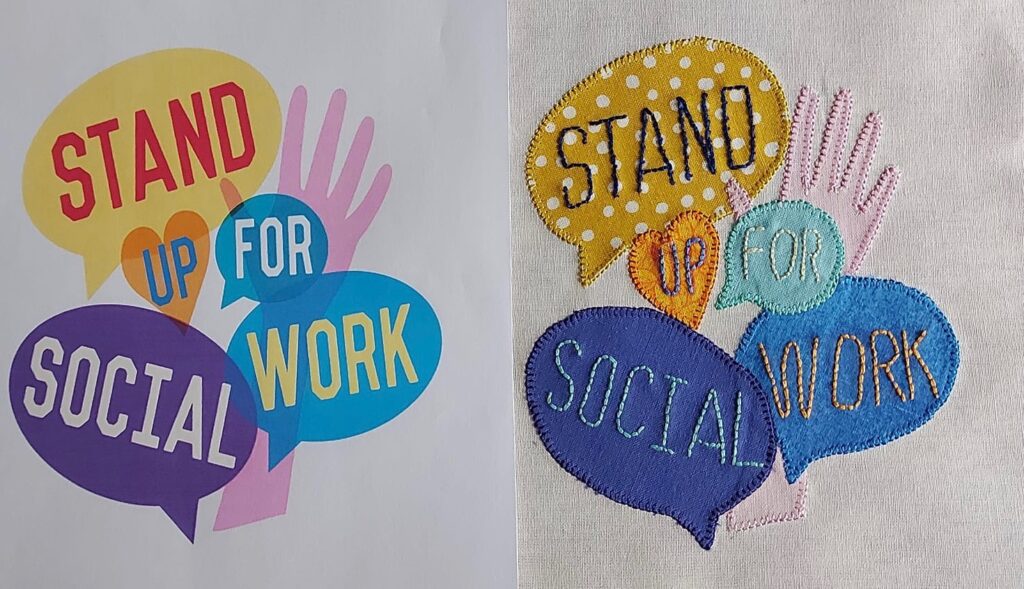
I wanted to give a clear shout out for Social Care, I knew that many contributions would be thanking the NHS, I was going to stand up for the many key workers in Social Care who also went above and beyond during the Pandemic.
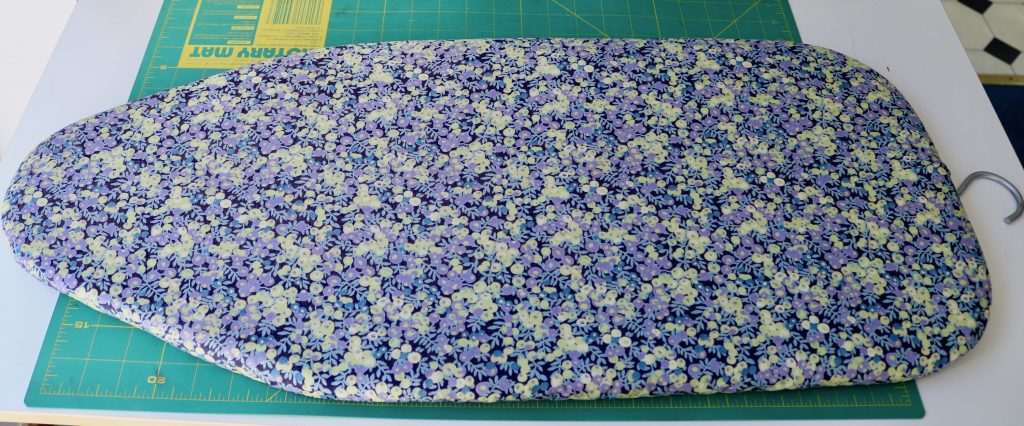
Taking the ‘ Shout out for Social Work’ logo as my design, I resized and printed the logo so that it would fit the piece of calico provided. To ensure all the blocks contributed are the same size, and will go together effortlessly, the organisers very cleverly gave clear and strict instructions. My design must fit inside a 6 inch square centred on the 8 inch calico square provided and must use somewhere in the design a piece of the small 4 inch square of print fabric provided. Spotty mustard print, its not my thing but the idea is that it will tie each block to its neighbours in the finished quilt.

yes it fits!
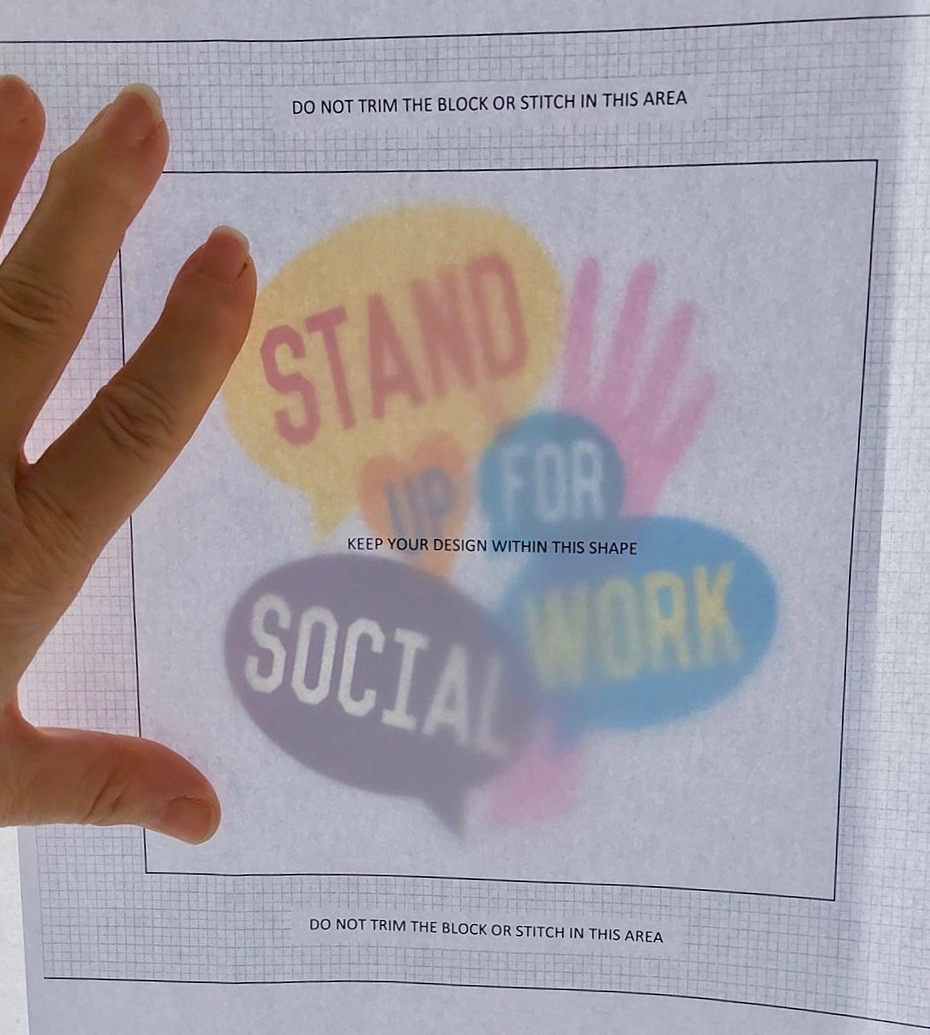
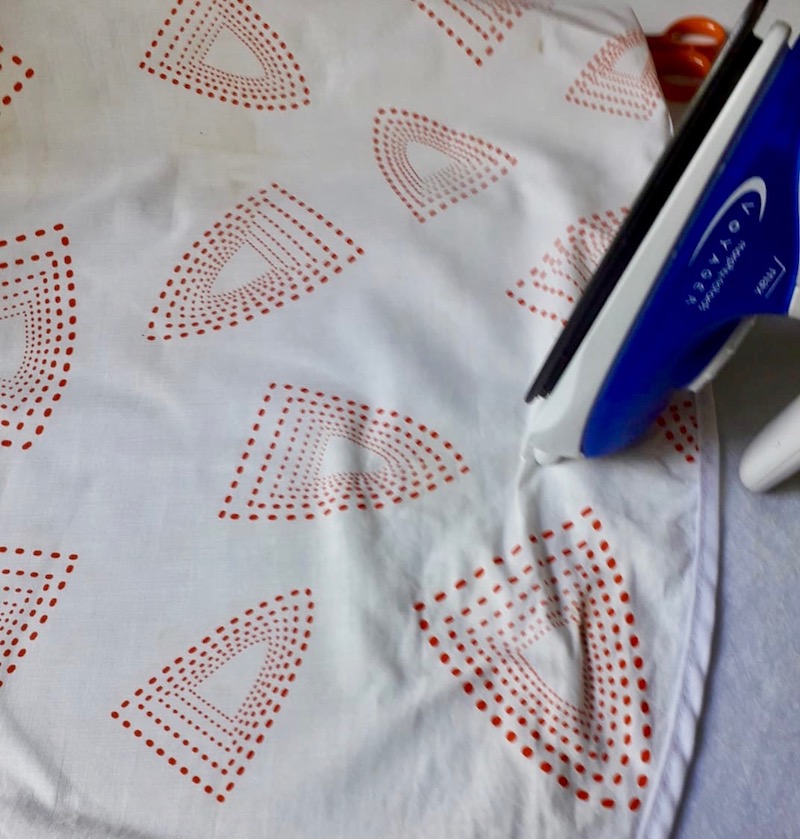
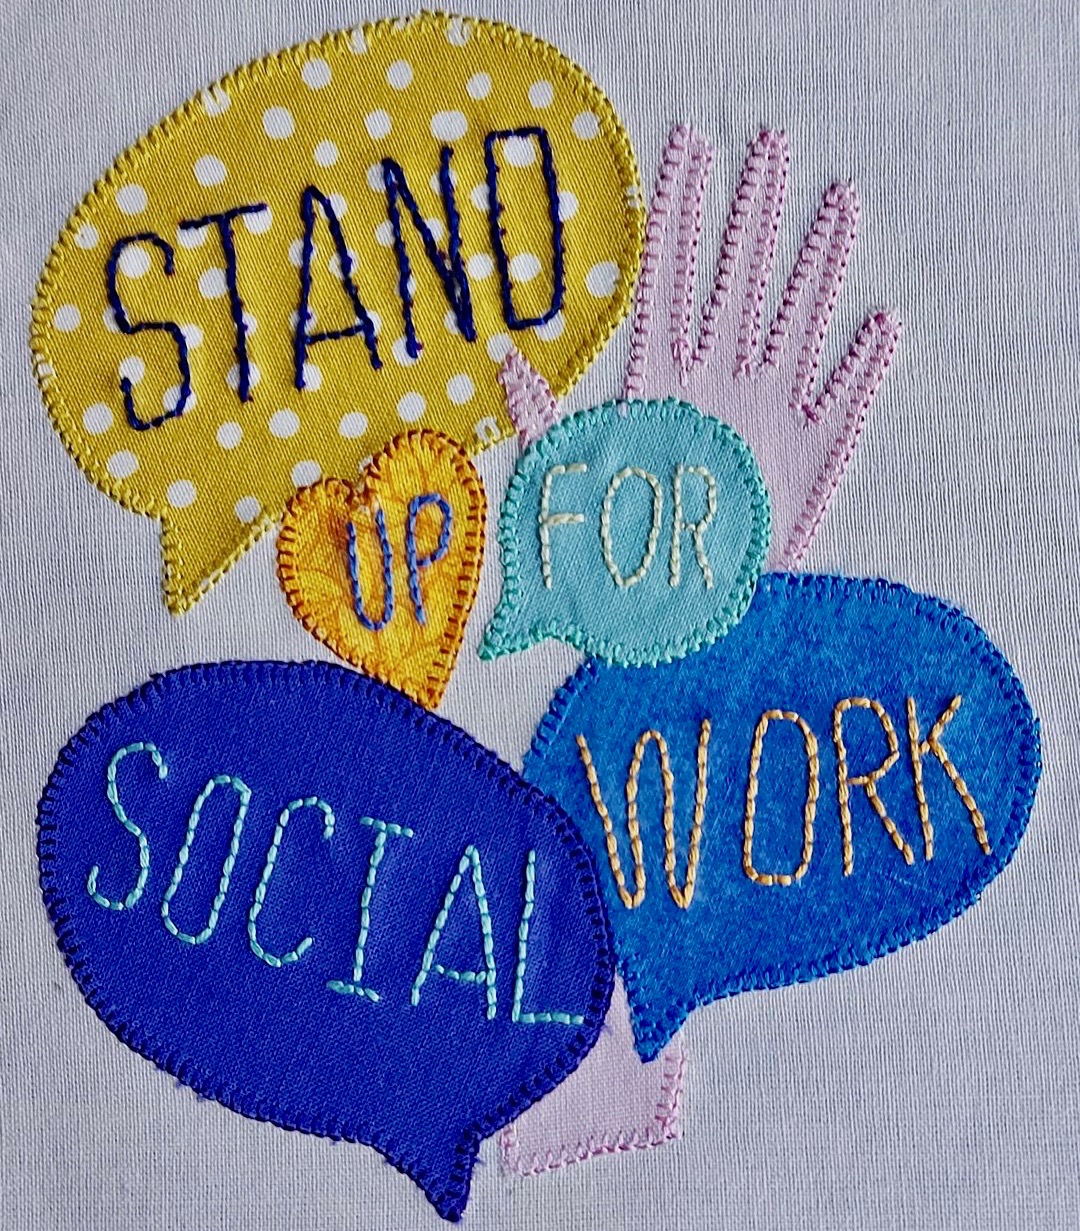
Holding the design and the calico up to the window allowed me to check the size was right, I traced each element of the design onto Bondaweb (it’s a kind of double sided iron on sticky tape for fabric) ; and ironed the elements of the design in place. First mistake, I ironed on the hand first then realised the thumb should be on top of another element. I had to carefully peel it off, just the thumb, and iron it again over the speech bubble.
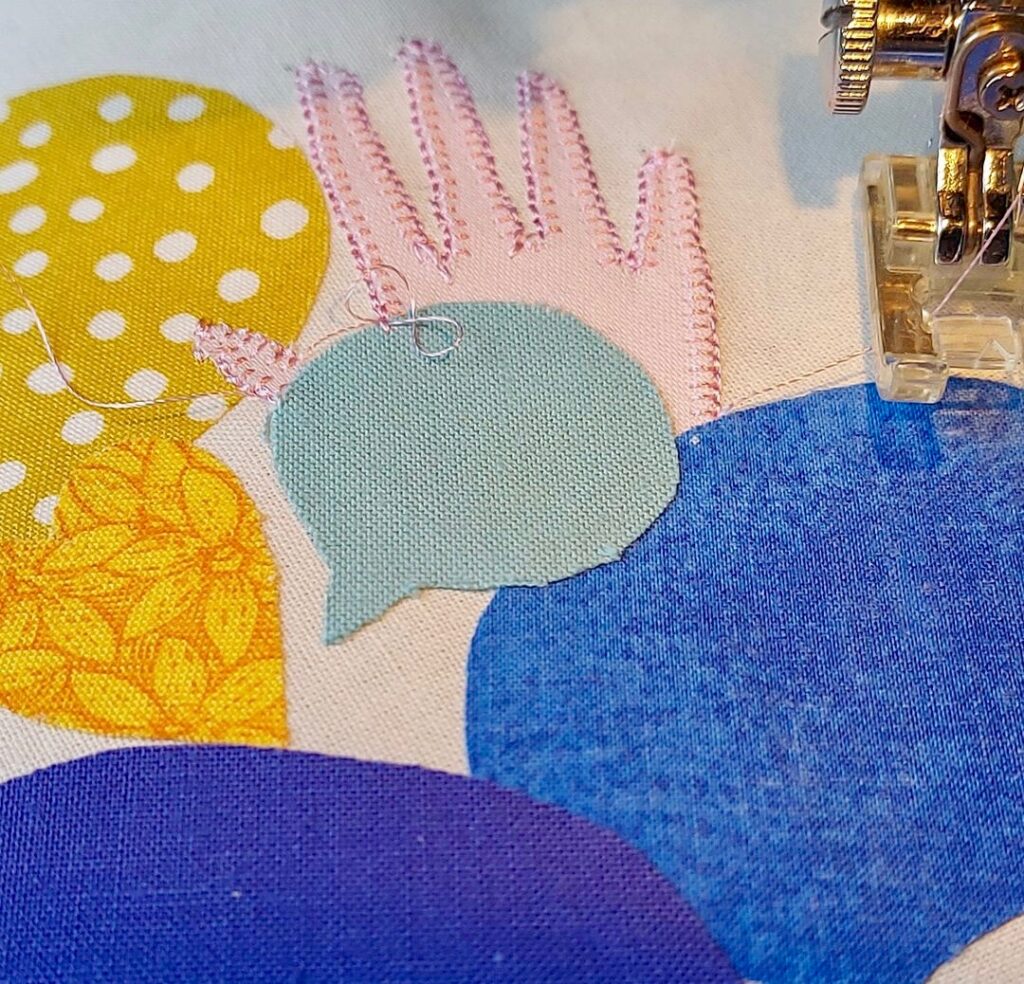
covering up a mistake
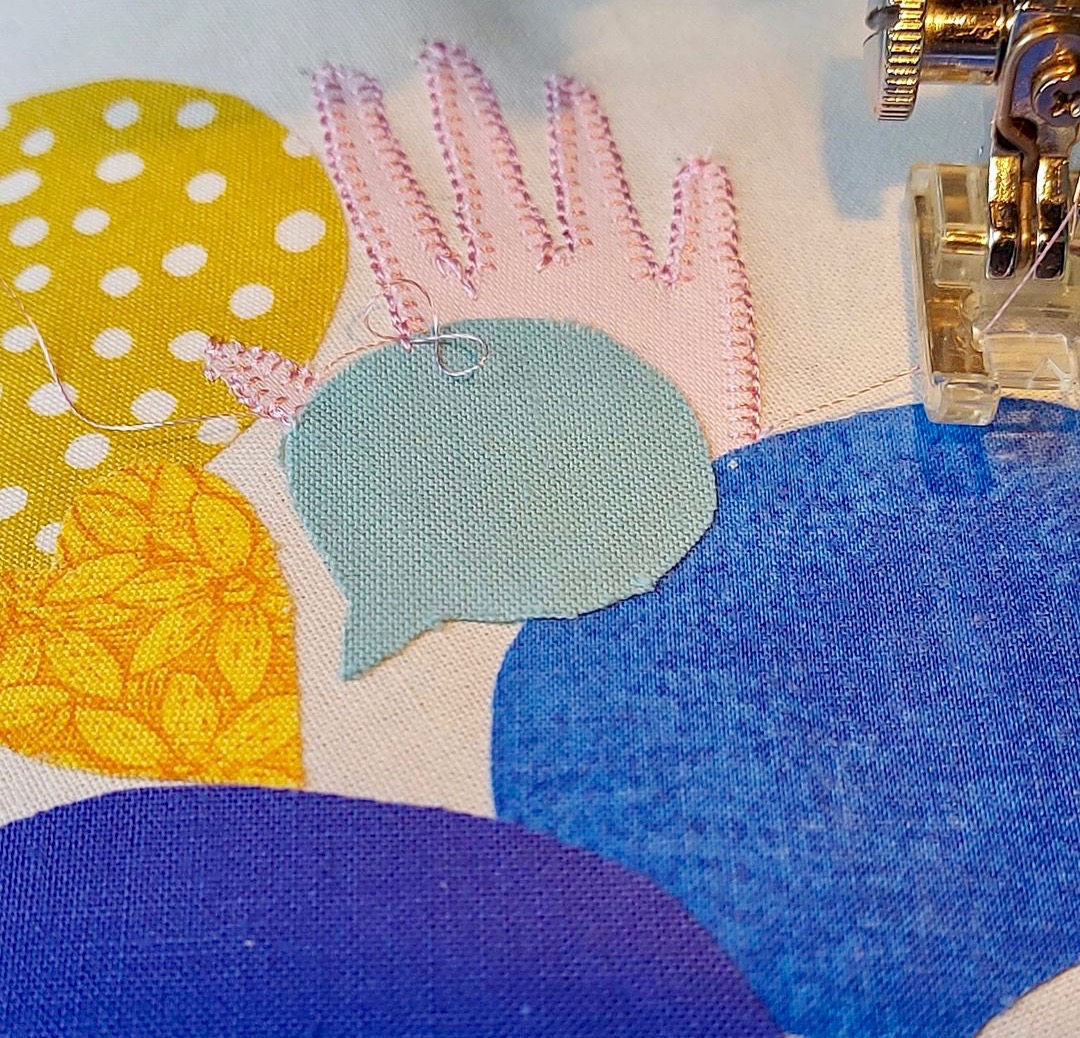
That mistake then decided the next step, as the quilt will be for display rather than use, I thought I might get away with raw edges, but having peeled back the thumb it looked a bit shaggy, so now I needed to embroider the edges to stop them fraying. Thank goodness my sewing machine does a tiny and very neat blanket stitch.
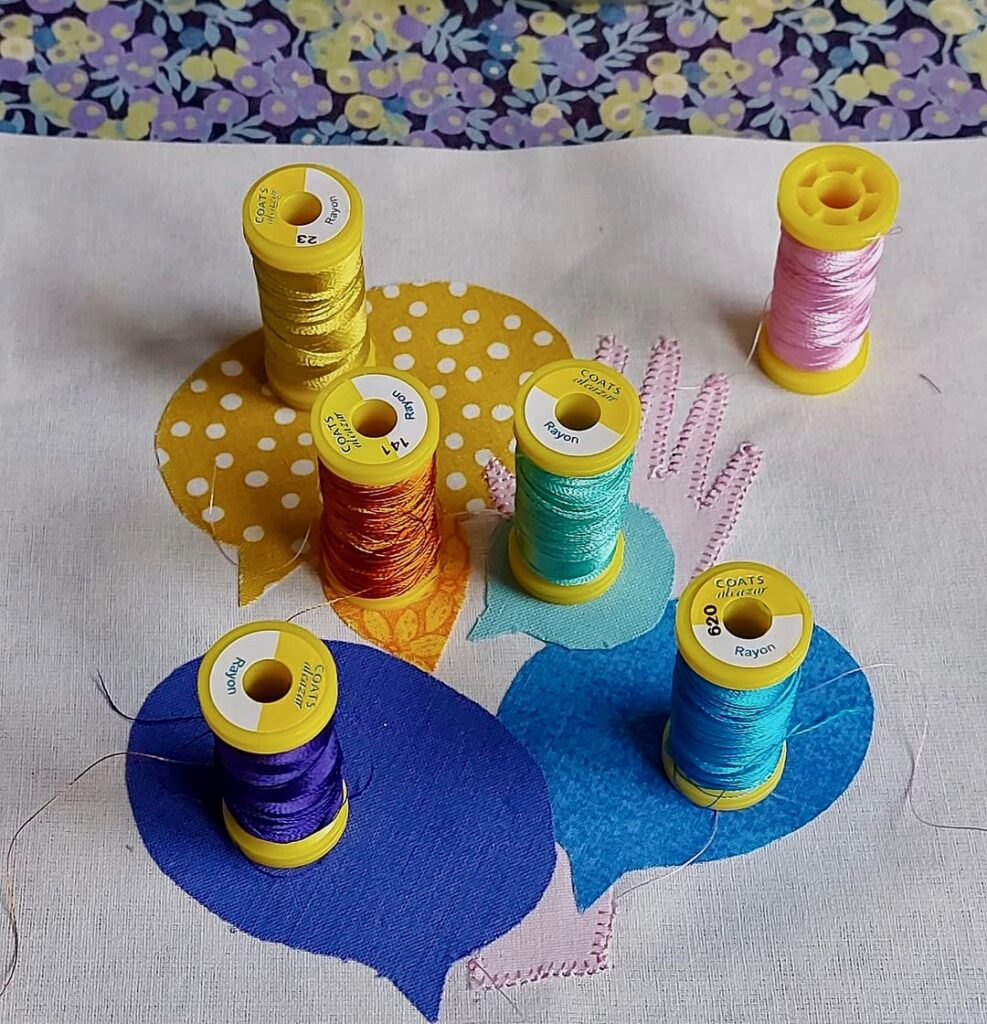
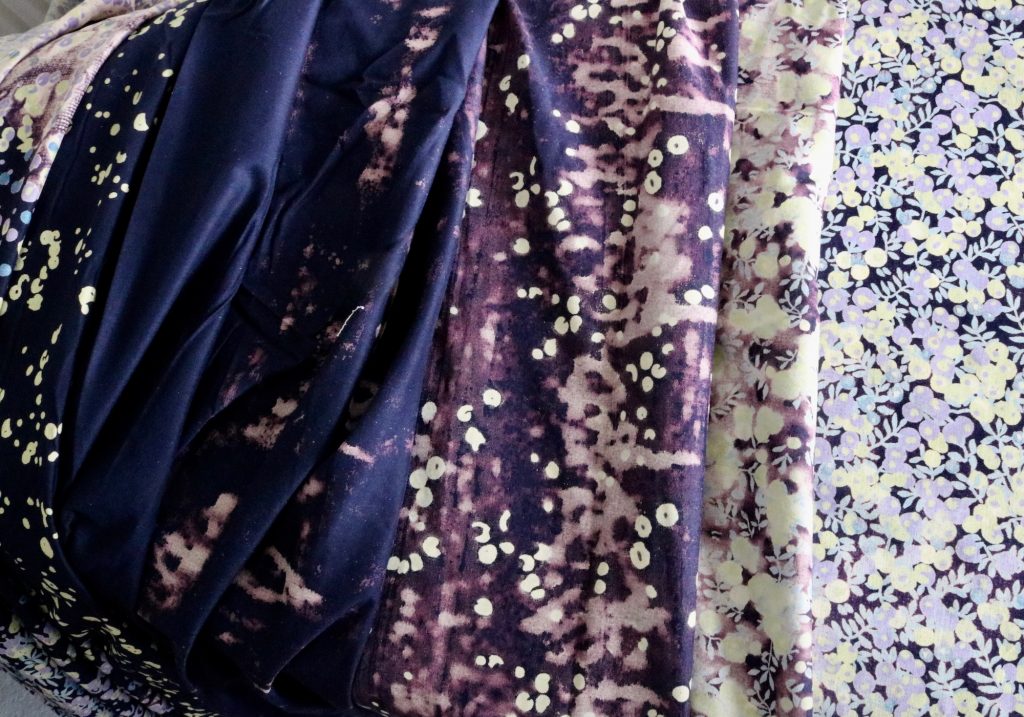
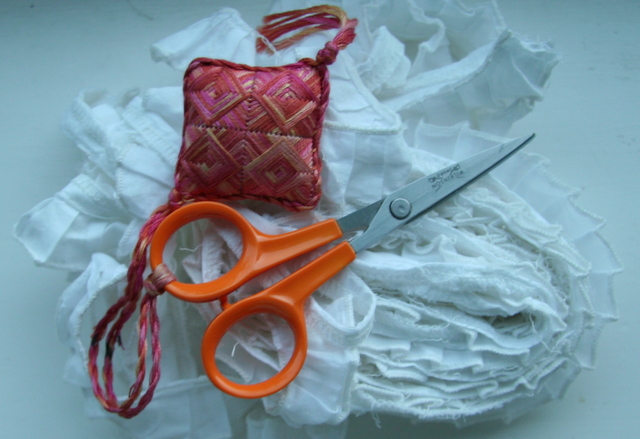
Thrifted threads

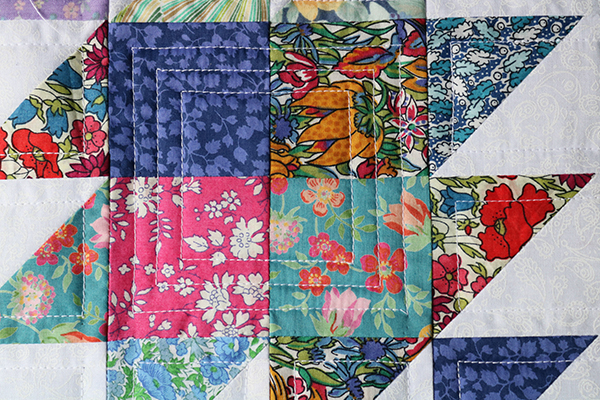
The machine embroidery threads , I have dozens of them, which I bought in a big bag full for £5 in a local charity shop, I do love a bargain. The hand embroidery threads I’ve had tucked away for years, and the fabrics all came from my scrap box, so I didn’t spend anything putting this together, even the bondaweb was borrowed from Mum, she’s 90, and doesn’t sew anymore.
done with more love than skill.

Finally the words are hand stitched, not because I have any skill in that respect, I just wanted to put something of myself into my block, rather than it all being the work of my sewing machine.
I’m Standing Up for Social Work

Each contributor is also encouraged to say a few words about their block, this is my explanation:-
“The NHS received a great deal of well deserved praise for their herculean efforts during the Pandemic, but they weren’t the only group of people who worked tirelessly throughout to keep the country safe.
Being a Social Worker, I want to give a shout out for Social Care, and the people who worked in very difficult circumstances. Some working from their homes, isolated from their supportive community, with fewer and fewer resources to call upon.
Others left their homes and isolated themselves from their own families, to support the most vulnerable.
These were dark days; so for everyone in social care who spent the time of Pandemic trying to keep vulnerable people safe, supported and out of hospital, a heartfelt Thank You. “
Charitable donations are welcomed to the BERNINA fund-raise for NHS Charities Together , you can do so here www.justgiving.com/covid-quilt