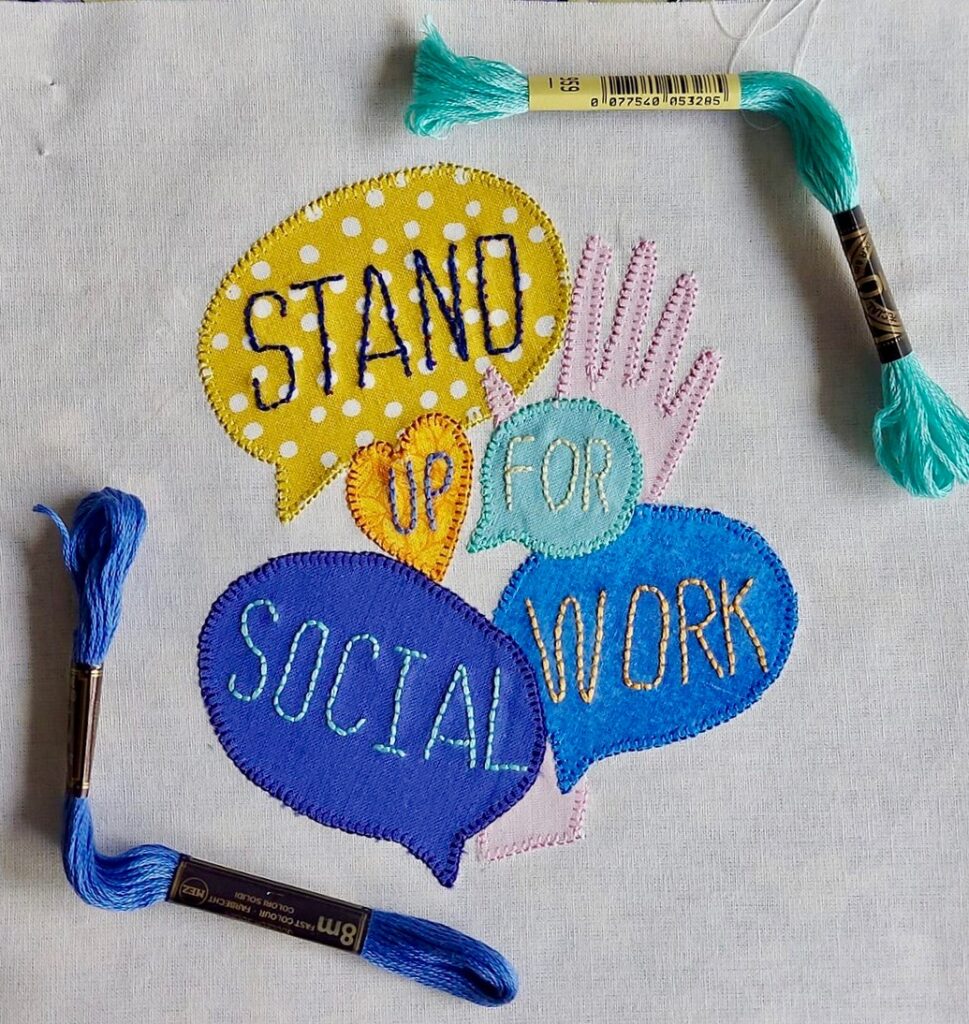
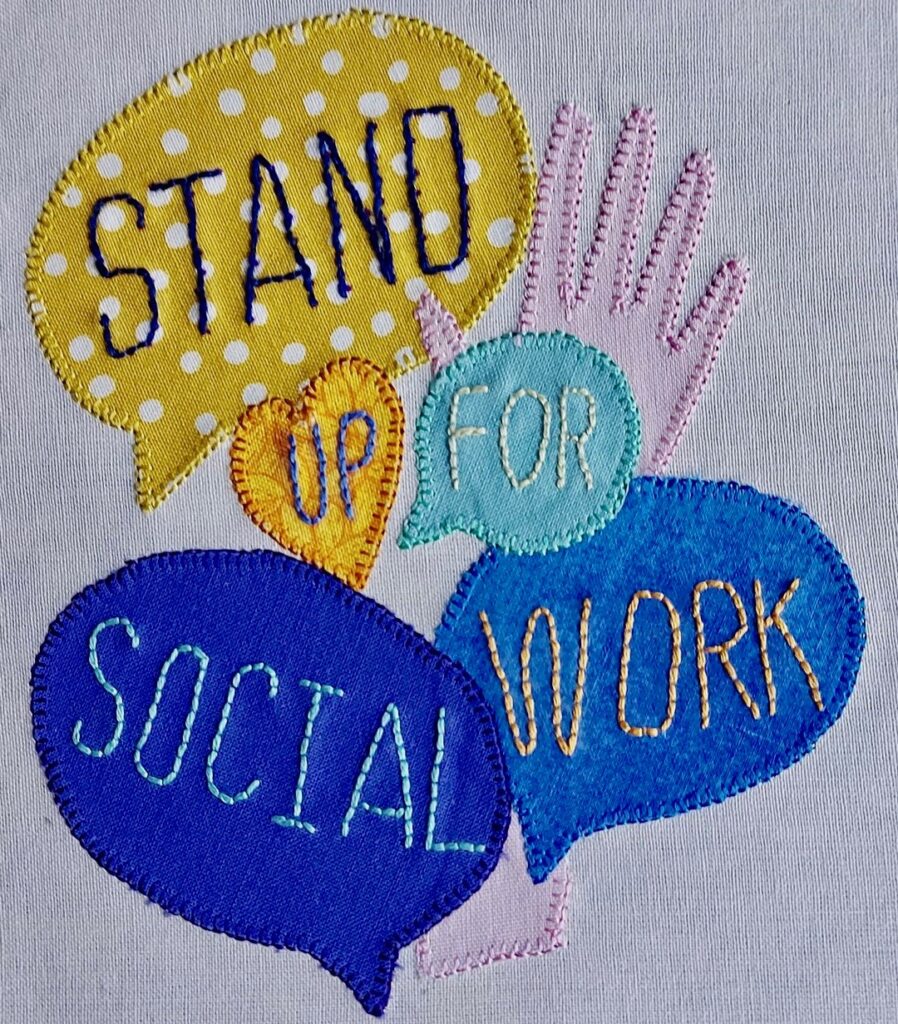
My block for the Covid Commemorative Quilt

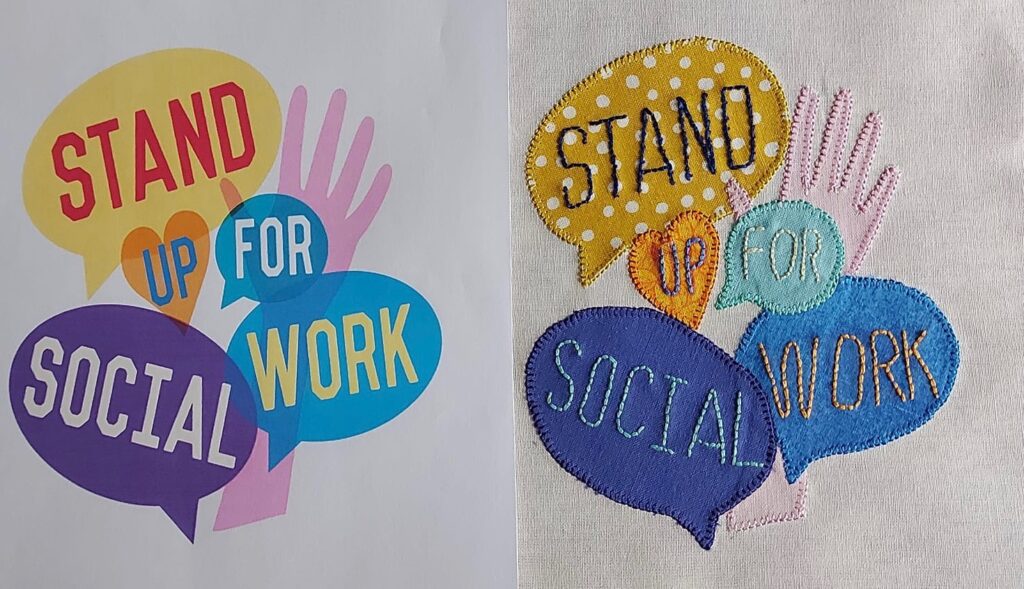
I wanted to give a clear shout out for Social Care, I knew that many contributions would be thanking the NHS, I was going to stand up for the many key workers in Social Care who also went above and beyond during the Pandemic.

What do you do when a planned week of leave is promised cold, wet weather?  I always have a wet weather plan. I spent calm, quiet mornings sewing. As a longstanding member of the Quilters’ Guild of the British Isles I was invited to contribute a block to the Covid Commemorative Quilt; a collaboration between the Quilters’ Guild and Bernina who make very fine sewing machines.

The remit was to “create a block which reflects your thoughts on the pandemic and the recovery from it… commemorate a loved one lost…the NHS…a key worker … (or) just be a ray of optimism as we emerge”

I wanted to give a clear shout out for Social Care, I knew that many contributions would be thanking the NHS, I was going to stand up for the many key workers in Social Care who also went above and beyond during the Pandemic.

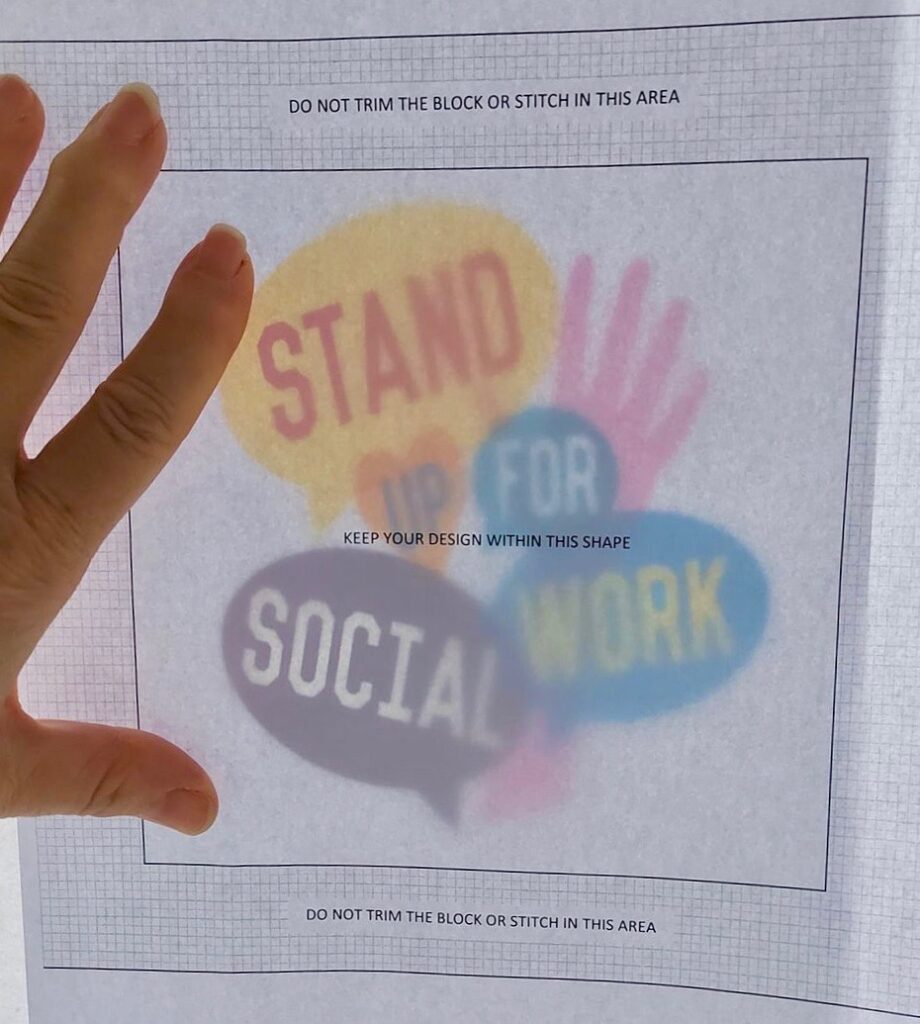
Taking the ‘ Shout out for Social Work’ logo as my design, I resized and printed the logo so that it would fit the piece of calico provided. To ensure all the blocks contributed are the same size, and will go together effortlessly, the organisers very cleverly gave clear and strict instructions. My design must fit inside a 6 inch square centred on the 8 inch calico square provided and must use somewhere in the design a piece of the small 4 inch square of print fabric provided.  Spotty mustard print, its not my thing but the idea is that it will tie each block to its neighbours in the finished quilt.  

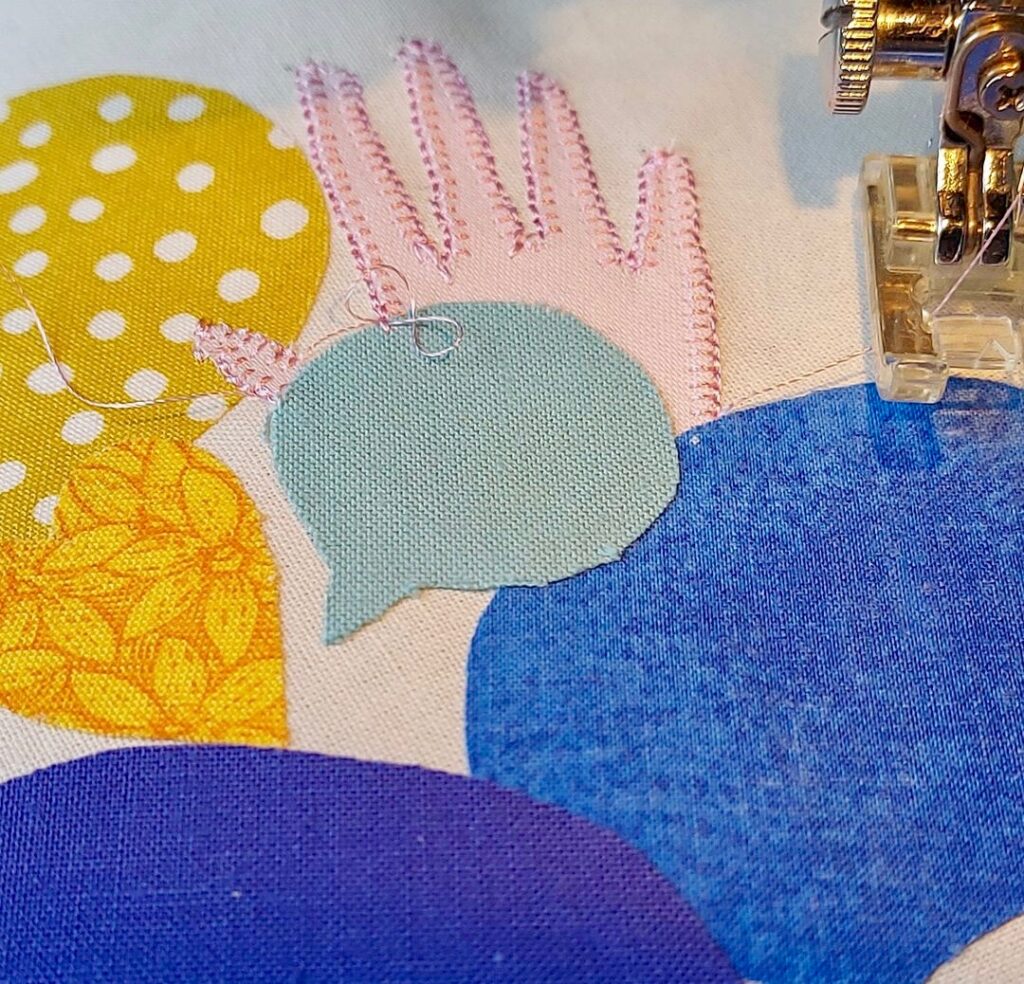
Holding the design and the calico up to the window allowed me to check the size was right,  I traced each element of the design onto Bondaweb (it’s a kind of double sided iron on sticky tape for fabric) ; and ironed the elements of the design in place. First mistake, I ironed on the hand first then realised the thumb should be on top of another element. I had to carefully peel it off, just the thumb, and iron it again over the speech bubble.

 That mistake then decided the next step, as the quilt will be for display rather than use, I thought I might get away with raw edges, but having peeled back the thumb it looked a bit shaggy, so now I needed to embroider the edges to stop them fraying.  Thank goodness my sewing machine does a tiny and very neat blanket stitch.

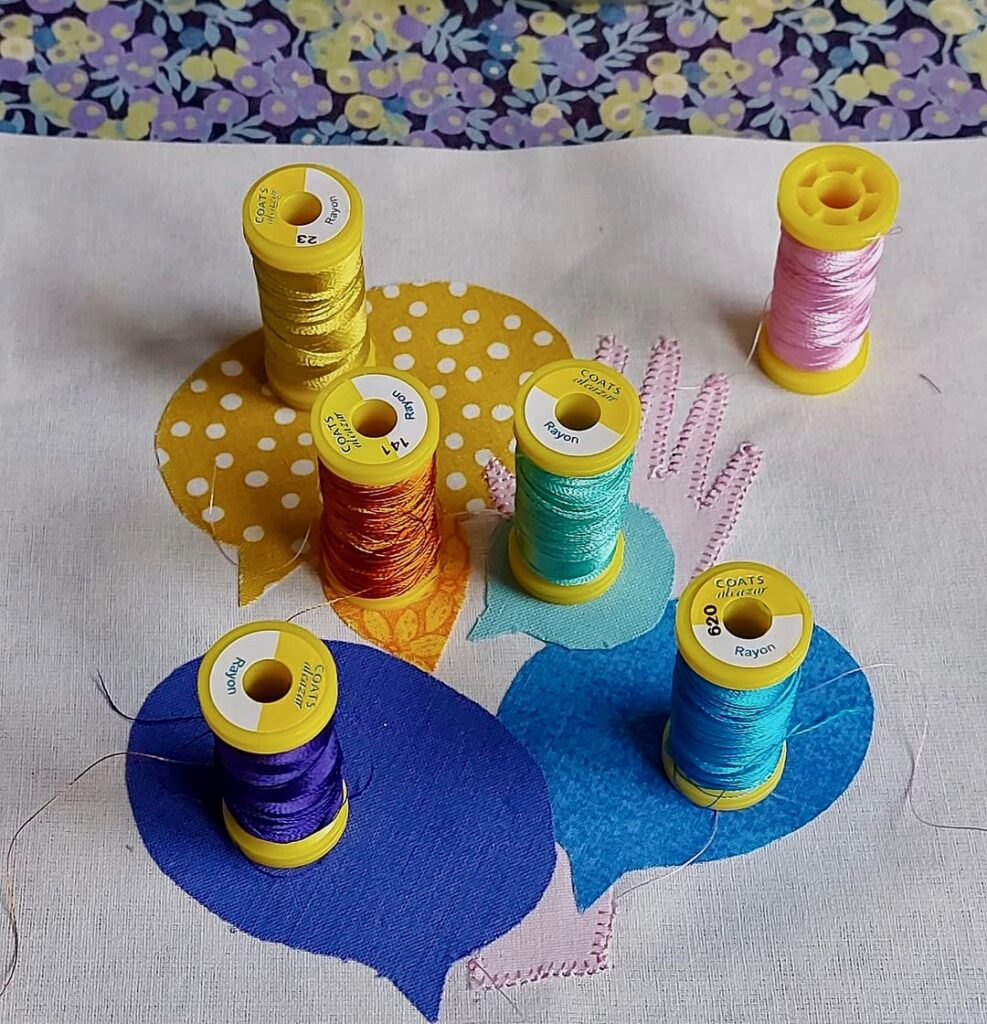
The machine embroidery threads , I have dozens of them, which I bought in a big bag full for £5 in a local charity shop, I do love a bargain. The hand embroidery threads I’ve had tucked away for years, and the fabrics all came from my scrap box, so I didn’t spend anything putting this together, even the bondaweb was borrowed from Mum, she’s 90, and doesn’t sew anymore.

Finally the words are hand stitched, not because I have any skill in that respect, I just wanted to put something of myself into my block, rather than it all being the work of my sewing machine.

Each contributor is also encouraged to say a few words about their block, this is my explanation:-

The NHS received a great deal of well deserved praise for their herculean efforts during the Pandemic, but they weren’t the only group of people who worked tirelessly throughout to keep the country safe.

Being a Social Worker, I want to give a shout out for Social Care, and the people who worked in very difficult circumstances. Some working from their homes, isolated from their supportive community, with fewer and fewer resources to call upon.

 Others left their homes and isolated themselves from their own families, to support the most vulnerable.

These were dark days; so for everyone in social care who spent the time of Pandemic trying to keep vulnerable people safe, supported and out of hospital, a heartfelt Thank You. “

Charitable donations are welcomed to the BERNINA fund-raise for NHS Charities Together , you can do so here www.justgiving.com/covid-quilt

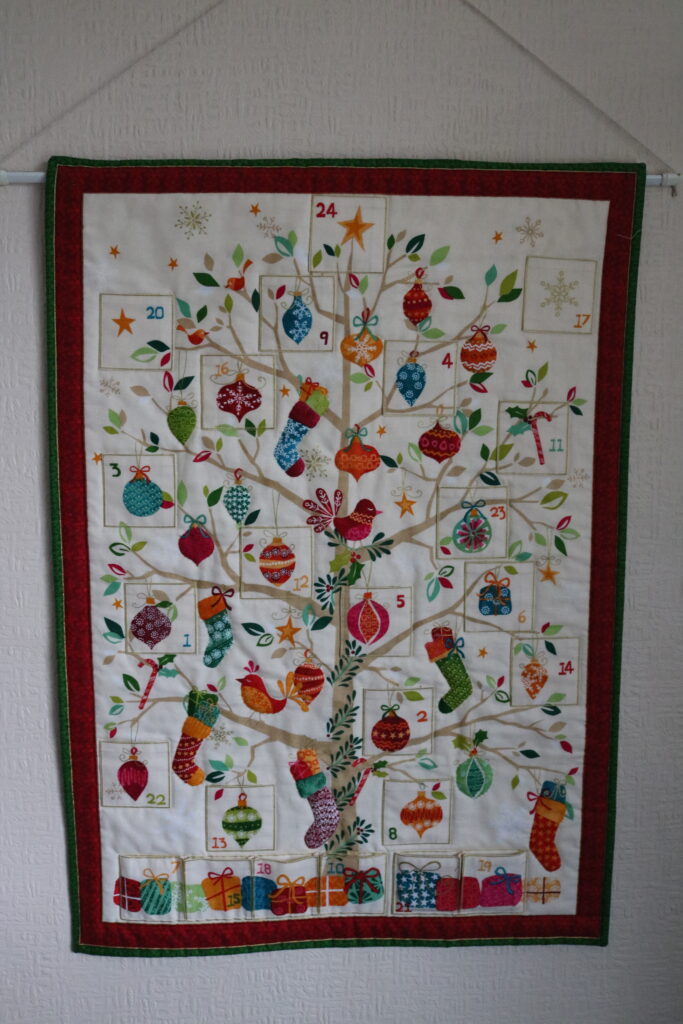
Advent Calendar

Traditionally, (I’m talking about my childhood in the 1960’s), Advent Calendars were a just paper, or card, the little windows had no chocolate or treats behind them, only a little picture and I remember the excitement of seeing what might be behind the little door each day.

I finished this in January of this year; I’d found the Advent Calendar panel, bought years ago, in amongst some Christmas fabrics when I was looking for something else.  I decided that although I’d not get it done for Christmas, Advent was almost half way through, I’d start and plan to finish it, a stitch in time, so that I could hang it for Advent 2021.

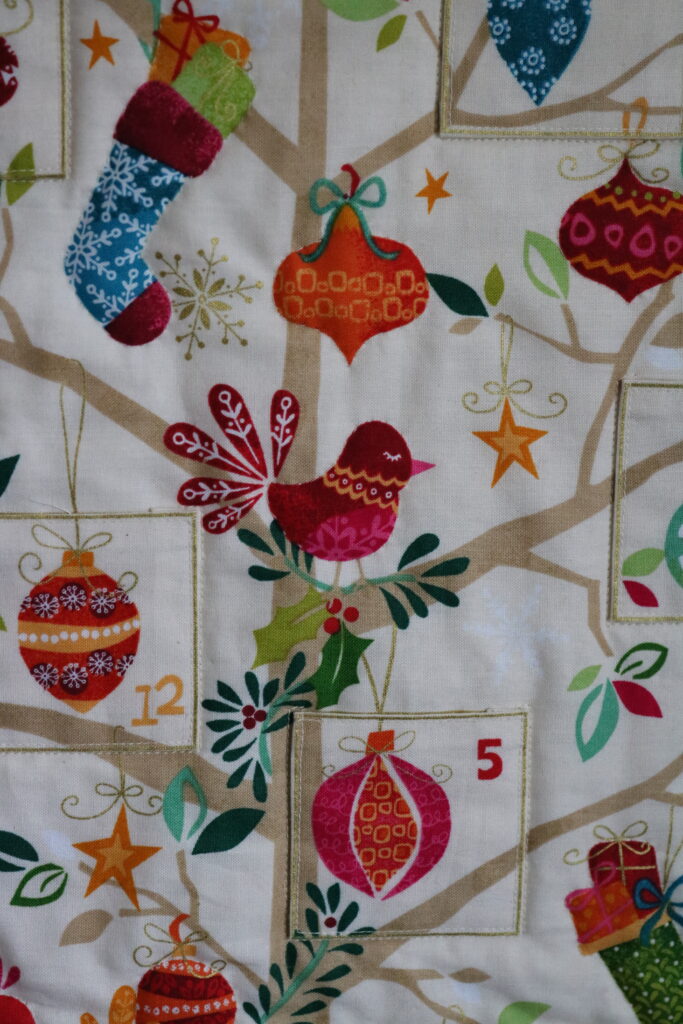
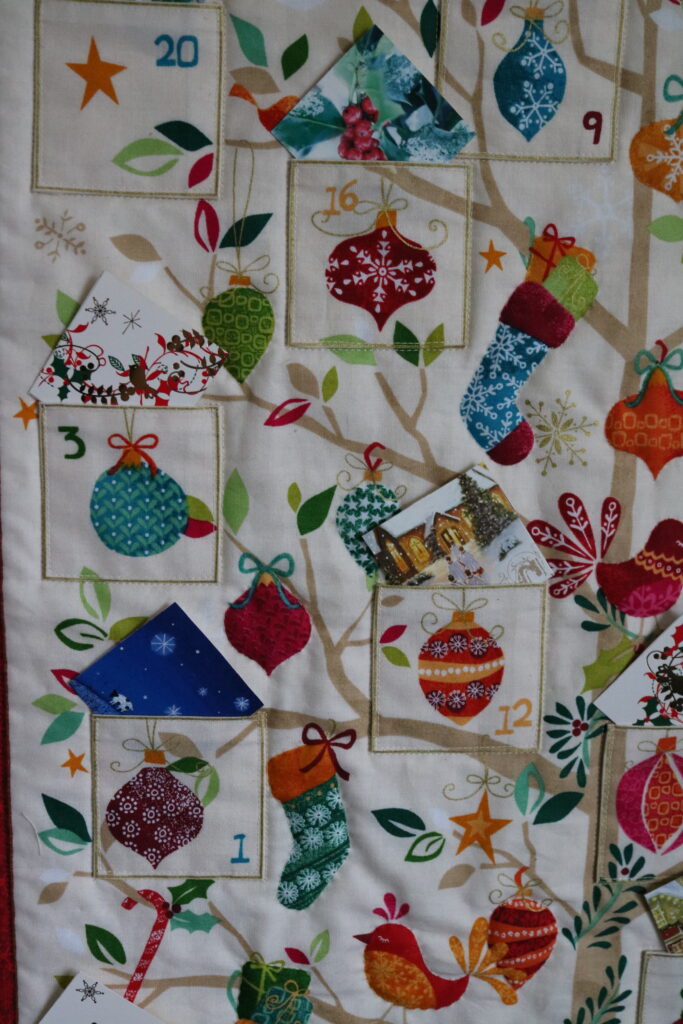
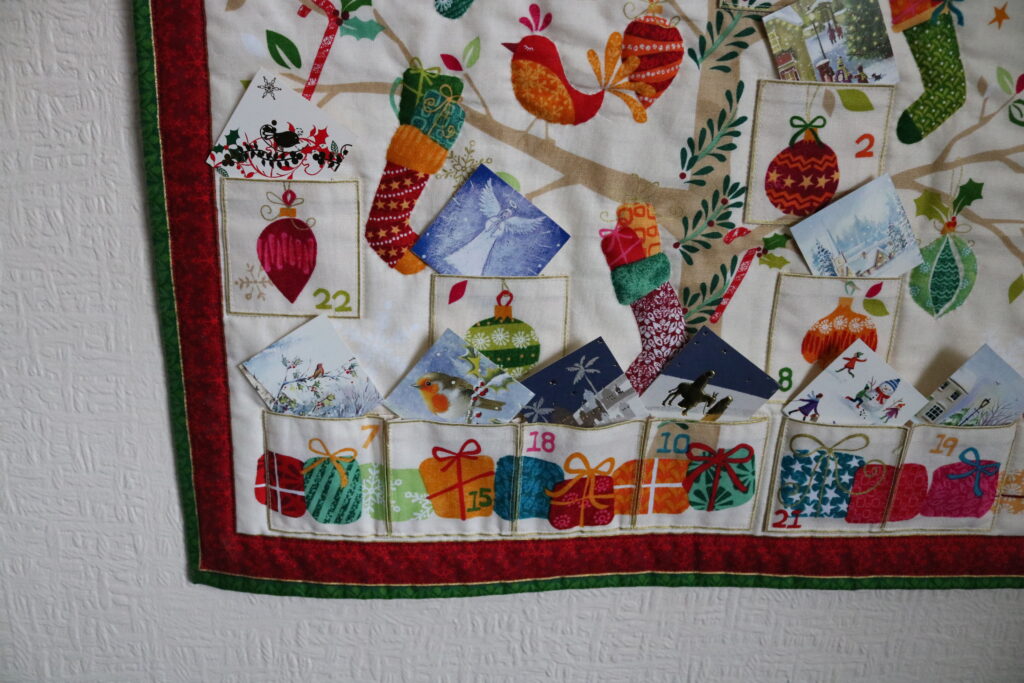
It’s just a panel, which has the printed background and a strip of pockets, which are to be cut out and applied to the same image on the background fabric.

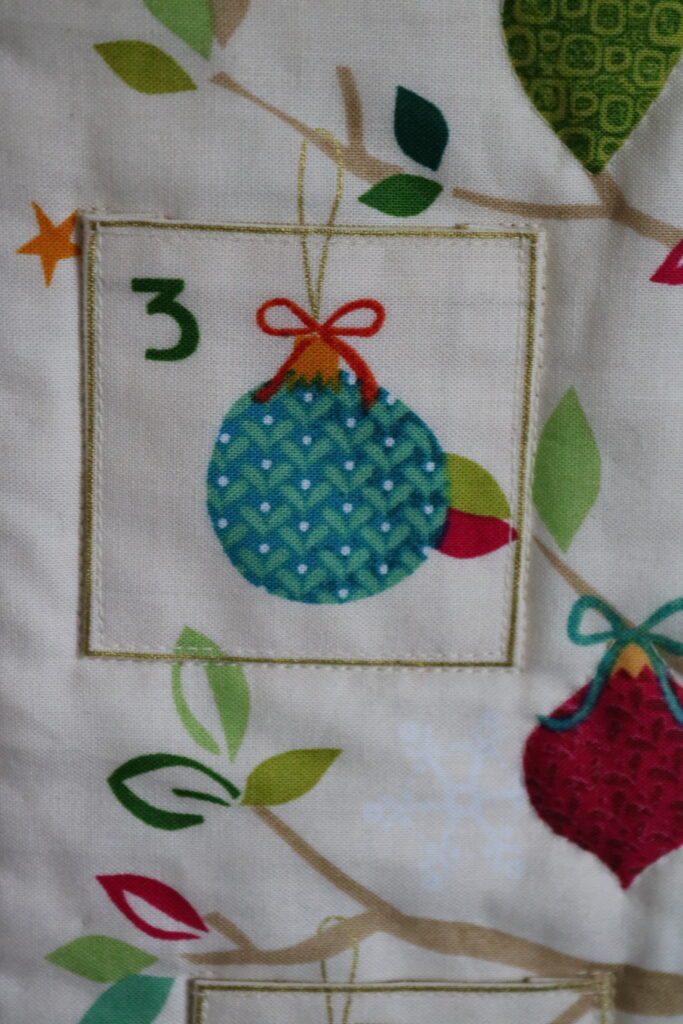
 Each pocket was cut, the raw edges turned and I tacked the edge down so that I could see the slim gold line at the edge. The plan was to topstitch the pockets onto the backing with a gold thread, but I didn’t like the effect, so I unpicked the ones I’d done and topstitched in a matching thread. 

 I also considered topstitching in various thread colours to match the colour of the pocket numbers, but that was beginning to look messy, that didn’t work either.

Once the pockets were sewn on, there needed to be more quilting to reduce the puffiness where the pocket were not placed.  I just picked out motifs in the same matching cream thread. Mostly these were hand stitched, because they were fiddly and in some cases too near the pockets for the machine foot to sew without pushing and pulling the fabric.

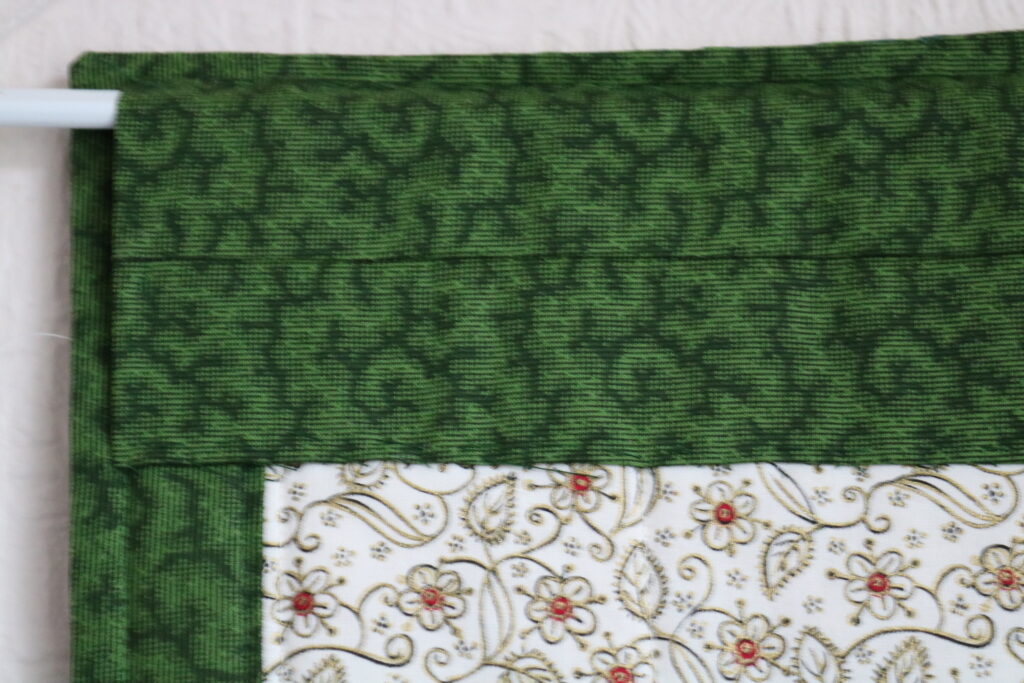
 I was determined not to buy any more fabric for this Advent Calendar project.  Seriously I have enough fabric to sink a ship. So I found a piece of ivory fabric with a gold and black motif in the Christmas box, which was not quite wide enough, and added green borders to make it fit the back. 

 The reason I chose green, (I’d rather have used red) was so that the edge at the front would match the edge on the back and any wobbliness or misalignment would be less apparent.  It worked and I’m happy with it. There was also enough of the green to make a hanging sleeve.

So the Advent Calendar was finished… well almost.  Traditionally, (I’m talking about my childhood in the 1960’s), Advent Calendars were a just paper, or card, the little windows had no chocolate or treats behind them, only a little picture and I remember the excitement of seeing what might be behind the little door each day.

 I didn’t want to just drop a sweet or wrapped chocolate in each pocket, I don’t need the calories anyway, and I couldn’t guarantee to have the self -discipline not to go chocolate rustling late at night, nor trust the beloved not to do so either. So what to put in the pockets?

As I took down my Christmas cards at Epiphany I began thinking about those little pictures behind the doors on my childhood Advent Calendars.  Would an image on its own be enough?  I cut a number of cardboard squares, small enough to fit into the pockets, each with a Christmassy image, Robins seem to be well represented, but then I like Robins.

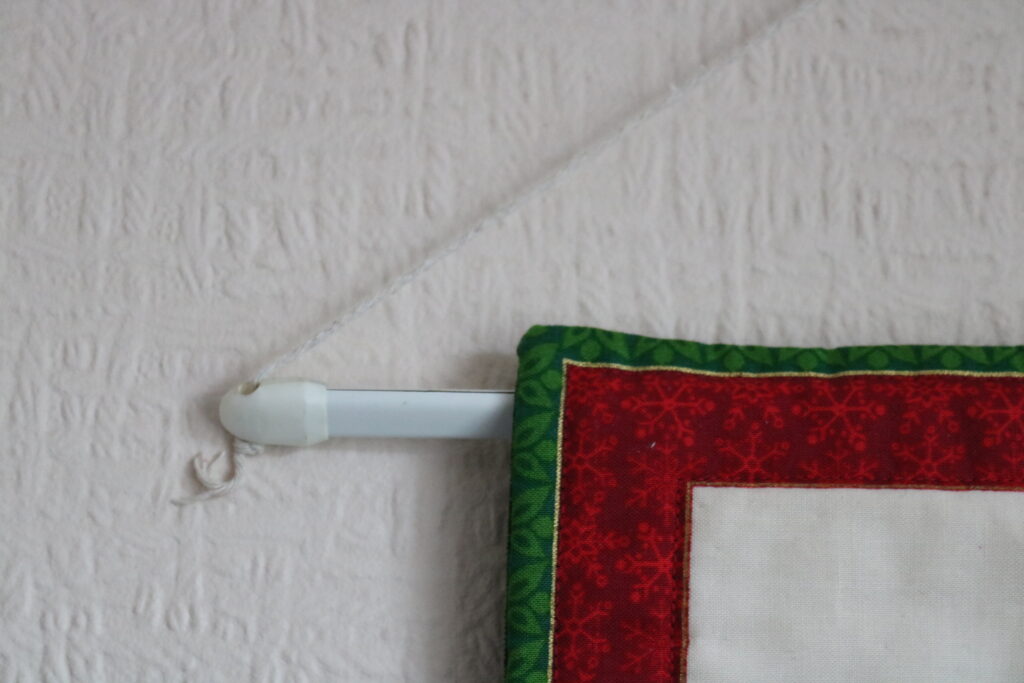
That’s where I left it, the Advent Calendar with a temporary hanging cane and a string to hang it by and the pockets full of little squares of Christmas card.

Last month I rooted out the Advent Calendar from its resting place and began thinking about how it should be finished.  I wanted a wellbeing theme, something positive to think about each day, something maybe to do for my wellbeing.  My Niece has an Advent Calendar, which she made from downloaded materials from Calm Moment you can find it here, (https://www.calmmoment.com/mindfulness/mindful-christmas-advent-calendar/ )

 I printed the 24 wellbeing suggestions from the Calm Moment Advent Calendar cut them approximately square and folded each one diagonally twice, tucking it into the pockets on the Advent Calendar. I also searched Pinterest for Christmassy quotes, printed those very small and glued one to each of my little squares of Christmas card.

 Through Advent I will have a Christmas affirming quote and a wellbeing suggestion for every day and not a calorie in sight.

The only thing is… The hanging arrangements still don’t work for me, I need a metre or so of gold cord, and a stick  (with knobs on,) that I can paint gold., and tie the gold cord to. Inevitably even with my best efforts, it wasn’t ready in time for Advent. Shoot me! I’m still working full time and looking after my old Ma, and we have to keep a sense of proportion.  I’ll go into town on Saturday and buy gold cord, the stick I have, knobs are on order, (wooden beads actually) and all will be complete before Advent is over, honestly!  

Am I a lucky girl?

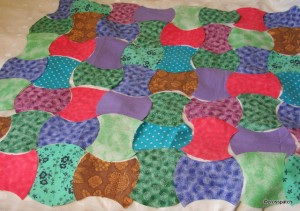
I have pulled a few fabrics from my stash and cut them into apple cores but together they lack a certain something………maybe….. as it’s a scrap quilt I should just throw it all in and let it all hang out, wherever the fabrics fall… if you see what I mean, and pardon my clichés.

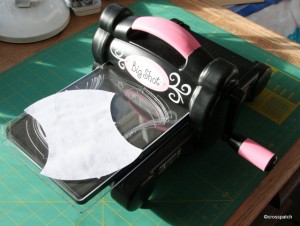
Santa brought me a Sizzix Big Shot, I’d seen apple core quilts on Pinterest and coveted them, so when I discovered how the pieces were cut I coveted the Sizzix machine as well, but I couldn’t justify buying one just to have a go at making a quilt. My Dearest however thought it would make an excellent gift this Christmas. I am delighted with it and have already begun cutting apple cores from my stash.

The Sizzix Big Shot

If you are not familiar with this piece of equipment it’s a die cutter, basically a miniature mangle, which presses dies (a shape cutting blade) onto whatever you want to cut the shape in, paper, card or fabric, mostly used by card makers and other crafty people. I have already worked out that I can use it for appliqué, with bondaweb, and to make other paper crafts as yet not crystalised but bubbling away at the back of my head ( no doubt you’ll be the first to know when I get round to trying out my as yet vague ideas)
I always find myself wondering how other quilters manage to make such well balanced colour coordinated Scrap quilts, I generally find I struggle to have the right amount of sufficient variation of colour and pattern to make a balanced quilt; do you think maybe they cheat? Maybe they go out and buy new fabrics to achieve the look they want and then just call it a scrap quilt? Surely not!
I have pulled a few fabrics from my stash and cut them into apple cores but together they lack a certain something, I’m not sure what exactly and don’t want to cut any more till I know what it is that’s missing; the dreaded yellow perhaps, or maybe greater variation of darks and lights, at the moment what I have cut are mainly mid shades. I shall need to pull out a great many more fabrics from my stash and throw them in a pile I think, then pare it back, pulling out the ones that don’t work, till I have the right mix.

my first apple core quilt in the making

Having said that I think one of my weaknesses is a need to control, perhaps, as it’s a scrap quilt I should just throw it all in and let it all hang out, wherever the fabrics fall… if you see what I mean, and pardon my clichés.
The truth is I didn’t pull out of my stash the fabrics I love, I pulled out the fabrics I could spare, the unloved and languishing bits, so it’s no wonder they aren’t yet making an inspiring mix. I need inspiration, one or two well chosen fabrics to pull it all together, or white, or navy? Oh Help! What I really need is a few days of free time in my studio to let this quilt come together.

Union Jacks

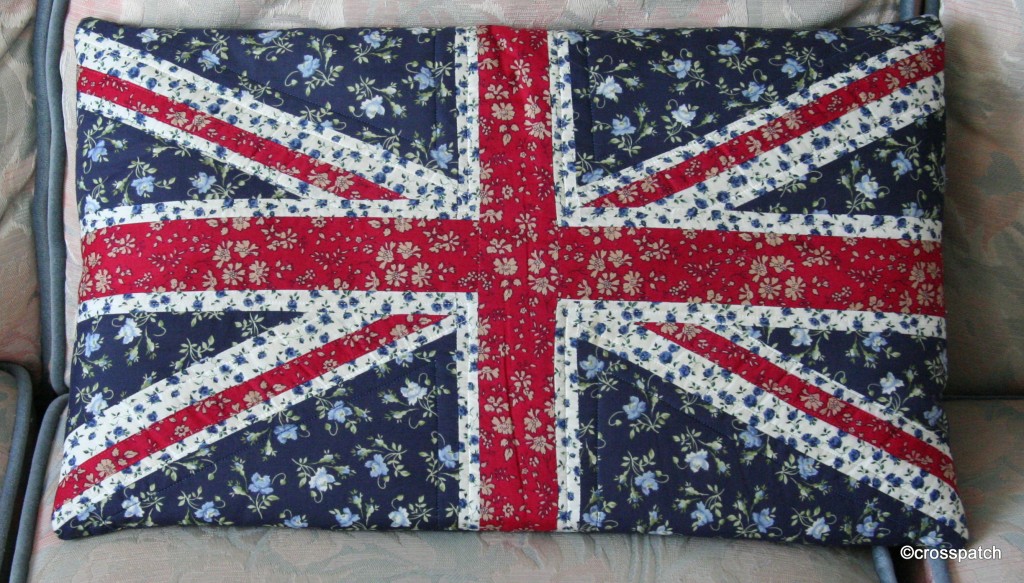
The red diagonal stripe is appliquéd onto the white, the rest of the pattern is pieced.

Union flag
Another year, another challenge, as a long-standing member of my quilting group I do try to rise to the annual challenge, but a couple of years ago I was stuck for an idea, we had to use flowery fabric, and I didn’t have much time, so what to make? Thumbing through magazines looking for inspiration I came across several Union flag cushions, I’d also seen them in fancy interiors shops, I’d picked up and put down with a gasp examples at exorbitant prices. Then I saw in a magazine, a pastel shaded version, in pretty Liberty prints, and knew that I could produce something similar at a fraction of the cost.

my entry for challenge 2010,

In my stash was the red and cream, both Liberty fabric scraps, and the navy, a 1980’s Laura Ashley dress, My sister reminds me again we had one each of these too, and when she’d worn hers out I gave her mine, which clearly didn’t get worn out before it was retired to my fabric stash. I can’t find a picture of the dress but I guess if you were around in the 80’s you’d remember those dresses, huge mutton leg sleeves, drop waist, voluminous skirts,( think a newly married Princess Diana). Needless to say….. There is enough left to make something else as well, and I already have an idea.

So where to find a pattern? I could have spent hours searching the internet for a pattern but fortunately and coincidentally on Armed Forces Day there was a pull out supplement in the newspaper; an advert on the back page pictured half a union flag which was just the right size, so I traced and reversed it to create a sectional pattern to work from. The red diagonal stripe is appliquéd onto the white, the rest of the pattern is pieced.

Union flags II
Just before Christmas 2011 my stepdaughter asked me to help her make a gift for a friend who loves the Union Jack; she wanted me to help her make a cushion like mine.

Happy Christmas

Happy to encourage creativity in others I was pleased to assist, this time we bought fabrics, and I amended my technique to simplify the pattern, using more appliqué rather than piecing. The diagonals are all appliquéd on this cushion. The white fabric was lined to prevent the blue showing through.

We were very pleased with the result; I hope her friend was too.