Stash buster for a good cause

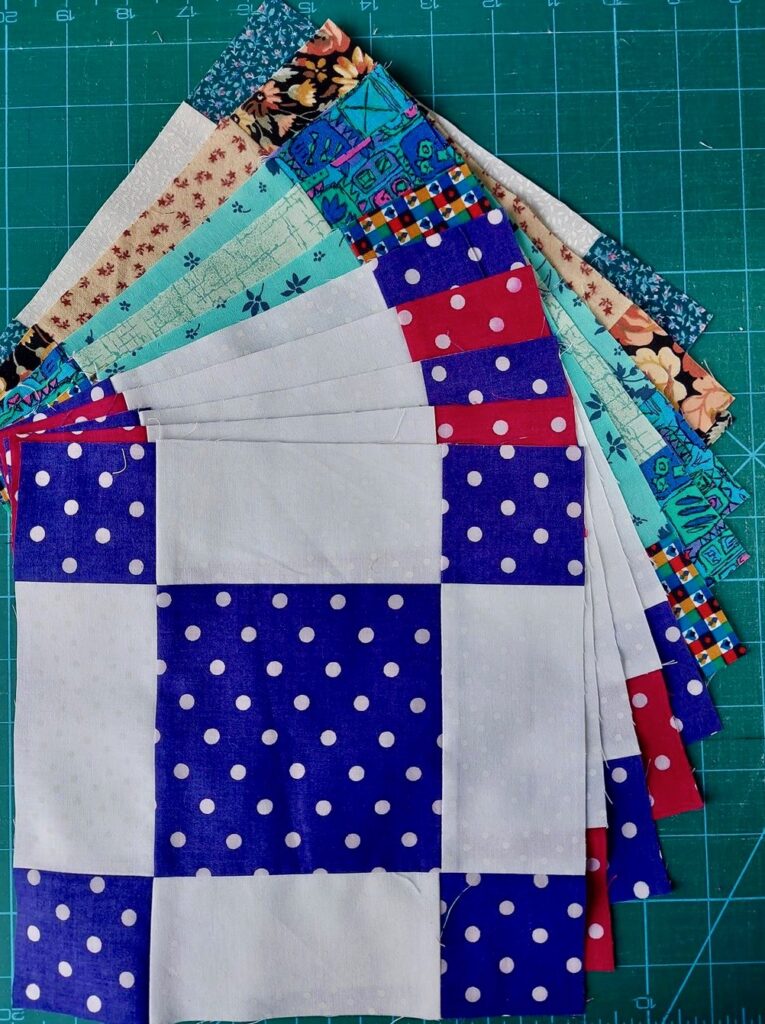
So I am really pleased to have found, and joined a community on Facebook called Quilts for Care leavers (Q4CL ) we make quilts and gift them to young people leaving care.

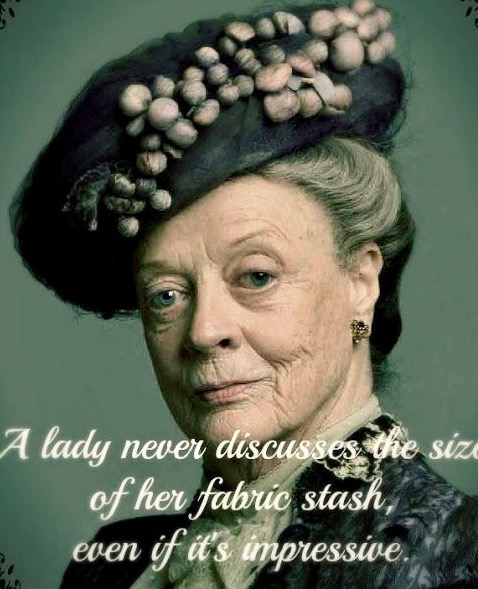
A lady never discusses the size of her stash !

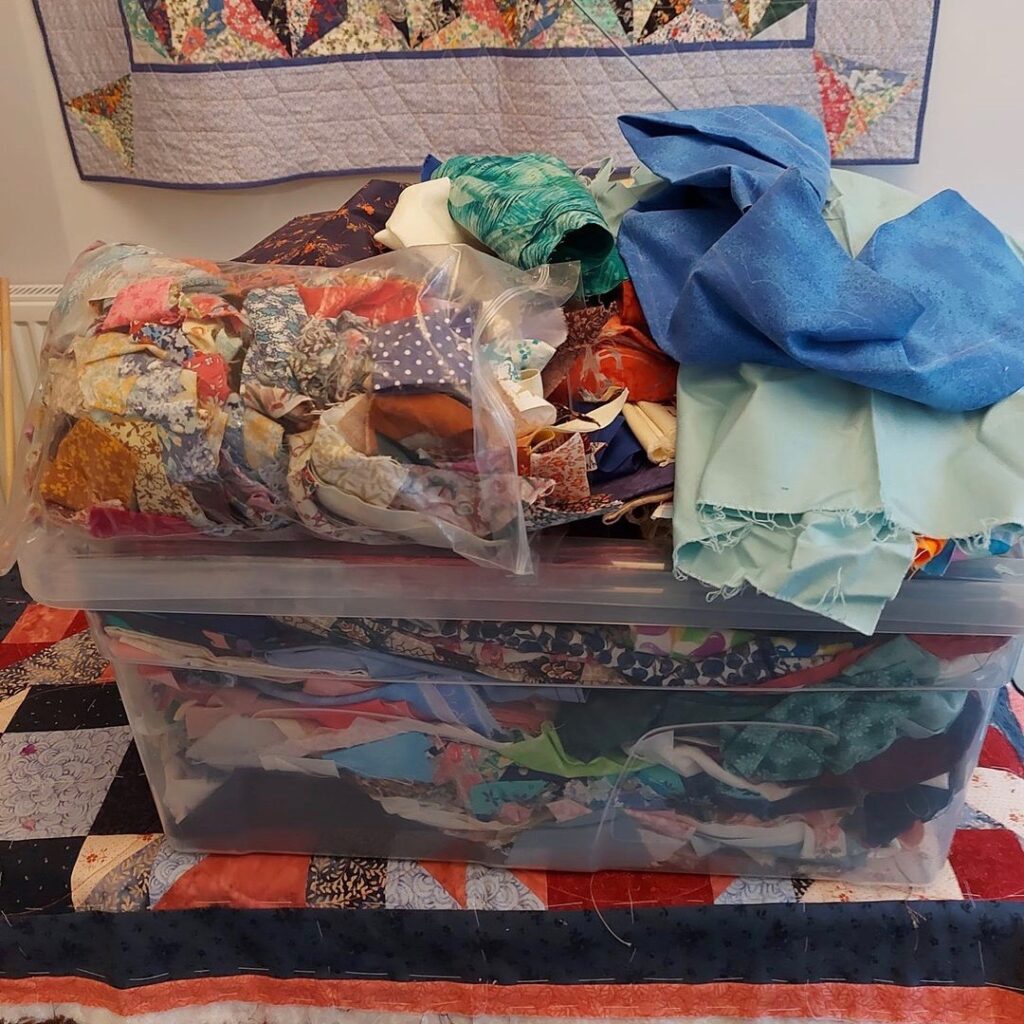
It’s a well known joke among quilters, we all have a stash of fabric and it’s probably bigger than we know; it’s certainly bigger than our loved ones realise.  Who has not sneaked fabric into the house without admitting it to our other half?

Lately I have been thinking about my stash, I’ve been buying and setting aside fabric for years, and now in my 60’s I realise I will never have time to use all that fabric to make quilts or even have a purpose for them.

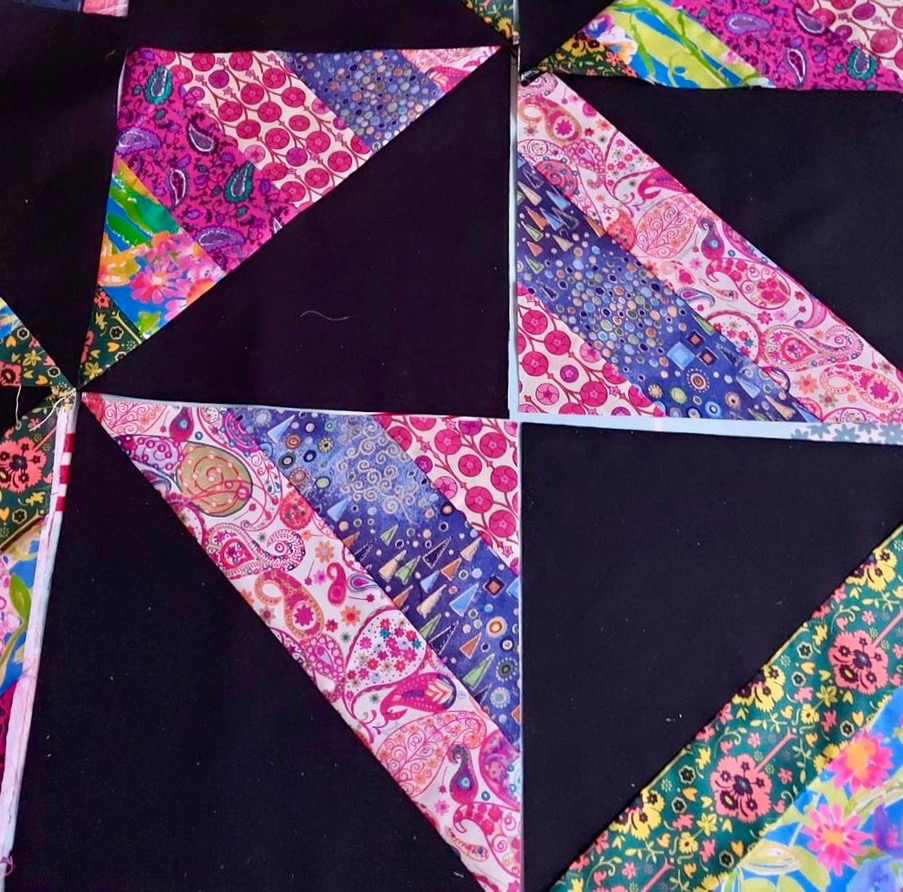
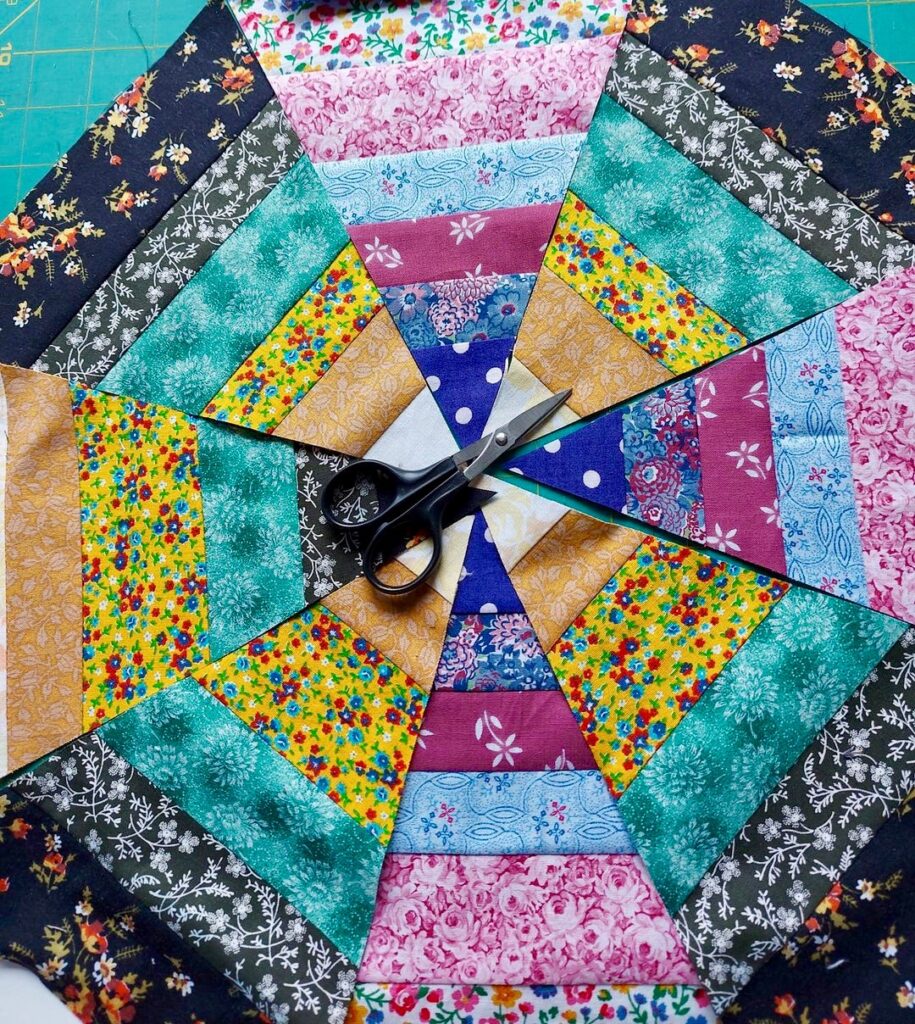
So I am really pleased to have found, and joined a community on Facebook called Quilts for Care leavers (Q4CL ) we make quilts and gift them to young people leaving care.  It means I can use my stash; piecing blocks to my heart’s content, and never have to make a complete quilt. If you would like to join us you can find us here: https://www.facebook.com/groups/QuiltsforCareLeaversMakers

 The quilts made are called “hugs“; made longer than they are wide so they can be wrapped around the shoulders and worn without dragging on the floor. They are intended to be a means of warmth and comfort, perhaps even more necessary in these times of fuel poverty.

Each month a member will propose a “block of the month” (BOM) and set out the instructions for how to put together the fabrics and the size of the block, so that all the contributed blocks will fit together.  Each contributor can make as few or as many blocks as they choose, and send them to the organiser, the person who proposed the block.

 I don’t know if the organiser then puts the quilt tops together themselves, or whether there are teams of people waiting for the incoming blocks.  I’m not sure how the quilts are put together or quilted, no doubt all will become clear in time.

Group members can also create their own “hugs” either just the quilt top then donated to be made into a quilt or they can donate finished quilts.

I contributed to the BOM for January 2022.  So far 4469 blocks contributed; 28 hugs made and counting.

I contributed to the BOM for February 2022.  So far 3237 bocks contributed will make 34 Hugs.

 And I contributed to the BOM for March 2022. Numbers not in yet.

I’m looking forward to the BOM for April,

I’m still working from my scrap box, and picking out scraps from my mother’s stash; at 90yrs old, she doesn’t sew anymore, and she is happy for me to raid her stash whenever I want. Mum would be happy for me to take all of her stash, but where on earth would I put it?

I can’t say I’m having sleepless nights about the size of my stash…yet, but I don’t want to have to strengthen the rafters to take the weight of my mother’s stash, after all she was sewing before I was born, and her stash is impressive, even though she’s been retired for 30 years.  

Advent Calendar

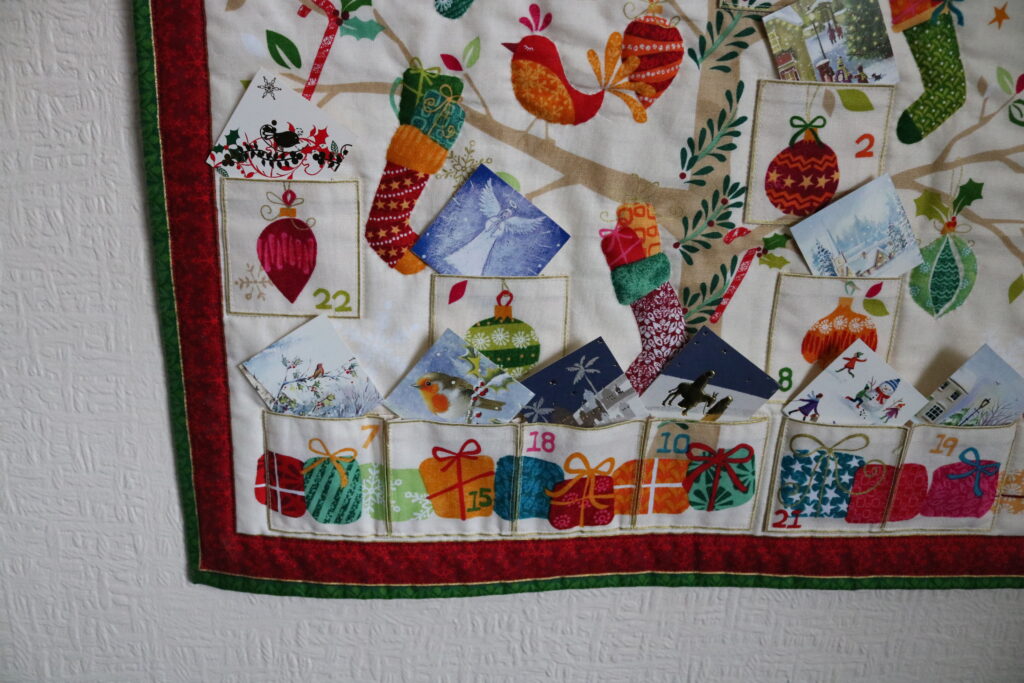
Traditionally, (I’m talking about my childhood in the 1960’s), Advent Calendars were a just paper, or card, the little windows had no chocolate or treats behind them, only a little picture and I remember the excitement of seeing what might be behind the little door each day.

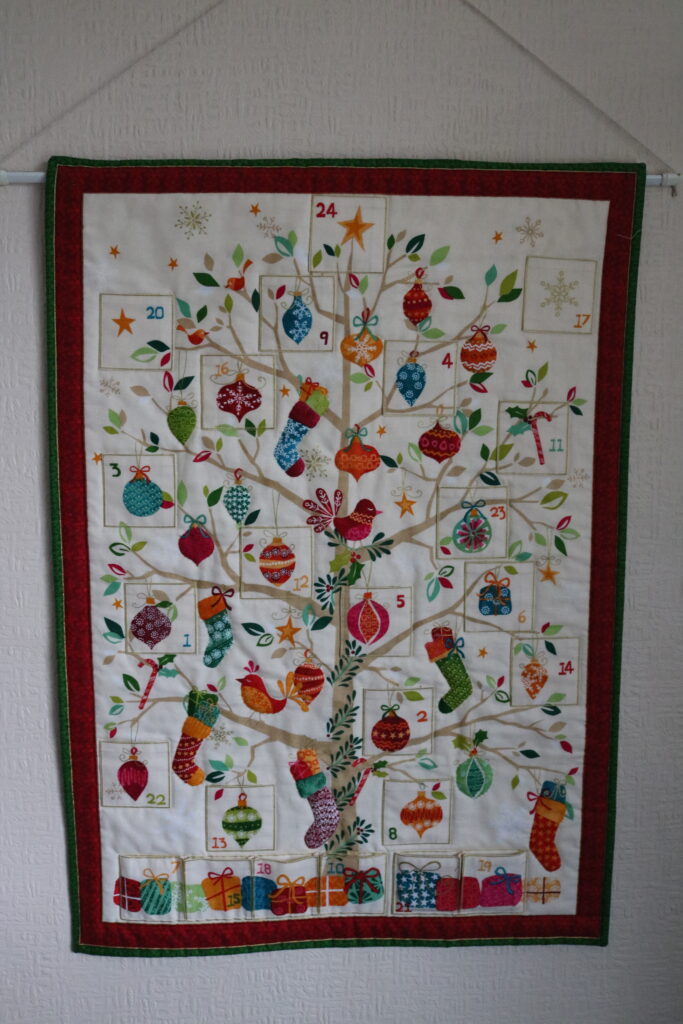
I finished this in January of this year; I’d found the Advent Calendar panel, bought years ago, in amongst some Christmas fabrics when I was looking for something else.  I decided that although I’d not get it done for Christmas, Advent was almost half way through, I’d start and plan to finish it, a stitch in time, so that I could hang it for Advent 2021.

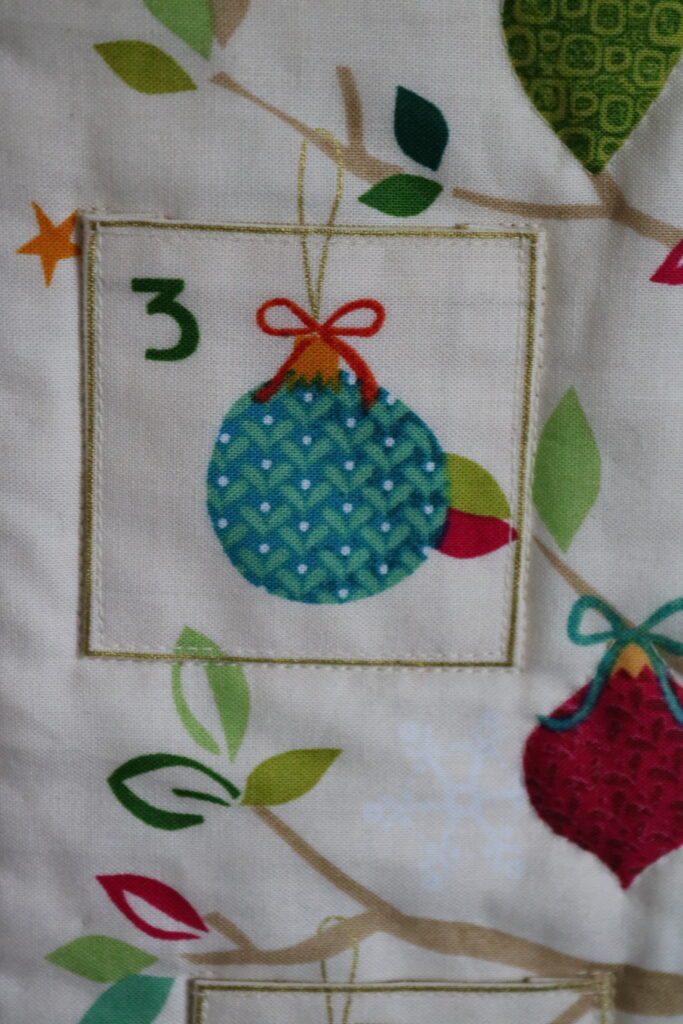
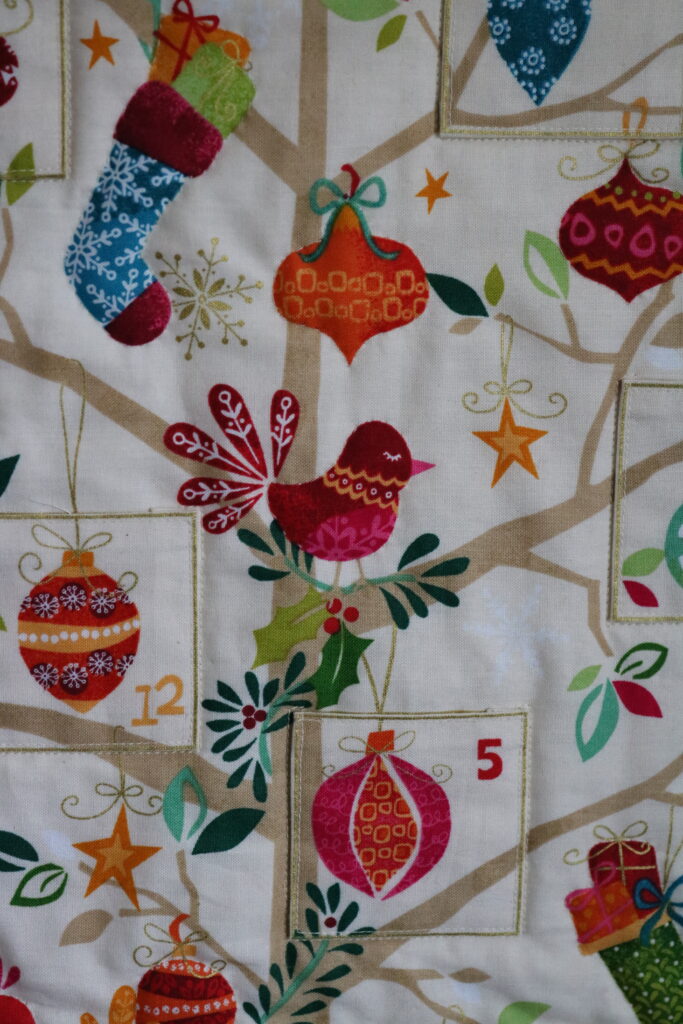
It’s just a panel, which has the printed background and a strip of pockets, which are to be cut out and applied to the same image on the background fabric.

 Each pocket was cut, the raw edges turned and I tacked the edge down so that I could see the slim gold line at the edge. The plan was to topstitch the pockets onto the backing with a gold thread, but I didn’t like the effect, so I unpicked the ones I’d done and topstitched in a matching thread. 

 I also considered topstitching in various thread colours to match the colour of the pocket numbers, but that was beginning to look messy, that didn’t work either.

Once the pockets were sewn on, there needed to be more quilting to reduce the puffiness where the pocket were not placed.  I just picked out motifs in the same matching cream thread. Mostly these were hand stitched, because they were fiddly and in some cases too near the pockets for the machine foot to sew without pushing and pulling the fabric.

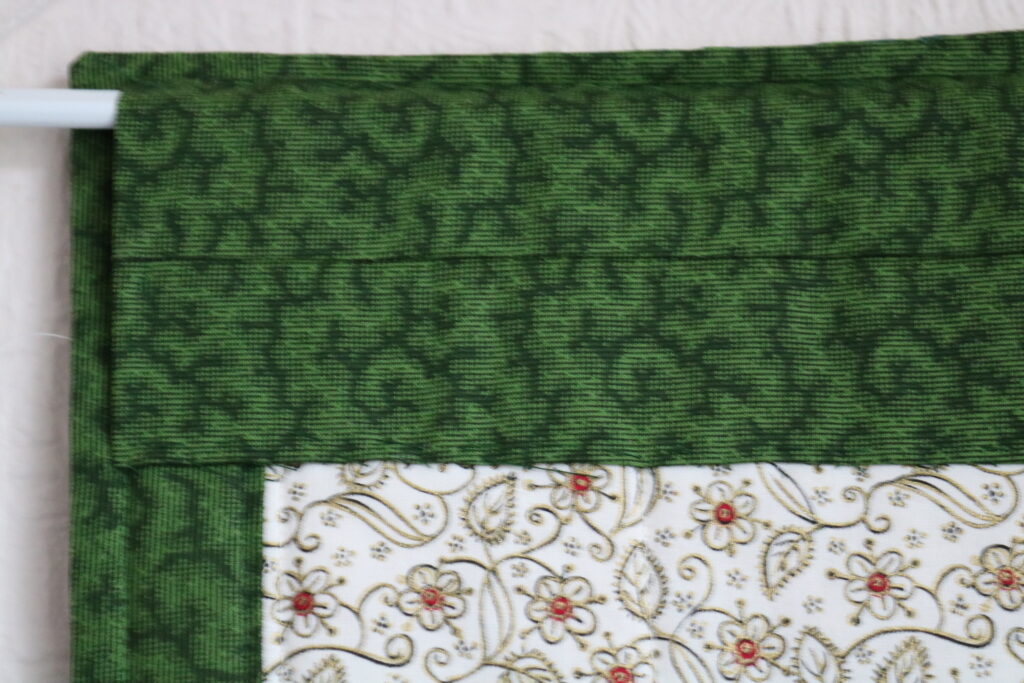
 I was determined not to buy any more fabric for this Advent Calendar project.  Seriously I have enough fabric to sink a ship. So I found a piece of ivory fabric with a gold and black motif in the Christmas box, which was not quite wide enough, and added green borders to make it fit the back. 

 The reason I chose green, (I’d rather have used red) was so that the edge at the front would match the edge on the back and any wobbliness or misalignment would be less apparent.  It worked and I’m happy with it. There was also enough of the green to make a hanging sleeve.

So the Advent Calendar was finished… well almost.  Traditionally, (I’m talking about my childhood in the 1960’s), Advent Calendars were a just paper, or card, the little windows had no chocolate or treats behind them, only a little picture and I remember the excitement of seeing what might be behind the little door each day.

 I didn’t want to just drop a sweet or wrapped chocolate in each pocket, I don’t need the calories anyway, and I couldn’t guarantee to have the self -discipline not to go chocolate rustling late at night, nor trust the beloved not to do so either. So what to put in the pockets?

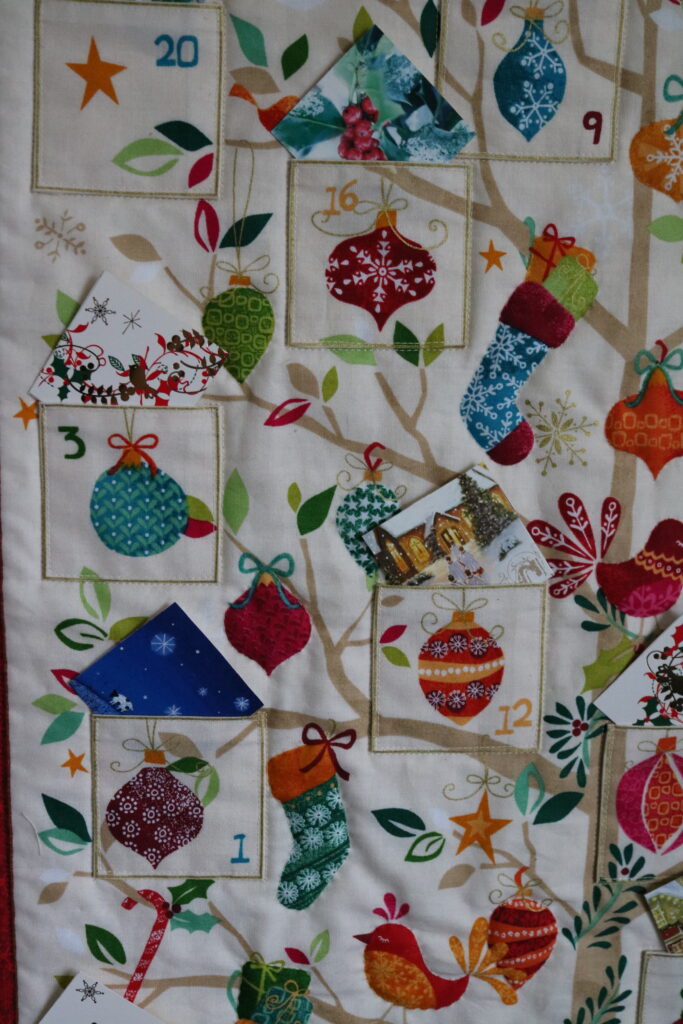
As I took down my Christmas cards at Epiphany I began thinking about those little pictures behind the doors on my childhood Advent Calendars.  Would an image on its own be enough?  I cut a number of cardboard squares, small enough to fit into the pockets, each with a Christmassy image, Robins seem to be well represented, but then I like Robins.
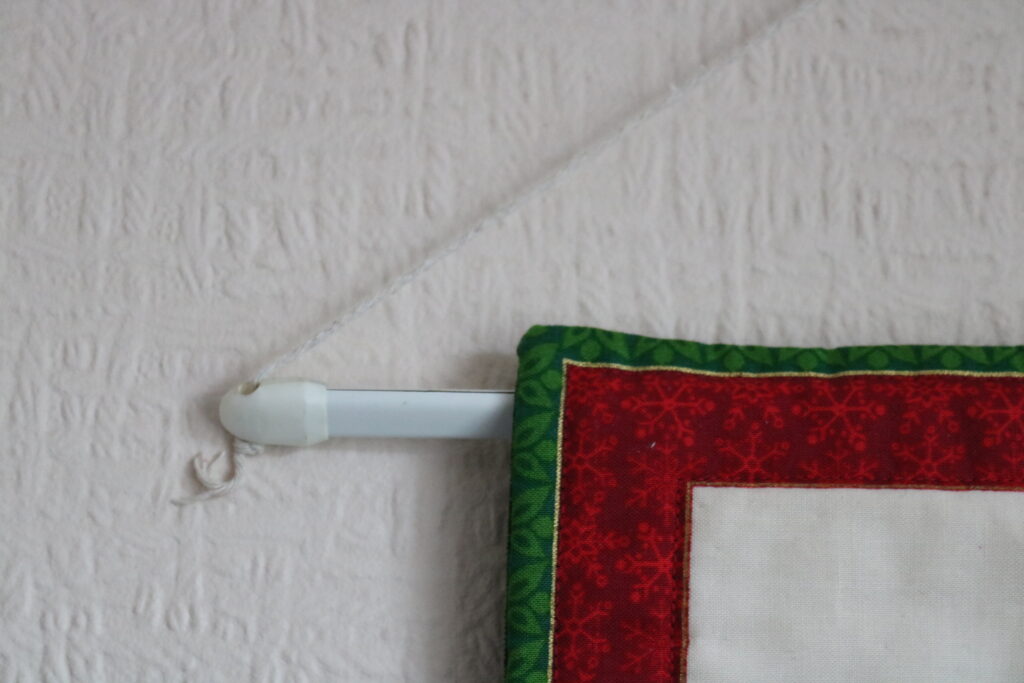
That’s where I left it, the Advent Calendar with a temporary hanging cane and a string to hang it by and the pockets full of little squares of Christmas card.

Last month I rooted out the Advent Calendar from its resting place and began thinking about how it should be finished.  I wanted a wellbeing theme, something positive to think about each day, something maybe to do for my wellbeing.  My Niece has an Advent Calendar, which she made from downloaded materials from Calm Moment you can find it here, (https://www.calmmoment.com/mindfulness/mindful-christmas-advent-calendar/ )

 I printed the 24 wellbeing suggestions from the Calm Moment Advent Calendar cut them approximately square and folded each one diagonally twice, tucking it into the pockets on the Advent Calendar. I also searched Pinterest for Christmassy quotes, printed those very small and glued one to each of my little squares of Christmas card.

 Through Advent I will have a Christmas affirming quote and a wellbeing suggestion for every day and not a calorie in sight.

The only thing is… The hanging arrangements still don’t work for me, I need a metre or so of gold cord, and a stick  (with knobs on,) that I can paint gold., and tie the gold cord to. Inevitably even with my best efforts, it wasn’t ready in time for Advent. Shoot me! I’m still working full time and looking after my old Ma, and we have to keep a sense of proportion.  I’ll go into town on Saturday and buy gold cord, the stick I have, knobs are on order, (wooden beads actually) and all will be complete before Advent is over, honestly!  

Potholder for Mum

So what does a kind and loving daughter do when her mother confides… she has lost her pot holder?

 So what does a kind and loving daughter do when her mother confides… she has lost her pot holder? She thinks maybe it got thrown out with some newspapers which had been sitting by the kitchen door ready for recycling.

Make her a new one of course.

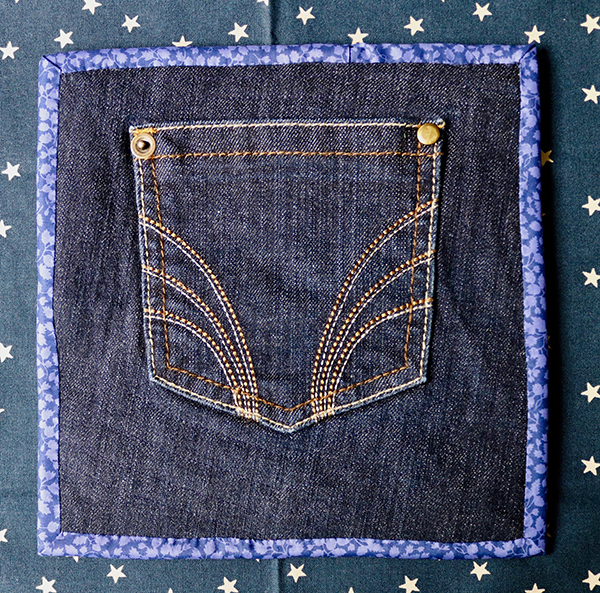
It took me a while to come up with a plan, I didn’t have suitable heat resistant wadding, well who does? So I needed to use a fabric which would be substantial enough to be heat resistant. Denim perhaps?

Denim jeans £1 , such a bargain.
Charity shop denim

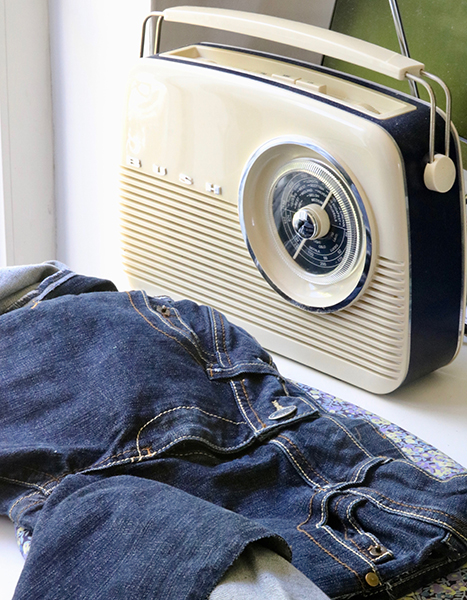
In my stash I had a pair of jeans bought for £1 in a charity shop, I’d been thinking about a floor covering made from denim, but that would need a LOT  of denim. Not sure what I might do with the legs, but I will come up with something, what about a gardening apron? Hmm, I’ll need to think about that.

For my pot holders I needed two pieces of denim about 8-9 inches square, and a pocket on each one would give me more heat resistance in the middle, or a handy way to help keep hold of the potholder. With a pair, they could be used like ovengloves.

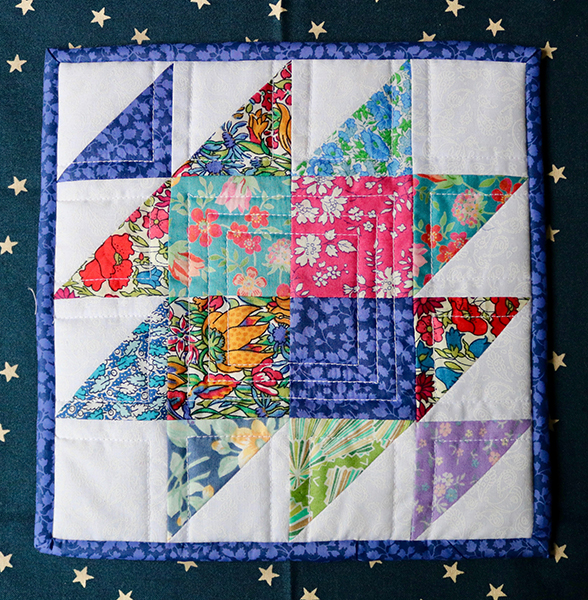
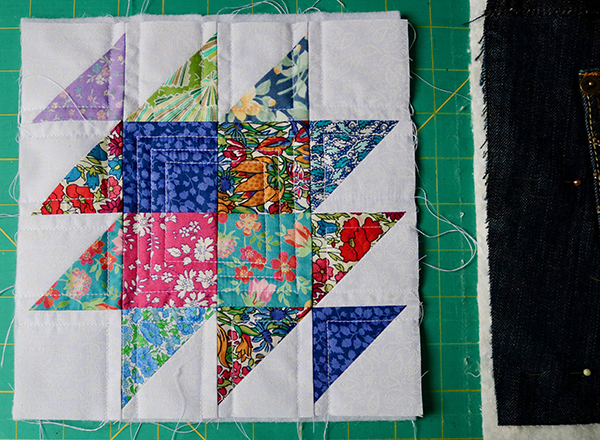
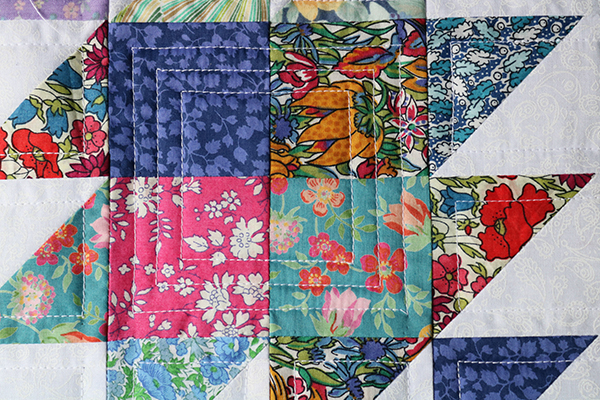
Sorting through my fabrics I came across the left overs from another project, Miriam’s cushion (http://www.mycrosspatch.com/blog/2018/05/11/making-miriams-cushion/)   half square triangles. Just what I needed, I’d seen a block on instagram just a few days before and saved it, now that’s  what I could do with my HSTs. (https://www.instagram.com/p/CANjHUUnDnF/…)

The Potholder only needed a simple quilting design to hold the layers together . I made a pair, one is handy but two is better, they aren’t exactly a pair but I’m happy with them, and so is MUM.   

Maybe I could make myself a pair too, when lockdown is over, and my local charity shop reopens.

Making Miriam’s cushion

I wanted to give Miriam a leaving gift that was personal from me to her, no shop bought gift , it had to be hand made.

Recently one of my staff team handed in her notice, I was very sad to see her go because she is a great practitioner and a lovely human being, but I was happy to see her progress in her career.

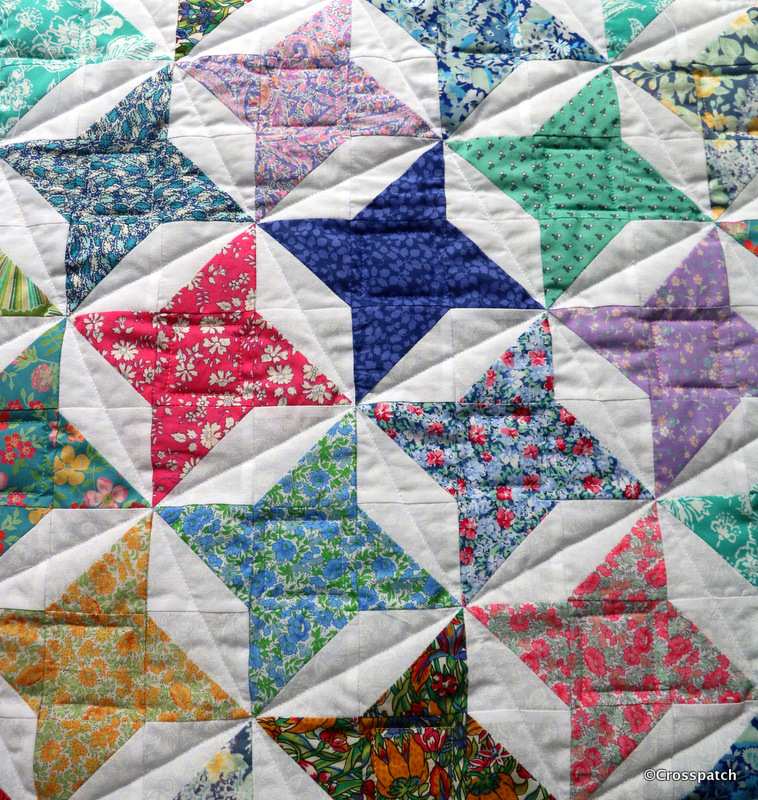
Naturally I wanted to give Miriam a leaving gift that was personal from me to her, no shop bought gift , it had to be hand made.  A cushion was all I had time to achieve, so this is the tale of Miriam’s cushion.

Miriam's cushion
Finished!


I decided all would be made from my fabric stash, and wanted something very pretty, so Liberty prints seemed to fit the bill.

I wondered if perhaps there was a block called Miriam, well there is but it isn’t particularly pretty, and its also known as Crazy Susan, so that wouldn’t go down well. Stars was my second thought. Pinterest supplied this idea, Miriam’s cushion was going to be Fab.

Miriam's cushion
Liberty prints


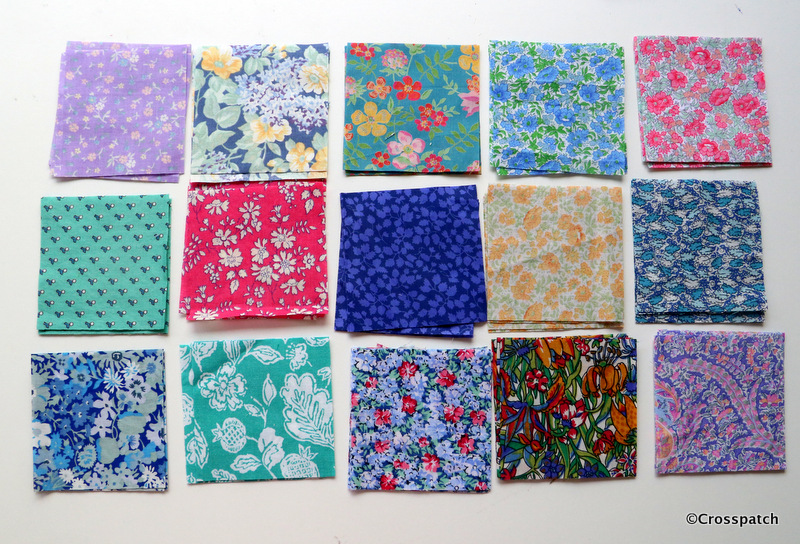
15 different fabrics were picked out of my stash, and a new white on white fabric was bought to tie them all together, there was nothing suitable in my stash.

Miriam's Cushion
trimming down to 2.5 “


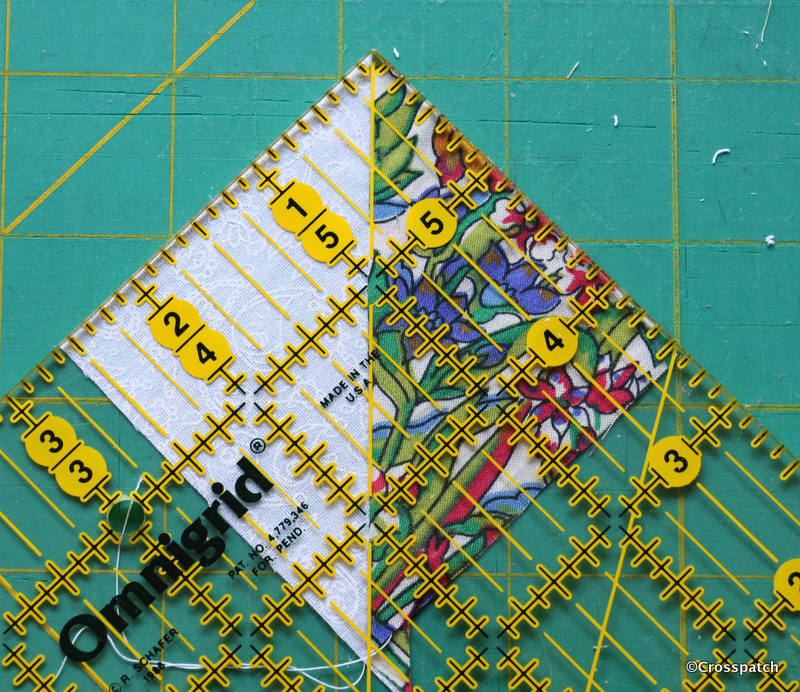
From each fabric one 2 ½ “ square and four 2⅞ “   triangles were required.  I found it easier to cut 2 x 3 “ squares from each fabric and the same from the white to make 4 half square triangle units by putting a Liberty fabric square right sides to right sides with a white square, sewing two lines half an inch apart across the diagonal and cutting them apart, pressing to the dark side, then cutting down to 2 ½ “.


Half square triangle units are traditionally made by marking a fine pencil line diagonally across the paler fabric, so that it can easily be seen, and sewing a ¼“ from either side of the line.  We press the seam allowance towards the darker fabric so as not to allow the darker fabric to show through the paler, it also helps to nest seams for a flatter, neater end result.

Miriam's Cushion
placing fabrics


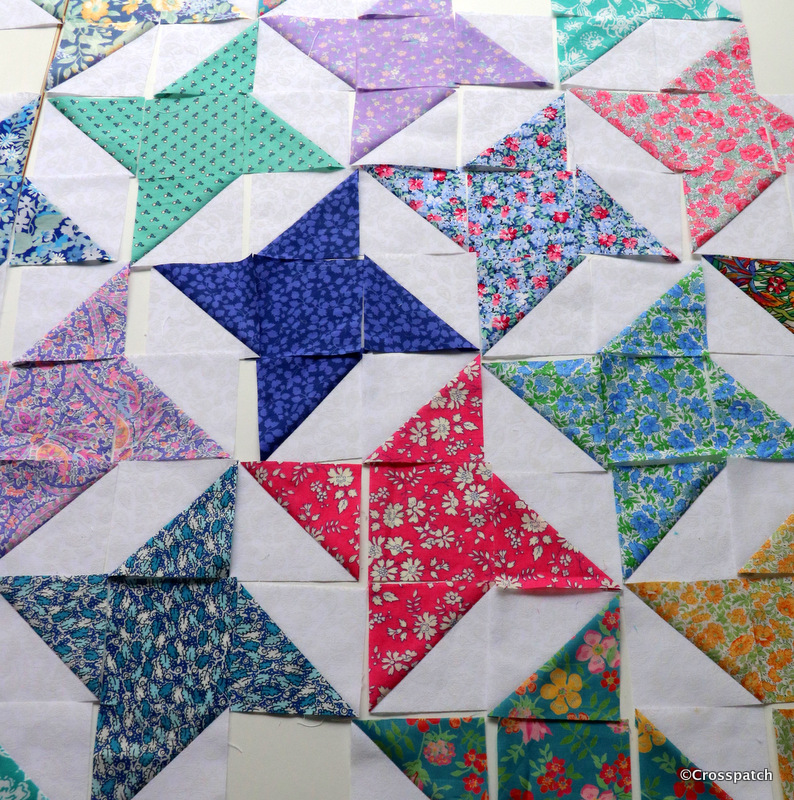
Once I had 15 sets of square and triangles, I had to decide on placement of the fabrics, with this pattern there are no blocks which can be made up and colour placement decided later, each fabric interlocks with its neighbours row on row , so the whole design must be laid out in advance.  Thank goodness it was only a cushion, I don’t have space to lay out an entire quilt in this way.

Miriam's cushion


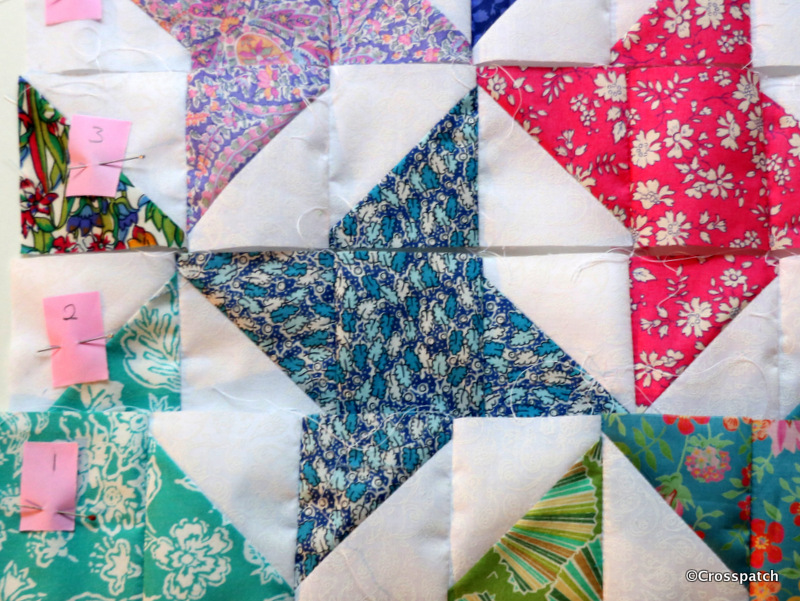
Numbering the rows so that I didn’t get myself in a tangle I stitched each row individually, then pressed the odd rows in one direction and the even rows in the other direction so that the seams would nest neatly.


I was under time pressure, so as I worked I considered how to finish Miriam’s cushion, I wanted to finish the edge with a binding which would look like piping without the faff of having to use piping. But that left me with a problem of how to close the cushion cover.


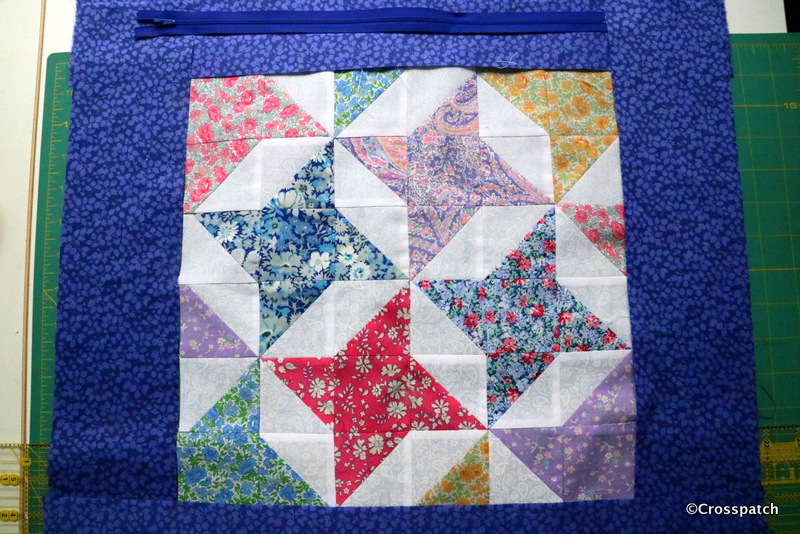
A Zipper looks better than an envelope back, which I always think looks baggy and unfinished, but I couldn’t figure out how to put a zipper in a bound edge. So rather than make a matching back I had to make a smaller version of the front for back with a sashing to insert a zipper and leave a raw edge to bind.

Miriam's cushion
cushion back with zipper


Each side was sandwiched with a 2oz wadding bought specially at Abakhan    (https://www.abakhan.co.uk/stores) in Preston; and quilted simply with diagonal lines, happily because the wadding was quite chunky, it didn’t need a lot of close quilting.

Miriam's cushion
quilting Miriam’s cushion

I sewed the front to the back wrong sides together with the raw edges on the outside, a ¼ “ seam allowance.


Finally I cut and stitched the binding ; I cut a 2 ¼ “ binding and folded  it in half lengthways, right sides out, sewing it to the front of the cushion just a smidge wider than  ¼ “ so that the first seam isn’t showing.  It also stabilises and strengthens the seam around the edge being stitched round a second time.  Then rolling the binding over the raw edge by hand, because I have folded the binding I now have a folded edge to hand stitch along the seam line on the reverse side.

Miriam's cushion
Finished!


I used the same fabric for the binding as the sashing so that any wobbliness of the binding or the hand stitching would be less obvious on that side. I was burning the midnight oil by this time; Miriam’s cushion had to be finished, she was leaving the following day.


I wanted to label the cushion, but not for it to be seen  announcing myself constantly, so I made a label and stitched it inside the cushion, just under the zipper.  It simply says it was made for  Miriam, it is Miriam’s cushion.


When I gave Miriam’s Cushion to her, I pointed out my two errors, the zipper isn’t centrally placed, can’t figure out how that happened, but I didn’t have time to fix it, and the far corner fabric isn’t quite “right”, but I left it in because, as all quilters know, “only God is Perfect”.


There was one final flourish that I had planned to add but I ran out of time. It was a bible quotation I sought out especially For Miriam, a committed Christian, as she was leaving us for another job nearer to her home. I had planned it to be sewn inside like the label.


So here it is :-


To enjoy your work and accept your lot in life—this is indeed a gift from God. (Ecclesiastes 5:19)


It’s more than simply Miriam’s cushion it is a gift to express fond appreciation of the person she is.  Thank you Miriam for passing through my life however briefly, it has been a pleasure to know you, to work with you, to see you develop and flourish in your profession.


Owl quilt; part Two too wit too woo

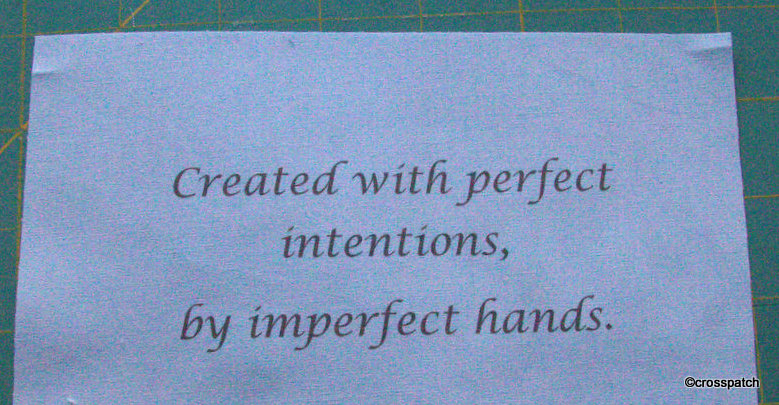
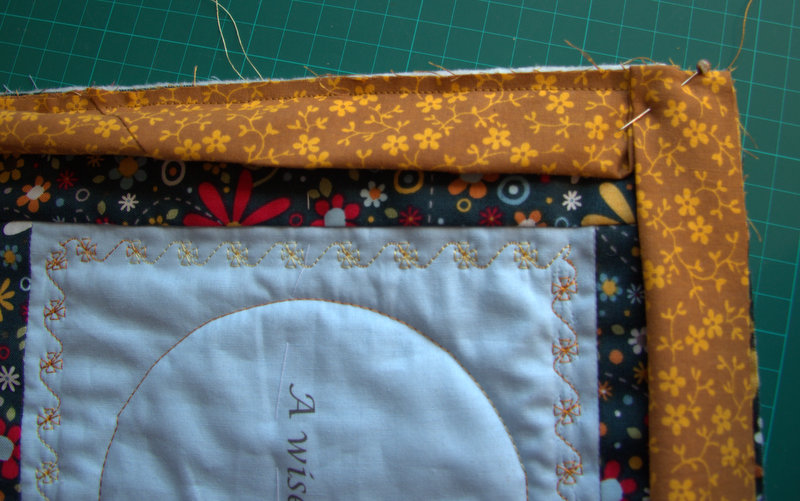
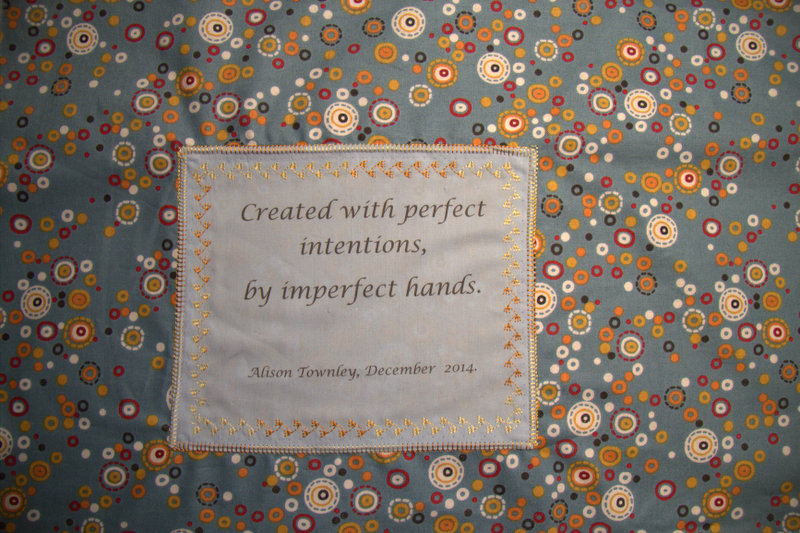
The label is a little wonky, but it matches the sentiment, made by imperfect hands.

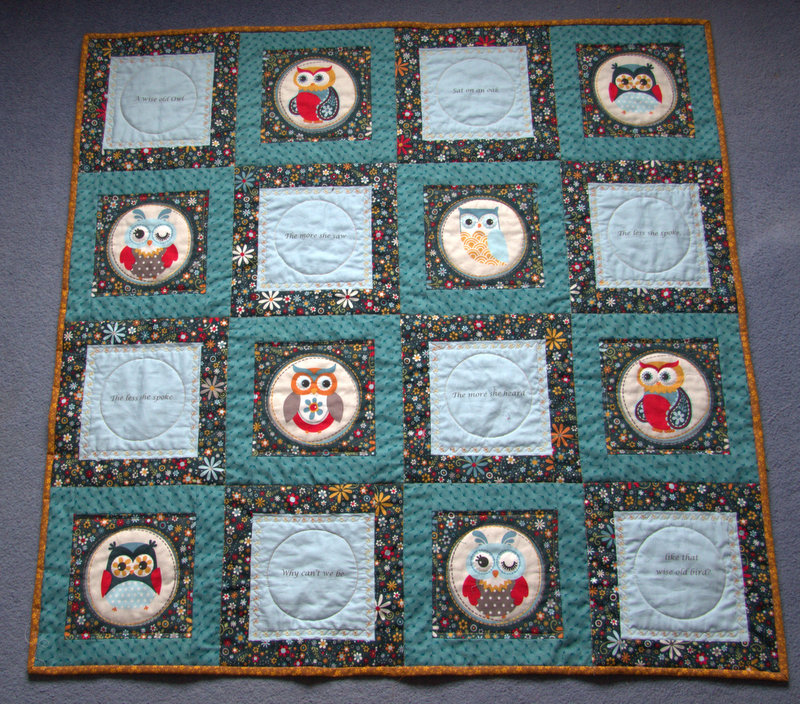
The technique for printing on fabric is really quite simple, cut a piece of freezer paper the same width as a piece of A4 printer paper, then cut a square of fabric and iron it to the freezer paper waxy side up, so the fabric is completely welded to the paper. I created a word document for each line of the poem, and tried to set the line in the centre of the printable area, bearing in mind the fabric is ironed to the top 7 inches of the paper.

Owl quilt
quilt label for the back

Put the paper in the printer, face down and press print.Then Presto, out comes a piece of fabric neatly printed with a line of the poem, just about centrally placed. Peel the fabric from the freezer paper. Trim the piece of fabric down to the desired size making sure the printing remains centred, and press with a really hot iron, to fix the ink onto the surface.

Owl quilt
sashing from my stash

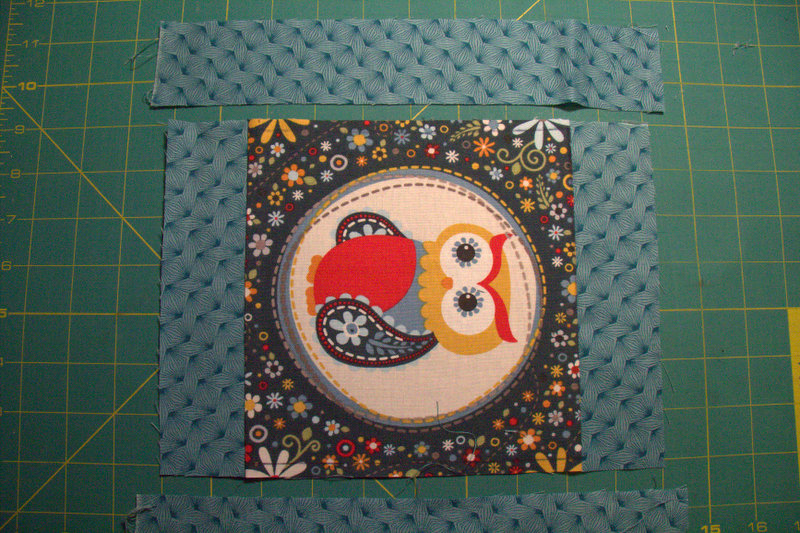
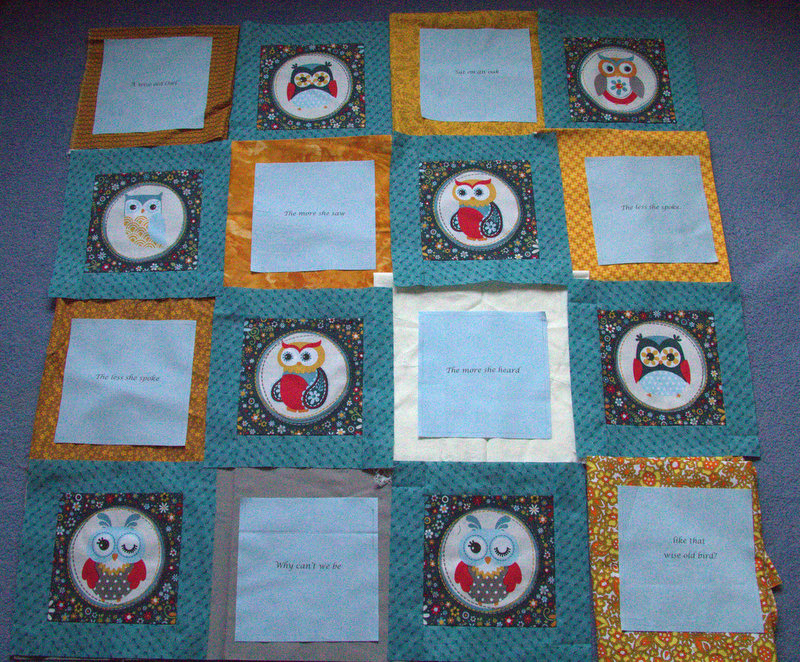
Challenge four, putting it all together. The sashing for the Owls came from my stash and was a perfect match, but I couldn’t find a fabric to sash the blue squares, nothing in my stash of fabrics was working, and I was running out of time. As you can see I tried various yellows, cream and taupe but it just wasn’t floating my boat and it looked too busy.

Owl quilt
nothing is working here

I decided the best option was to source some more fabric from the same range, the Internet was my only hope. I only had half a selvedge as a clue to what the fabric range was called and who made it. Nevertheless it only took me a few clicks of the mouse to trace it from the scrap I had, and find a supplier for the background fabric. I also found another fabric from the same range for the backing. Flashed the plastic, and the fabric arrived two days later, I love the Internet.

Owl quilt
that’s better!

Challenge five, once I had the quilt top put together and the wadding and backing tacked in place I realised that the blue squares lacked something, there was too much plain space around the lettering, my first thought was to create a quilting template of an Owl and quilt the centre of the square but I wasn’t sure how that would work with the lettering. Maybe just a pair of Owl eyes, above the lettering, but that would be too asymmetric. I decided to keep it simple, a circle in the middle to echo the Owl medallions, and some flowers embroidered round the edge to echo the flowers on the background fabric, and to add colour. I used a space dyed thread, but I think a darker yellow or orange might have worked better.

Owl quilt
quilting and binding

I used one of the rejected yellows I had auditioned earlier for the sashing of the blue squares to bind the edge of the quilt and to add a little contrast. It worked well with the backing fabric too. The label is a little wonky, but it matches the sentiment, made by imperfect hands.

Owl quilt
Owl quilt label for the back.

And so, I managed this Christmas to complete a quilt in time to give it to my Dearest Friend, and even better my lovely Sister volunteered to make a detour from her day out with her daughter to a Spa to deliver it in person to my friend. It was the day before Christmas eve. I am so blessed in my Friend, and my Sister. Thank you both for being there for me.

Owl quilt, finished
Owl quilt, finished

Hurry up, Christmas is coming

so I put the fabric aside in a safe place till I was ready to begin….but where?

For months now I have been searching without success for a stash of fabric I had put aside to make a quilt for a friend for Christmas, I had planned to make it last year but ran out of time and energy, so put the fabric aside in a safe place till I was ready to begin….but where? I can’t find it anywhere, and I guess even if I did now, I would not have time to make even the simplest quilt. I even pulled out one of my UFO’s and considered finishing it for her but decided not, I love her dearly, she deserves her own quilt conceived and made specifically for her, in her colours. It doesn’t have to be now and it shouldn’t be rushed or ill conceived, besides I am still having ideas about it, so clearly it is not yet a done deal.
£2.99 Oxfam, Kendal
£2.99 Oxfam, Kendal

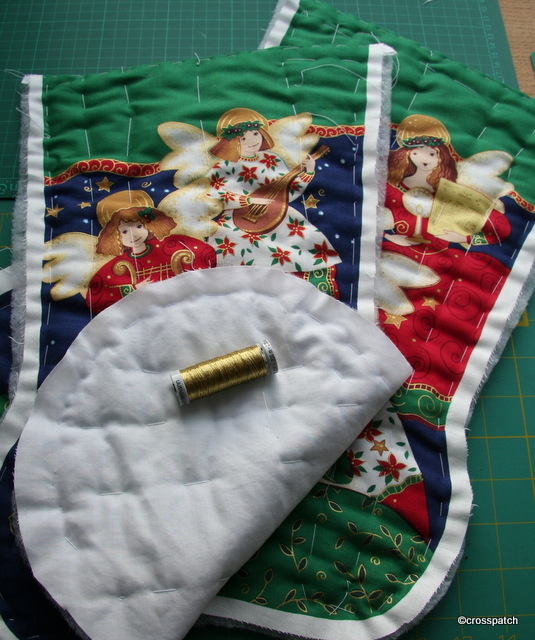
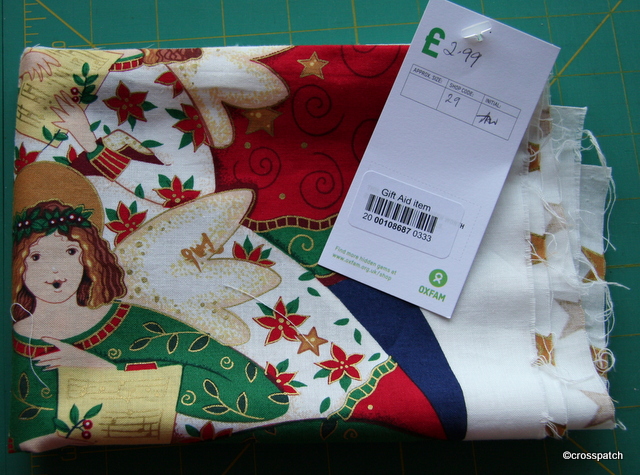
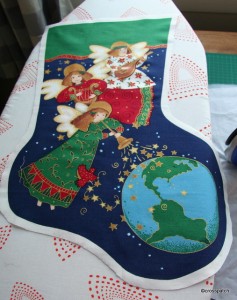
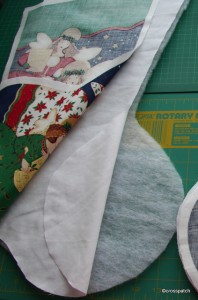
However I am making something for her, her own stocking. I found in a charity shop some weeks ago a printed panel for a Christmas stocking, and bought it for £2.99, I guess it would have been £5 to £10 pounds or more to buy in a quilt shop.
I cut the two sides apart and cut out the shapes with a centimetre seam allowance, it needs to be greater than a quarter inch because I will use the seam allowance turned in on itself to neaten the seam. I will sew it at 5/8ths and this will ensure no white will show at the edge.

press before you sew

I cut a lining from a plain white fabric I had to hand and a piece of wadding for each side, and sewed all three together along the top edge the front and the lining right sides together, with the wadding on the back.

not a wadding sandwich


Then the wadding was trimmed back as close to the seam as possible , and the printed panel flipped over so that the wadding is now in the middle. I neatly pinned the top edge then tacked it to ensure the lining did not roll out and show above the printed panel. I will top stitch when it has been tacked together to keep the top edge stable.

stabilise the top edge


Having tacked all three layers together I am now in the process of quilting the layers together with a gold machine embroidery thread to add a little Christmas sparkle.

a little sparkle to be added

The oldest Patchwork Quilt in England

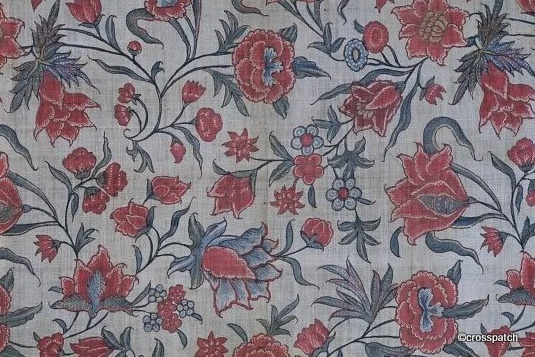
the quilt is made of fabrics contemporary with that time. They are imported Indian cottons hand printed with exotic designs of birds and flowers in reds and greens which would have been incredibly expensive at the time.

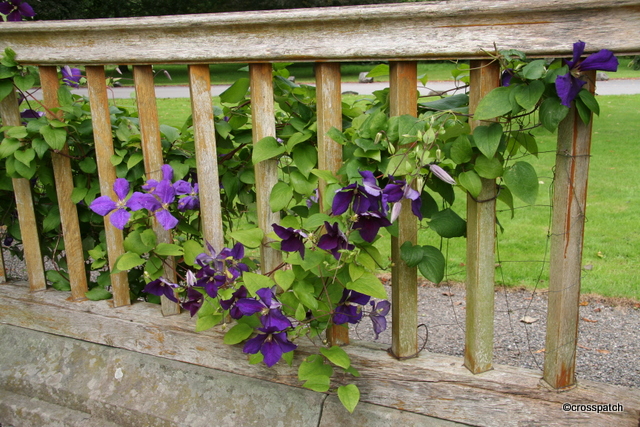
clematis
clematis

We all as tourists may travel many miles and even cross continents to see the wonders of the world, but are less willing to be impressed by what we can find at home. This summer my Dearest and I, being unable to afford a foreign holiday, or indeed the fuel to take us very far, decided to explore what we had at home, or nearest to it. The plan was to improve our knowledge of what is on our very doorstep which can be enjoyed for free or near as, any time we like.

Levens Hall built around a 13th Century Pele tower

One day we went to Levens Hall just south of Kendal and probably only 15 miles from our front door. The house is mainly Tudor but dates back to 13th Century in parts, and was extended in the 16th Century. Inside the house is the OLDEST Patchwork Quilt in England dated to 1708. There is no date on the quilt or the bed hangings but the family claim it was made by the lady of the house and her step daughters in that year, the quilt is made of fabrics contemporary with that time. They are imported Indian cottons hand printed with exotic designs of birds and flowers in reds and greens which would have been incredibly expensive at the time.

Fabric like this
Fabric like this

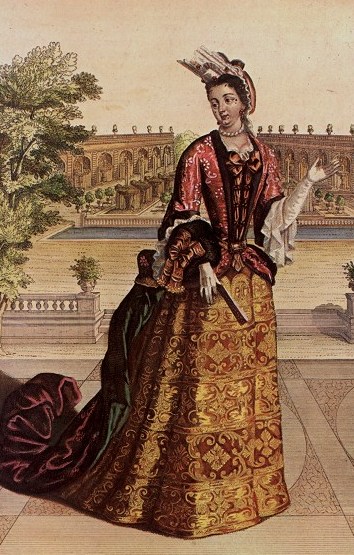
I like to think of those wealthy but thrifty ladies making a Patchwork quilt to make best use of the scraps and left over fabric from the elaborate gowns made for them or by themselves in the fashion of the day. The fabrics are cut and pieced simply to show off the pattern, set in plain sashing and quilted quite closely with a simple grid of squares set on point in red thread. Each row of blocks alternates between a snowball block and a simple cross shape, a smaller lozenge shape fits between each cross , working diagonally across the quilt in both directions and each shape is set into a plain background fabric.

The fashion of the day

It was not possible to take my own picture of the quilt or the matching bed hangings which are displayed in a bedroom in low light, so I bought a post card, which gives a fairly detailed view, sadly although I could scan the post card I cannot publish an image of the quilt without permission of the owners.
The quilt is not Levens’ only claim to fame; it also has the most sublime Gardens designed for the house in 1694. The topiary gardens are the oldest surviving and the best in the world. I only wish we had arrived earlier and had time to give the garden its fair share of attention. We have agreed we need to go back another time, but when? Spring perhaps, or in June when the roses are at their best.
Topiary Gardens
Topiary Gardens

The café is open to the public, without having to pay to go into the house and gardens, the shop also is open to the general public so perhaps another day when we are passing, we can stop for a coffee and a browse, some Christmas shopping or whatever.

View from the Cafe terrace

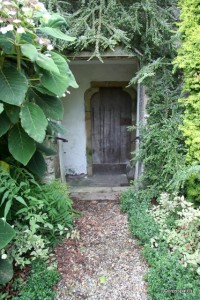
secret doorway to the gardens

Another unusual feature is a smokehouse in the farthest corner of the garden, not for the smoking of food, but a place of banishment for those members of the early 17th Century household who had taken up the filthy habit of tobacco!

recently renovated 17th Century smoker's retreat
recently renovated 17th Century smoker’s retreat

There is a walk I’d like to do from the house, into the Park on the other side of the A6, up the old avenue of trees which would have been the original approach to the house, I believe there is a waterfall and a picturesque bridge to be seen. It sounds like a perfect walk for an autumn day, and if we go on a day when the café is open we can plan tea and stickies as a reward at the end of the walk. That sounds like a plan.

The shirt off his back

I have yet to follow one down the street with covetous intent, but you never know….

Have you ever seen a person wearing a garment whose fabric you would happily have in your stash? I must admit until recently I hadn’t, but since I have been gathering checked shirt fabrics for a future project I have found myself studying passing gentlemen, many of the most unprepossessing type, and wishing I could have the shirts off their backs, only for my stash you understand. It has become a running joke with my Dearest, as I find my eye captured and held by men of all ages, sizes and types each wearing loud checks of all colours and design. I have yet to follow one down the street with covetous intent, but you never know….

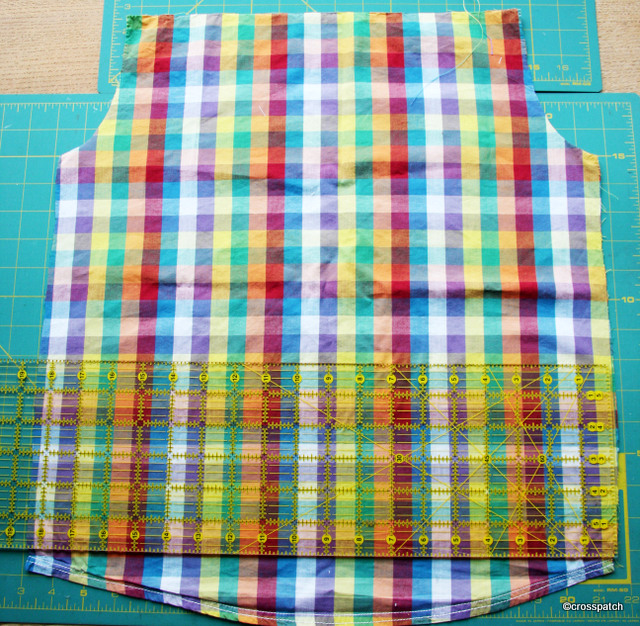
almost a fat quarter

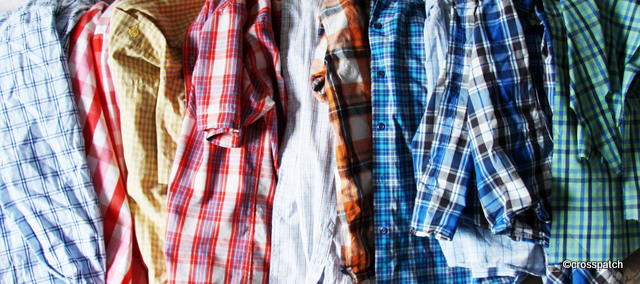
My passion for fabric outstrips my available fabric buying resources exponentially, so I am always on the lookout for ways of acquiring fabric for quilting with the least outlay of funds. Inspired by my love for recycling and by the plaid scrap quilts I have seen on Pinterest I began collecting checked shirts bought in charity shops. My local charity shop has been an almost weekly supplier of treasure, and each so far costing between £1 and £2.50.

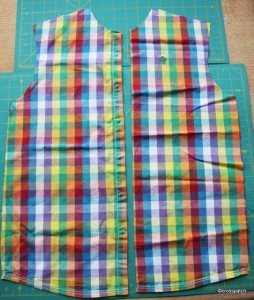
shirt fronts another almost fat quarter

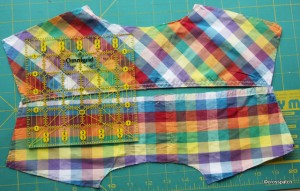
I find that a man’s “small” shirt will render the largest piece from the back measuring 21” by 25” measuring under the armholes and from yoke to tail, which is equal to a fat quarter, the front a similar amount of fabric in two halves, and then the sleeves although an odd shape will render at least as much as a fat quarter between them or less if short sleeves, but if I calculate each shirt to represent half a yard of fabric I don’t think I will be disappointed.

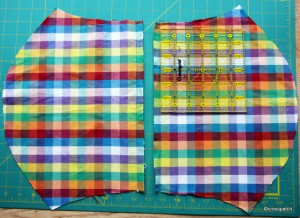
short sleeves, still would render two 5" squares each
short sleeves, still would render two 5″ squares each


The smallest shirt I have bought for £1 (pictured) was age 11-12 and gave me a back measuring 18.5” by 22”, the biggest a 17.5” collar shirt from Boden which rendered a back measuring 31” by 30” but bizarrely was cut on the bias and looks like a table cloth, the sleeves were cut on the straight grain, so although large the shirt will similarly render only a half yard.
The inside of the Yoke is often cut on the bias which limits its use but two small squares could be cut from it for another scrap project, and the yoke will render squares or strings.

Yoke pieces one straight, one bias cut

My rule in choosing which shirts to buy is that they must be 100% cotton, not seersucker, must be bright not muddy colours, and must be checked not striped. Mostly the shirts I buy are unworn or barely worn and that can be discerned by looking at the labels for wash fatigue and collar for signs of wear. So far I have made only two mistakes, poplin is too crackly, and does not iron well. To achieve a good mix of colour and pattern I will need perhaps 30 to 40 shirts, but that will give me 15-20 yards of fabric which should be enough for more than one quilt, one large and maybe a couple of lap quilts.

Some of my shirt collection

My observations on charity shop shirt buying so far are:-the louder the shirt the more likely that it will be unworn, perhaps it’s a case of loud shirts having a limited use, or that they generally fall into the unwanted gift, or “seemed like a good idea at the time” category, which languished at the back of the wardrobe for a couple of years and then got edited out to the charity shop. And…. children’s clothes, particularly summer wear in Britain, unless passed down from oldest to youngest, probably only has an 8 to 10 week window of wear, before its back to school uniform in September, so many summer shirts have hardly seen a washing machine more than half a dozen times before they are put away to have been outgrown by the following summer, so a future life in a quilt is a greener alternative to another 8 to 10 weeks life in a different boy’s wardrobe.

Stained Glass Window Quilt

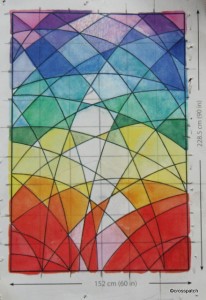
Eek, no pattern, no instructions, just an image. So Mum set about it valiantly, scaling up the image then drawing it onto a backing layer, sourcing the fabrics, so many colours, so little time.

Here’s a quilt my mother made for her granddaughter to celebrate her 21st Birthday, Sally found the design in a book and brought it to Mum, “Grandma, I’d love this for my 21st Birthday, could you….?

working diagram: stained glass window quilt
Eek, no pattern, no instructions, just an image. So Mum set about it valiantly, scaling up the image then drawing it onto a backing layer, sourcing the fabrics, so many rainbow colours, so little time.

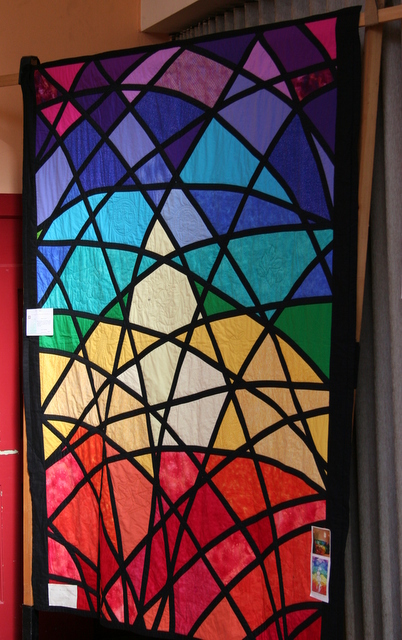
Each fabric piece was individually cut to fit the space on the backing where that colour belonged, and stitched to the backing along the very edge of the piece, so that the black bias binding used to “lead the windows” would cover the stitching. It was then quilted with images relevant to Sally’s life, the logo for her university, The University of Cumbria; a Dragon, because she was born in the Year of the Dragon; a set of Scales for a Libran; two Trefoils to represent the Guiding Movement; the logo of the University of Lancaster where she teaches swimming and a Gerbera to remind her of her Prom Night.There is also space for more quilted memories as they occur.

stained glass window quilt

The quilt was displayed at the last Exhibition our quilt group had two years ago , the best photos of this quilt have my mother standing proudly in front of it, but she would KILL me if I published a picture her on my blog, so this one will have to do.
The Garstang Patchwork Quilters’ next exhibition is 19th to 21st April 2013, find us at Bilsborough Village Hall on the A6 north of Preston,Lancashire, UK. I’ll be there on Saturday morning, see you there.

On the subject of being lucky

With a heavy heart I reached for the secret yellow stash, cut a couple of apple cores and threw them into the mix… presto! The whole thing started to come together.

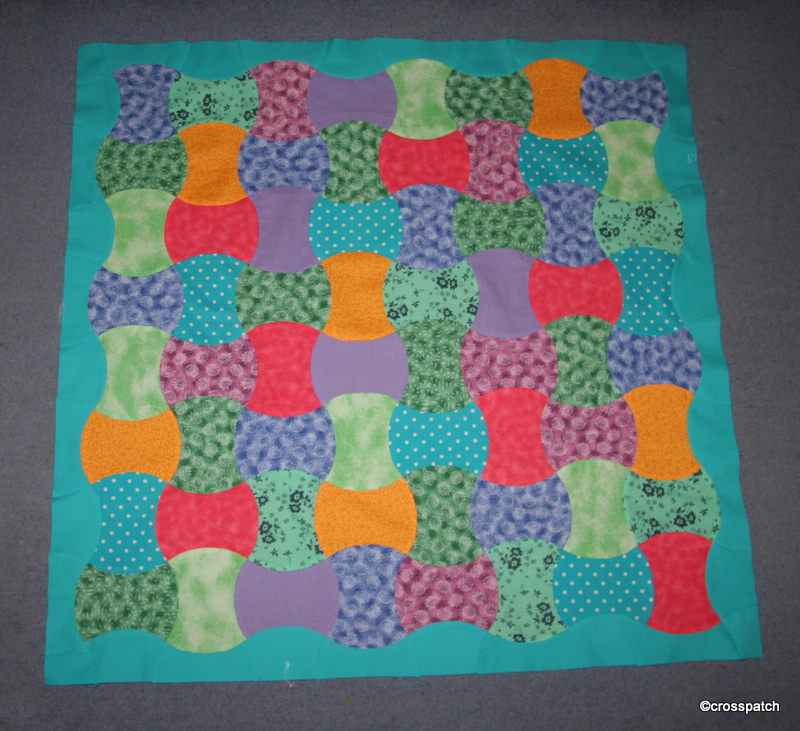
Going back to the Sizzix Big shot, I have now solved my little dilemma, and indeed the dreaded yellow was the answer. I had spent a few nights trying to think how I might avoid using the dreaded yellow and came up with an idea that a lime or apple green might work but on looking again at what was already cut I found I had already introduced a pale apple green, so that would not work. With a heavy heart I reached for the secret yellow stash, cut a couple of apple cores and threw them into the mix… presto! The whole thing started to come together.

first Apple Core Quilt

Then I went to my stash for a royal blue for the border but again…. it just wasn’t working, so off to the fabric shop I went,…..lavender blue? no, Airforce blue? no, Navy blue? no…..what about turquoise? Turquoise it is! I may even bind it in yellow too, but I’ve got time to ponder that while I do the quilting.
So next dilemma… how to quilt, and what to back it with?