Stash buster for a good cause

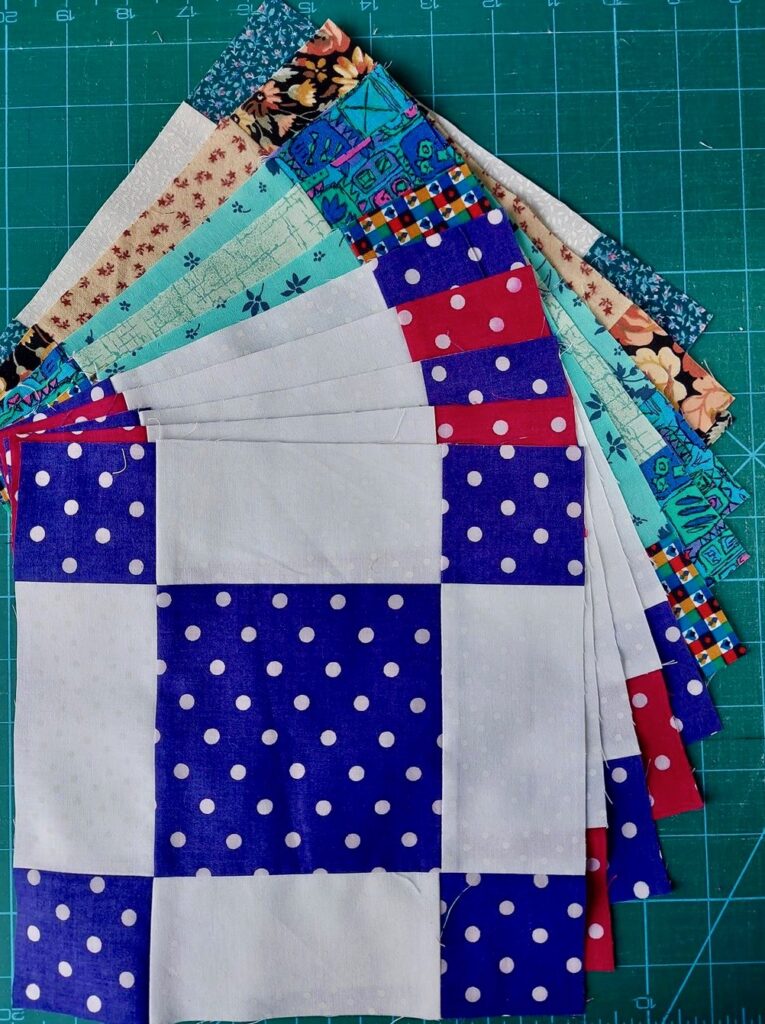
So I am really pleased to have found, and joined a community on Facebook called Quilts for Care leavers (Q4CL ) we make quilts and gift them to young people leaving care.

A lady never discusses the size of her stash !

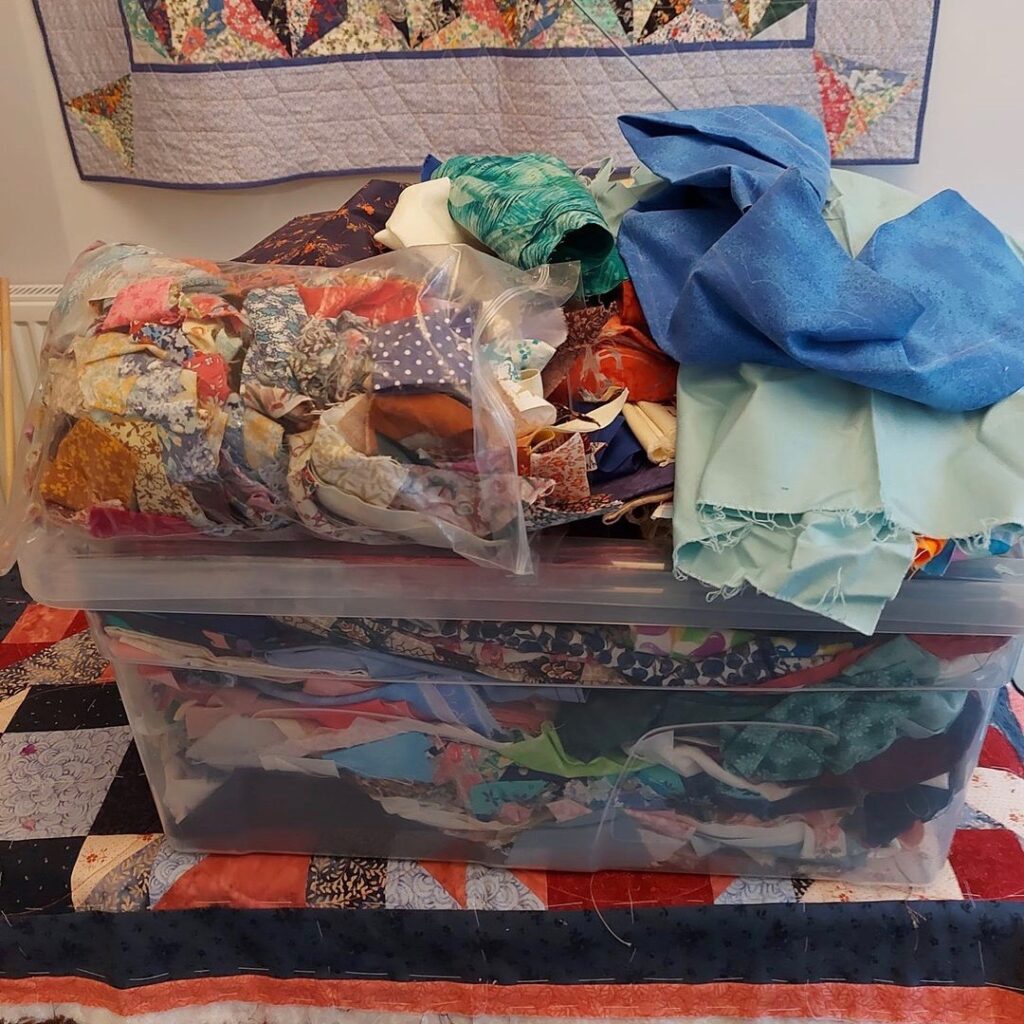
It’s a well known joke among quilters, we all have a stash of fabric and it’s probably bigger than we know; it’s certainly bigger than our loved ones realise.  Who has not sneaked fabric into the house without admitting it to our other half?

Lately I have been thinking about my stash, I’ve been buying and setting aside fabric for years, and now in my 60’s I realise I will never have time to use all that fabric to make quilts or even have a purpose for them.

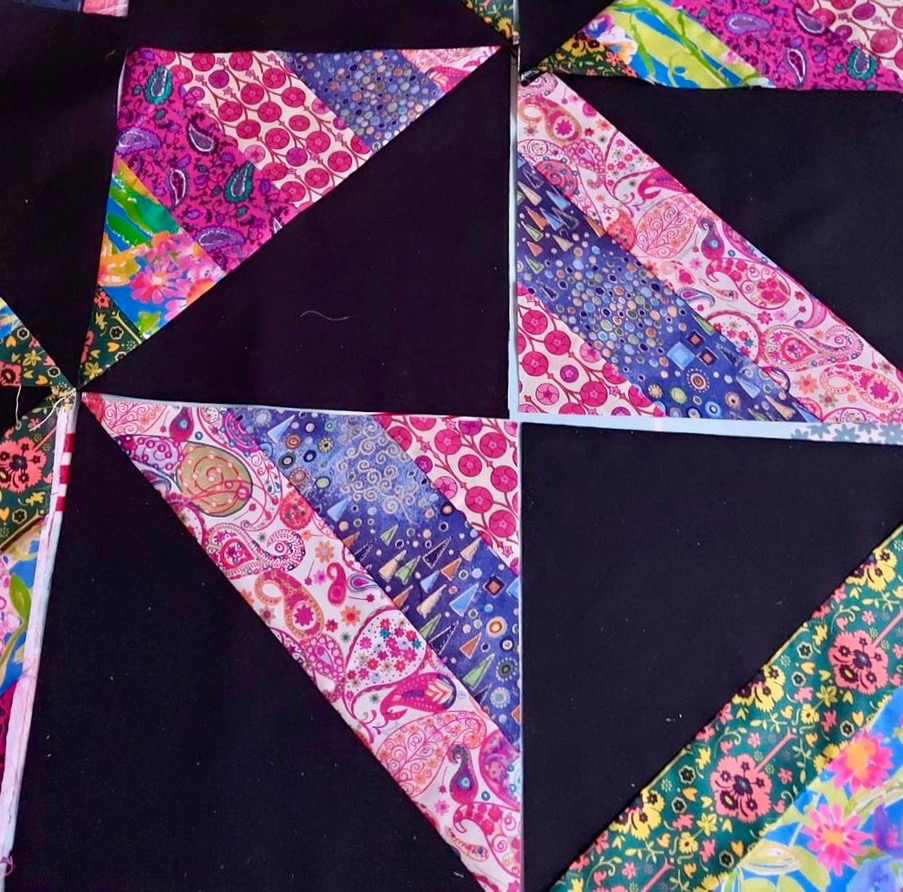
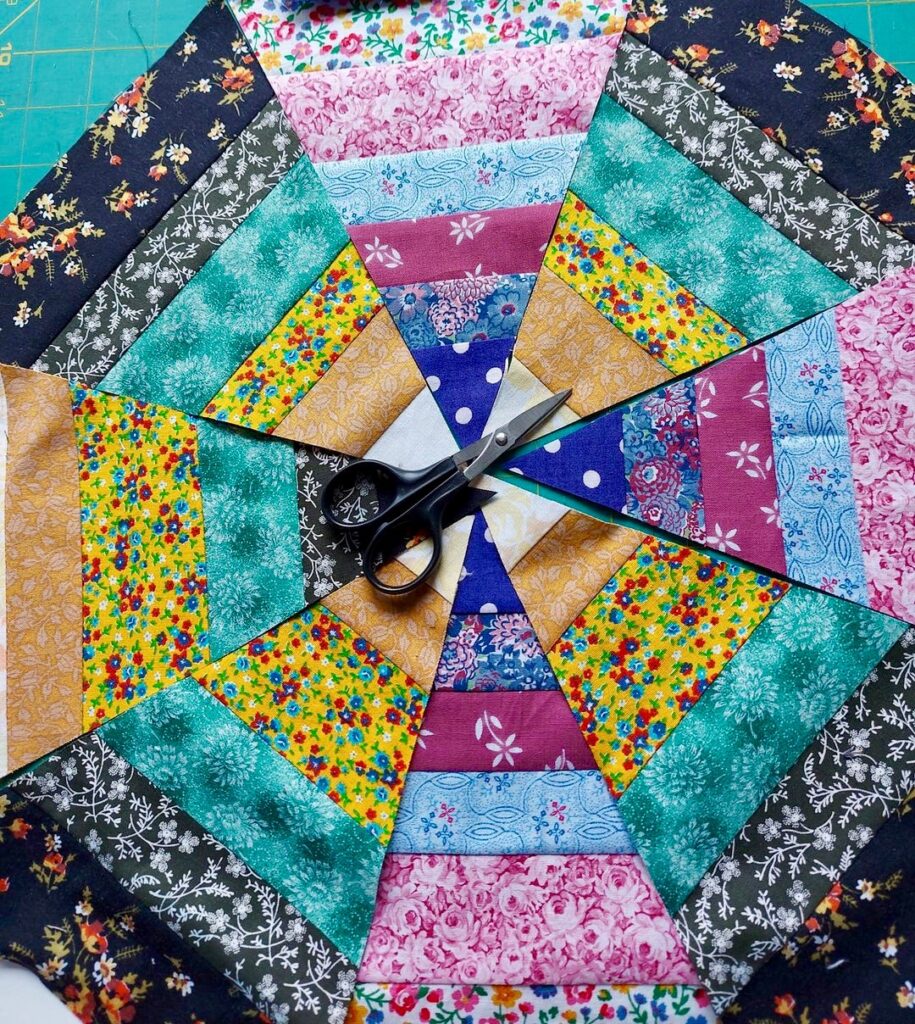
So I am really pleased to have found, and joined a community on Facebook called Quilts for Care leavers (Q4CL ) we make quilts and gift them to young people leaving care.  It means I can use my stash; piecing blocks to my heart’s content, and never have to make a complete quilt. If you would like to join us you can find us here: https://www.facebook.com/groups/QuiltsforCareLeaversMakers

 The quilts made are called “hugs“; made longer than they are wide so they can be wrapped around the shoulders and worn without dragging on the floor. They are intended to be a means of warmth and comfort, perhaps even more necessary in these times of fuel poverty.

Each month a member will propose a “block of the month” (BOM) and set out the instructions for how to put together the fabrics and the size of the block, so that all the contributed blocks will fit together.  Each contributor can make as few or as many blocks as they choose, and send them to the organiser, the person who proposed the block.

 I don’t know if the organiser then puts the quilt tops together themselves, or whether there are teams of people waiting for the incoming blocks.  I’m not sure how the quilts are put together or quilted, no doubt all will become clear in time.

Group members can also create their own “hugs” either just the quilt top then donated to be made into a quilt or they can donate finished quilts.

I contributed to the BOM for January 2022.  So far 4469 blocks contributed; 28 hugs made and counting.

I contributed to the BOM for February 2022.  So far 3237 bocks contributed will make 34 Hugs.

 And I contributed to the BOM for March 2022. Numbers not in yet.

I’m looking forward to the BOM for April,

I’m still working from my scrap box, and picking out scraps from my mother’s stash; at 90yrs old, she doesn’t sew anymore, and she is happy for me to raid her stash whenever I want. Mum would be happy for me to take all of her stash, but where on earth would I put it?

I can’t say I’m having sleepless nights about the size of my stash…yet, but I don’t want to have to strengthen the rafters to take the weight of my mother’s stash, after all she was sewing before I was born, and her stash is impressive, even though she’s been retired for 30 years.  

My block for the Covid Commemorative Quilt

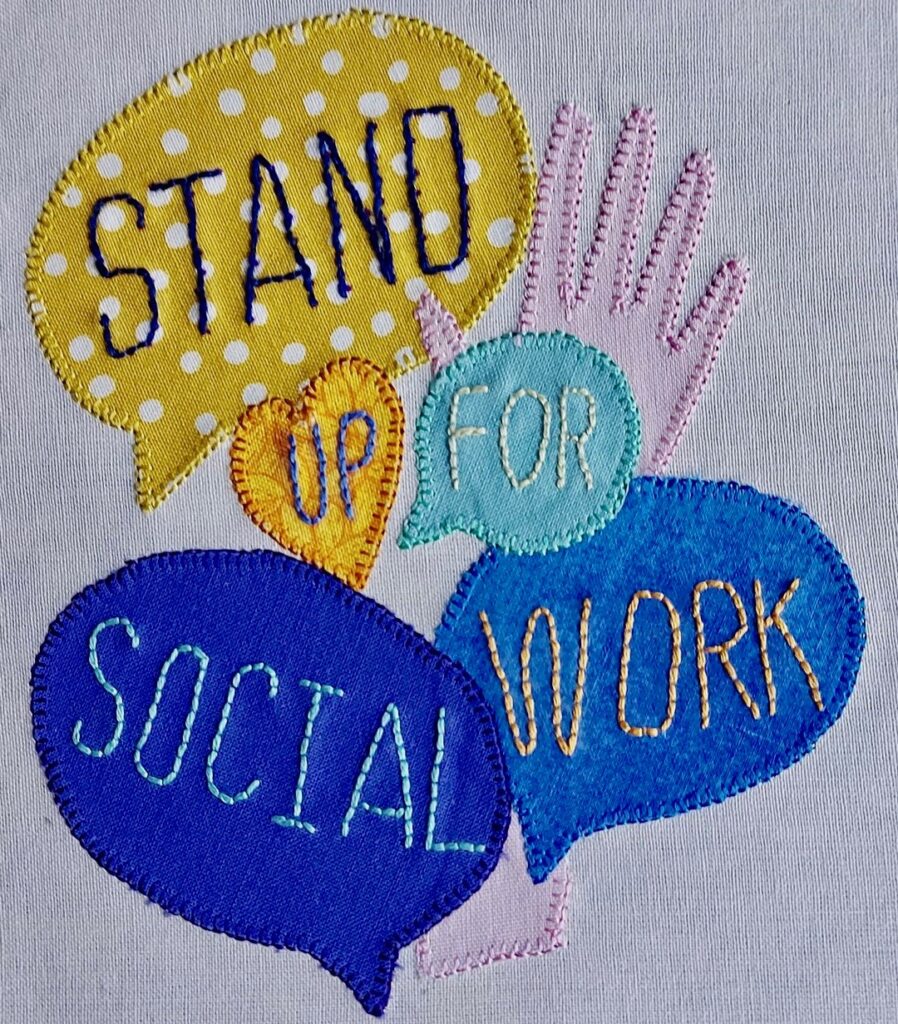
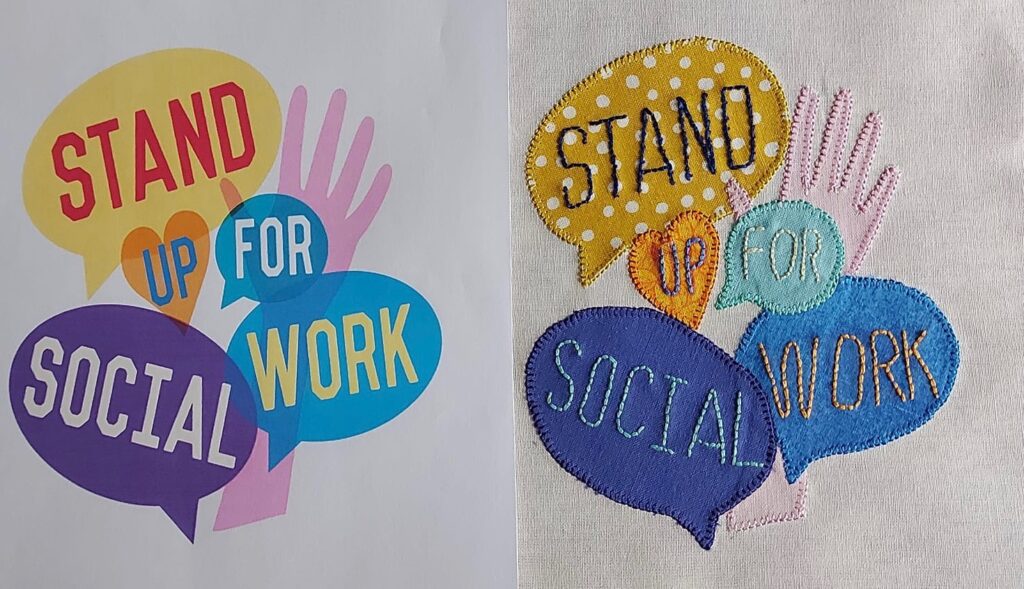
I wanted to give a clear shout out for Social Care, I knew that many contributions would be thanking the NHS, I was going to stand up for the many key workers in Social Care who also went above and beyond during the Pandemic.

What do you do when a planned week of leave is promised cold, wet weather?  I always have a wet weather plan. I spent calm, quiet mornings sewing. As a longstanding member of the Quilters’ Guild of the British Isles I was invited to contribute a block to the Covid Commemorative Quilt; a collaboration between the Quilters’ Guild and Bernina who make very fine sewing machines.

The remit was to “create a block which reflects your thoughts on the pandemic and the recovery from it… commemorate a loved one lost…the NHS…a key worker … (or) just be a ray of optimism as we emerge”

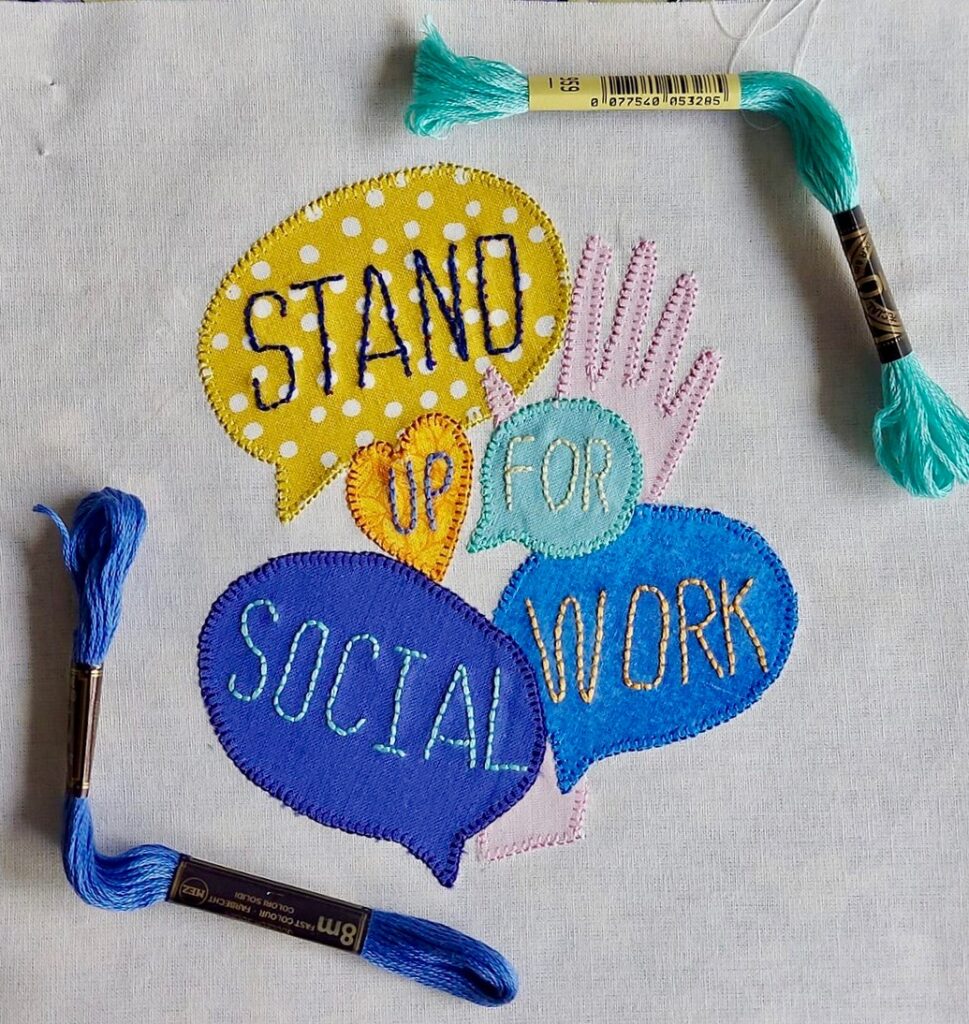
I wanted to give a clear shout out for Social Care, I knew that many contributions would be thanking the NHS, I was going to stand up for the many key workers in Social Care who also went above and beyond during the Pandemic.

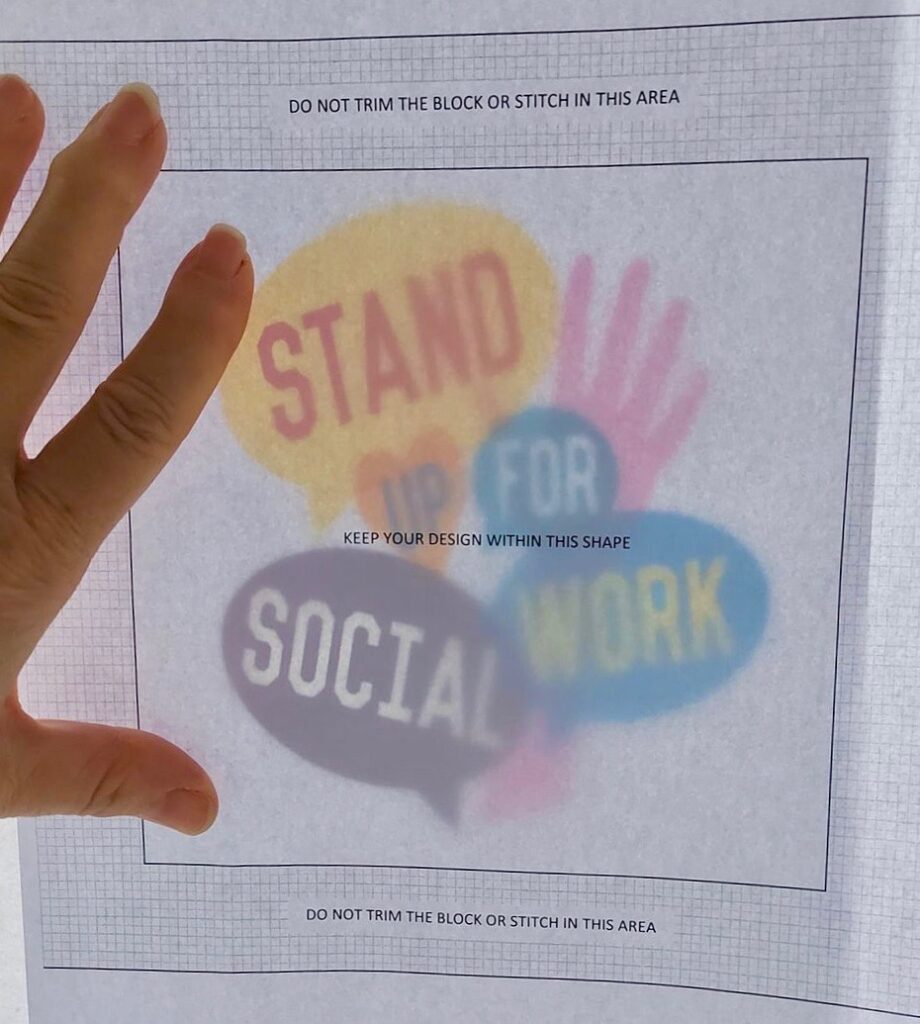
Taking the ‘ Shout out for Social Work’ logo as my design, I resized and printed the logo so that it would fit the piece of calico provided. To ensure all the blocks contributed are the same size, and will go together effortlessly, the organisers very cleverly gave clear and strict instructions. My design must fit inside a 6 inch square centred on the 8 inch calico square provided and must use somewhere in the design a piece of the small 4 inch square of print fabric provided.  Spotty mustard print, its not my thing but the idea is that it will tie each block to its neighbours in the finished quilt.  

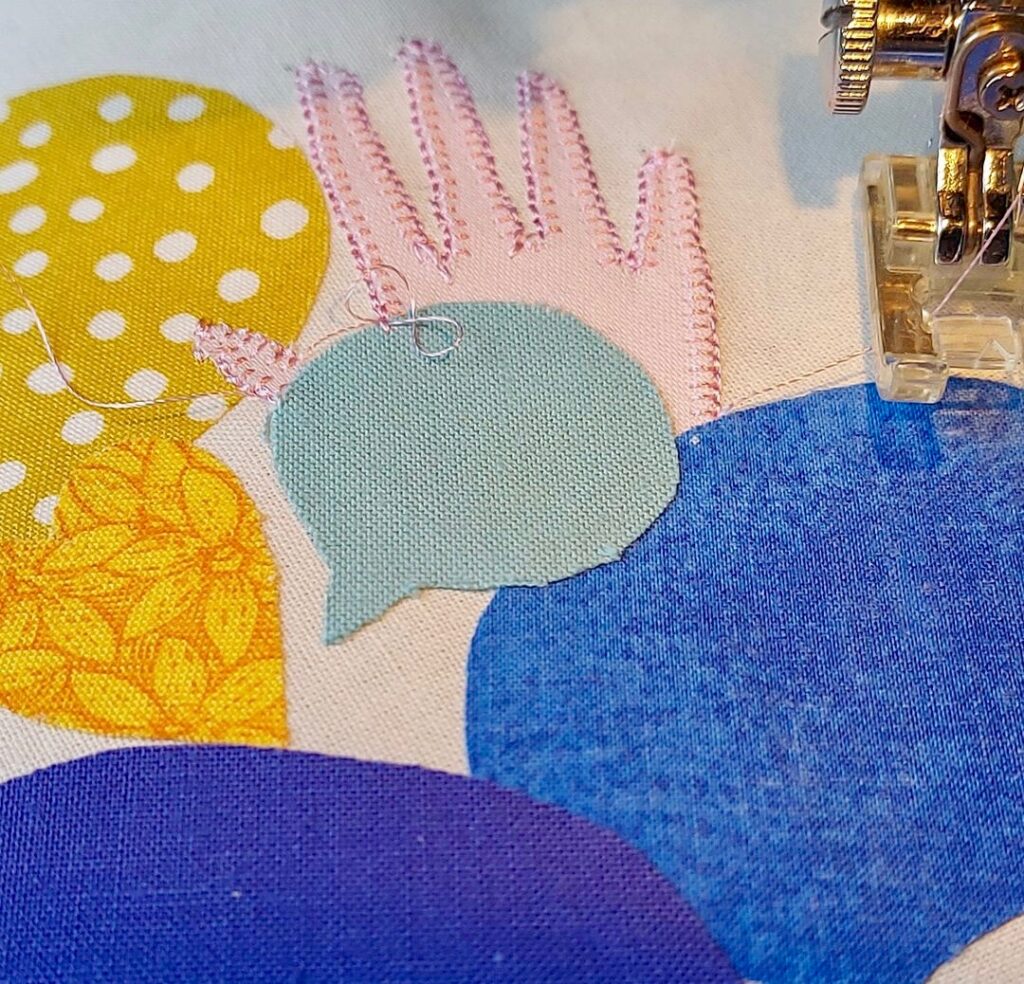
Holding the design and the calico up to the window allowed me to check the size was right,  I traced each element of the design onto Bondaweb (it’s a kind of double sided iron on sticky tape for fabric) ; and ironed the elements of the design in place. First mistake, I ironed on the hand first then realised the thumb should be on top of another element. I had to carefully peel it off, just the thumb, and iron it again over the speech bubble.

 That mistake then decided the next step, as the quilt will be for display rather than use, I thought I might get away with raw edges, but having peeled back the thumb it looked a bit shaggy, so now I needed to embroider the edges to stop them fraying.  Thank goodness my sewing machine does a tiny and very neat blanket stitch.

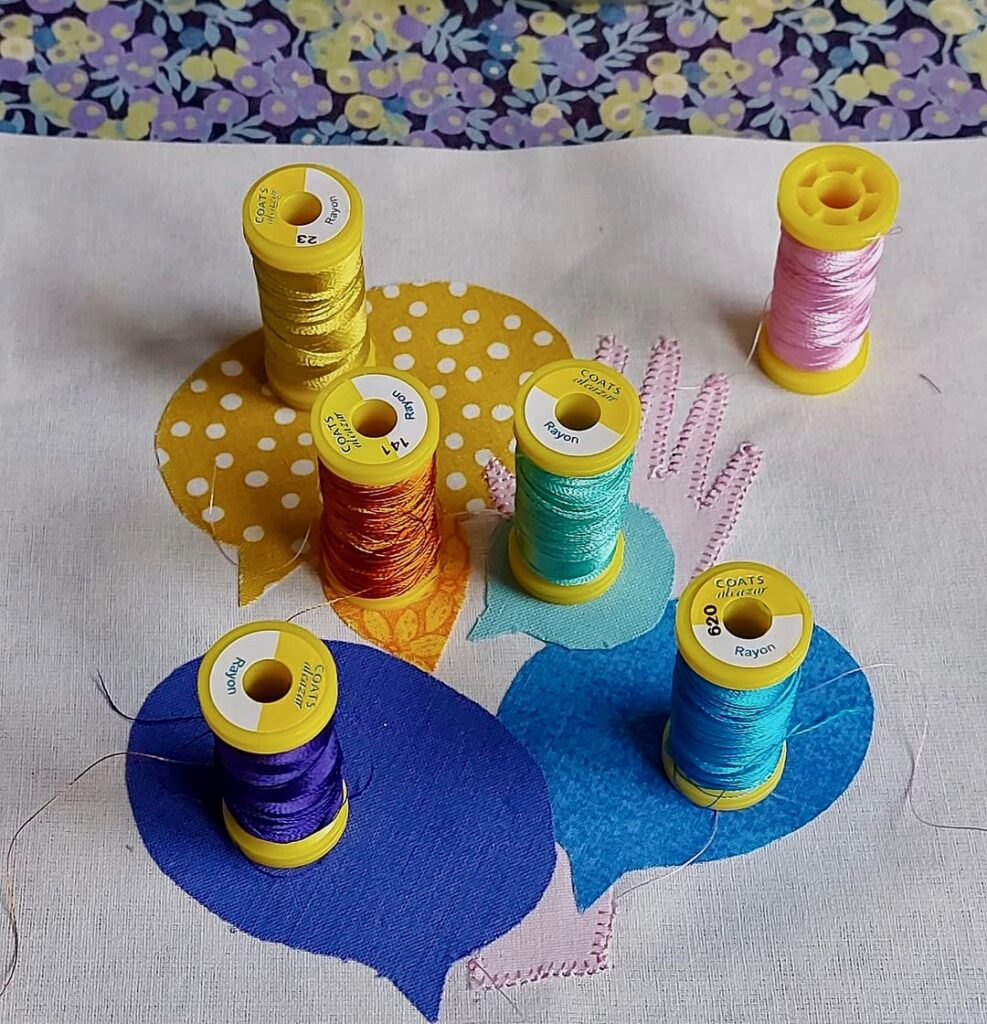
The machine embroidery threads , I have dozens of them, which I bought in a big bag full for £5 in a local charity shop, I do love a bargain. The hand embroidery threads I’ve had tucked away for years, and the fabrics all came from my scrap box, so I didn’t spend anything putting this together, even the bondaweb was borrowed from Mum, she’s 90, and doesn’t sew anymore.

Finally the words are hand stitched, not because I have any skill in that respect, I just wanted to put something of myself into my block, rather than it all being the work of my sewing machine.

Each contributor is also encouraged to say a few words about their block, this is my explanation:-

The NHS received a great deal of well deserved praise for their herculean efforts during the Pandemic, but they weren’t the only group of people who worked tirelessly throughout to keep the country safe.

Being a Social Worker, I want to give a shout out for Social Care, and the people who worked in very difficult circumstances. Some working from their homes, isolated from their supportive community, with fewer and fewer resources to call upon.

 Others left their homes and isolated themselves from their own families, to support the most vulnerable.

These were dark days; so for everyone in social care who spent the time of Pandemic trying to keep vulnerable people safe, supported and out of hospital, a heartfelt Thank You. “

Charitable donations are welcomed to the BERNINA fund-raise for NHS Charities Together , you can do so here www.justgiving.com/covid-quilt

Making Miriam’s cushion

I wanted to give Miriam a leaving gift that was personal from me to her, no shop bought gift , it had to be hand made.

Recently one of my staff team handed in her notice, I was very sad to see her go because she is a great practitioner and a lovely human being, but I was happy to see her progress in her career.

Naturally I wanted to give Miriam a leaving gift that was personal from me to her, no shop bought gift , it had to be hand made.  A cushion was all I had time to achieve, so this is the tale of Miriam’s cushion.

Miriam's cushion
Finished!


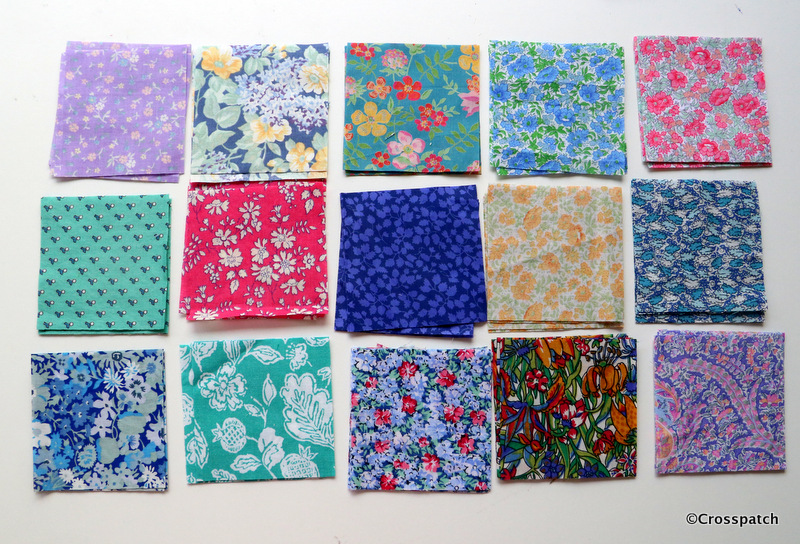
I decided all would be made from my fabric stash, and wanted something very pretty, so Liberty prints seemed to fit the bill.

I wondered if perhaps there was a block called Miriam, well there is but it isn’t particularly pretty, and its also known as Crazy Susan, so that wouldn’t go down well. Stars was my second thought. Pinterest supplied this idea, Miriam’s cushion was going to be Fab.

Miriam's cushion
Liberty prints


15 different fabrics were picked out of my stash, and a new white on white fabric was bought to tie them all together, there was nothing suitable in my stash.

Miriam's Cushion
trimming down to 2.5 “


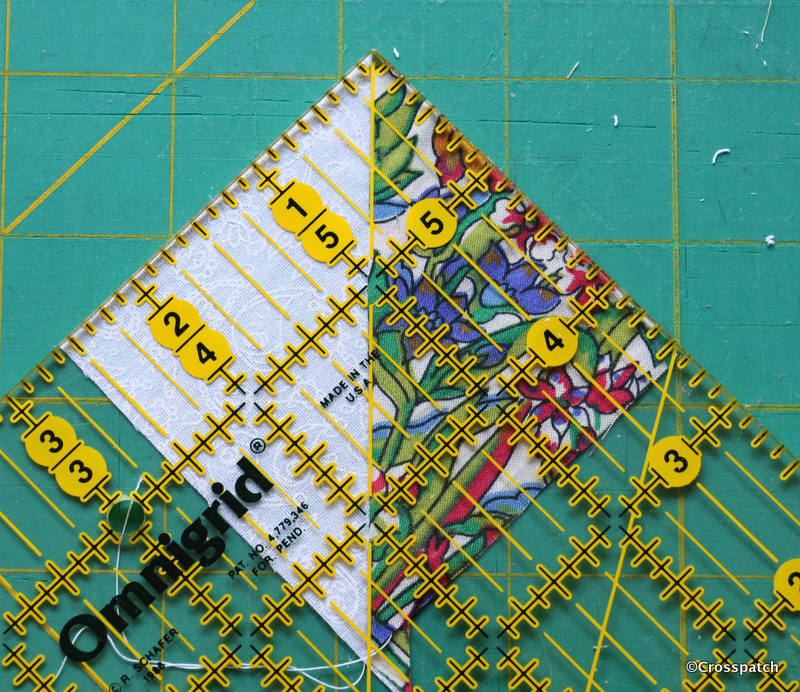
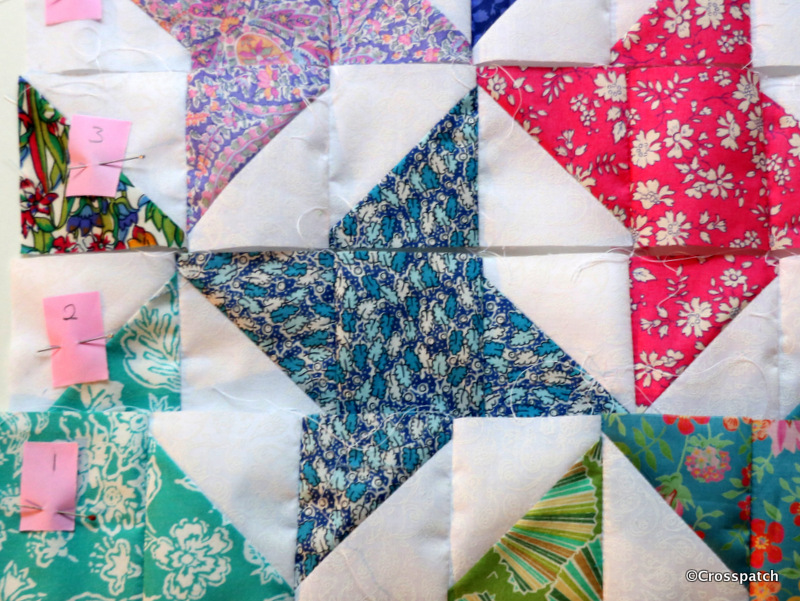
From each fabric one 2 ½ “ square and four 2⅞ “   triangles were required.  I found it easier to cut 2 x 3 “ squares from each fabric and the same from the white to make 4 half square triangle units by putting a Liberty fabric square right sides to right sides with a white square, sewing two lines half an inch apart across the diagonal and cutting them apart, pressing to the dark side, then cutting down to 2 ½ “.


Half square triangle units are traditionally made by marking a fine pencil line diagonally across the paler fabric, so that it can easily be seen, and sewing a ¼“ from either side of the line.  We press the seam allowance towards the darker fabric so as not to allow the darker fabric to show through the paler, it also helps to nest seams for a flatter, neater end result.

Miriam's Cushion
placing fabrics


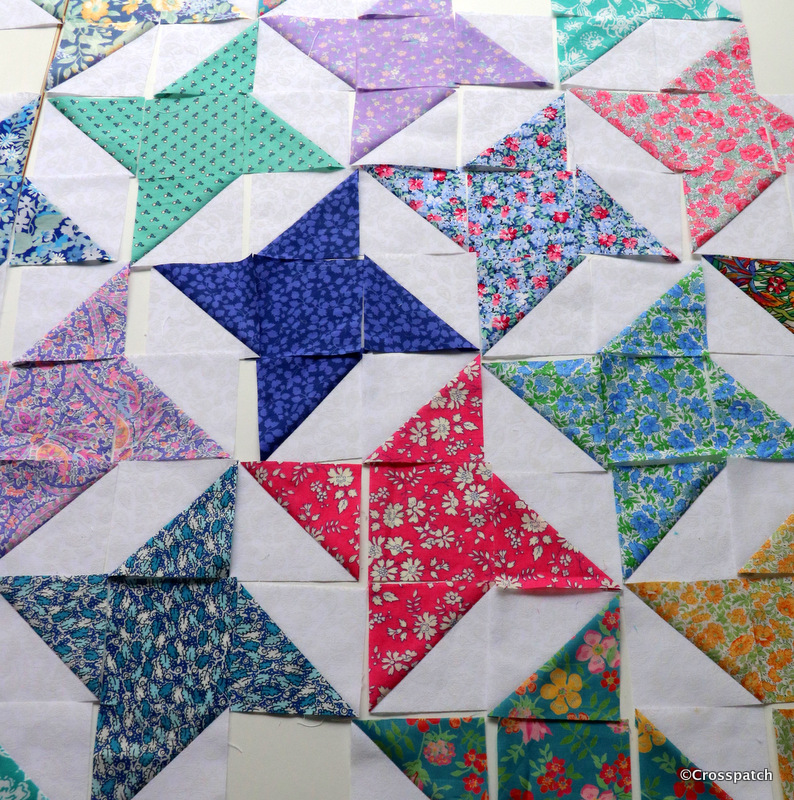
Once I had 15 sets of square and triangles, I had to decide on placement of the fabrics, with this pattern there are no blocks which can be made up and colour placement decided later, each fabric interlocks with its neighbours row on row , so the whole design must be laid out in advance.  Thank goodness it was only a cushion, I don’t have space to lay out an entire quilt in this way.

Miriam's cushion


Numbering the rows so that I didn’t get myself in a tangle I stitched each row individually, then pressed the odd rows in one direction and the even rows in the other direction so that the seams would nest neatly.


I was under time pressure, so as I worked I considered how to finish Miriam’s cushion, I wanted to finish the edge with a binding which would look like piping without the faff of having to use piping. But that left me with a problem of how to close the cushion cover.


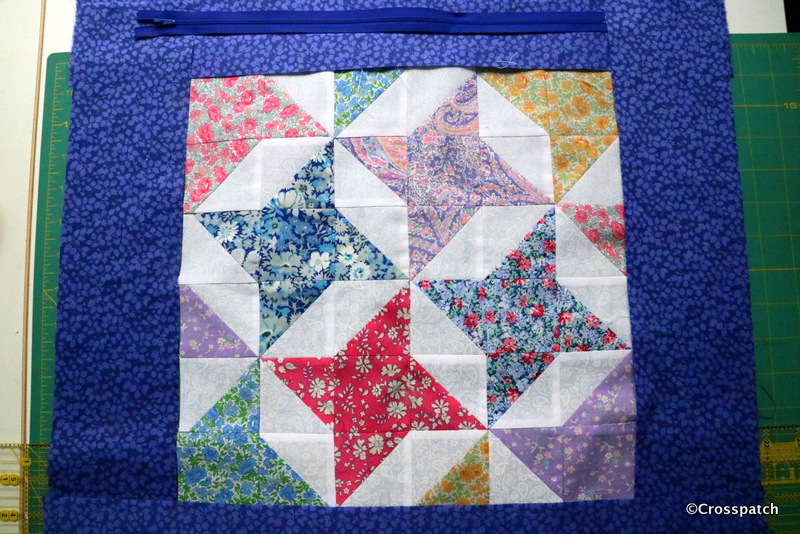
A Zipper looks better than an envelope back, which I always think looks baggy and unfinished, but I couldn’t figure out how to put a zipper in a bound edge. So rather than make a matching back I had to make a smaller version of the front for back with a sashing to insert a zipper and leave a raw edge to bind.

Miriam's cushion
cushion back with zipper


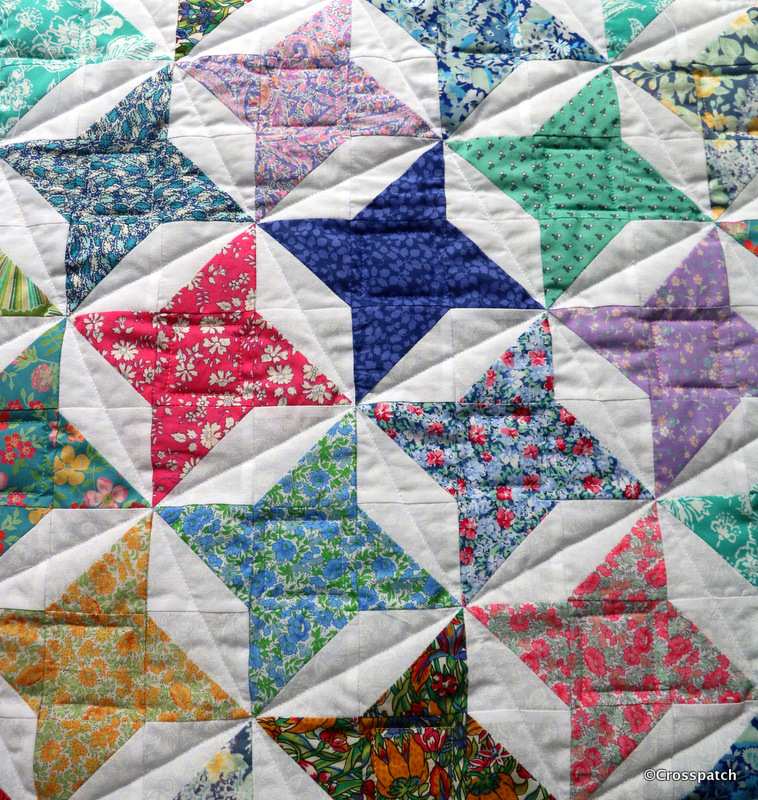
Each side was sandwiched with a 2oz wadding bought specially at Abakhan    (https://www.abakhan.co.uk/stores) in Preston; and quilted simply with diagonal lines, happily because the wadding was quite chunky, it didn’t need a lot of close quilting.

Miriam's cushion
quilting Miriam’s cushion

I sewed the front to the back wrong sides together with the raw edges on the outside, a ¼ “ seam allowance.


Finally I cut and stitched the binding ; I cut a 2 ¼ “ binding and folded  it in half lengthways, right sides out, sewing it to the front of the cushion just a smidge wider than  ¼ “ so that the first seam isn’t showing.  It also stabilises and strengthens the seam around the edge being stitched round a second time.  Then rolling the binding over the raw edge by hand, because I have folded the binding I now have a folded edge to hand stitch along the seam line on the reverse side.

Miriam's cushion
Finished!


I used the same fabric for the binding as the sashing so that any wobbliness of the binding or the hand stitching would be less obvious on that side. I was burning the midnight oil by this time; Miriam’s cushion had to be finished, she was leaving the following day.


I wanted to label the cushion, but not for it to be seen  announcing myself constantly, so I made a label and stitched it inside the cushion, just under the zipper.  It simply says it was made for  Miriam, it is Miriam’s cushion.


When I gave Miriam’s Cushion to her, I pointed out my two errors, the zipper isn’t centrally placed, can’t figure out how that happened, but I didn’t have time to fix it, and the far corner fabric isn’t quite “right”, but I left it in because, as all quilters know, “only God is Perfect”.


There was one final flourish that I had planned to add but I ran out of time. It was a bible quotation I sought out especially For Miriam, a committed Christian, as she was leaving us for another job nearer to her home. I had planned it to be sewn inside like the label.


So here it is :-


To enjoy your work and accept your lot in life—this is indeed a gift from God. (Ecclesiastes 5:19)


It’s more than simply Miriam’s cushion it is a gift to express fond appreciation of the person she is.  Thank you Miriam for passing through my life however briefly, it has been a pleasure to know you, to work with you, to see you develop and flourish in your profession.


Counselling with benefits; cheaper than therapy

It’s certainly cheaper than therapy, and I get to give as well as receive.

I have been going to the same hairdresser for more than 20 years, every 5 weeks  I go and get my grey roots covered, I often see the same fellow customers who have also been customers for years, it is like a self help group. We have shared our ups and downs getting sympathy and advice, and giving it in return, sharing knowledge or simply a sympathetic ear. No doubt  I am talked about when I’m not there but I don’t mind, if my experiences can be of help, or dire warning to others all well and good, and if it merely gives folks something to laugh at that’s OK too. It’s certainly cheaper than therapy, and I get to give as well as receive.

furnishing silks 3
furnishing silks 2
furnishing silks 1

People also give what they have and don’t need, to those who might make use of it, and this is how I came to acquire some furnishing fabrics.  They are multi coloured samples of a heavy silk weight, probably polyester, which I think I can use for foundation piecing.


printed foundation

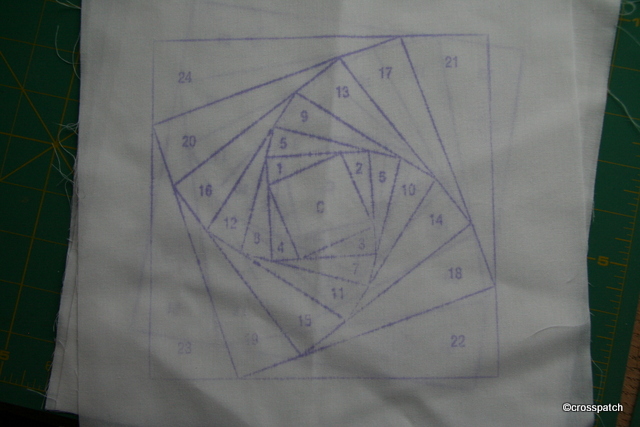
When I was emptying my cupboard , in order to move it without doing ourselves an injury, I found these pre-printed foundation patterns. I think I will make a rainbow coloured quilt from the silks.  It will turn out quite stiff, so it may end up being a wall hanging or maybe it could be a bag…… decisions …decisions.

My lost fabric materialised too late.

a number of lost treasures which had fallen down the back, a few socks, a scarf, and my precious stash of special fabric. So that was an unexpected piece of good fortune.

The fabric which I had been seeking for months, the fabric I wanted to use to make a quilt for a good friend of mine, it turned up the moment I gave up seeking it. Isn’t it always the way? A cupboard which usually stands at the bottom of the stairs, and holds that part of my stash which I’m not planning to use any time soon, needed to be moved.

We had invited my parents to join us for Christmas dinner which meant the dining table needed to moved to the dining room from the sitting room where it normally lives ( long story, don’t ask), and the two arm chairs which normally live in the dining room, had to move to the sitting room.  The Christmas tree which would normally be put up in the dining room, would not fit in there this Christmas, so we decided to set it up in the hall; the only place it would fit was the spot where the cupboard was standing.

The cupboard clearly had not been moved for some time, and once moved there were a number of lost treasures which had fallen down the back, a few socks, a scarf, and my precious stash of special fabric. So that was an unexpected piece of good fortune.  ( Note to self, clean behind furniture more often.)

Turned up at last
Turned up at last

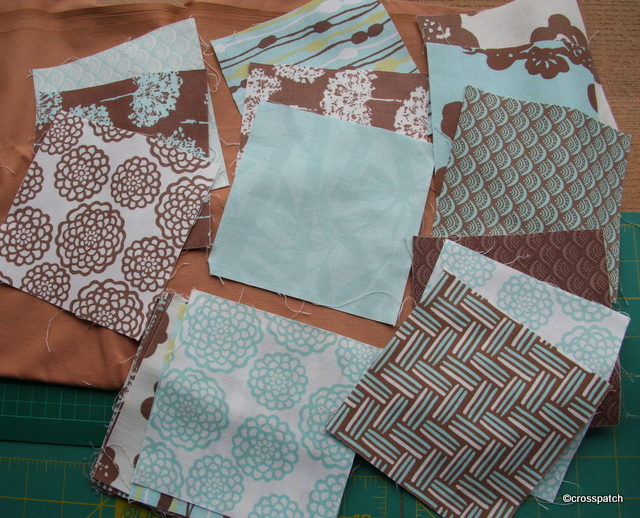
This is a charm pack of squares, which I need to put together with another bought fabric to tie them all together, and an accent colour to brighten them up a bit, I originally thought of using the terracotta fabric I’ve placed them on but it isn’t right, it just isn’t looking good, so I might see if I can find a mushroomy grey beige for sashing, and a guacamole or mushy pea green for the accent.

Hurry up, Christmas is coming

so I put the fabric aside in a safe place till I was ready to begin….but where?

For months now I have been searching without success for a stash of fabric I had put aside to make a quilt for a friend for Christmas, I had planned to make it last year but ran out of time and energy, so put the fabric aside in a safe place till I was ready to begin….but where? I can’t find it anywhere, and I guess even if I did now, I would not have time to make even the simplest quilt. I even pulled out one of my UFO’s and considered finishing it for her but decided not, I love her dearly, she deserves her own quilt conceived and made specifically for her, in her colours. It doesn’t have to be now and it shouldn’t be rushed or ill conceived, besides I am still having ideas about it, so clearly it is not yet a done deal.
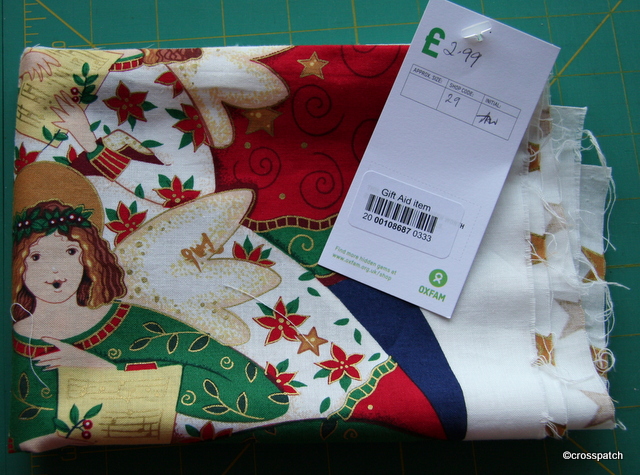
£2.99 Oxfam, Kendal
£2.99 Oxfam, Kendal

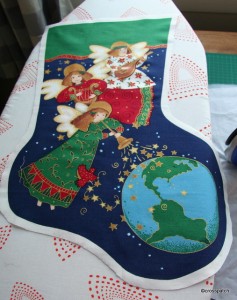
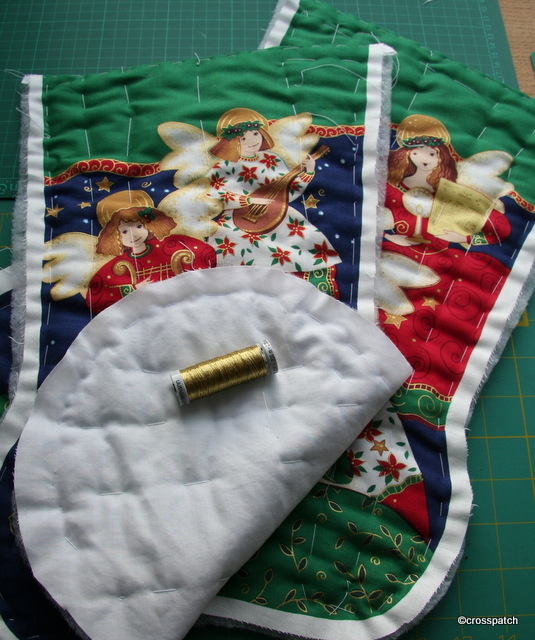
However I am making something for her, her own stocking. I found in a charity shop some weeks ago a printed panel for a Christmas stocking, and bought it for £2.99, I guess it would have been £5 to £10 pounds or more to buy in a quilt shop.
I cut the two sides apart and cut out the shapes with a centimetre seam allowance, it needs to be greater than a quarter inch because I will use the seam allowance turned in on itself to neaten the seam. I will sew it at 5/8ths and this will ensure no white will show at the edge.

press before you sew

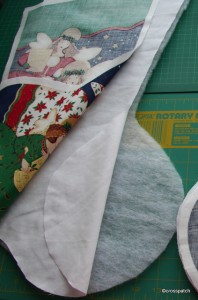
I cut a lining from a plain white fabric I had to hand and a piece of wadding for each side, and sewed all three together along the top edge the front and the lining right sides together, with the wadding on the back.

not a wadding sandwich


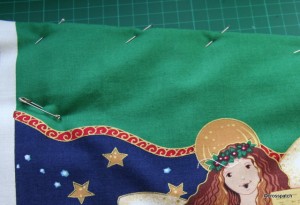
Then the wadding was trimmed back as close to the seam as possible , and the printed panel flipped over so that the wadding is now in the middle. I neatly pinned the top edge then tacked it to ensure the lining did not roll out and show above the printed panel. I will top stitch when it has been tacked together to keep the top edge stable.

stabilise the top edge


Having tacked all three layers together I am now in the process of quilting the layers together with a gold machine embroidery thread to add a little Christmas sparkle.

a little sparkle to be added

Just another brick in the wall

As I recognise all the fabrics in the quilt as a collection of “yours and mine” this must have been a joint effort for mum and me

This is one of the quilts I photographed last summer in my rainy garden, such a simple design which would work well with jelly rolls or scraps. I can’t remember the dimensions but it looks as if the Bricks are 2 ½ “ by 4 ½ “; it would work larger or smaller so long as the width was half the length in the finished brick. The white and coloured bricks are then put together round a central square of white.
warm spicy brick quilt

I’m pretty sure this is one my mother made although I can see it was made of a pooled collection of scraps because some of them are from my stash. The block pattern was a block of the month challenge which I think I might have set for our quilting group. As I recognise all the fabrics in the quilt as a collection of “yours and mine” this must have been a joint effort for mum and me rather than of the group as a whole.
Much as I like this collection of earthy, spicy colours, they are not my colours and would not sit well in my home, which is why I guess it languishes at my mother’s house, unloved, unused. And yet I have just realised a use for it, My Dad may have to get used to being transported in a wheelchair at least over longer distances, as a retired Builder, what better than a “Brick” quilt to throw over his knees on colder days when out and about in his wheelchair.
I’m booked to take him to a hospital appointment next week, he’ll have to accept wheelchair transportation for the first time, now dare I introduce the quilt at the same time? Or should I let him get used to accepting the wheelchair first? One brick at a time I think.

Warm hands; Cold heart, or so the saying goes.

Some of the creams are evidently different from their neighbours, if one person had made all the blocks, all the creams would match

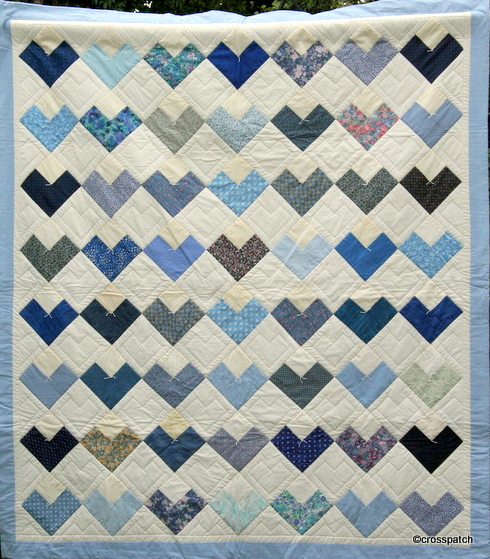
I do have warm hands, always, and so I make lousy pastry, the saying would have me cold hearted too. Blue hearts may look cold too but they make an easy to make, simple quilt.

cold cold hearts

The quilt belongs to my mother, I don’t actually remember it being made but I’m pretty sure it must be a block of the month challenge, each heart just a four patch; 3 blue squares and a cream one, set on point alternating with plain cream squares. Some of the creams are evidently different from their neighbours, if one person had made all the blocks, all the creams would match, or there would be a selection of creams carefully placed to balance across the quilt.
It’s such a simple rustic quilt , quilted and tied, no need for anything elaborate.

Let’s twist again like we did last Summer

it’s never a good idea to use bias cut fabric , bias cut edge to bias cut edge if you can avoid it, but if you cut same size squares on straight grain, and
join then alternately bias cut edge to straight grain edge, you can produce a string of coloured squares to use as a border,

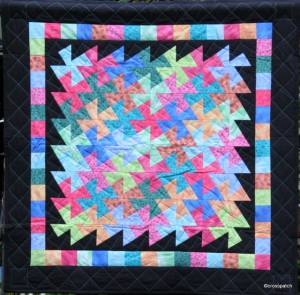
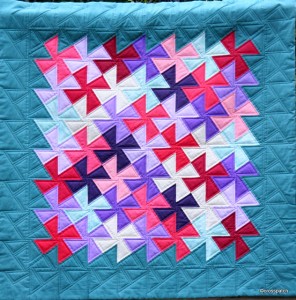
These two quilts are another mother and daughter effort, the first is mine using my favourite bright colours, with black. The second is my mother’s, rich colours which tone beautifully together.

Mulitcoloured Twister quilt

The block is known as Twister, it looks rather complicated, and whilst it does take some planning and a large workspace is helpful it is actually fairly simple to achieve.
First task is to cut out squares and put them together in a grid bearing in mind that each square will tessellate with its neighbouring squares in the finished article, so each square should be sufficiently different from its neighbour to give the definition you want.

Mum's twister quilt

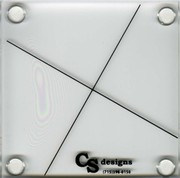
Once you have a grid maybe 20 percent larger than the finished article you plan, you take your scissors to it cutting it up using a template guide. At first it may seem that there is a profligate waste of fabric as you do cut to waste. A large bias square is cut from the centre of each square, I set these aside to use in the border. As each new square is cut diagonally from the fabric with the intersection of the squares as the centre of the new squares you cut, you should then rotate the square 90 degrees and set it back next to its neighbour. You will find they begin to tessellate; now you see why you need to have a large workspace, because you need to set out the entire quilt top, each piece placed by its neighbour, to get the placing correct.

http://www.pinkchalkfabrics.com

You will have a collection of little bias cut squares left over, now it’s never a good idea to use bias cut fabric , bias cut edge to bias cut edge if you can avoid it,because both edges will stretch. If you cut the same size squares on straight grain, and join them alternately bias cut edge to straight grain edge, you can produce a string of coloured squares to use as a border, it will still stretch a little if you are not careful, but at least there will be no waste. I cannot bear waste.

The first quilt I made in this pattern I can’t find a photo of, probably because it was photographed long before I discovered digital photography, in fact it may have been made before digital photography existed.( Do you know how old that makes me feel?) It was a cot quilt made for a friend at the birth of her daughter, and was in pretty pinks and blues and on a very small scale, hand quilted in circles.

Fibonacci: a lesson from the 12th Century

When I have a few hours to spare…. Some time in the next 5 years! I think I have the right two fabrics to make another one of these.

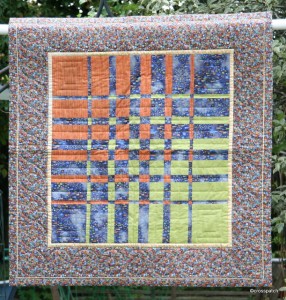
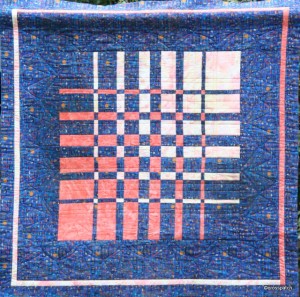
Here are two more quilts made from the inspiring work of Ricky Tims, not mine I’m afraid, these two were both made by my Mother.

Egyptian math

The first probably made at the same time as my first and to the same instructions, I think we may have been lent a book or attended a workshop together.

W.I. challenge quilt

The second, I’m sure was made in response to a Women’s Institute Challenge to use a particular challenge fabric inspired by Gustav Klimt. Or perhaps it was made from the left over fabric. The lime and copper fabrics look to be plains while the other two fabrics are patterned fabrics which have patterns taken from the paintings of Klimt, I particularly love the blue.

When I have a few hours to spare…. Some time in the next 5 years! I think I have the right two fabrics to make another one of these.