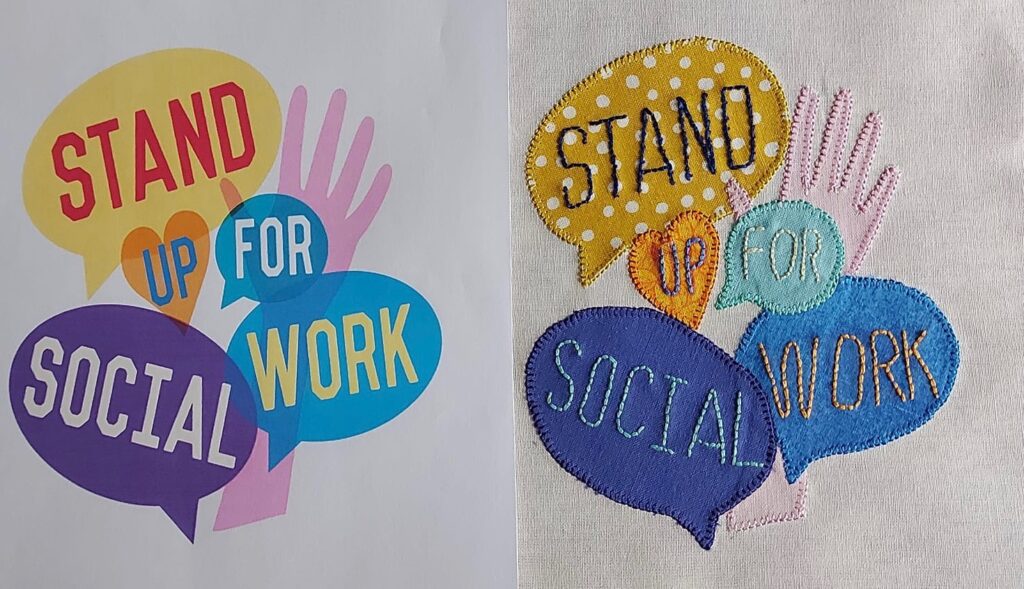
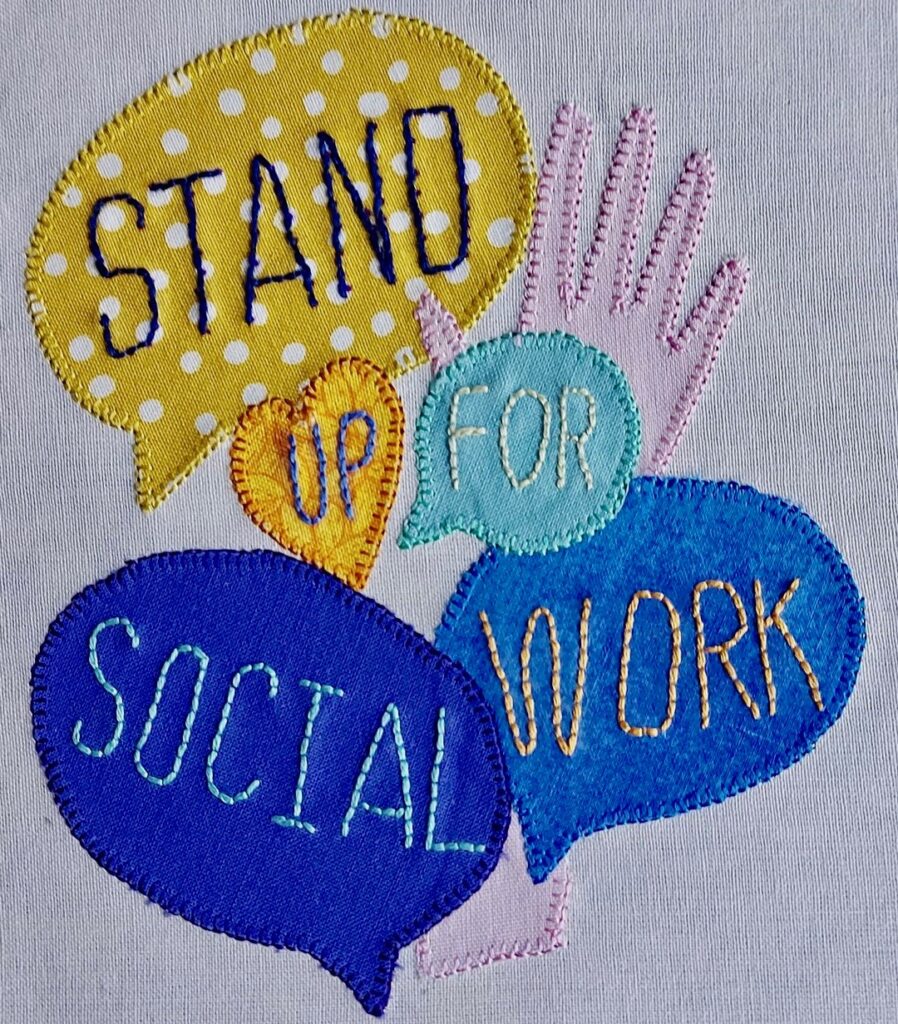
My block for the Covid Commemorative Quilt

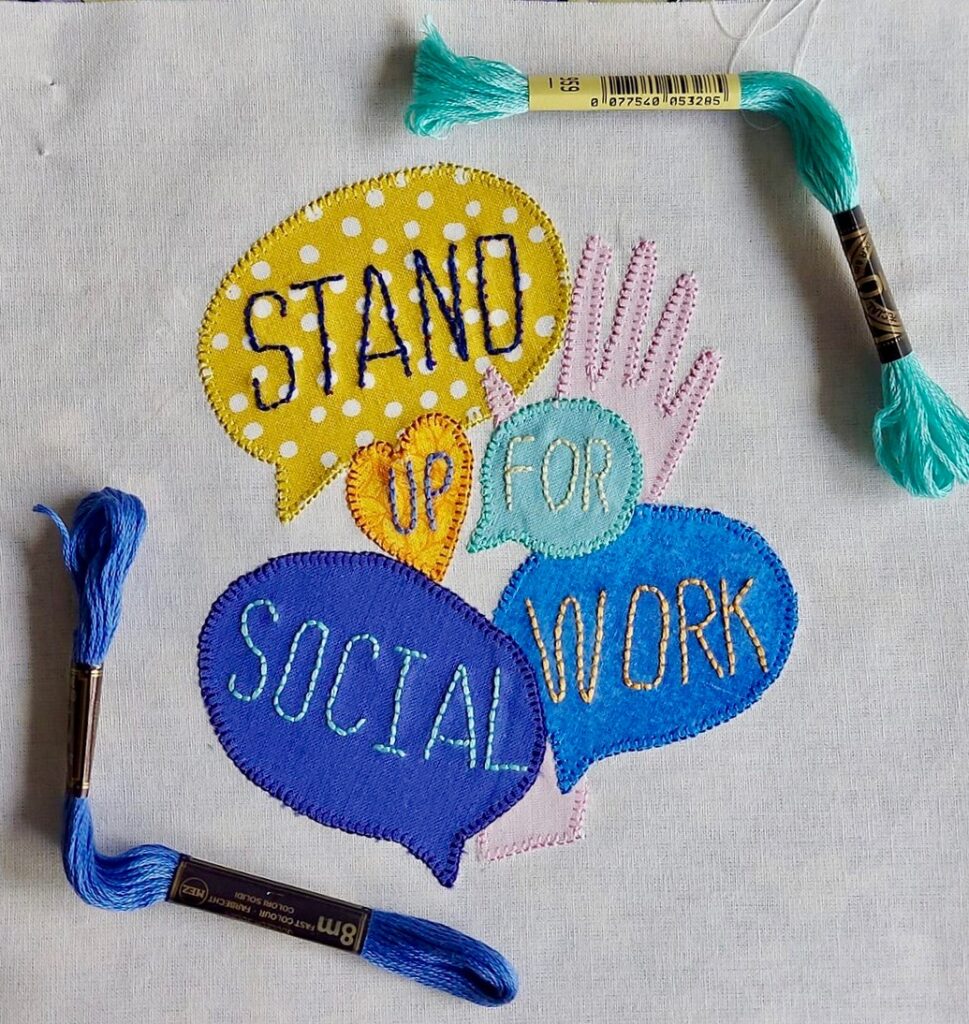
I wanted to give a clear shout out for Social Care, I knew that many contributions would be thanking the NHS, I was going to stand up for the many key workers in Social Care who also went above and beyond during the Pandemic.

What do you do when a planned week of leave is promised cold, wet weather?  I always have a wet weather plan. I spent calm, quiet mornings sewing. As a longstanding member of the Quilters’ Guild of the British Isles I was invited to contribute a block to the Covid Commemorative Quilt; a collaboration between the Quilters’ Guild and Bernina who make very fine sewing machines.

The remit was to “create a block which reflects your thoughts on the pandemic and the recovery from it… commemorate a loved one lost…the NHS…a key worker … (or) just be a ray of optimism as we emerge”

I wanted to give a clear shout out for Social Care, I knew that many contributions would be thanking the NHS, I was going to stand up for the many key workers in Social Care who also went above and beyond during the Pandemic.

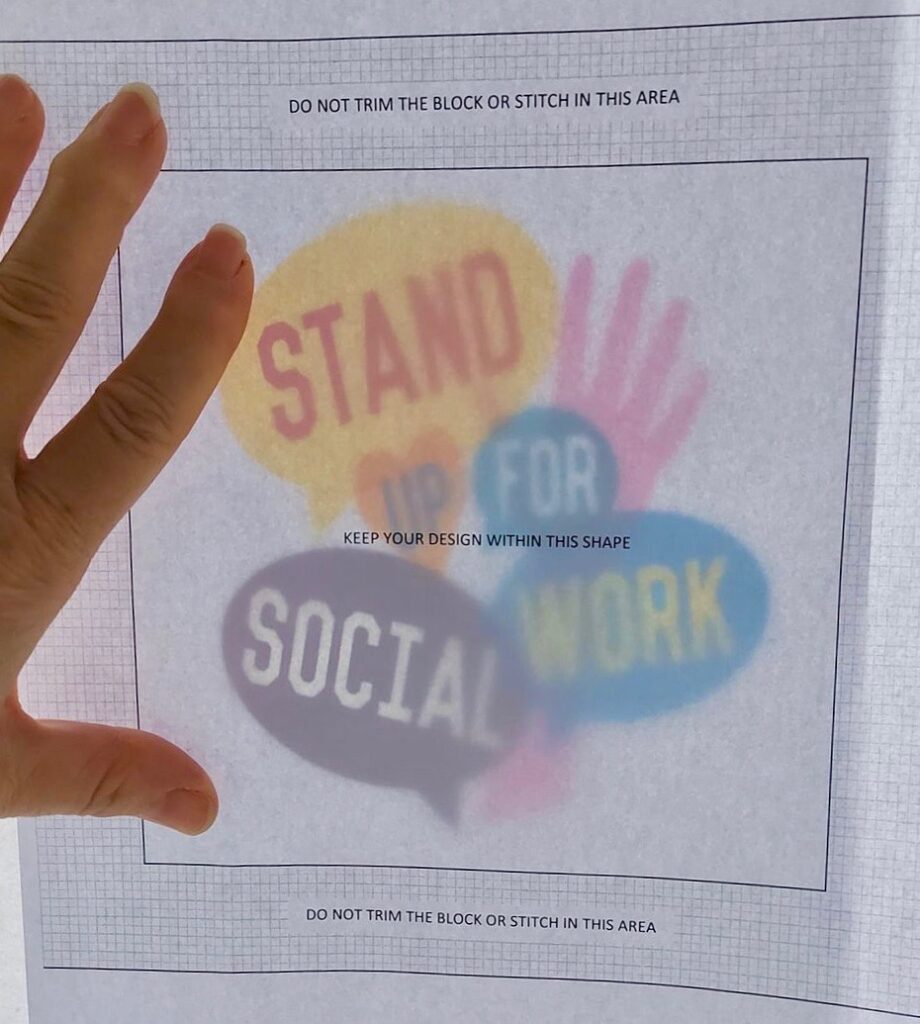
Taking the ‘ Shout out for Social Work’ logo as my design, I resized and printed the logo so that it would fit the piece of calico provided. To ensure all the blocks contributed are the same size, and will go together effortlessly, the organisers very cleverly gave clear and strict instructions. My design must fit inside a 6 inch square centred on the 8 inch calico square provided and must use somewhere in the design a piece of the small 4 inch square of print fabric provided.  Spotty mustard print, its not my thing but the idea is that it will tie each block to its neighbours in the finished quilt.  

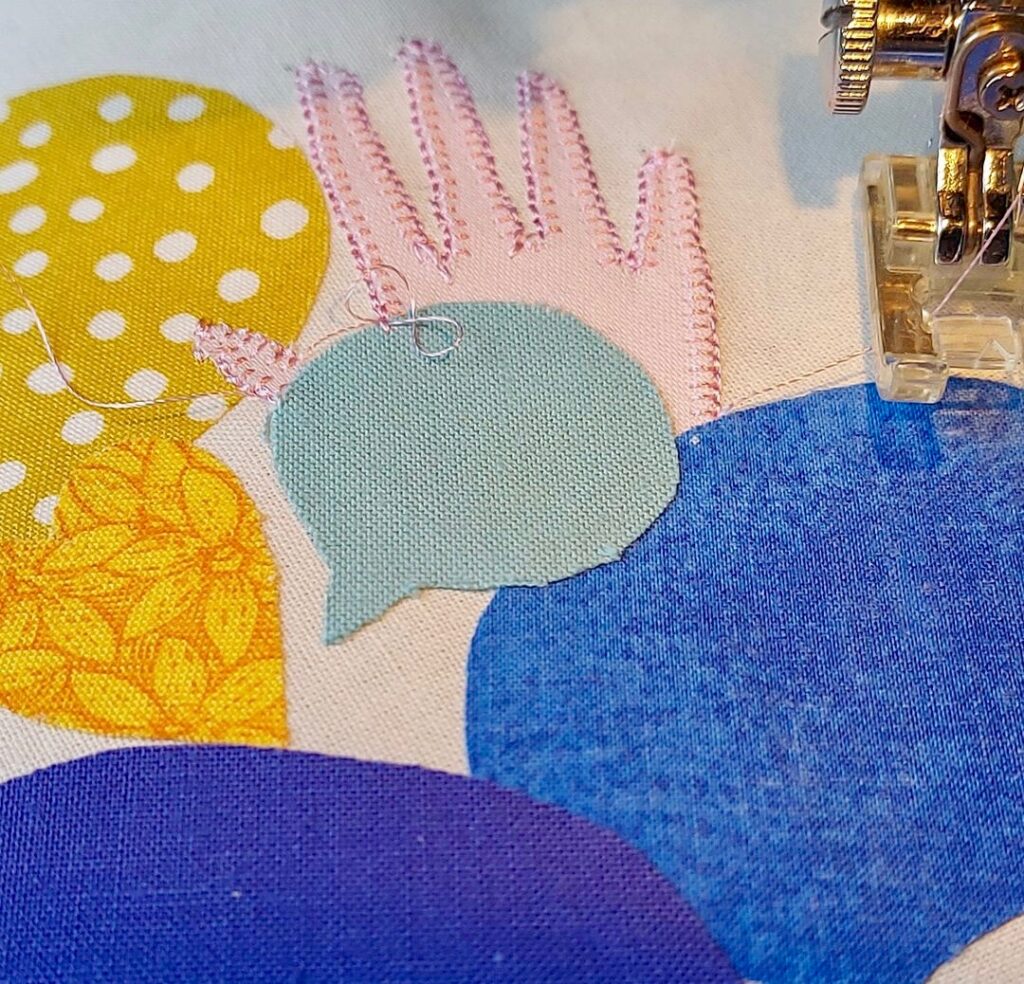
Holding the design and the calico up to the window allowed me to check the size was right,  I traced each element of the design onto Bondaweb (it’s a kind of double sided iron on sticky tape for fabric) ; and ironed the elements of the design in place. First mistake, I ironed on the hand first then realised the thumb should be on top of another element. I had to carefully peel it off, just the thumb, and iron it again over the speech bubble.

 That mistake then decided the next step, as the quilt will be for display rather than use, I thought I might get away with raw edges, but having peeled back the thumb it looked a bit shaggy, so now I needed to embroider the edges to stop them fraying.  Thank goodness my sewing machine does a tiny and very neat blanket stitch.

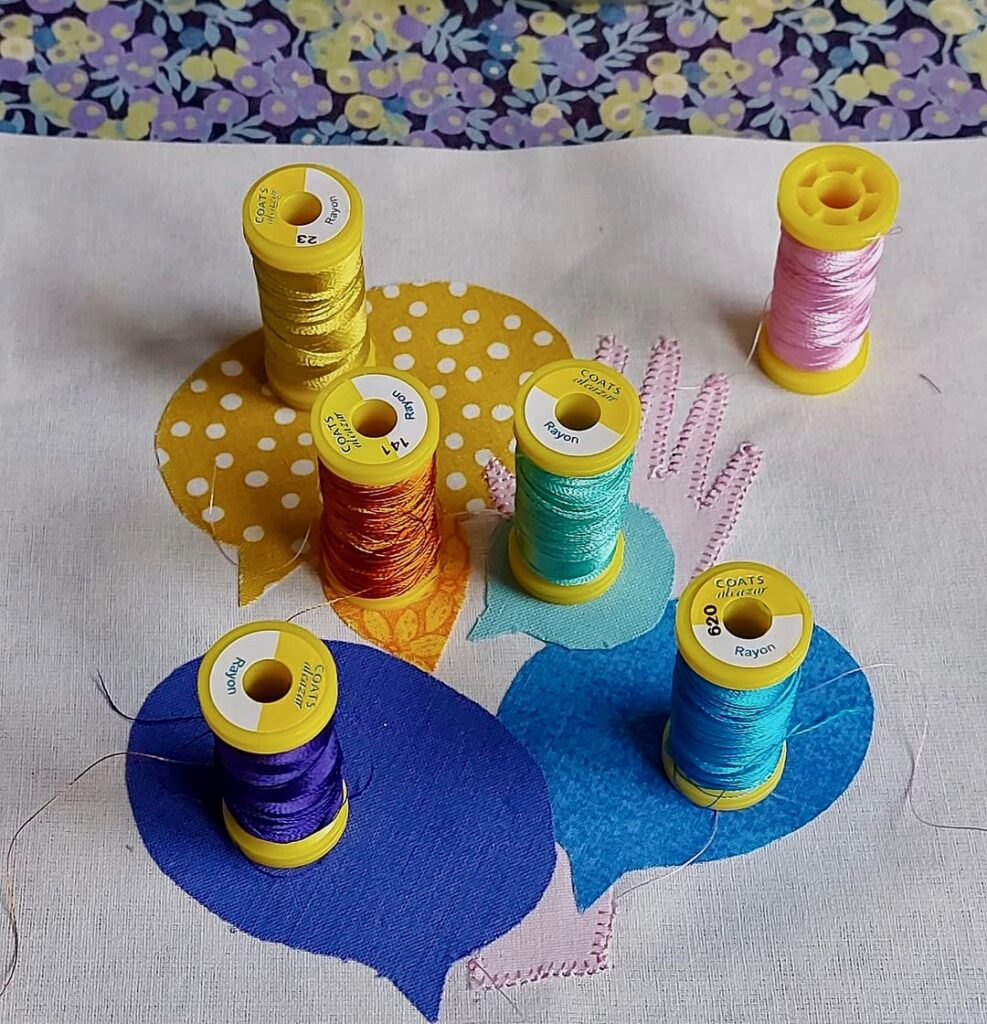
The machine embroidery threads , I have dozens of them, which I bought in a big bag full for £5 in a local charity shop, I do love a bargain. The hand embroidery threads I’ve had tucked away for years, and the fabrics all came from my scrap box, so I didn’t spend anything putting this together, even the bondaweb was borrowed from Mum, she’s 90, and doesn’t sew anymore.

Finally the words are hand stitched, not because I have any skill in that respect, I just wanted to put something of myself into my block, rather than it all being the work of my sewing machine.

Each contributor is also encouraged to say a few words about their block, this is my explanation:-

The NHS received a great deal of well deserved praise for their herculean efforts during the Pandemic, but they weren’t the only group of people who worked tirelessly throughout to keep the country safe.

Being a Social Worker, I want to give a shout out for Social Care, and the people who worked in very difficult circumstances. Some working from their homes, isolated from their supportive community, with fewer and fewer resources to call upon.

 Others left their homes and isolated themselves from their own families, to support the most vulnerable.

These were dark days; so for everyone in social care who spent the time of Pandemic trying to keep vulnerable people safe, supported and out of hospital, a heartfelt Thank You. “

Charitable donations are welcomed to the BERNINA fund-raise for NHS Charities Together , you can do so here www.justgiving.com/covid-quilt

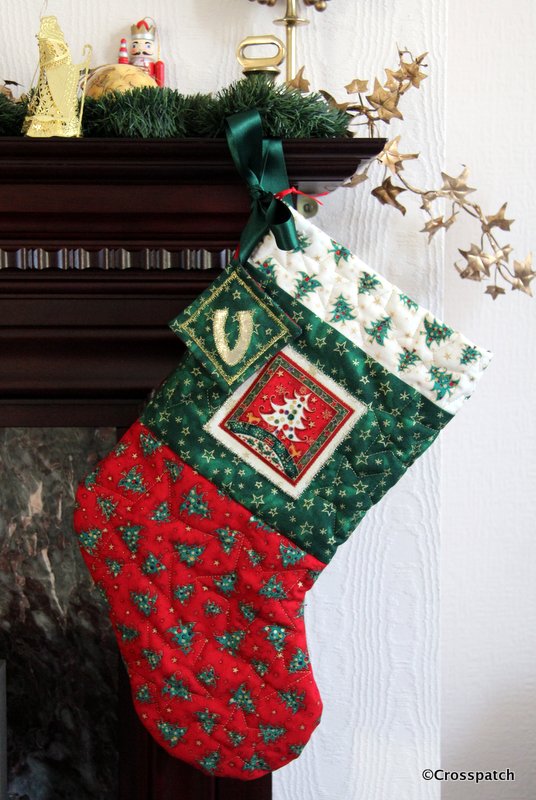
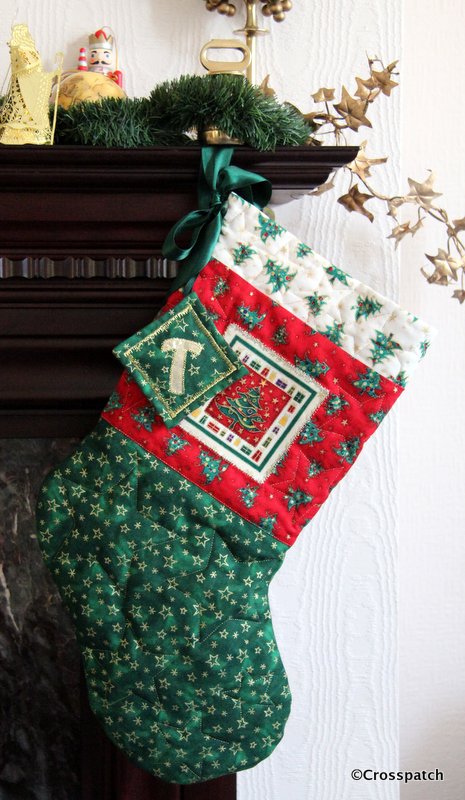
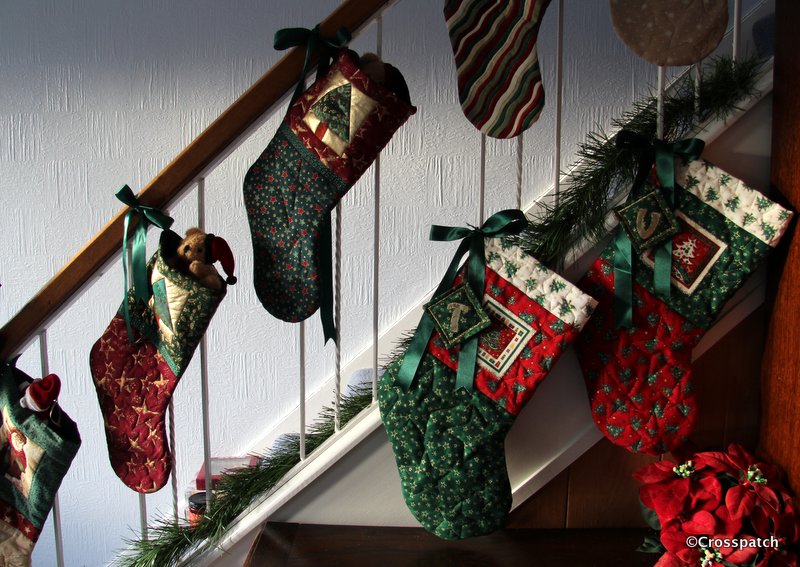
Christmas stocking, finished at last…

I’m celebrating finally finishing two Christmas stockings I began 8 years ago.

Christmas stockings
finished at last

I’m celebrating finally finishing two Christmas stockings I began 8 years ago. The children for whom I began making them were 7 and 11, are now 15 and 19. If you want the whole story check out my archive for December 2012and January 2013. Suffice to say Christmas is always a busy time and sometimes you just have to prioritise, Sewing takes second place to shopping, cooking and cleaning only once a year, at Christmas.

Christmas stocking
both finished

So beginning where I left off, one of the stockings was quilted and ready to be made up, the other was not. I wanted them to be the same and I had lost the quilting templates, 5 little cardboard stars in graduated sizes which I created using cookie cutters, which I had also subsequently lost, and to this day have not turned up… I suspect foul play.

Thankfully the templates did turn up, and this Christmas I was determined to finish what I’d started. I used a disappearing pen, (which for some reason isn’t disappearing) and drew the stars on the lining of the stocking, then putting the gold thread in the spool and a transparent thread on the top I quilted from the back stars in different sizes to fill the spaces round the motif in the centre of the stocking leg, and in the foot of the stocking.

Christmas stockings
final finishing touches

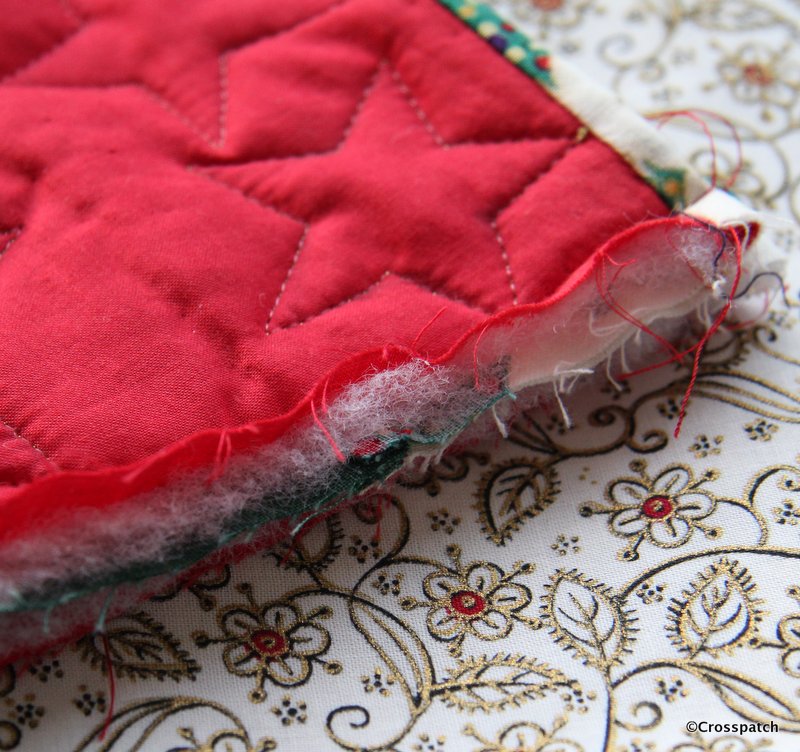
Putting the right sides together I stitched the two halves around the edge with a generous 3/8ths seam allowance to make it easier to neaten the edges. To finish the seams on the inside I cut away the wadding, and hand stitched the lining closed over the raw edges down to the bottom of the leg. Beyond there the foot still has raw edges showing, well not showing, but that’s the point, you can’t see it so I’m not going to worry about it, I may overlock the raw edges with a machine stitch…when I have a minute.

christmas stocking
another mistake

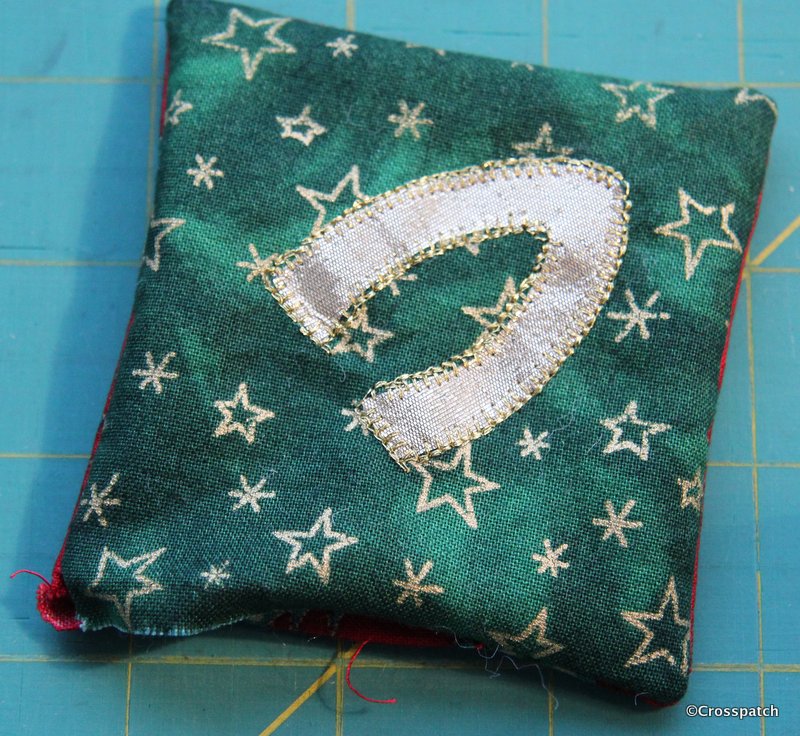
Next, I had to make the swing tags for each stocking, cutting two squares of fabric for each tag, and applying a gold letter to the green side of each. I worried that the gold letter might eventually peel off having been applied with Bondaweb, so I used my gold thread again and stitched around the edge with a machine blanket stitch, not very accurately I have to say, but I wasn’t about to unpick and start again.

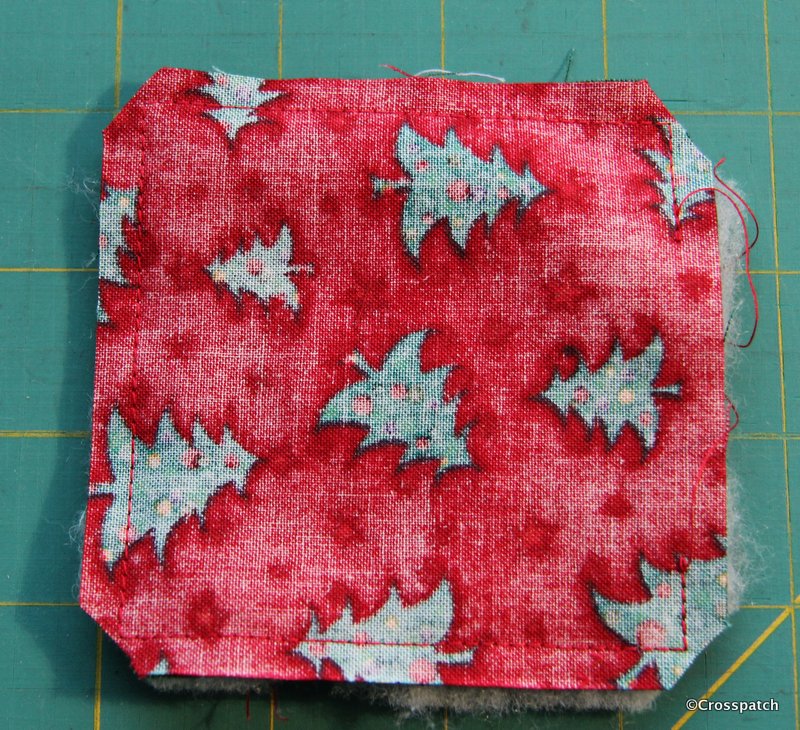
Right sides together again, with a little wadding on the back, I made another mistake; if you leave the hole to turn the fabric at a corner you’ll never achieve a neat closure… unpicked and did it again, this time with the turning gap amidships.

christmas stocking
better, all 4 corners stitched and clipped.

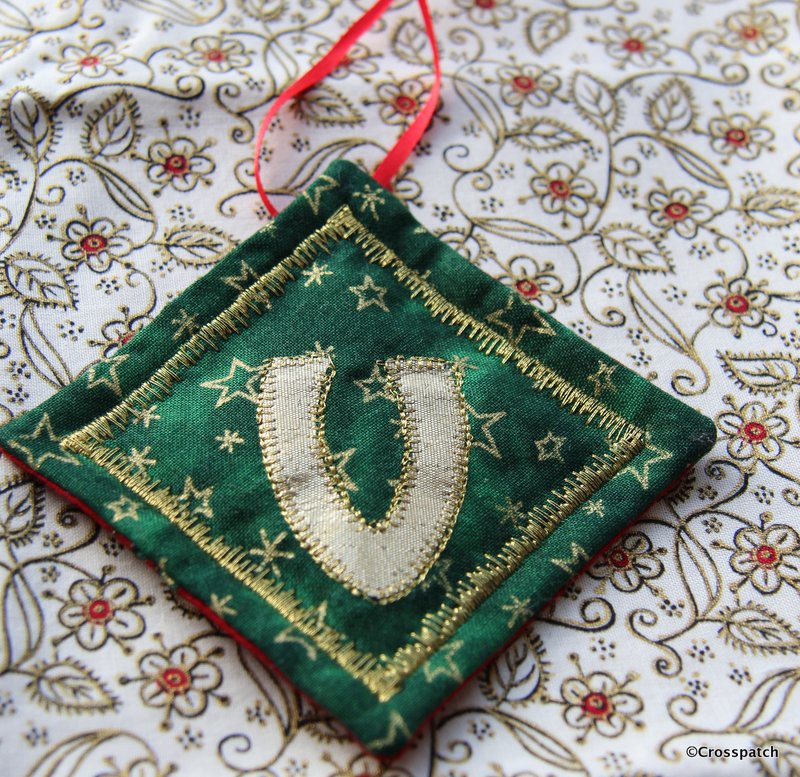
Having snipped the corners and turned each tag right ways out, I neatly closed the open edge by hand. Then I topstitched a gold border using another fancy machine stitch like the one I used on the stocking motifs.

Christmas Stocking
ribbon loop


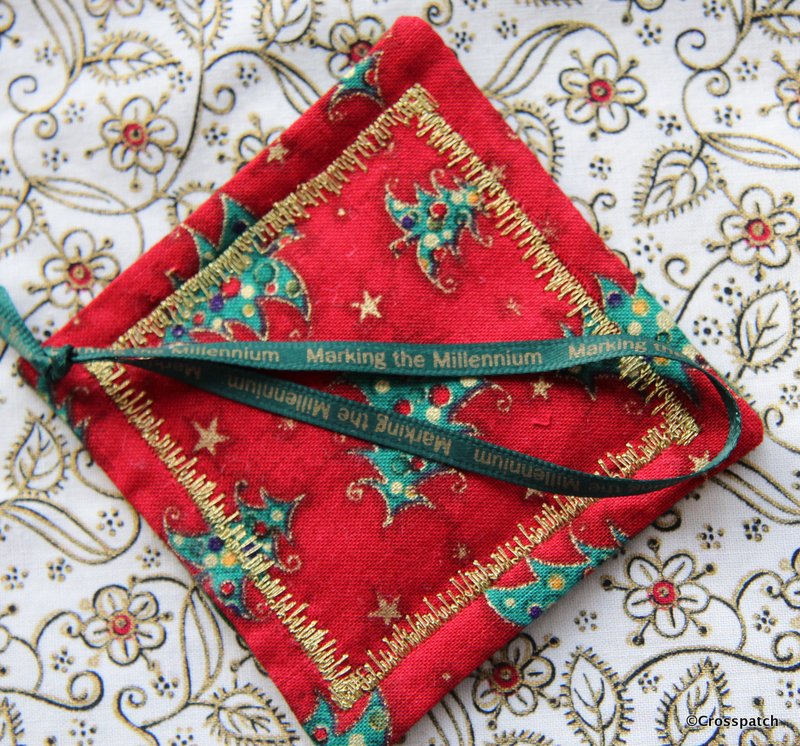
Finally a loop of ribbon was attached to the back of each tag, these ribbons tend to get ragged over time so rather than stitch it into the seam I’ve just tacked it to the back. The 15 year old is a Millennium baby, born in 2000, and when I first knew him at 7 he couldn’t say Millennium, he would a say Millellium, or Minnellium, it has always been a thing I could tease him with, so I used some ribbon I had tucked away since the Millennium, it has “Marking the Millennium” printed on it. Maybe if he keeps and treasures his stocking, it may make him smile every Christmas…long after my day.

christmas stocking
millennium ribbon

And so they are completed and hung up ready for Christmas… now all I have to do is help the 19 year old make a wall hanging, and start the wrapping, with only 3 days left till Christmas.

Christmas stocking
and here’s a few I made earlier


Beanbag camera kit

no little beads clinging to every surface, my hands, my clothes… if you’ve ever had dealings with polystyrene beads you’ll know what I mean.

beanbag camera kit
freebie fabric

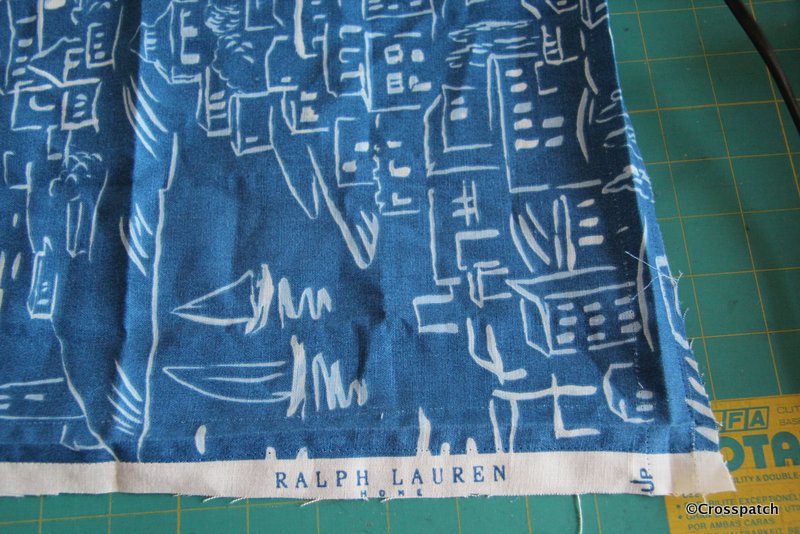
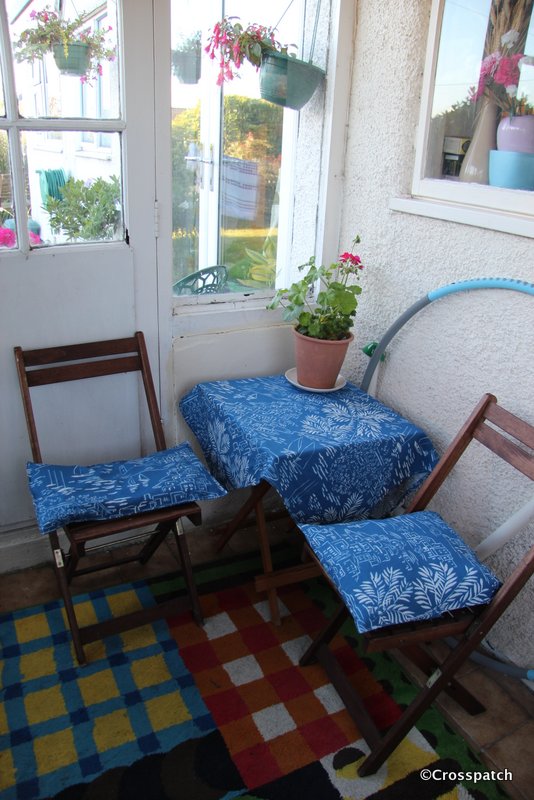
In the middle of developing an idea about making a beanbag support for my camera I visited my sister and whilst telling her all about it she showed me her new make. She had been to the wonderful factory shop we have locally which sells designer furnishing and dress weight fabrics, and bought a small amount of Ralph Lauren Home fabric. She had  made cushions and a table cloth to spruce up her porch, to make it into somewhere she could sit when the sun is shining but not quite warmly enough to be outside. She had a small amount left which she gave to me, because it was just the size I needed for my project. I’m such a lucky sister.

beanbag camera kit
Inside/outside sitting area

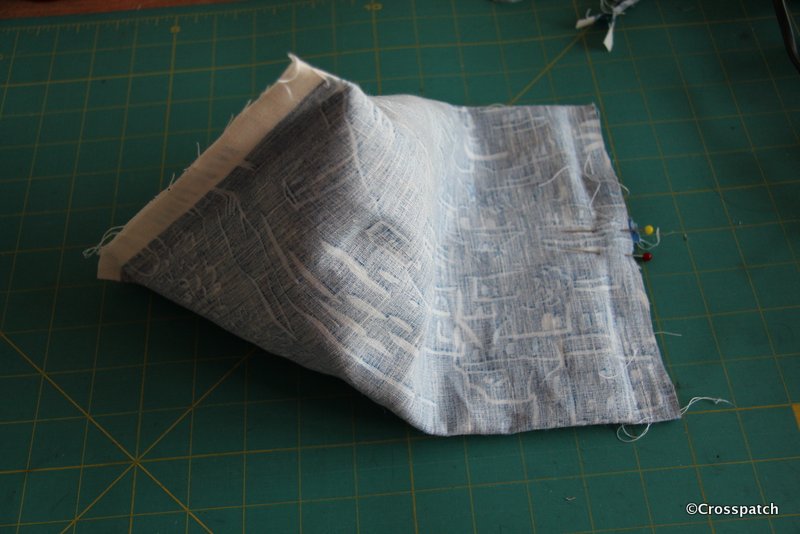
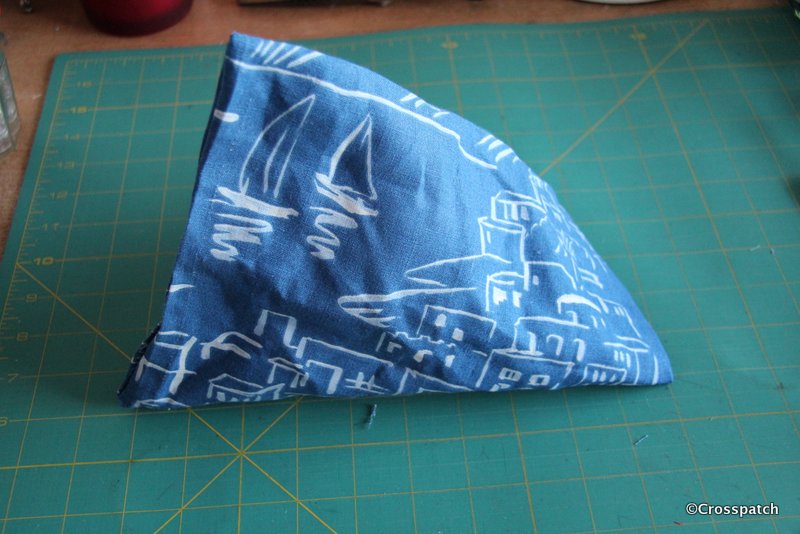
So I made a beanbag, by turning the fabric into a tube and then stitching the end seams at 180 degrees to one another to create a little humbug shaped beanbag cushion,  leaving a gap at one end for the filling.

beanbag camera kit
make a humbug beanbag

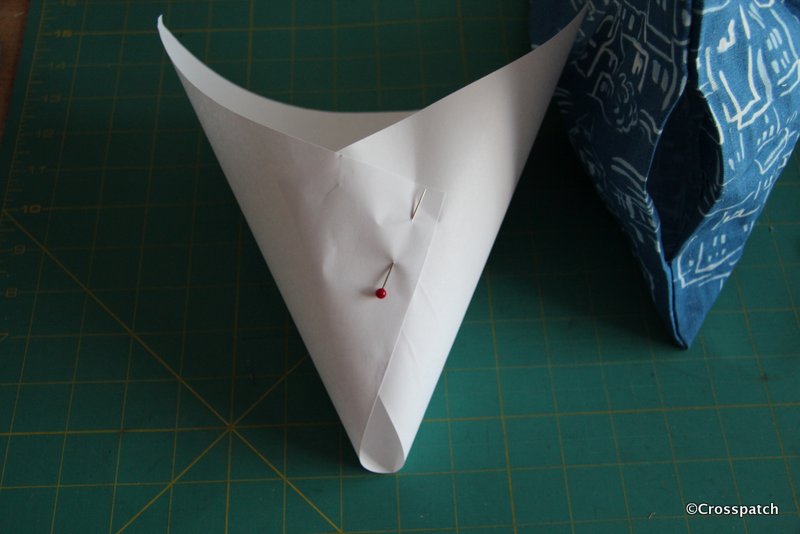
I turned the beanbag right sides out, and made a paper funnel out of some scrap paper to fill the bag with.

beanbag camera kit
paper funnel

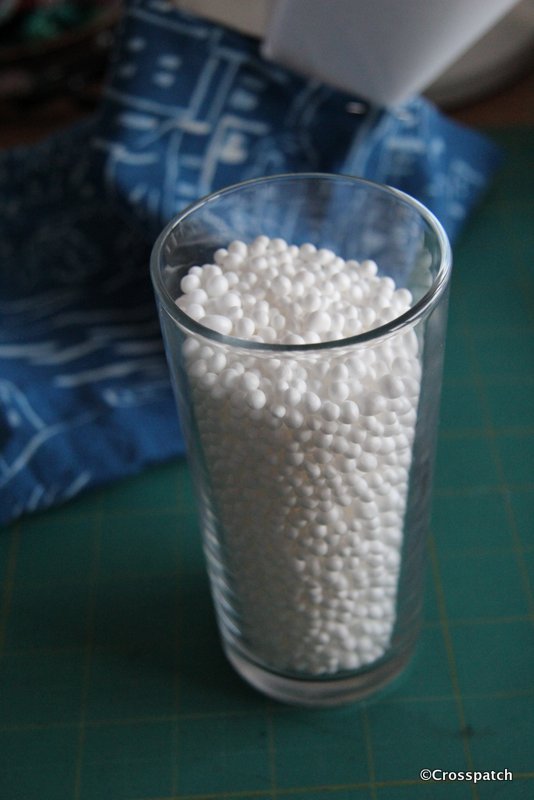
The beanbag is filled with polystyrene beads, which I have recycled from an old beanbag seat that was bought for the 15 year old to sit on when he has a little lad, and which has lain forlorn and unused in my studio for  longer than I care to admit (my excuse is I always knew it would come in handy one day).  l could have used rice or beans but I wanted it to be as light as possible, because my camera kit is already heavy enough.

beanbag camera kit
polystyrene beads

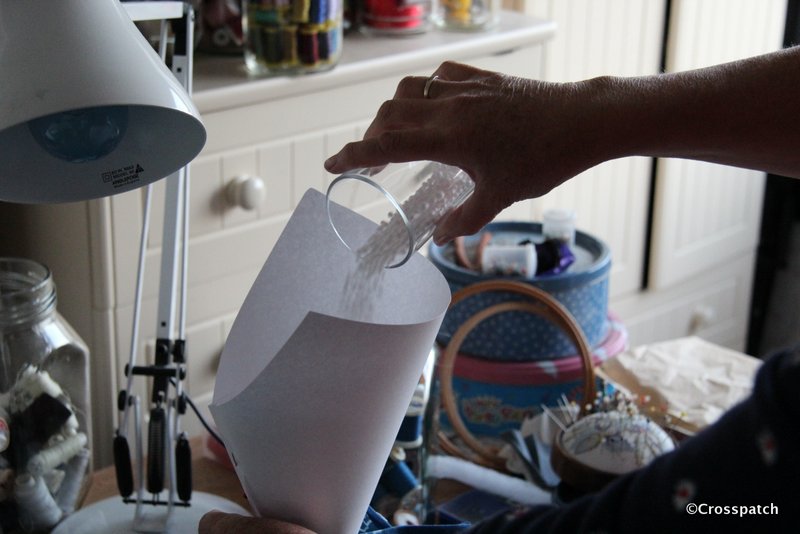
I scooped a glassful of beads from the old beanbag seat, then holding the funnel inside the bag with one hand it was really easy to pour the polystyrene beads into the bag, encountering very little problem with static cling. There were a few beads left in the bottom of the glass, probably because I didn’t dry it properly, but no little beads clinging to every surface, my hands, my clothes… if you’ve ever had dealings with polystyrene beads you’ll know what I mean.

beanbag camera kit
filling the beanbag

It just needed a machine stitched closure, to make sure it won’t bleed little beads all over the place and it’s done.

beanbag camera kit
beanbag

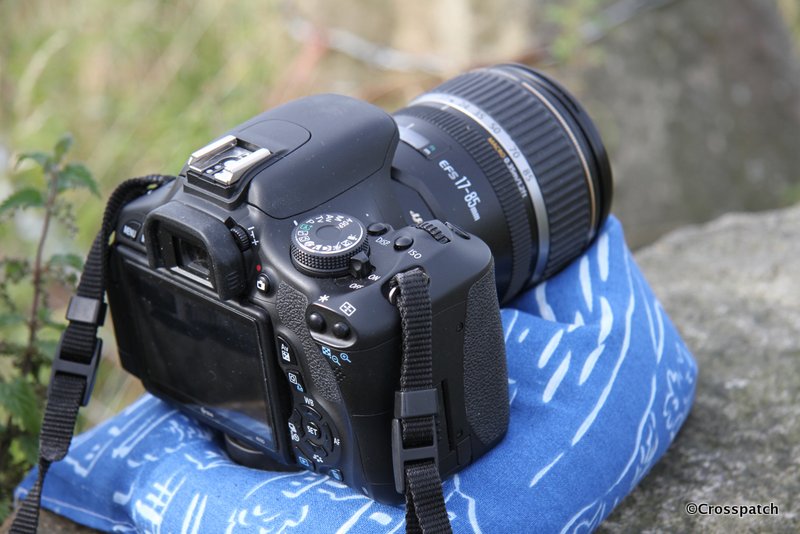
and what’s the point of all this I hear you wondering?  It’s my own take on beanbag camera kit. At the time I had just bought a telephoto lens for my camera, and at 300mm you can’t really hand hold without getting camera shake. I have a tripod but don’t really want to hump it about with me, it’s rather heavy and my hips and knees are getting arthritic so the weight is a problem. This light as air little cushion allows me to set up my camera on a wall or fence post and take pictures without camera shake… if there is a handy wall at the right height.

beanbag camera kit
camera on a wall

Subsequently I bought myself to a monopod but I still carry the beanbag, it weighs nothing at all and cost me nothing but a little time and ingenuity. My sister is also a keen photographer, I wonder if she might like one…and then my niece… but then I have an idea for a slight design adaptation… watch this space.