Stash buster for a good cause

So I am really pleased to have found, and joined a community on Facebook called Quilts for Care leavers (Q4CL ) we make quilts and gift them to young people leaving care.

A lady never discusses the size of her stash !

It’s a well known joke among quilters, we all have a stash of fabric and it’s probably bigger than we know; it’s certainly bigger than our loved ones realise.  Who has not sneaked fabric into the house without admitting it to our other half?

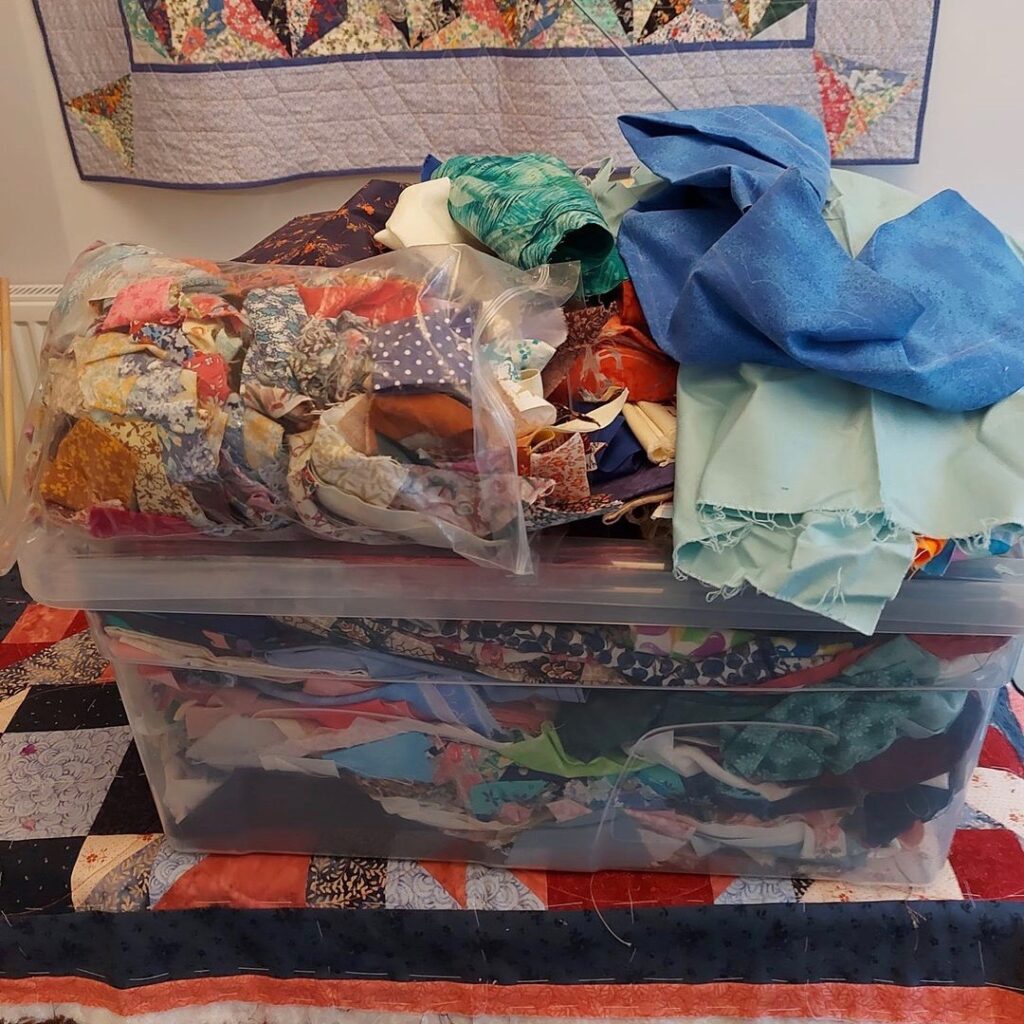
Lately I have been thinking about my stash, I’ve been buying and setting aside fabric for years, and now in my 60’s I realise I will never have time to use all that fabric to make quilts or even have a purpose for them.

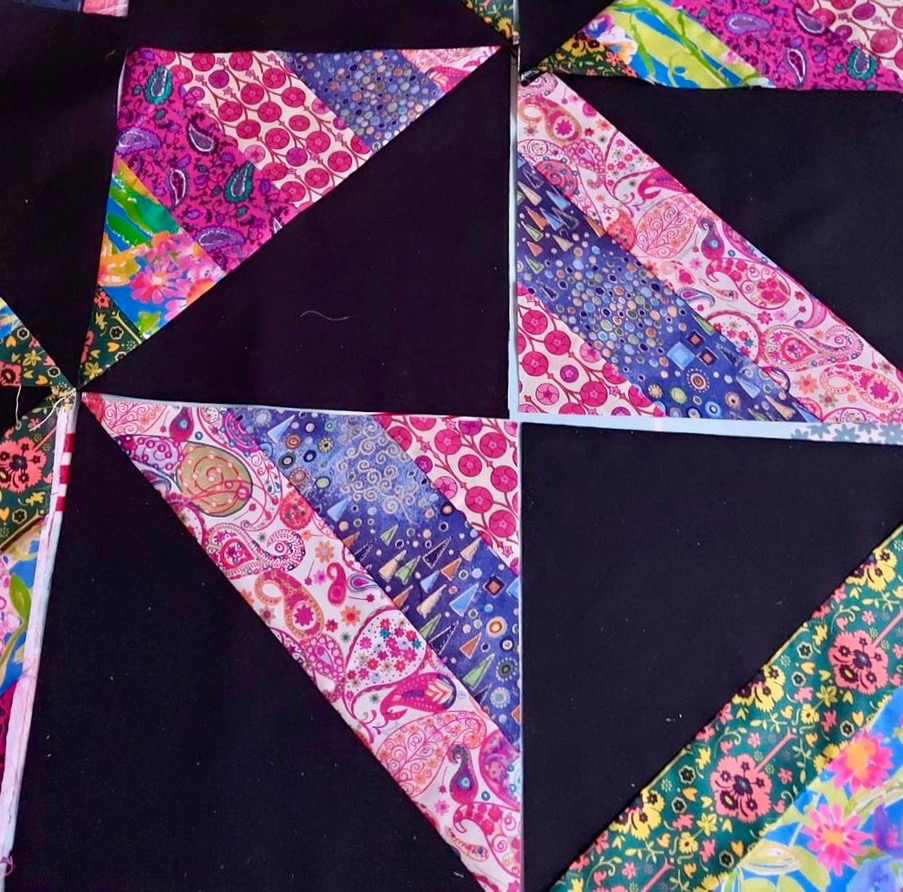
So I am really pleased to have found, and joined a community on Facebook called Quilts for Care leavers (Q4CL ) we make quilts and gift them to young people leaving care.  It means I can use my stash; piecing blocks to my heart’s content, and never have to make a complete quilt. If you would like to join us you can find us here: https://www.facebook.com/groups/QuiltsforCareLeaversMakers

 The quilts made are called “hugs“; made longer than they are wide so they can be wrapped around the shoulders and worn without dragging on the floor. They are intended to be a means of warmth and comfort, perhaps even more necessary in these times of fuel poverty.

Each month a member will propose a “block of the month” (BOM) and set out the instructions for how to put together the fabrics and the size of the block, so that all the contributed blocks will fit together.  Each contributor can make as few or as many blocks as they choose, and send them to the organiser, the person who proposed the block.

 I don’t know if the organiser then puts the quilt tops together themselves, or whether there are teams of people waiting for the incoming blocks.  I’m not sure how the quilts are put together or quilted, no doubt all will become clear in time.

Group members can also create their own “hugs” either just the quilt top then donated to be made into a quilt or they can donate finished quilts.

I contributed to the BOM for January 2022.  So far 4469 blocks contributed; 28 hugs made and counting.

I contributed to the BOM for February 2022.  So far 3237 bocks contributed will make 34 Hugs.

 And I contributed to the BOM for March 2022. Numbers not in yet.

I’m looking forward to the BOM for April,

I’m still working from my scrap box, and picking out scraps from my mother’s stash; at 90yrs old, she doesn’t sew anymore, and she is happy for me to raid her stash whenever I want. Mum would be happy for me to take all of her stash, but where on earth would I put it?

I can’t say I’m having sleepless nights about the size of my stash…yet, but I don’t want to have to strengthen the rafters to take the weight of my mother’s stash, after all she was sewing before I was born, and her stash is impressive, even though she’s been retired for 30 years.  

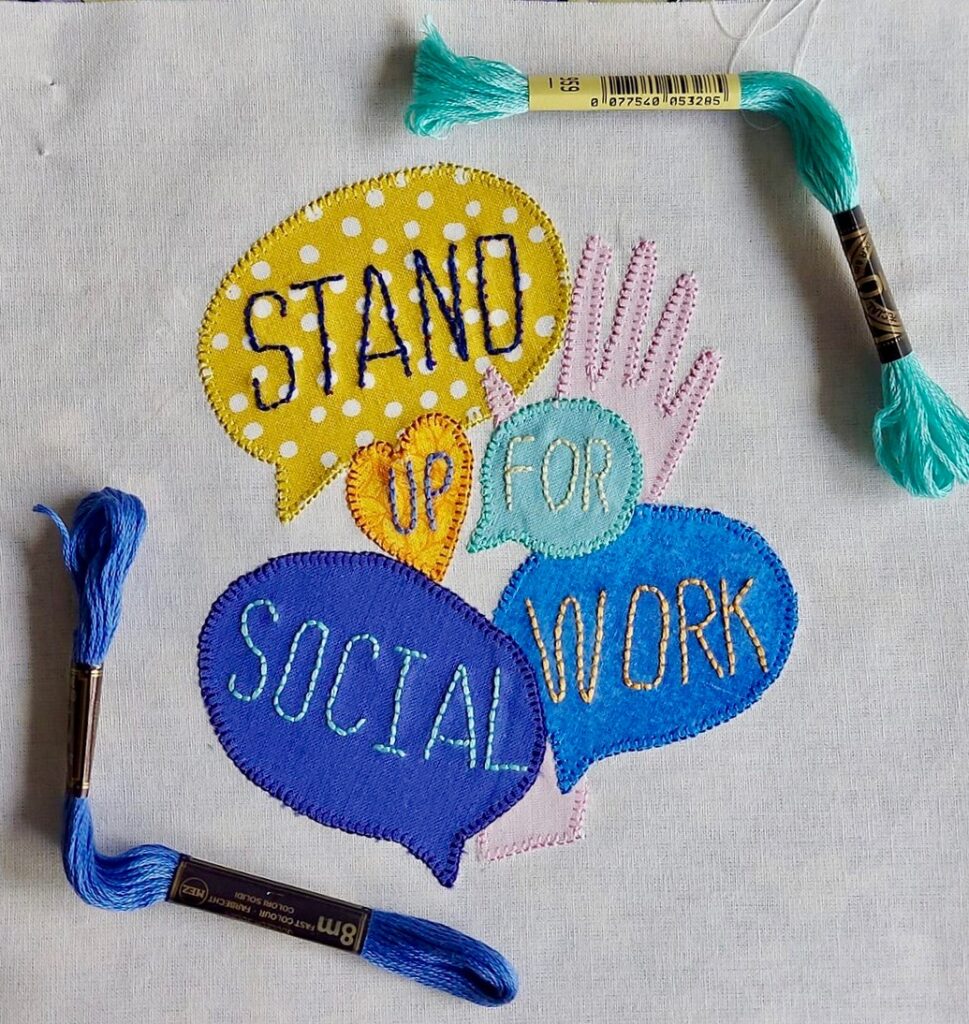
My block for the Covid Commemorative Quilt

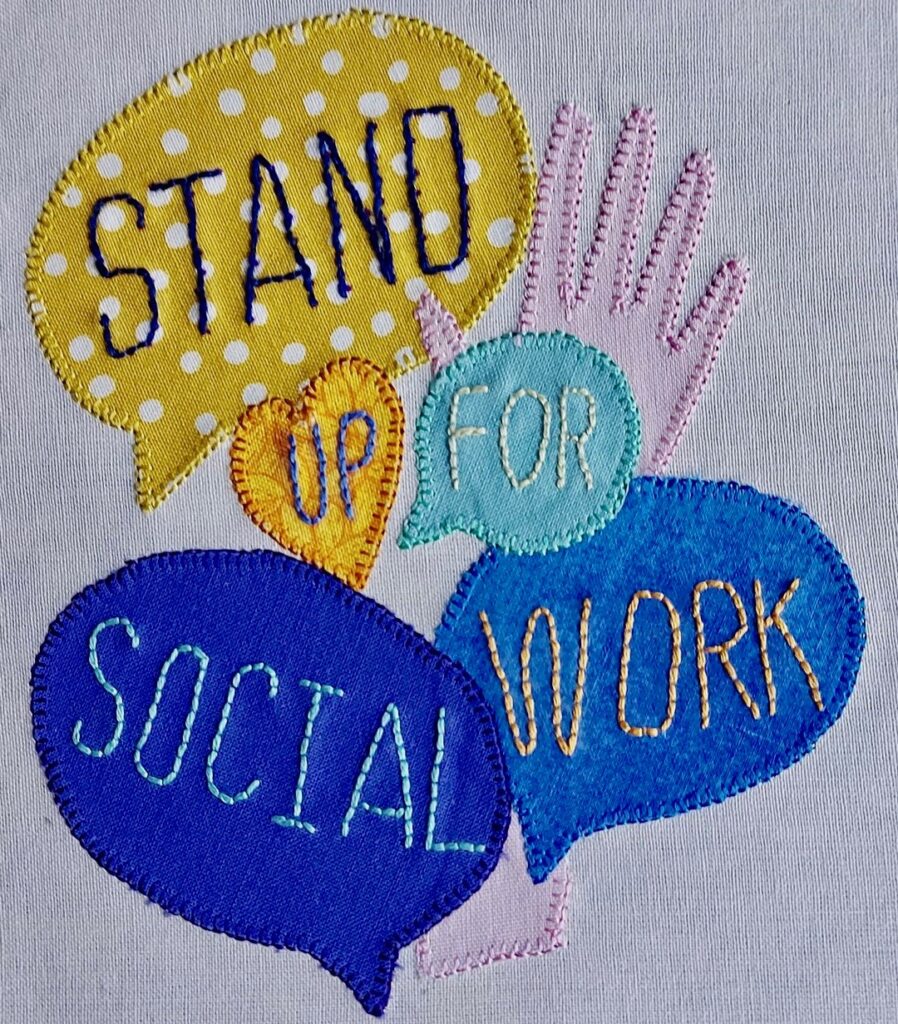
I wanted to give a clear shout out for Social Care, I knew that many contributions would be thanking the NHS, I was going to stand up for the many key workers in Social Care who also went above and beyond during the Pandemic.

What do you do when a planned week of leave is promised cold, wet weather?  I always have a wet weather plan. I spent calm, quiet mornings sewing. As a longstanding member of the Quilters’ Guild of the British Isles I was invited to contribute a block to the Covid Commemorative Quilt; a collaboration between the Quilters’ Guild and Bernina who make very fine sewing machines.

The remit was to “create a block which reflects your thoughts on the pandemic and the recovery from it… commemorate a loved one lost…the NHS…a key worker … (or) just be a ray of optimism as we emerge”

I wanted to give a clear shout out for Social Care, I knew that many contributions would be thanking the NHS, I was going to stand up for the many key workers in Social Care who also went above and beyond during the Pandemic.

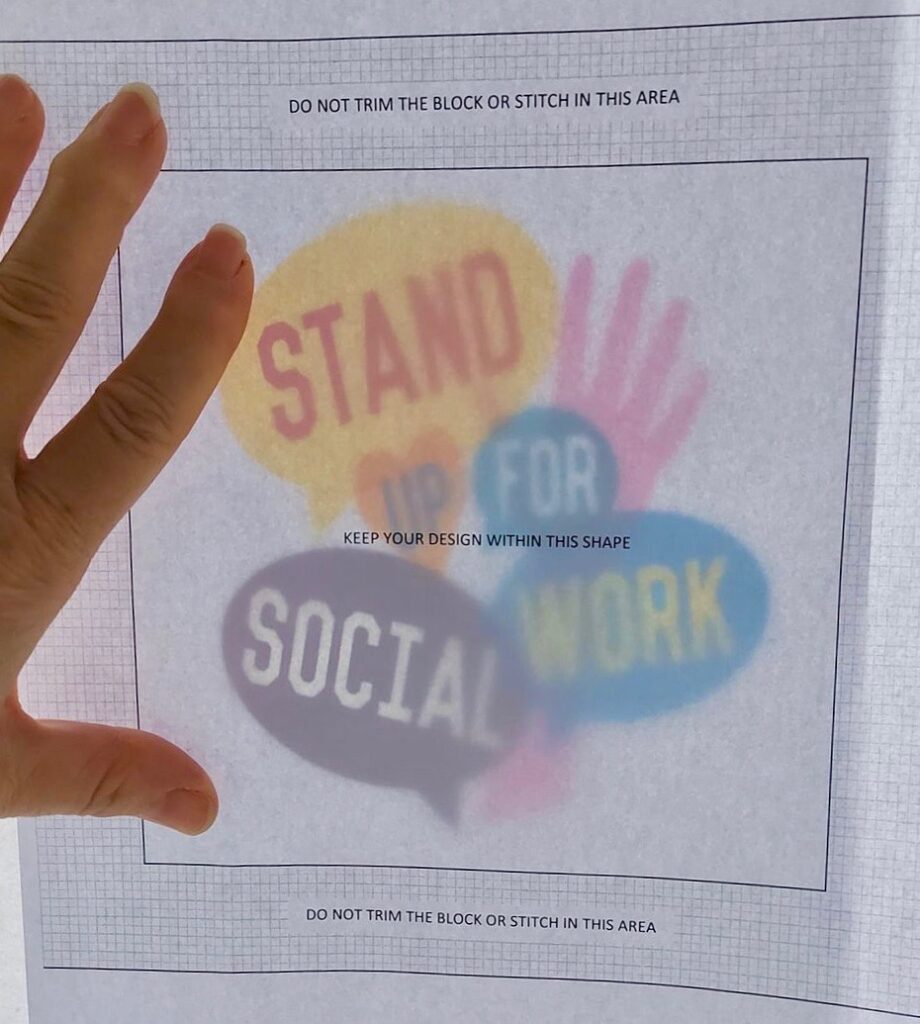
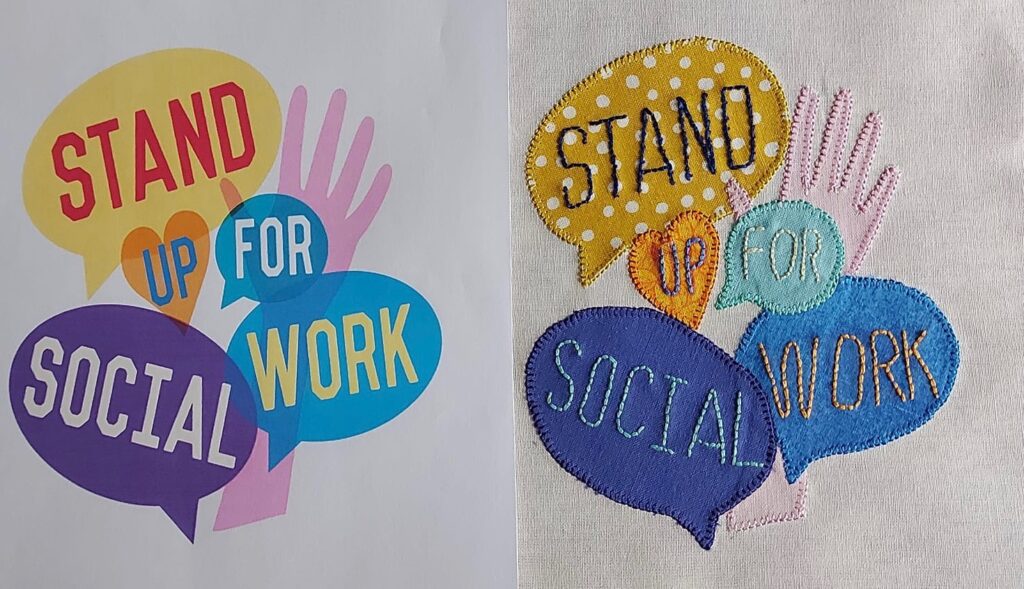
Taking the ‘ Shout out for Social Work’ logo as my design, I resized and printed the logo so that it would fit the piece of calico provided. To ensure all the blocks contributed are the same size, and will go together effortlessly, the organisers very cleverly gave clear and strict instructions. My design must fit inside a 6 inch square centred on the 8 inch calico square provided and must use somewhere in the design a piece of the small 4 inch square of print fabric provided.  Spotty mustard print, its not my thing but the idea is that it will tie each block to its neighbours in the finished quilt.  

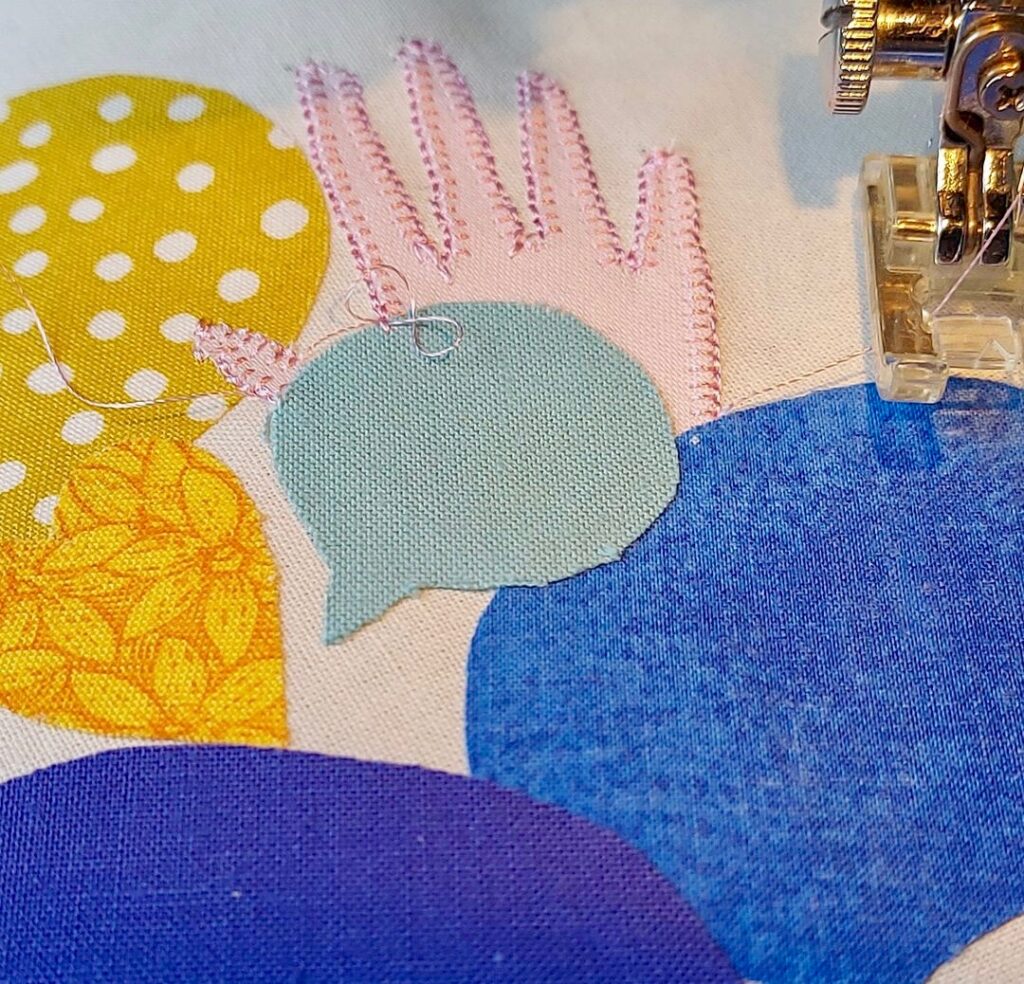
Holding the design and the calico up to the window allowed me to check the size was right,  I traced each element of the design onto Bondaweb (it’s a kind of double sided iron on sticky tape for fabric) ; and ironed the elements of the design in place. First mistake, I ironed on the hand first then realised the thumb should be on top of another element. I had to carefully peel it off, just the thumb, and iron it again over the speech bubble.

 That mistake then decided the next step, as the quilt will be for display rather than use, I thought I might get away with raw edges, but having peeled back the thumb it looked a bit shaggy, so now I needed to embroider the edges to stop them fraying.  Thank goodness my sewing machine does a tiny and very neat blanket stitch.

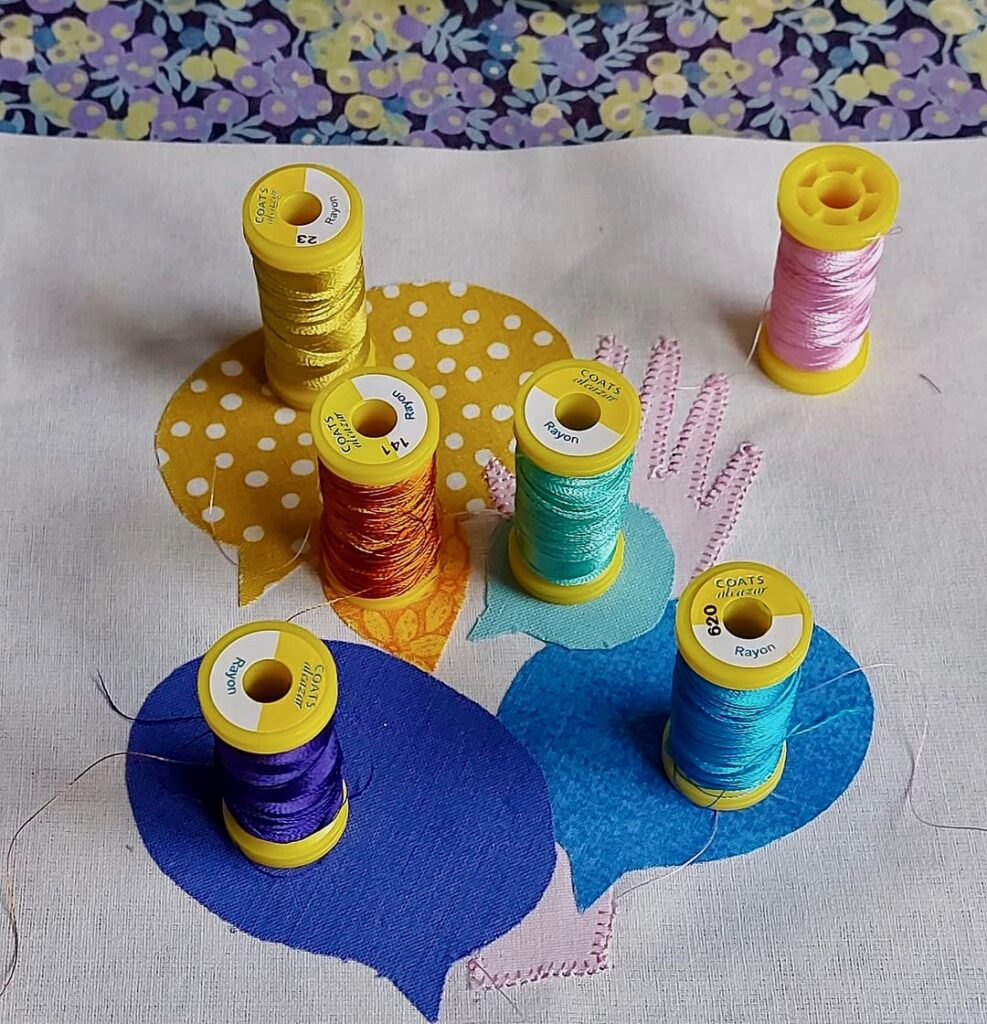
The machine embroidery threads , I have dozens of them, which I bought in a big bag full for £5 in a local charity shop, I do love a bargain. The hand embroidery threads I’ve had tucked away for years, and the fabrics all came from my scrap box, so I didn’t spend anything putting this together, even the bondaweb was borrowed from Mum, she’s 90, and doesn’t sew anymore.

Finally the words are hand stitched, not because I have any skill in that respect, I just wanted to put something of myself into my block, rather than it all being the work of my sewing machine.

Each contributor is also encouraged to say a few words about their block, this is my explanation:-

The NHS received a great deal of well deserved praise for their herculean efforts during the Pandemic, but they weren’t the only group of people who worked tirelessly throughout to keep the country safe.

Being a Social Worker, I want to give a shout out for Social Care, and the people who worked in very difficult circumstances. Some working from their homes, isolated from their supportive community, with fewer and fewer resources to call upon.

 Others left their homes and isolated themselves from their own families, to support the most vulnerable.

These were dark days; so for everyone in social care who spent the time of Pandemic trying to keep vulnerable people safe, supported and out of hospital, a heartfelt Thank You. “

Charitable donations are welcomed to the BERNINA fund-raise for NHS Charities Together , you can do so here www.justgiving.com/covid-quilt

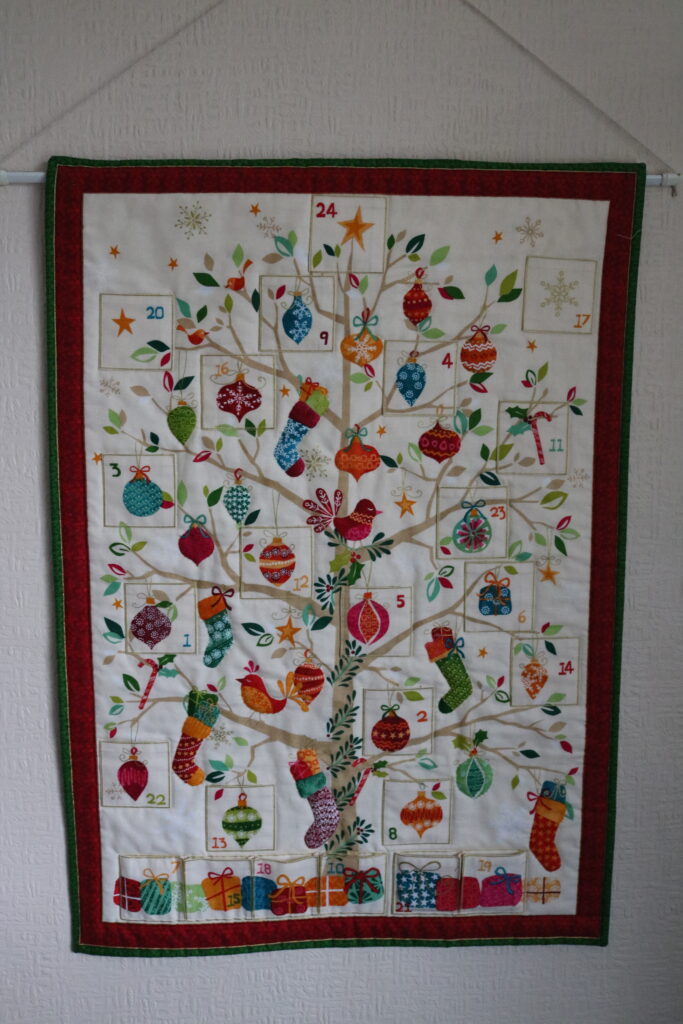
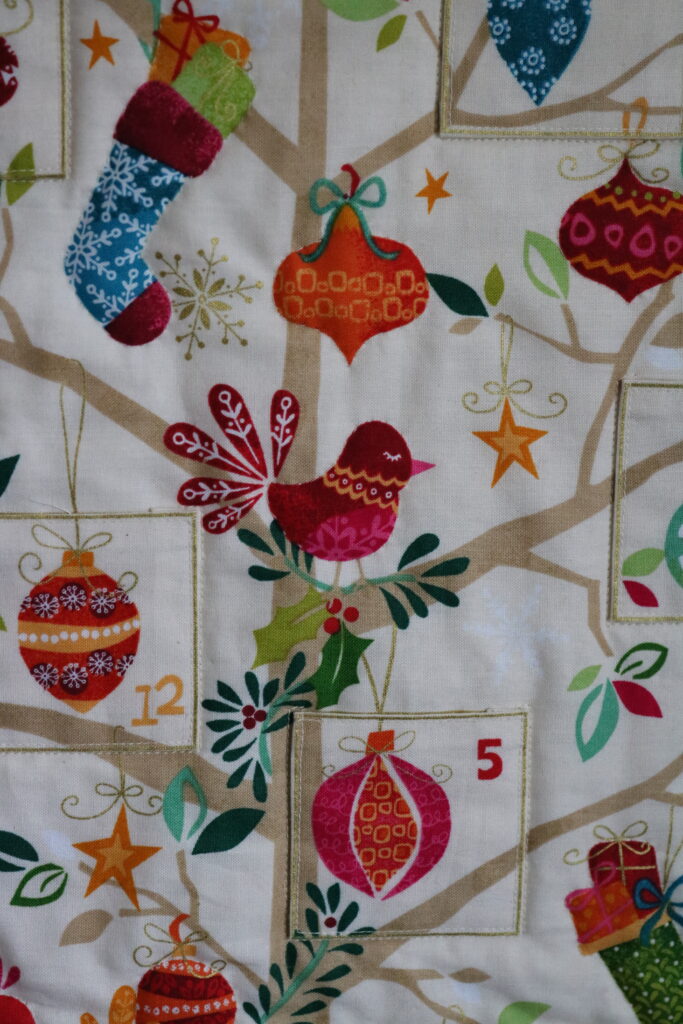
Advent Calendar

Traditionally, (I’m talking about my childhood in the 1960’s), Advent Calendars were a just paper, or card, the little windows had no chocolate or treats behind them, only a little picture and I remember the excitement of seeing what might be behind the little door each day.

I finished this in January of this year; I’d found the Advent Calendar panel, bought years ago, in amongst some Christmas fabrics when I was looking for something else.  I decided that although I’d not get it done for Christmas, Advent was almost half way through, I’d start and plan to finish it, a stitch in time, so that I could hang it for Advent 2021.

It’s just a panel, which has the printed background and a strip of pockets, which are to be cut out and applied to the same image on the background fabric.

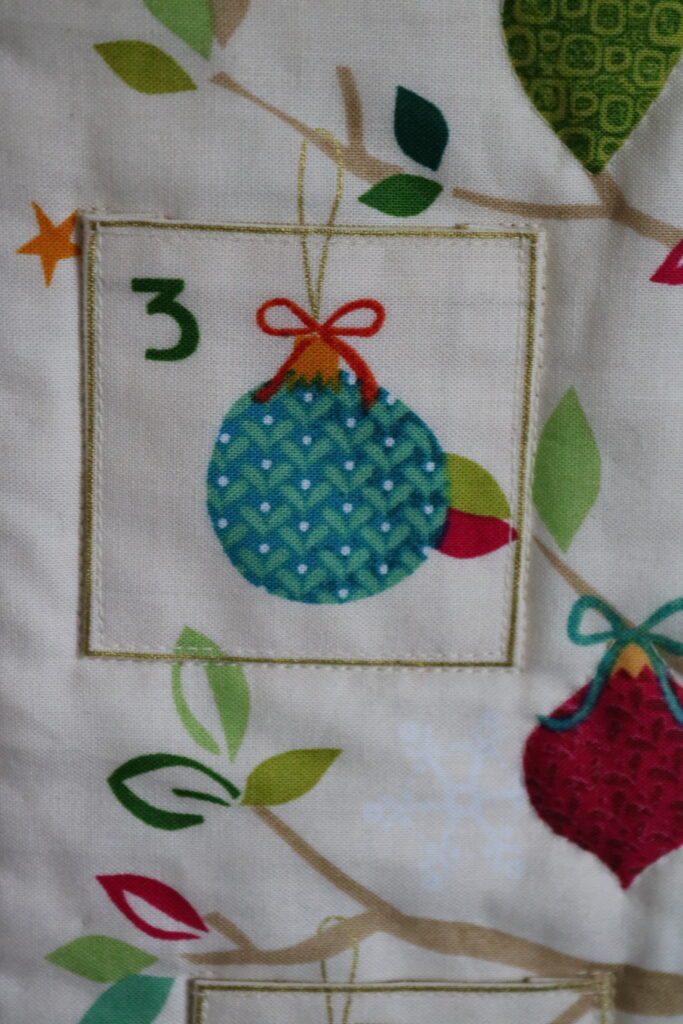
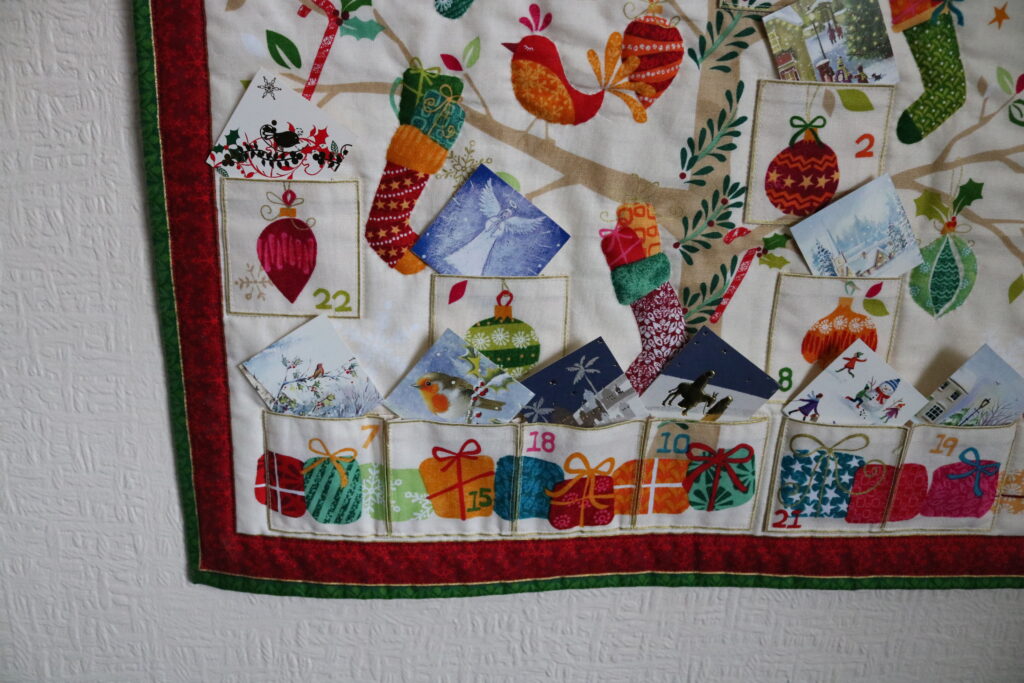
 Each pocket was cut, the raw edges turned and I tacked the edge down so that I could see the slim gold line at the edge. The plan was to topstitch the pockets onto the backing with a gold thread, but I didn’t like the effect, so I unpicked the ones I’d done and topstitched in a matching thread. 

 I also considered topstitching in various thread colours to match the colour of the pocket numbers, but that was beginning to look messy, that didn’t work either.

Once the pockets were sewn on, there needed to be more quilting to reduce the puffiness where the pocket were not placed.  I just picked out motifs in the same matching cream thread. Mostly these were hand stitched, because they were fiddly and in some cases too near the pockets for the machine foot to sew without pushing and pulling the fabric.

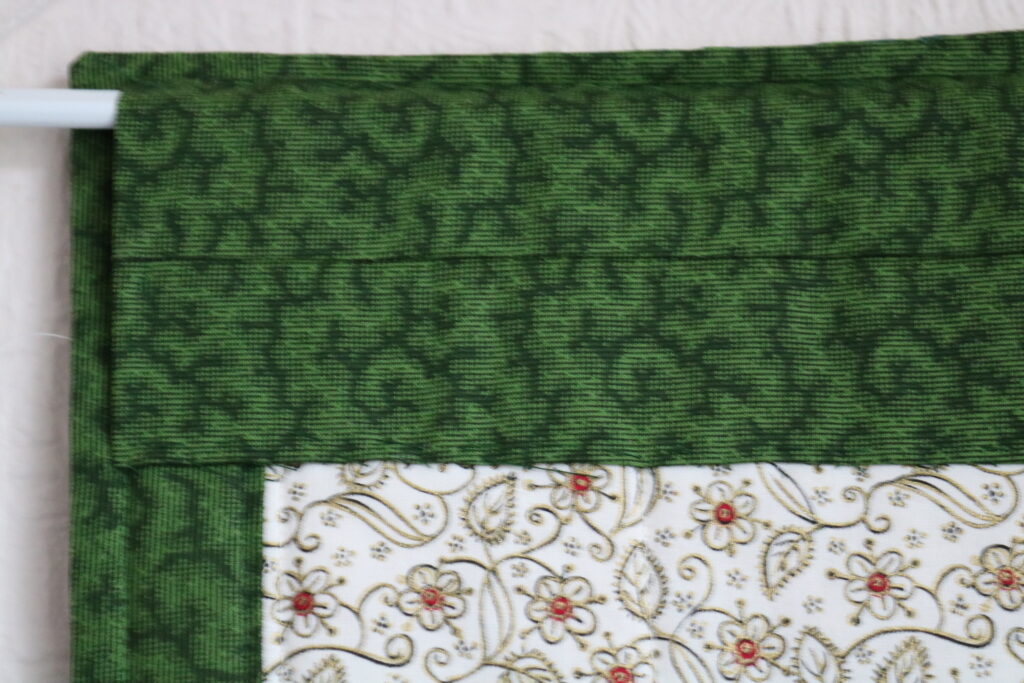
 I was determined not to buy any more fabric for this Advent Calendar project.  Seriously I have enough fabric to sink a ship. So I found a piece of ivory fabric with a gold and black motif in the Christmas box, which was not quite wide enough, and added green borders to make it fit the back. 

 The reason I chose green, (I’d rather have used red) was so that the edge at the front would match the edge on the back and any wobbliness or misalignment would be less apparent.  It worked and I’m happy with it. There was also enough of the green to make a hanging sleeve.

So the Advent Calendar was finished… well almost.  Traditionally, (I’m talking about my childhood in the 1960’s), Advent Calendars were a just paper, or card, the little windows had no chocolate or treats behind them, only a little picture and I remember the excitement of seeing what might be behind the little door each day.

 I didn’t want to just drop a sweet or wrapped chocolate in each pocket, I don’t need the calories anyway, and I couldn’t guarantee to have the self -discipline not to go chocolate rustling late at night, nor trust the beloved not to do so either. So what to put in the pockets?

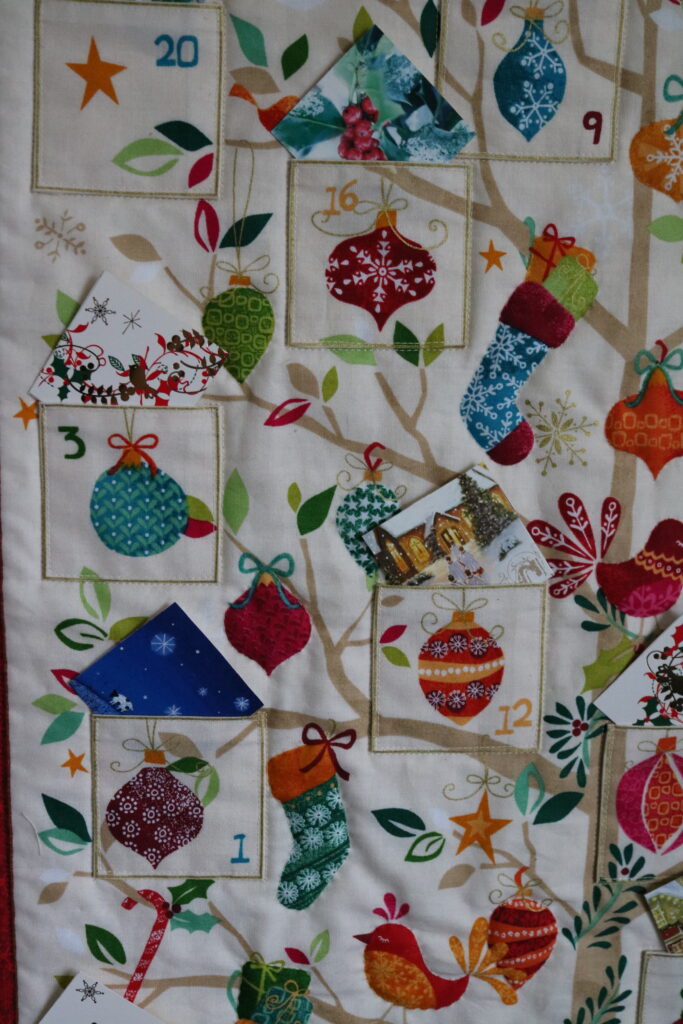
As I took down my Christmas cards at Epiphany I began thinking about those little pictures behind the doors on my childhood Advent Calendars.  Would an image on its own be enough?  I cut a number of cardboard squares, small enough to fit into the pockets, each with a Christmassy image, Robins seem to be well represented, but then I like Robins.
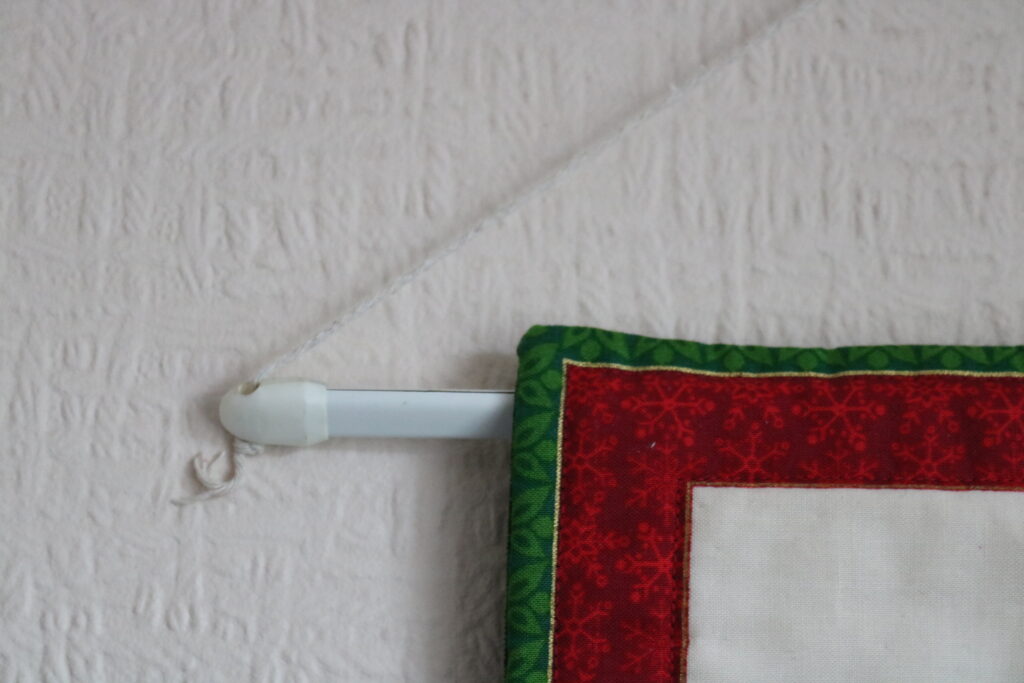
That’s where I left it, the Advent Calendar with a temporary hanging cane and a string to hang it by and the pockets full of little squares of Christmas card.

Last month I rooted out the Advent Calendar from its resting place and began thinking about how it should be finished.  I wanted a wellbeing theme, something positive to think about each day, something maybe to do for my wellbeing.  My Niece has an Advent Calendar, which she made from downloaded materials from Calm Moment you can find it here, (https://www.calmmoment.com/mindfulness/mindful-christmas-advent-calendar/ )

 I printed the 24 wellbeing suggestions from the Calm Moment Advent Calendar cut them approximately square and folded each one diagonally twice, tucking it into the pockets on the Advent Calendar. I also searched Pinterest for Christmassy quotes, printed those very small and glued one to each of my little squares of Christmas card.

 Through Advent I will have a Christmas affirming quote and a wellbeing suggestion for every day and not a calorie in sight.

The only thing is… The hanging arrangements still don’t work for me, I need a metre or so of gold cord, and a stick  (with knobs on,) that I can paint gold., and tie the gold cord to. Inevitably even with my best efforts, it wasn’t ready in time for Advent. Shoot me! I’m still working full time and looking after my old Ma, and we have to keep a sense of proportion.  I’ll go into town on Saturday and buy gold cord, the stick I have, knobs are on order, (wooden beads actually) and all will be complete before Advent is over, honestly!  

A Scruffy Little Bear

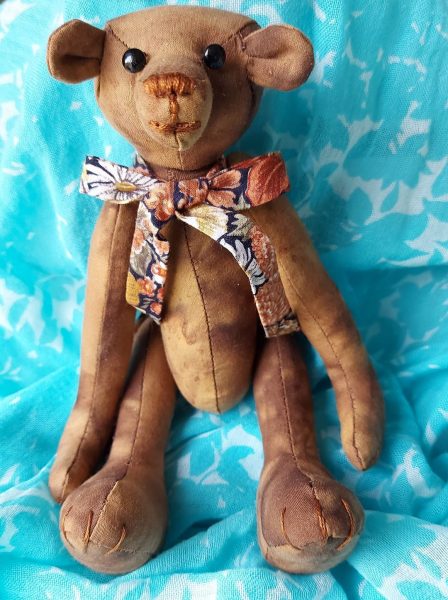
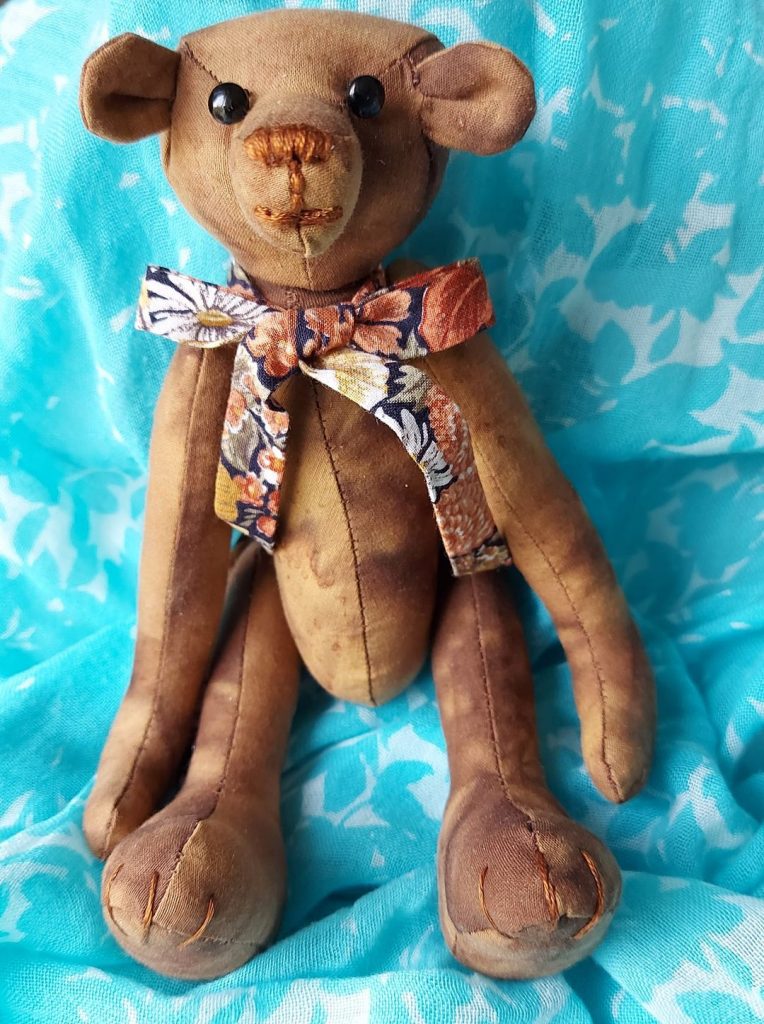
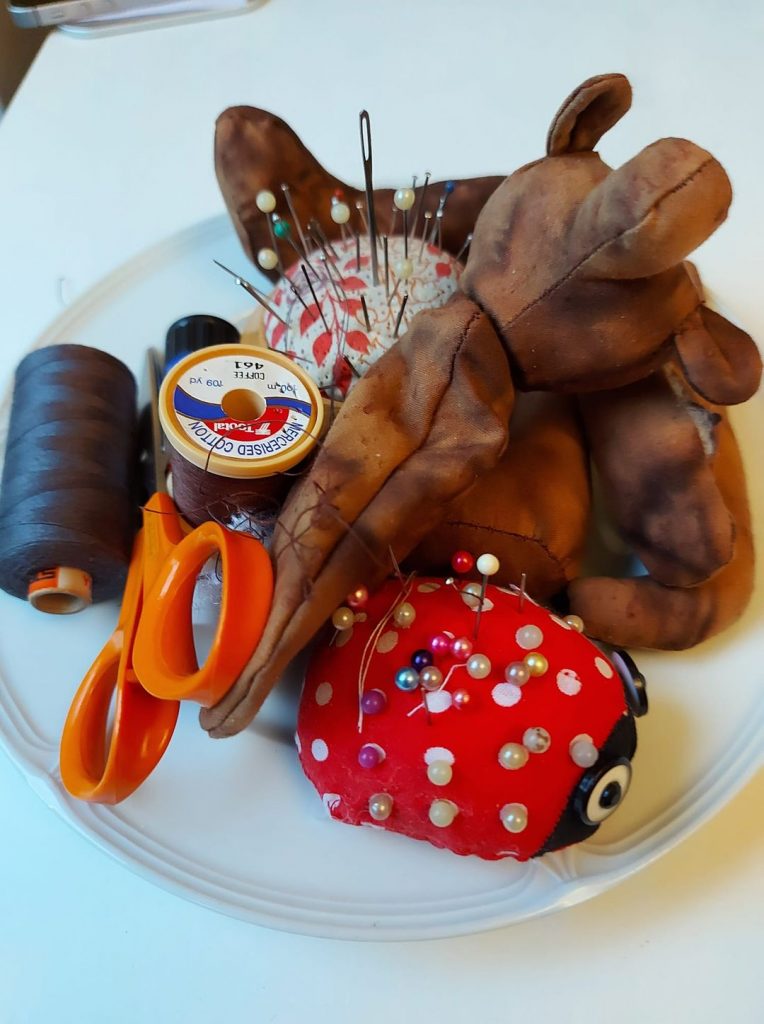
I thought maybe making this scruffy little bear could help me; having something to do and to think about would maybe help to get my sewing mojo back, and I could learn something new.

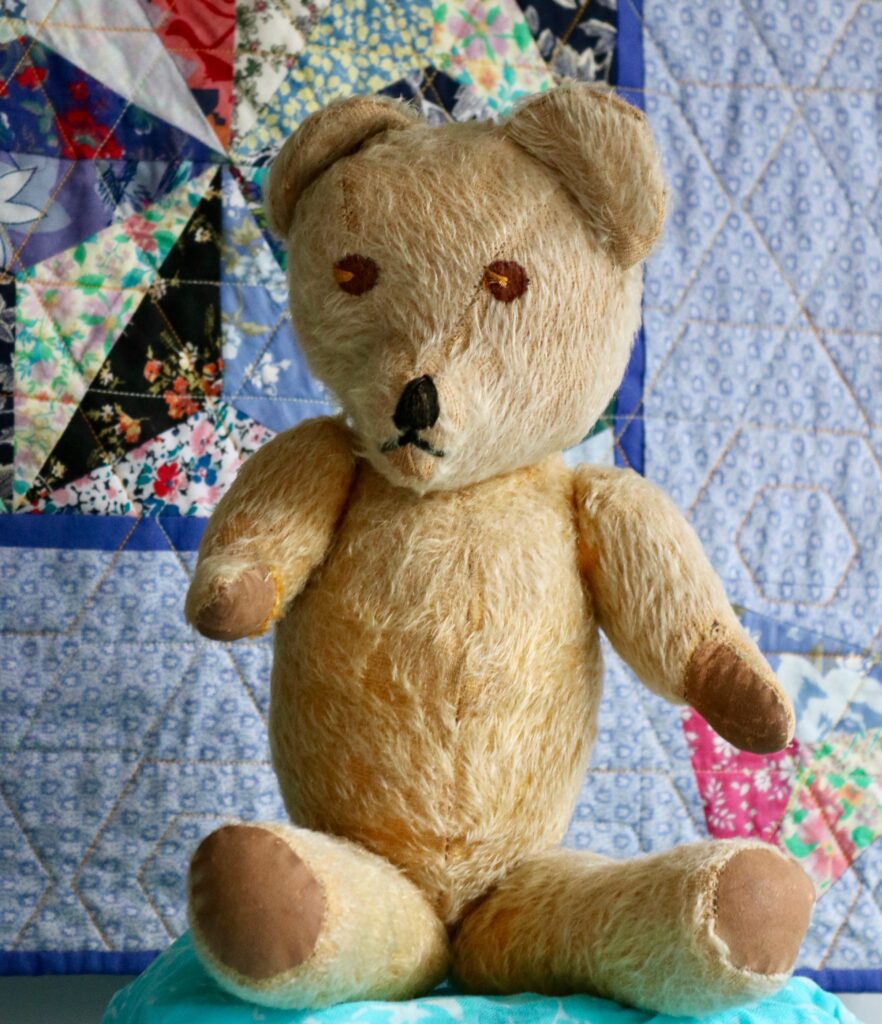
I’ve not really been in the mood for sewing lately certainly not quilting and yet I recently found a need to sew for the solace it brings. My Beloved and I are heartsore and bereft. The Boy has left home! On the day he was coming to collect all his belongings, I spent the morning packing up his things, trying not to cry. The hardest thing for me to swallow was he wanted his childhood teddies. He has moved out and come home again a couple of times, but I guess its really final when they take their childhood companions. He really has left home this time. I’m fairly sure there are toys of mine still tucked away at my Mother’s house which I still think of as “home” but I have my childhood teddy Bear.

Once the packing was done,  and while I waited for The Boy to arrive, I needed to find some calm. I settled down to listen to a podcast “ Bearly Begun, episode 4. ” (you can find it on Spotify or https://anchor.fm/bearlybegun/episodes )

If you are familiar with the BBC One TV program The Repair Shop you will know the two ladies who repair soft toys, not just bears, on that programme.  (If you don’t know The Repair Shop you are missing a delight, seriously it’s one of the best , I wouldn’t miss it, everything about it is wonderful, and I can’t recommend it highly enough. If you are not in the UK, I think you can find it @netflix.

The Bear Ladies had a project to suggest to their listeners, a free pattern to make a little teddy bear called Scruffy Duffy, well that nearly set me off crying again… Scruffy is the name of The Boy’s bear, which I’d just packed up and said goodbye to, remembering the times I’d read bedtime stories to The Boy and his Scruffy bear. My Stepson and I had first bonded over making paper hats for his teddies from ‘The Dangerous Book for Boys’ by Conn and Hal Iggulden, when he was 7 years old.

Scruffy little Bear in progress

I thought maybe making this scruffy little bear could help me; having something to do and to think about would maybe help to get my sewing mojo back, and I could learn something new. So I downloaded the pattern, ordered the bits and bobs required to put it together, found a piece of fabric from my stash, and began.

Scruffy Duffy belongs to The Teddy Bear Ladies, if you are interested in making one you can find the free pattern here, http://bearitinmind.com/ and images of bears which have been made from the pattern can be found on their Pinterest account https://www.pinterest.co.uk/teddybearladies/, there is also an instagram account https://www.instagram.com/theteddybearladies/ where you can follow The Teddy bear ladies.  Do watch them on The Repair Shop too.

So what did I learn while making this Scruffy Little Bear?

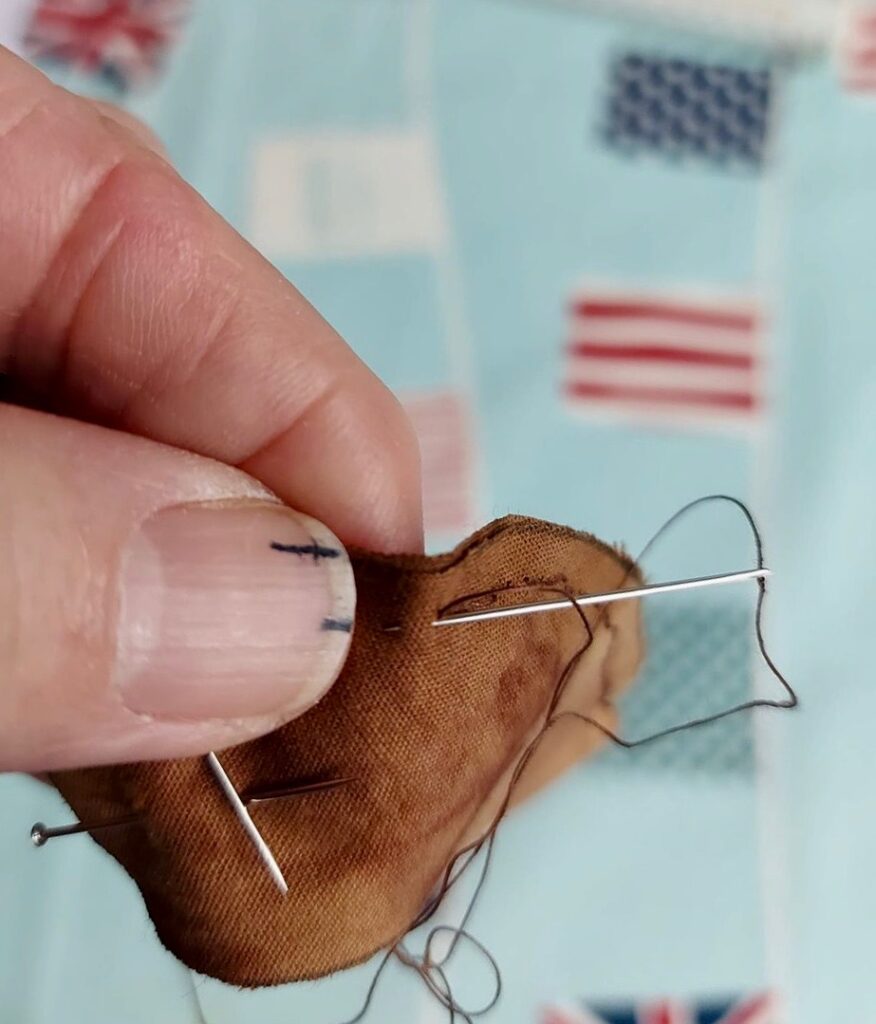
I learned that my hand sewing could do with more practice, that I’m not good at judging a half centimetre seam allowance by eye, but if you mark the seam allowance on your thumbnail, that works.

I learned that I’m not good at stuffing soft toys, but practice may make perfect, and a pencil helps.

I learned how to create a cotter pin joint; again practice may improve technique, thankfully I have some round nose pliers in my kitchen drawer.

I learned that mohair, despite being more expensive than free fabric from my stash, may have been a better choice, and the pile would likely cover a multitude of inaccurate stitching sins.

I learned that I have arthritis developing in my thumb joints, and that I need varifocal glasses.

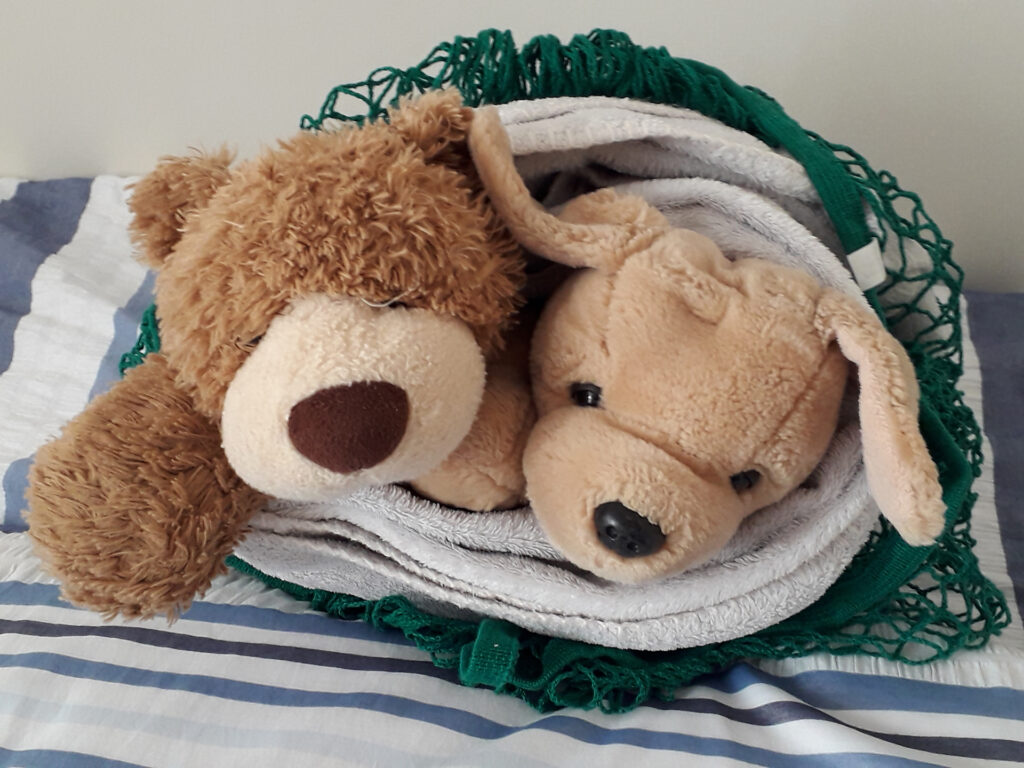
Most importantly and with much reflection, I learned that you cannot keep your children close, they will leave home and you have to let them go with an open heart.  I just hope he will let us know where he is and what he is up to, that he will come and see us occasionally.  And if he does decide to join the Army as he says he will, perhaps he’ll need a foster home for his beloved childhood friends, Monty and Scruffy, I do hope so.

Potholder for Mum

So what does a kind and loving daughter do when her mother confides… she has lost her pot holder?

 So what does a kind and loving daughter do when her mother confides… she has lost her pot holder? She thinks maybe it got thrown out with some newspapers which had been sitting by the kitchen door ready for recycling.

Make her a new one of course.

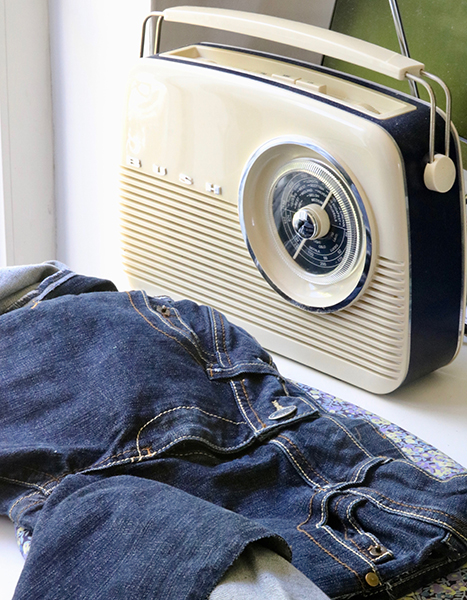
It took me a while to come up with a plan, I didn’t have suitable heat resistant wadding, well who does? So I needed to use a fabric which would be substantial enough to be heat resistant. Denim perhaps?

Denim jeans £1 , such a bargain.
Charity shop denim

In my stash I had a pair of jeans bought for £1 in a charity shop, I’d been thinking about a floor covering made from denim, but that would need a LOT  of denim. Not sure what I might do with the legs, but I will come up with something, what about a gardening apron? Hmm, I’ll need to think about that.

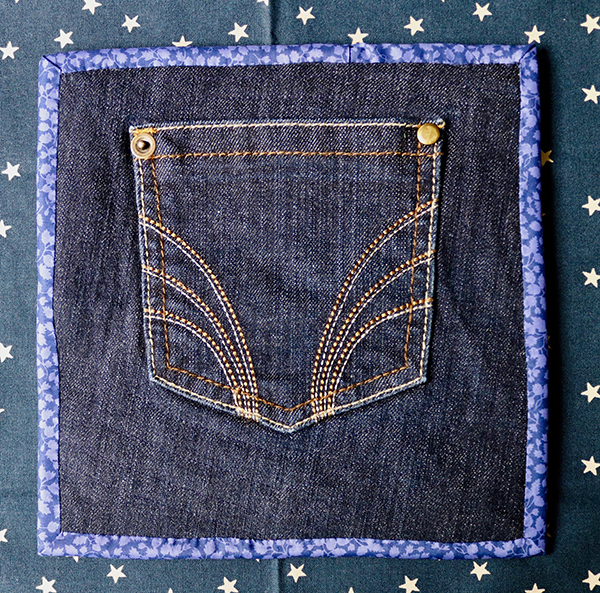
For my pot holders I needed two pieces of denim about 8-9 inches square, and a pocket on each one would give me more heat resistance in the middle, or a handy way to help keep hold of the potholder. With a pair, they could be used like ovengloves.

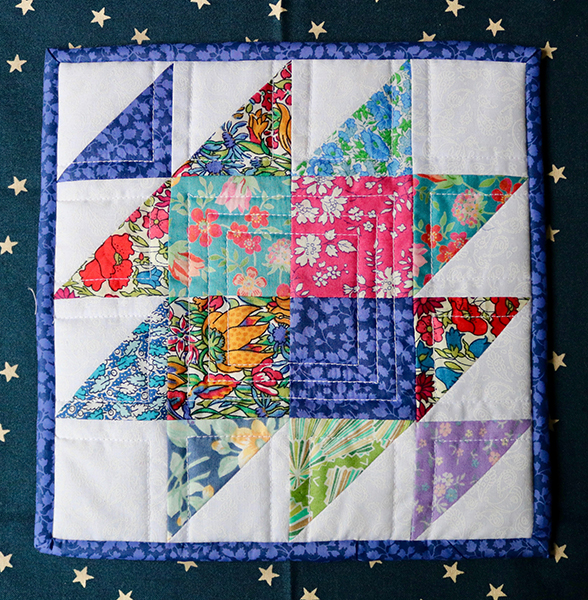
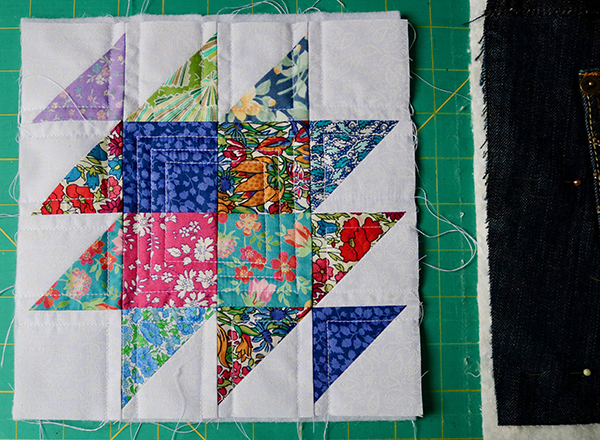
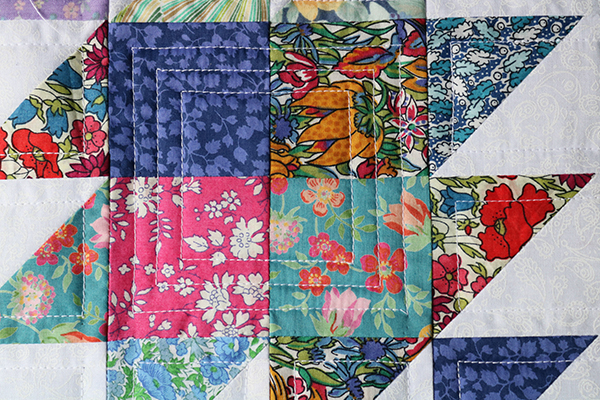
Sorting through my fabrics I came across the left overs from another project, Miriam’s cushion (http://www.mycrosspatch.com/blog/2018/05/11/making-miriams-cushion/)   half square triangles. Just what I needed, I’d seen a block on instagram just a few days before and saved it, now that’s  what I could do with my HSTs. (https://www.instagram.com/p/CANjHUUnDnF/…)

The Potholder only needed a simple quilting design to hold the layers together . I made a pair, one is handy but two is better, they aren’t exactly a pair but I’m happy with them, and so is MUM.   

Maybe I could make myself a pair too, when lockdown is over, and my local charity shop reopens.

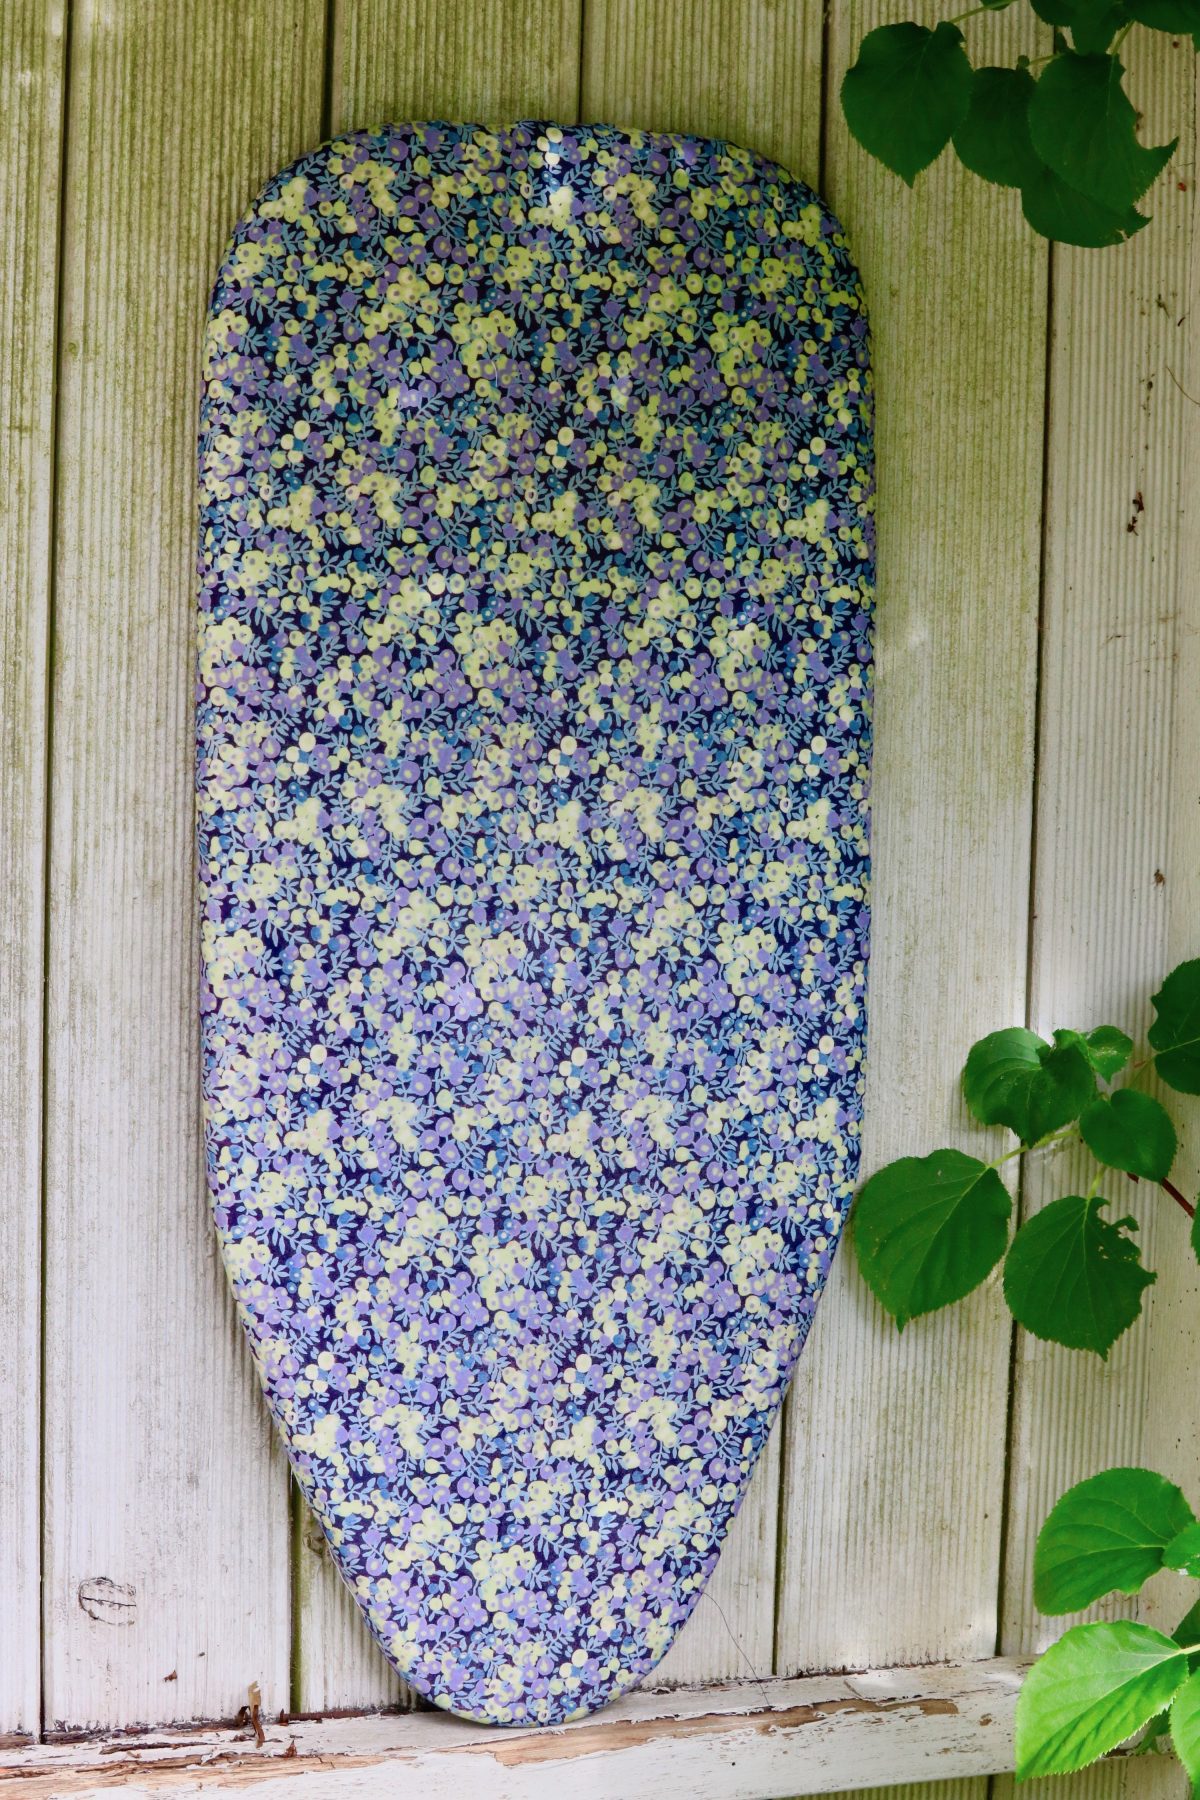
A simple Thing; an ironing board bringing Joy

A simple thing which brings a smile to every day tasks.

Finished article
something simple to give pleasure in use

William Morris (British textile designer, associated with the British Arts and Crafts Movement.) said “Have nothing in your house that you do not know to be useful, or believe to be beautiful.” Well I have a number of things in my house which while useful, do not bring me joy.

Simple things
the starting point

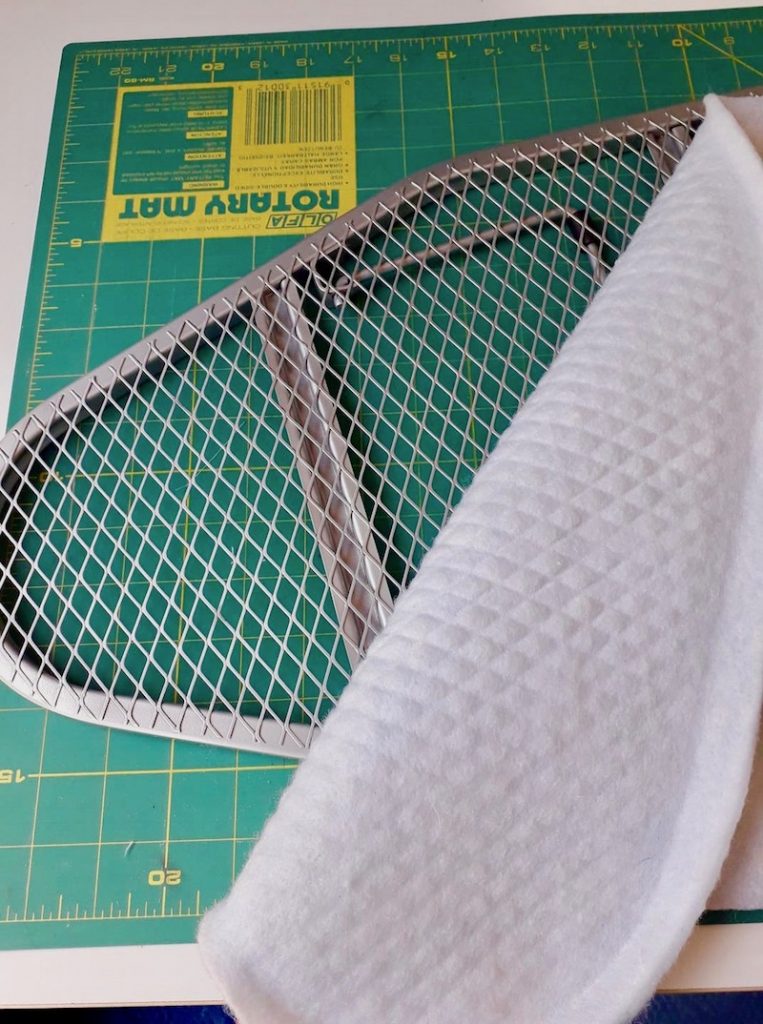
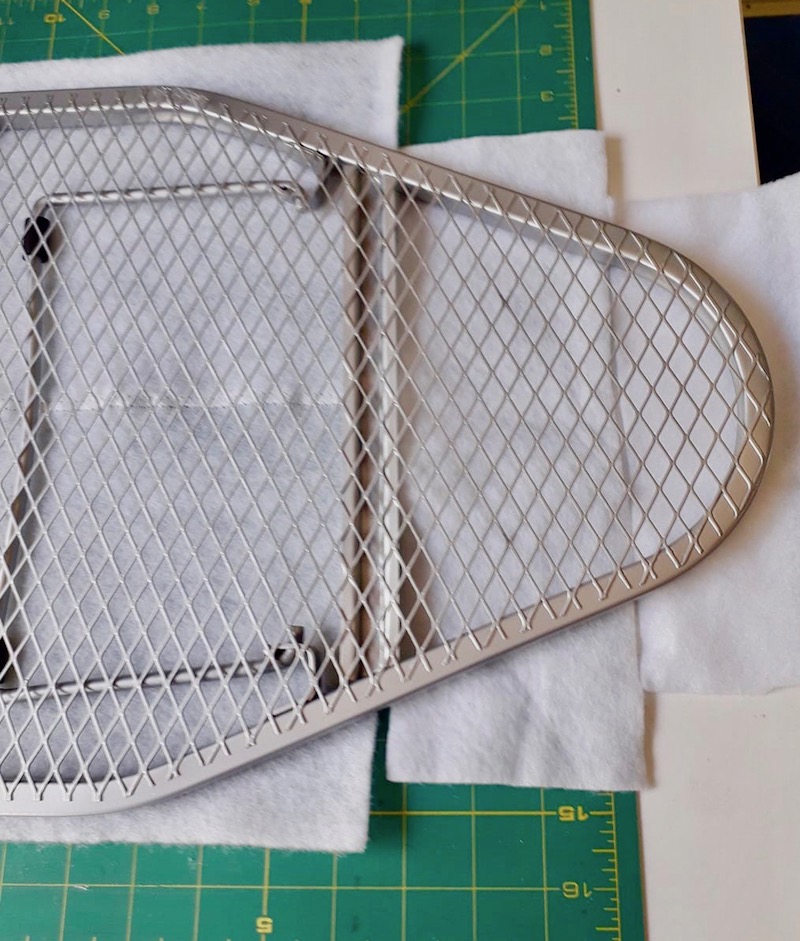
One such is my tabletop ironing board that I use for craft projects; I had been aware for a while that when ironing I could feel and sometimes see the wire base imprinting on the fabric. It needed a make over. So I took it apart and then realised I didn’t have the wadding I needed to repair it. Rats!   Being on lockdown due to Covid 19 there was no bobbing out to buy more. 

new wadding
a little pieceing needed

 Finding a couple of small pieces, which I thought would be suitable, I needed to piece it to fit the frame. A simple zigzag stitch keeps it together. I’d taken the cover off and so took the decision to wash it while I sorted the lining.

 The new wadding was stuck to the original wadding with spray glue to stop the two layers moving against each other. The two layers together gave a much more substantial padding, which I hope will improve the pressing of my craft projects.

ugly cover fabric
Grubby, faded, not giving me joy

Putting the old cover back on didn’t fill me with joy, its boring, white and still stained, and to make matters worse when trying to get it off I snapped the draw string which fits it to the ironing board. I thought I might use elastic to replace it but again due to Covid19 I had no elastic. Well I did but I had another far more important use for it, of which more later ( see blog post “worldwide pandemic” )

Trawling through my haberdashery stash I found a cone of black polyester ribbon about .5cm wide, normally I wouldn’t dream of using black ribbon as a drawstring on a white project but needs must. It threaded well with a bodkin and it did the job.

Mis-printed Libery lawn
even misprints have their uses.

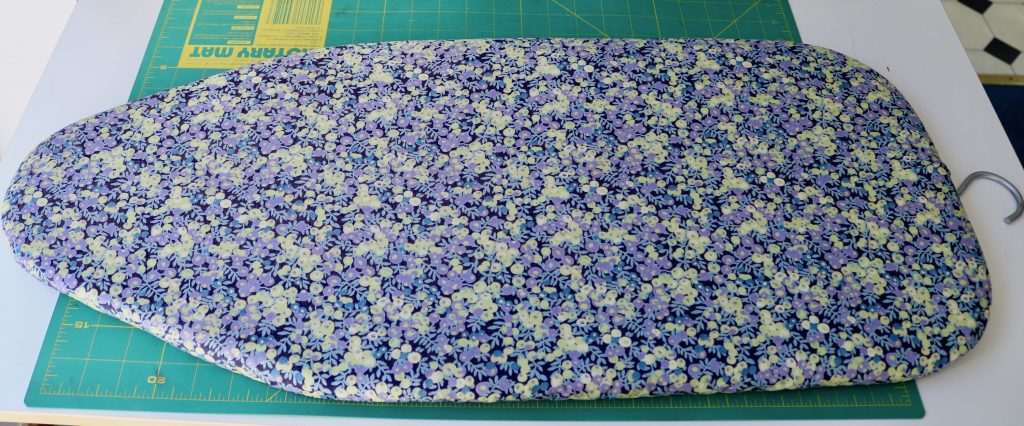
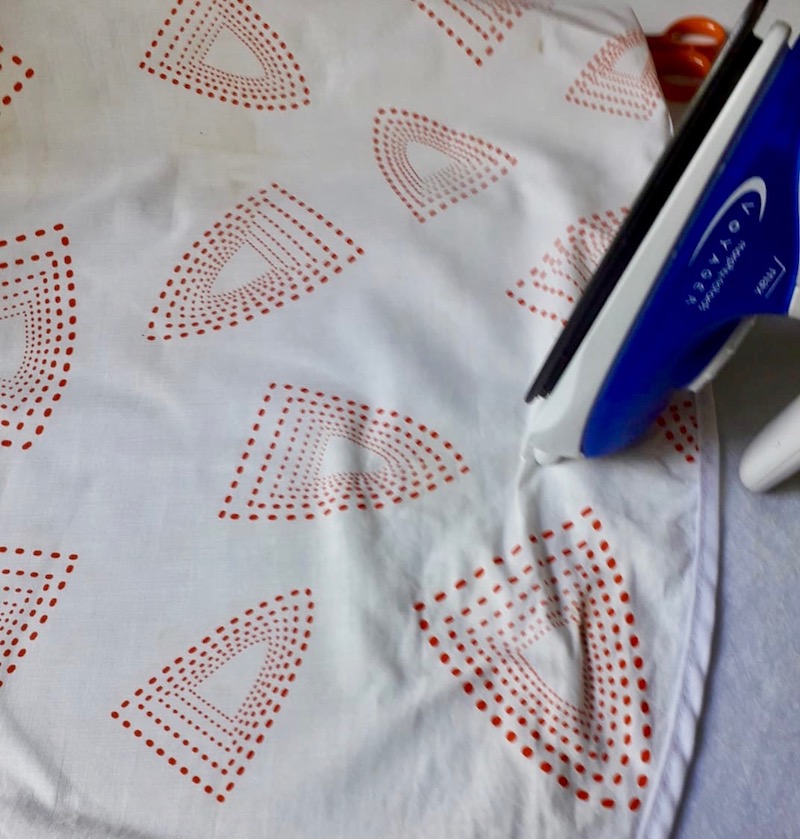
Before putting it back on I used it as an approximate pattern for another cover. I’d seen on another blog somewhere, sometime, can’t remember when,  a new cover made with a gorgeous Liberty fabric.  I have some Liberty fabric, bought many years ago again can’t remember where or when but it’s mis-printed so over the space of several yards there are many different misprints, from almost perfect, to completely unrecognisable. Consequently I’ve never found a purpose for it. So I reckoned I could spare a half yard piece from one end.

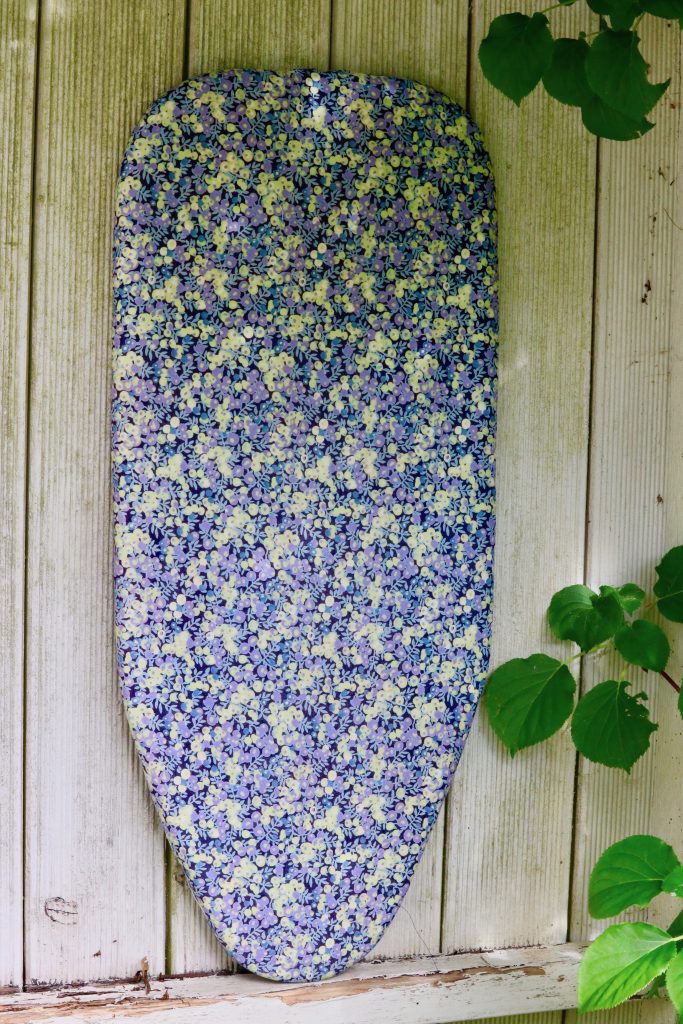
A thing of beauty....
the finished article, a joy to use.

The result is another cover, over the original, and with a similar black poly ribbon drawstring. It fills me with joy. Such a simple change, no money spent, everything came from my stash. A pleasure to use, and I don’t have to hide it or stow it away when we have visitors. A simple thing which brings a smile to every day tasks.
World Pandemic: every little mask helps.
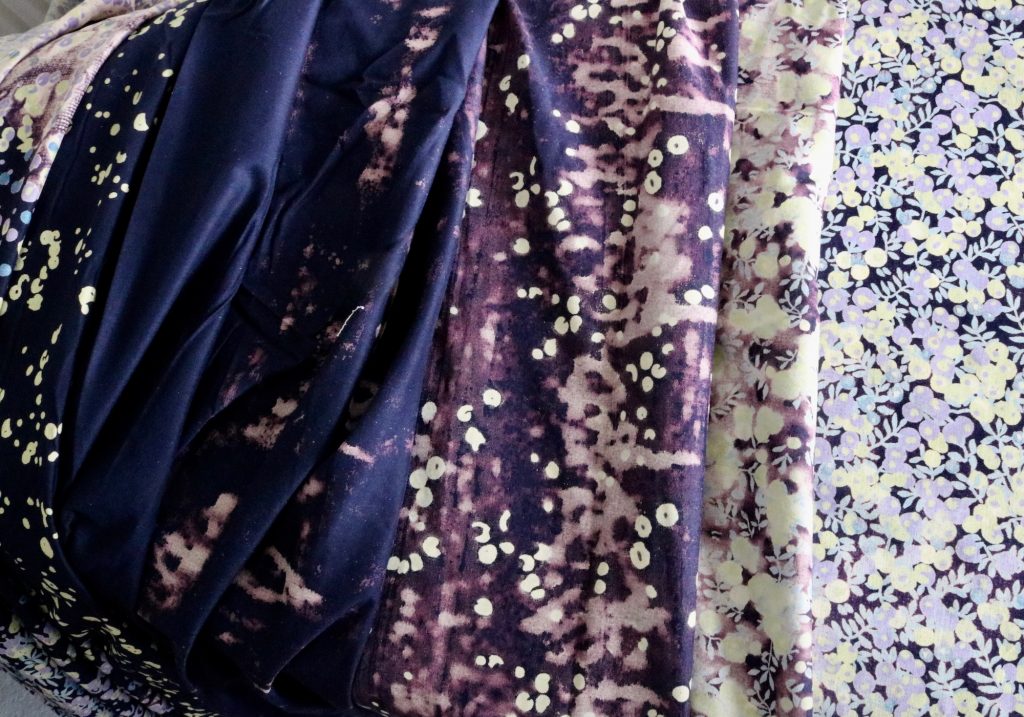
I celebrated my 60th Birthday in April 2020 , whatever I may have had planned for the day I never imagined I would spend it in quarantine, sewing.

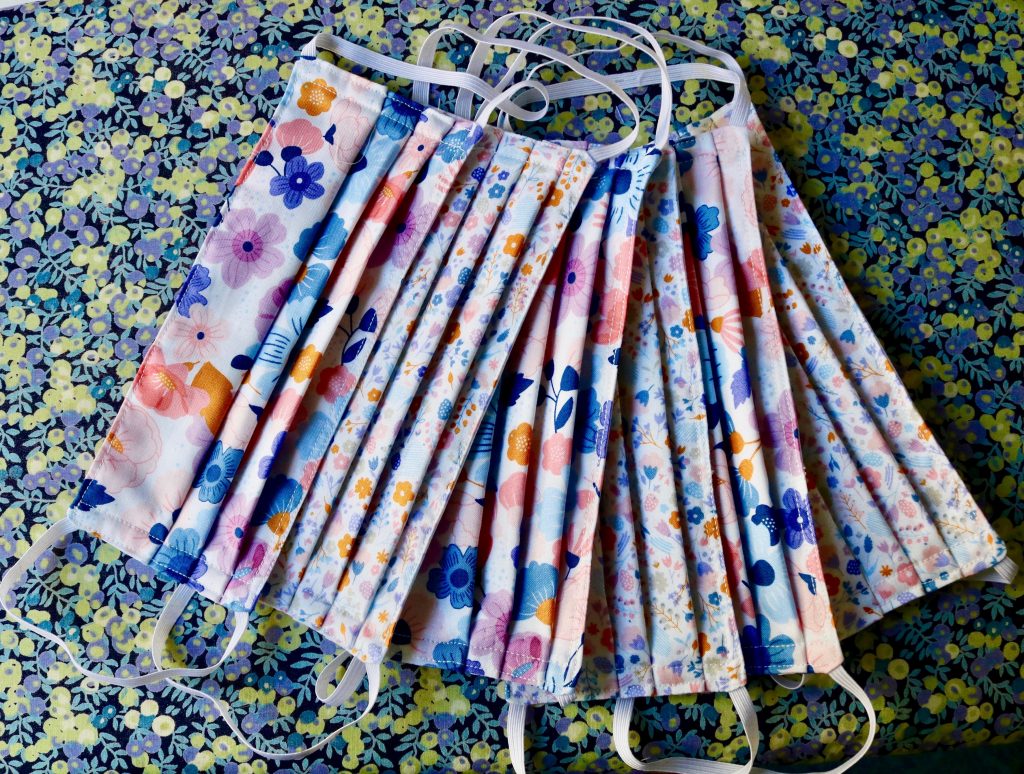
wear wear a mask for everyone's sake
flowery fabric face masks

I celebrated my 60th Birthday in April 2020 , whatever I may have had planned for the day I never imagined I would spend it in quarantine, sewing.

 I spent the day making face masks. Yes I know, there is little scientific evidence that they are an effective preventative or protective measure but nevertheless if it makes the wearer a bit safer and others around them be a bit safer then it’s a good thing, and we should be happy to wear them for everyone’s sake.

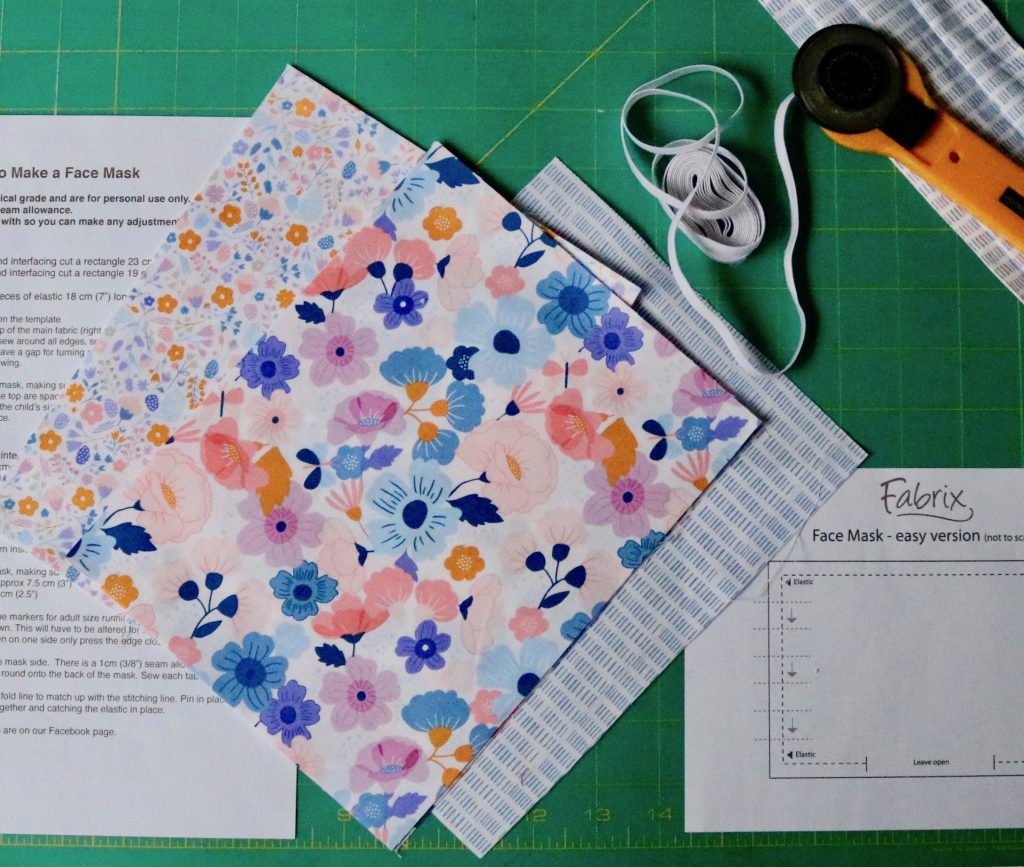
face mask kit
I bought a kit to save time

 I founds so many patterns, so much advice, but I took the simplest route, I bought a kit from my local fabric shop, Fabrix; https://fabrixlancaster.uk/ https://www.facebook.com/FabrixLancaster

 The kit gave enough materials to make 9 masks . I requested it via fb, paid by BACS payment and it arrived within a couple of days. Isn’t the internet wonderful, if we weren’t in lockdown, I’d probably have just planned to go to the shop the following weekend, and then forgot all about it. I rather like shopping on line in my pajamas.

all kit parts shown
This is so easy, seriously.

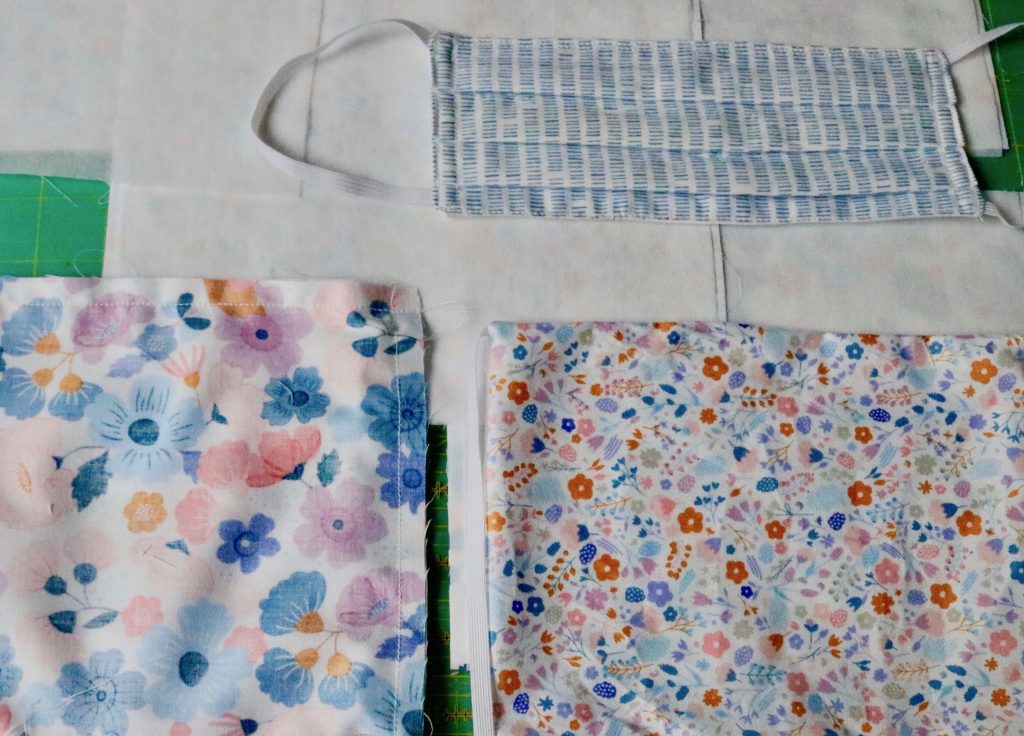
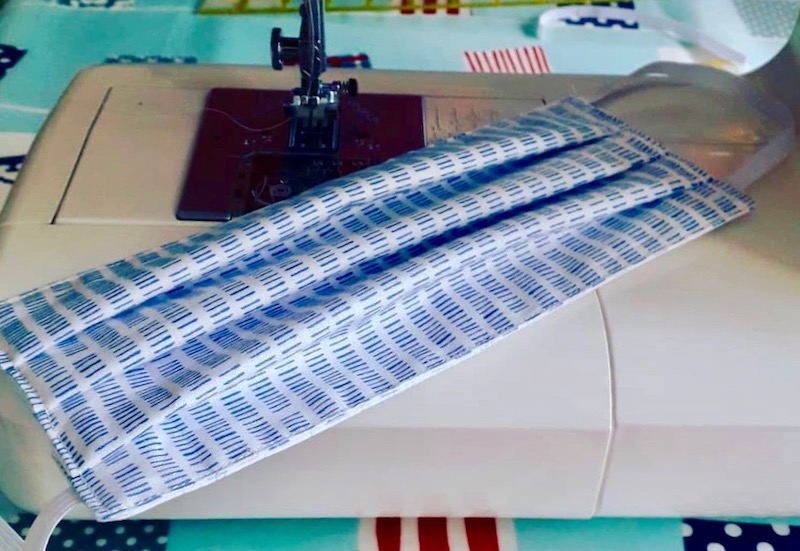
This is a really simple mask, anyone could have a go, it’s made of 3 layers, a coloured fabric for the front, a plain fabric for the back and a thin Vilene lining.  On the first three masks I made I followed the pattern when it came to the placing of the tucks, so they appeared loosely equidistant on the finished mask, but found it difficult to place them. I fiddled around for ages trying to get them looking equal.

 Then I saw a tutorial for a similar shaped mask, where the mask was pressed in half, and then each half in half again, then used the press lines as a guide. Which means the folds fall lower on the mask but are more easily equally spaced.  It works just as well, and takes a heck of a lot less time to complete.

non-flowery mask
first 3 done for my Beloved

My beloved is happy to wear the non-flowery ones, he has 3, I managed to make 9 out of the fabric provided, so I kept two for myself, gifted two each to my sister and niece. Now I need to find a different material to make masks for my nephew and stepson, and maybe a different mask pattern. I like the one I saw on Peter Lappin’s instagram post, https://www.instagram.com/peterlappin a free PDF from @dhuratadavies.  I think if I can find a bandana I have somewhere I’ll try this pattern, it’s possibly a fabric young men might swallow rather flowery fabrics from my stash. Possibly. Although somehow I find its difficult to get the young to understand the risks and comply. So many have died and still we see people not wanting to take reasonable precautions.

wear wear a mask for everyone's sake
Flowery face masks.

I wear these masks frequently, they are much more comfortable than the paper surgical masks, I wash them with the towels on a hot wash, and iron them on a hot. setting.

Making Miriam’s cushion

I wanted to give Miriam a leaving gift that was personal from me to her, no shop bought gift , it had to be hand made.

Recently one of my staff team handed in her notice, I was very sad to see her go because she is a great practitioner and a lovely human being, but I was happy to see her progress in her career.

Naturally I wanted to give Miriam a leaving gift that was personal from me to her, no shop bought gift , it had to be hand made.  A cushion was all I had time to achieve, so this is the tale of Miriam’s cushion.

Miriam's cushion
Finished!


I decided all would be made from my fabric stash, and wanted something very pretty, so Liberty prints seemed to fit the bill.

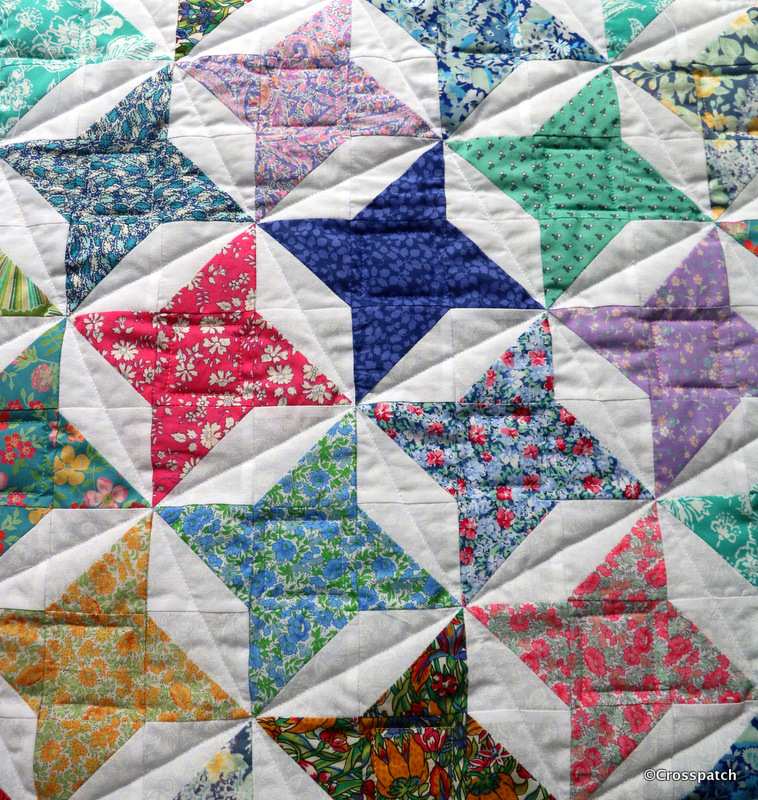
I wondered if perhaps there was a block called Miriam, well there is but it isn’t particularly pretty, and its also known as Crazy Susan, so that wouldn’t go down well. Stars was my second thought. Pinterest supplied this idea, Miriam’s cushion was going to be Fab.

Miriam's cushion
Liberty prints


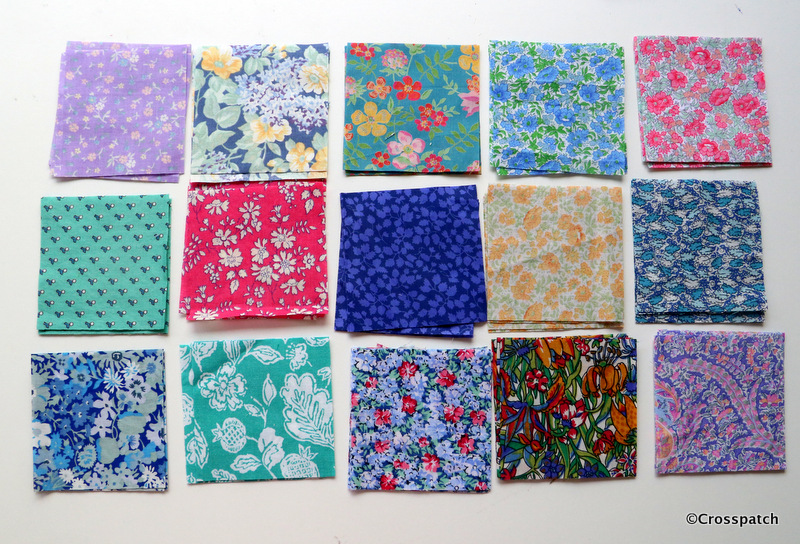
15 different fabrics were picked out of my stash, and a new white on white fabric was bought to tie them all together, there was nothing suitable in my stash.

Miriam's Cushion
trimming down to 2.5 “


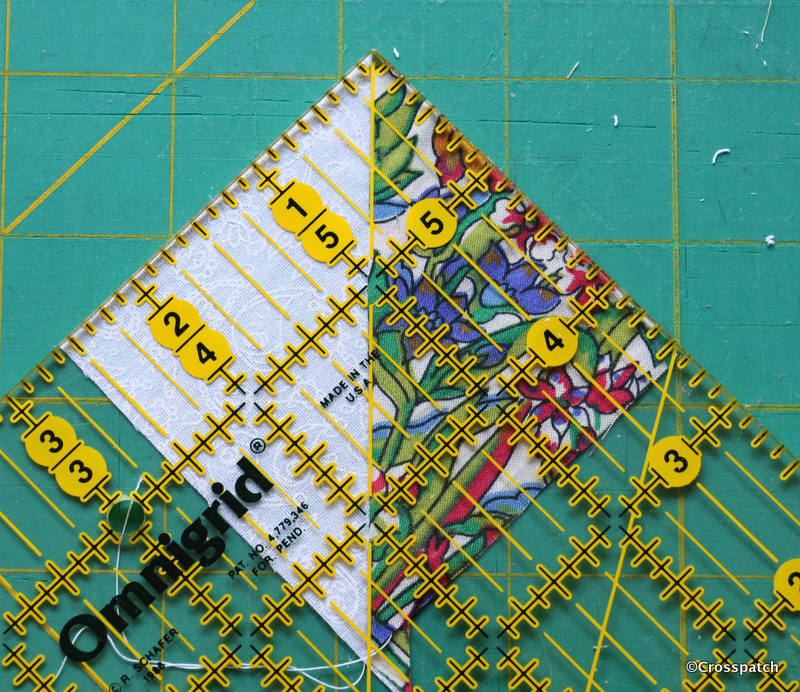
From each fabric one 2 ½ “ square and four 2⅞ “   triangles were required.  I found it easier to cut 2 x 3 “ squares from each fabric and the same from the white to make 4 half square triangle units by putting a Liberty fabric square right sides to right sides with a white square, sewing two lines half an inch apart across the diagonal and cutting them apart, pressing to the dark side, then cutting down to 2 ½ “.


Half square triangle units are traditionally made by marking a fine pencil line diagonally across the paler fabric, so that it can easily be seen, and sewing a ¼“ from either side of the line.  We press the seam allowance towards the darker fabric so as not to allow the darker fabric to show through the paler, it also helps to nest seams for a flatter, neater end result.

Miriam's Cushion
placing fabrics


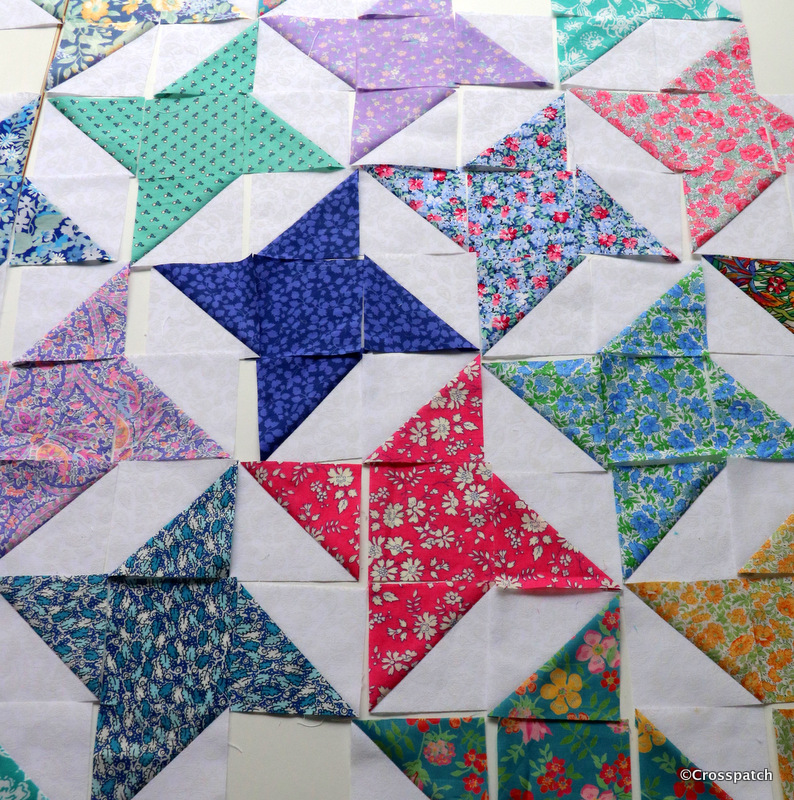
Once I had 15 sets of square and triangles, I had to decide on placement of the fabrics, with this pattern there are no blocks which can be made up and colour placement decided later, each fabric interlocks with its neighbours row on row , so the whole design must be laid out in advance.  Thank goodness it was only a cushion, I don’t have space to lay out an entire quilt in this way.

Miriam's cushion


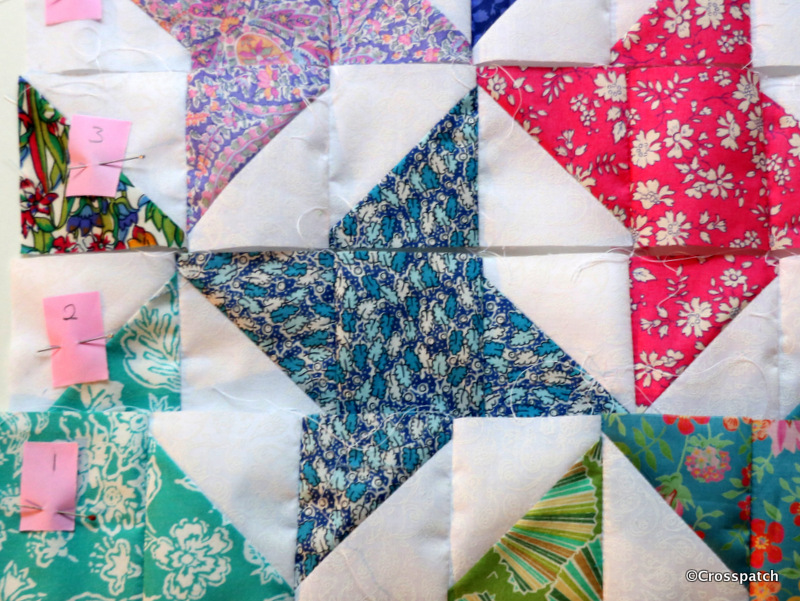
Numbering the rows so that I didn’t get myself in a tangle I stitched each row individually, then pressed the odd rows in one direction and the even rows in the other direction so that the seams would nest neatly.


I was under time pressure, so as I worked I considered how to finish Miriam’s cushion, I wanted to finish the edge with a binding which would look like piping without the faff of having to use piping. But that left me with a problem of how to close the cushion cover.


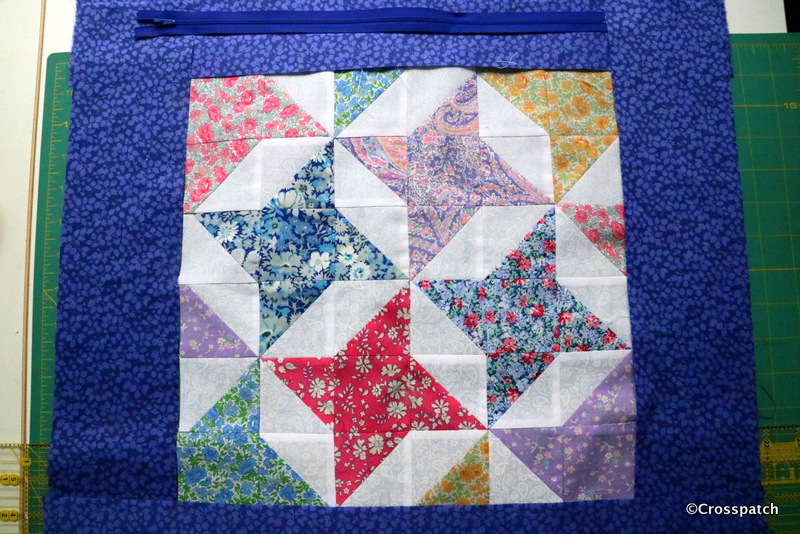
A Zipper looks better than an envelope back, which I always think looks baggy and unfinished, but I couldn’t figure out how to put a zipper in a bound edge. So rather than make a matching back I had to make a smaller version of the front for back with a sashing to insert a zipper and leave a raw edge to bind.

Miriam's cushion
cushion back with zipper


Each side was sandwiched with a 2oz wadding bought specially at Abakhan    (https://www.abakhan.co.uk/stores) in Preston; and quilted simply with diagonal lines, happily because the wadding was quite chunky, it didn’t need a lot of close quilting.

Miriam's cushion
quilting Miriam’s cushion

I sewed the front to the back wrong sides together with the raw edges on the outside, a ¼ “ seam allowance.


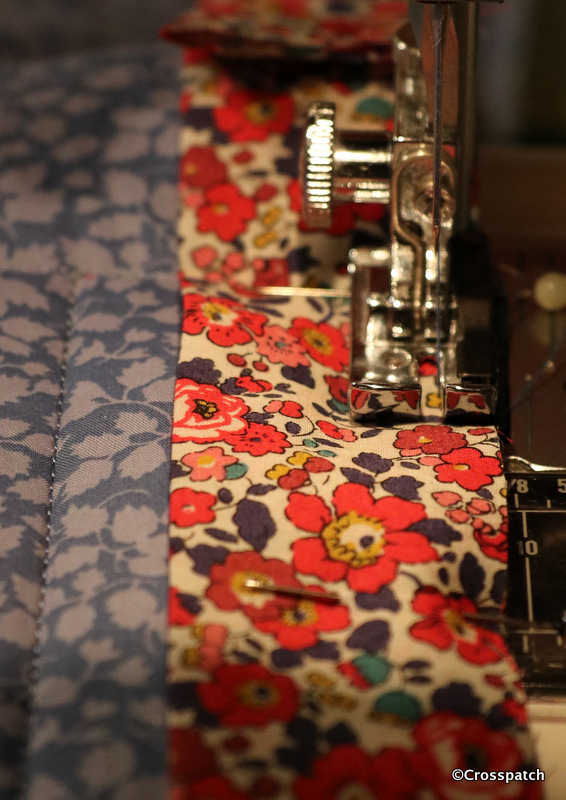
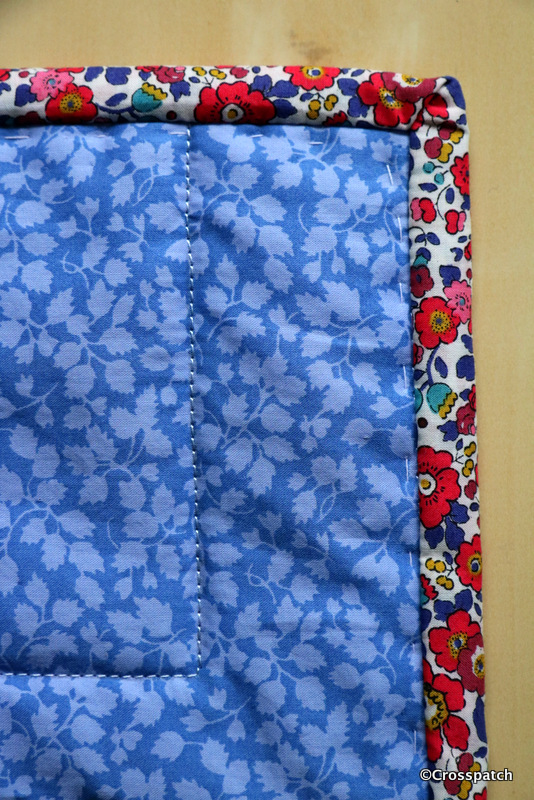
Finally I cut and stitched the binding ; I cut a 2 ¼ “ binding and folded  it in half lengthways, right sides out, sewing it to the front of the cushion just a smidge wider than  ¼ “ so that the first seam isn’t showing.  It also stabilises and strengthens the seam around the edge being stitched round a second time.  Then rolling the binding over the raw edge by hand, because I have folded the binding I now have a folded edge to hand stitch along the seam line on the reverse side.

Miriam's cushion
Finished!


I used the same fabric for the binding as the sashing so that any wobbliness of the binding or the hand stitching would be less obvious on that side. I was burning the midnight oil by this time; Miriam’s cushion had to be finished, she was leaving the following day.


I wanted to label the cushion, but not for it to be seen  announcing myself constantly, so I made a label and stitched it inside the cushion, just under the zipper.  It simply says it was made for  Miriam, it is Miriam’s cushion.


When I gave Miriam’s Cushion to her, I pointed out my two errors, the zipper isn’t centrally placed, can’t figure out how that happened, but I didn’t have time to fix it, and the far corner fabric isn’t quite “right”, but I left it in because, as all quilters know, “only God is Perfect”.


There was one final flourish that I had planned to add but I ran out of time. It was a bible quotation I sought out especially For Miriam, a committed Christian, as she was leaving us for another job nearer to her home. I had planned it to be sewn inside like the label.


So here it is :-


To enjoy your work and accept your lot in life—this is indeed a gift from God. (Ecclesiastes 5:19)


It’s more than simply Miriam’s cushion it is a gift to express fond appreciation of the person she is.  Thank you Miriam for passing through my life however briefly, it has been a pleasure to know you, to work with you, to see you develop and flourish in your profession.


Elderflower Vodka; how to make it

I encouraged some small creatures to depart, the ones who wouldn’t go got squashed.

Elderflower Vodka

I had been planning to make elderflower Vodka for weeks, since I saw the first Elderflower umbels begin to flower. I bought Vodka and waited for a lovely summers day to go out and gather some elderflowers. In came the rain, and the gales, and cold weather, Brrr, not going out in this!

Elderflower Vodka

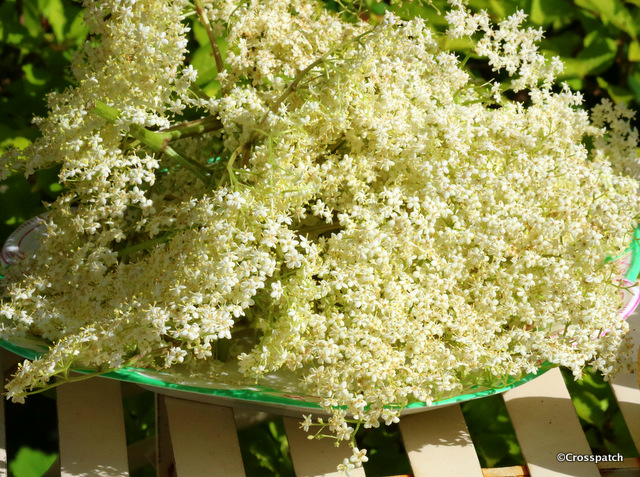
Yesterday I noticed that most of the elderflowers were already finished and decided today would have to be the day, or it was all over for another year, and no elderflower vodka. This morning it was sunny and still, a perfect day, and I only needed to walk a short way from my door to find a small elderflower bush with a shady side which was less advanced than I’d seen out and about yesterday. Ten or so Umbels picked and back to my suntrap back garden.

Elderflower Vodka

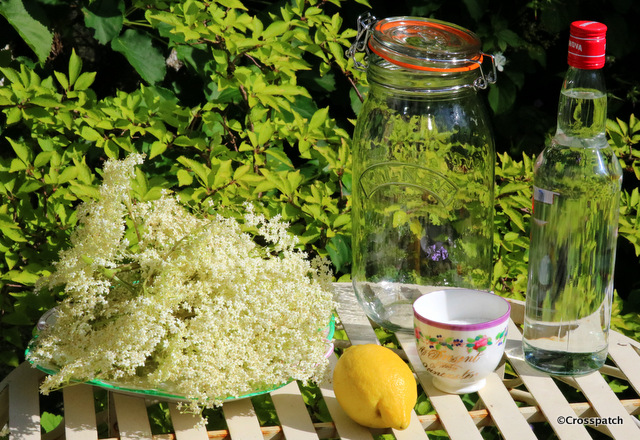
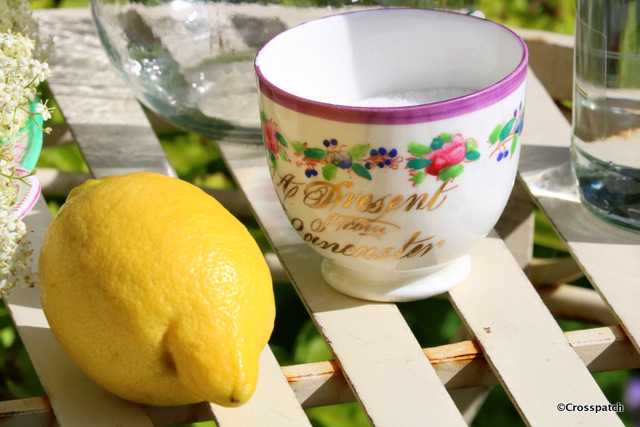
So what else do I need? a Lemon, and a bottle of Vodka, 100g of sugar, and a glass jar.Elderflower Vodka

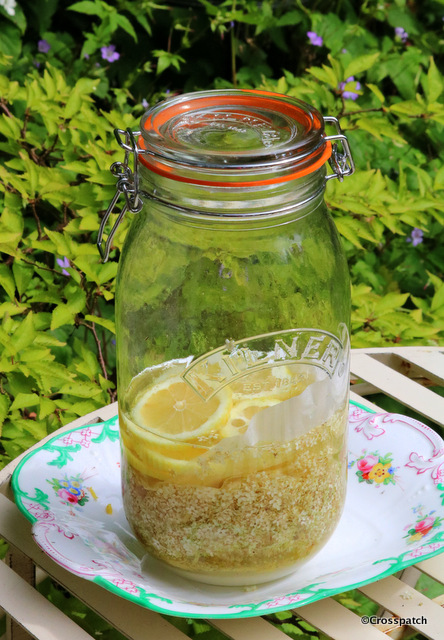
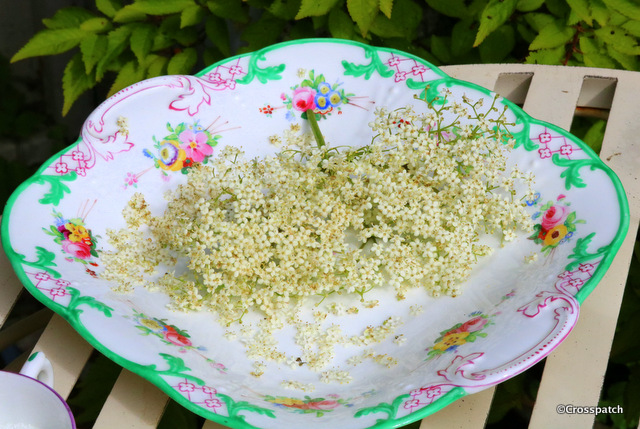
I gently removed the flower heads from the stems, Elderflowers aren’t toxic but the wood and stems are, I don’t think I would poison anyone if I’d left the stems on but you just never know. I de-stem the flowers over a plate so I can check for foreign bodies or small creatures, which can be encouraged away or squashed according to preference. I encouraged some small creatures to depart, the ones who wouldn’t go got squashed.

Elderflower Vodka
Lemon Zest

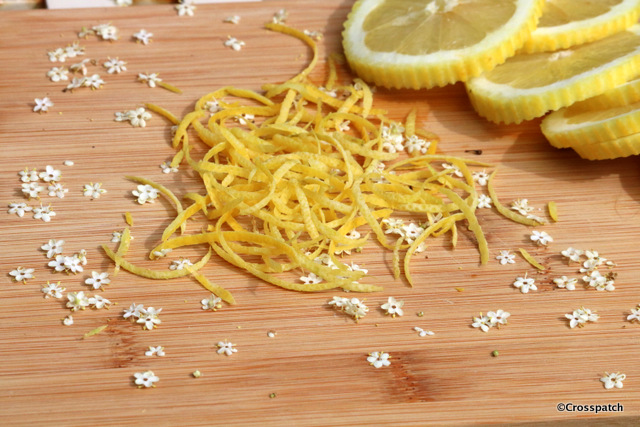
On top of the flowers went the zest of a lemon, and a 100 grams of sugar, and a 75cl bottle of Vodka, (it should have been a Ltr but I only had a 75cl bottle) So only 75 cls of Elderflower vodka this year.

Elderflower vodka
a little sugar

On top of the flowers I put 3 layers of greaseproof paper and the lemon slices, this is to hold the flowers under the vodka to stop them going brown and colouring the vodka.
I found the recipe at wild at heart foods, thanks and credit where it’s due.

note to self… next time cut the paper to fit the jar, 3 or 4 layers slightly offset, each tucked down the side of the jar slightly  will hold the flowers down better. Some of the lemon slices can go under the paper, all of them is too many. I have made elderflower liqueur before, see :- Elderflower liqueur

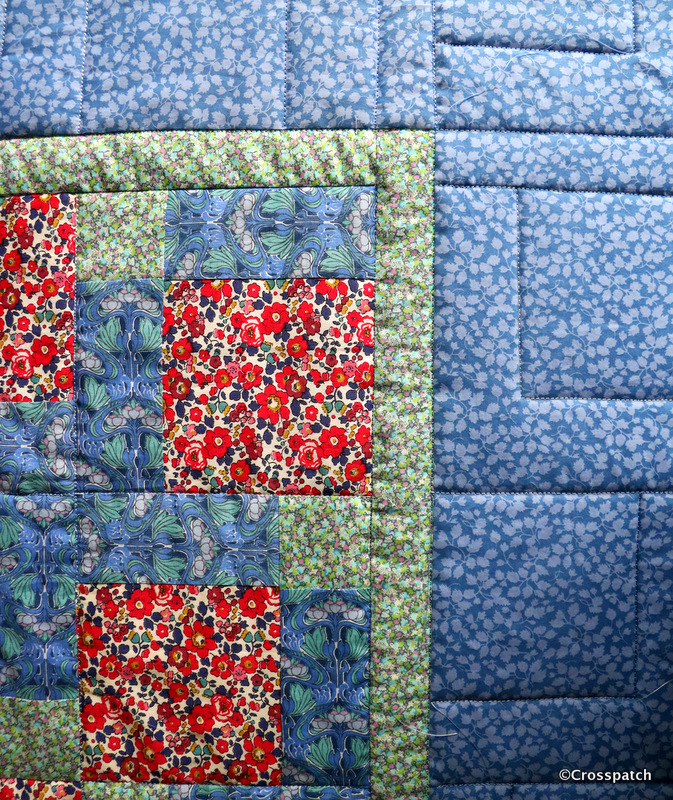
How to disappear a nine patch

only to find I was a week too early. Curses! Well at least I now have time to stitch that binding on, and take it back next week.

nine patch
Little winner

We all deserve a little luck occasionally; this quilt was made from a little bit of mine.
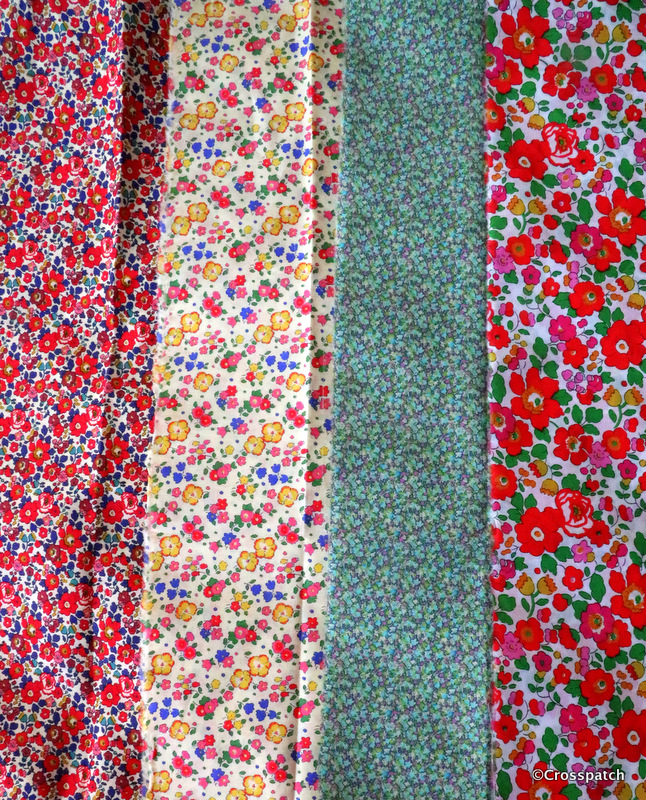
I’m lucky enough to live near a company called Standfast and Barracks, they print fabric for Liberty and Designers Guild amongst others. They have a factory shop where these fabrics can be bought in small amounts for discounted prices. You won’t be surprised that I shop there often. They also have a facebook page. (https://www.facebook.com/search/top/q=standfast%20%26%20barracks%20fabric%20factory%20shop ) and some time ago they ran a little competition to win some fabrics … guess who won?

nine patch
lucky Me

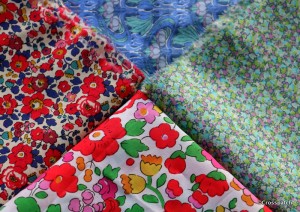
I won… Four lovely pieces of Liberty Tana Lawn; now what to make?

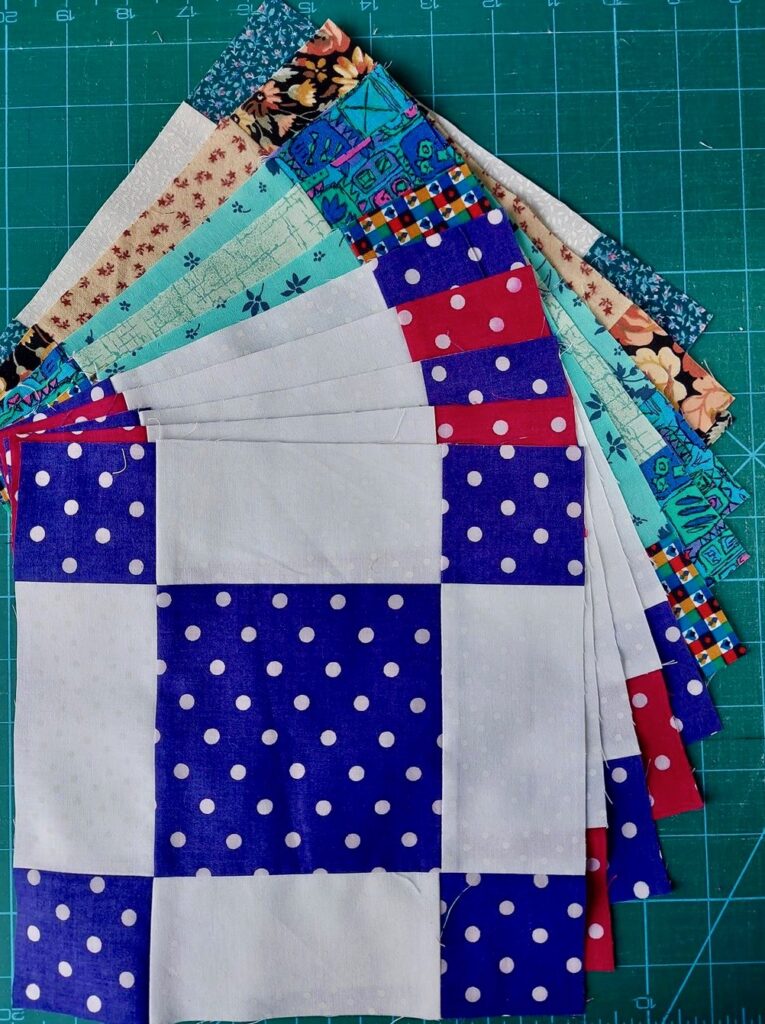
I decided to make a disappearing nine patch, I had only used that block once before but I knew it would go together quite quickly, and I liked it, you don’t need a better reason, do you?

nine patch
3 of the 4

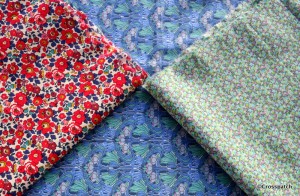
I fiddled around for a while trying to work out the placement of the fabrics and came to the conclusion that I needed more contrast, a different colour. I dug out my enormous stash of Liberty Tana lawn remnants from Standfast and Barracks, and found a blue which I thought would work.

nine patch
2 and a contrast

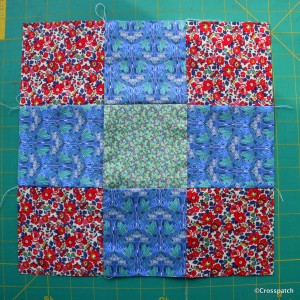
Thinking about the balance of your fabrics in simple terms, the fabric you want to use the most of or to be the dominant fabric should go in the corners of the nine patch block .

nine patch block
nine patch block

The next fabric or fabrics should go on the four sides of the nine patch , you could use all one colour as I did or you could alternate two colours which would create a completely different look.

NB , if you use a fabric with a directional pattern, as I did the pattern should not be placed the same way up, but directed from the sides to the middle of the nine patch block, otherwise when you cut it up and try to put it together again, you’ll find the pattern going every which way. It won’t work.

nine patch
Disappearing nine patch

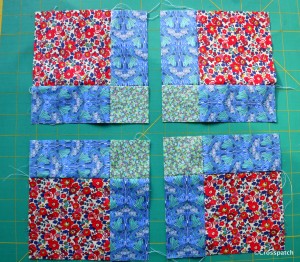
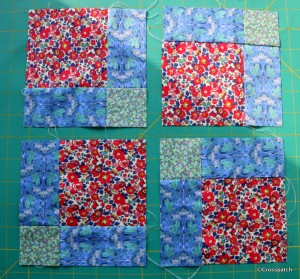
Finally the fabric you have least of if you are using scraps, or you like least, or would dominate the quilt if used in greater amounts, goes in the centre of the nine patch block. The disappearing nine patch block has a balance of fabrics which is expressed by 4, 2, 2, 1 . The largest patch is 4 times bigger than the smallest and the middle sized patches are half of the larger, if you see what I mean?

nine patch
180 degrees

Having put together the nine patch I cut it into 4 quarters and put it back together having turned two of the quarters 180 degrees. All the blue patches are aligned in the same direction. If two patches had the pattern aligned along the length, and the other two along the width, it would be visually distracting.

nine patch
neither works for me


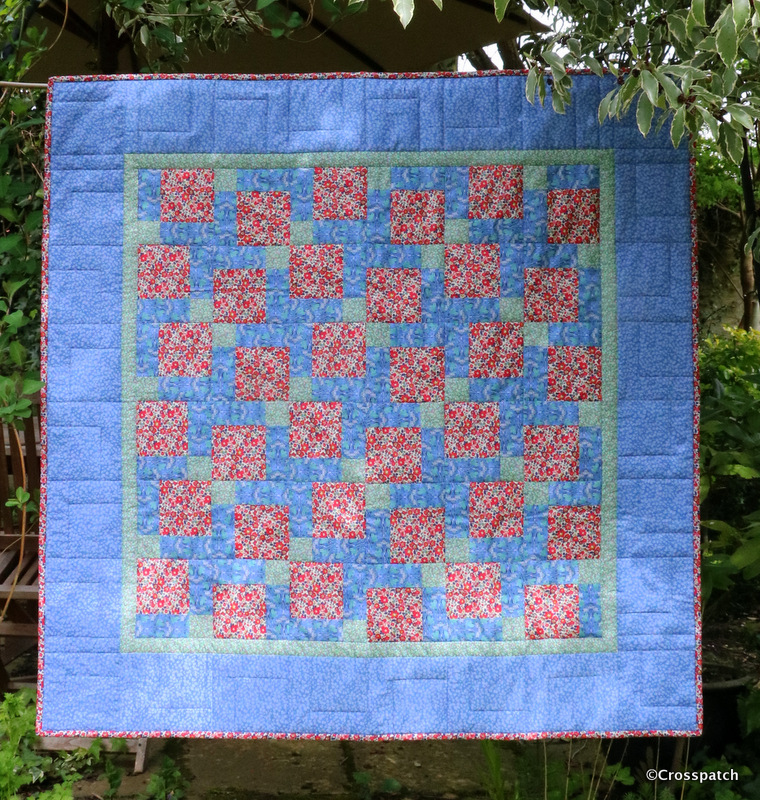
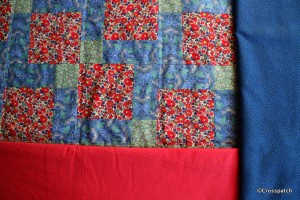
Nine nine patch blocks gave me a 30” quilt top and used up all of the flowered and the blue fabrics, to make it big enough for a lap quilt usually 40 -45 “ square, borders were needed. First I considered a darkish blue… too dark, then a bright watermelon pink… too bright. I thought it would dominate and make my pieced disappearing nine patch centre look dull.

nine patch
blue and green work together

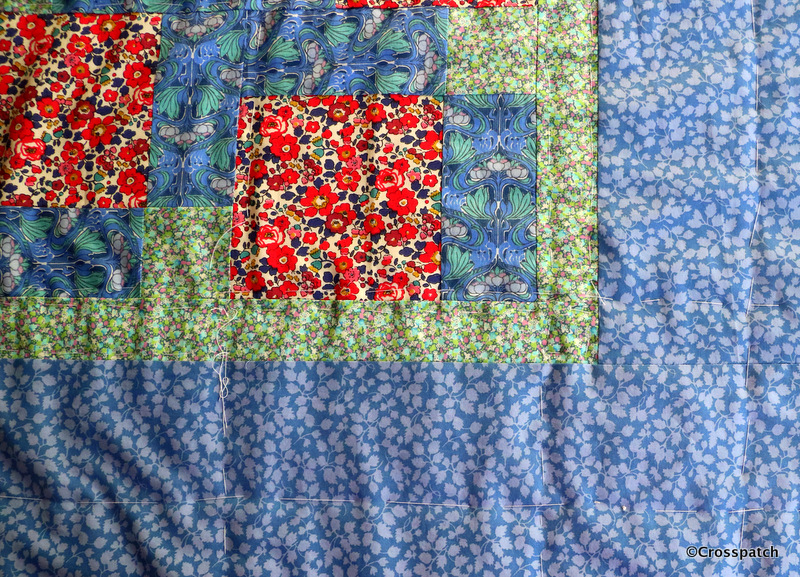
I added a narrow green border to separate the pieced top from the outer border, using the green helped to balance the colour across the quilt and use the green up too. Finally I took my centre back to Standfast and Barracks, draped it over the rolls of fabric for sale in the shop. I found another blue that worked for the border. I also bought a piece of the flowered fabric big enough to back and bind the edge, leaving enough left over for the hanging sleeve too.

nine patch
simple quilting

I planned to submit this to my quilt group’s exhibition; the third of my three items, and thinking it needed to be handed in in a few days time I was in a hurry to finish it. The last time I had used this disappearing nine patch block I used a circular quilting to balance the very square pattern, I began to mark out the circles, but my disappearing pen was dried up and useless, pencil was too laborious, I had to do something simple.
It’s stitched in the ditch, just outlining each quarter block, and the border follows the pattern of the disappearing nine patch block in a simplified form.

nine patch
burning the midnight oil, less than 24 hrs to go

The binding was stitched onto the front, rolled over and tacked down over the stitch line on the back, almost ready but time was up. I drove out to the village where my Quilt group meet to hand it over, only to find I was a week too early.

nine patch
how neat is that?

Curses! Well at least I now have time to stitch that binding on, and take it back next week.

In case you are wondering I have a plan for the other two fabrics not used in this quilt, with the addition of that bright watermelon pink, I think I’ll make a disappearing four patch… watch this space.