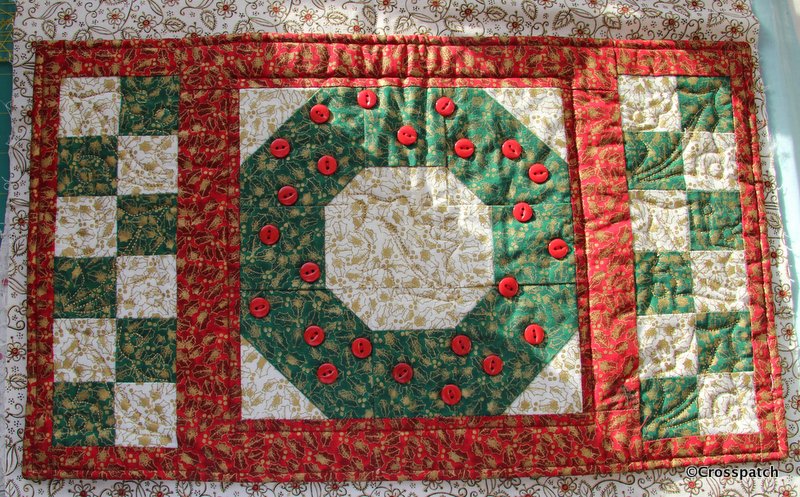
Potholder for Mum

So what does a kind and loving daughter do when her mother confides… she has lost her pot holder?

 So what does a kind and loving daughter do when her mother confides… she has lost her pot holder? She thinks maybe it got thrown out with some newspapers which had been sitting by the kitchen door ready for recycling.

Make her a new one of course.

It took me a while to come up with a plan, I didn’t have suitable heat resistant wadding, well who does? So I needed to use a fabric which would be substantial enough to be heat resistant. Denim perhaps?

Denim jeans £1 , such a bargain.
Charity shop denim

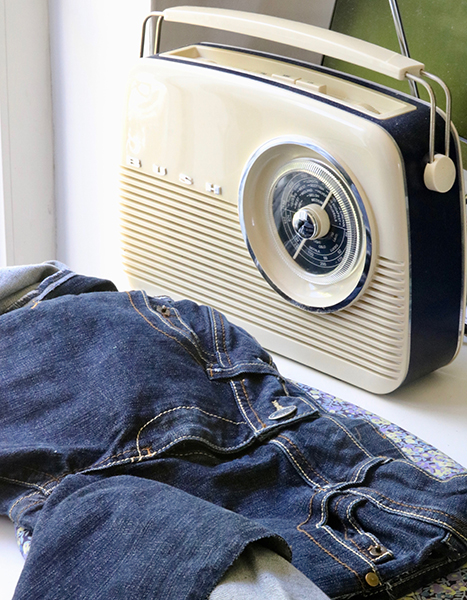
In my stash I had a pair of jeans bought for £1 in a charity shop, I’d been thinking about a floor covering made from denim, but that would need a LOT  of denim. Not sure what I might do with the legs, but I will come up with something, what about a gardening apron? Hmm, I’ll need to think about that.
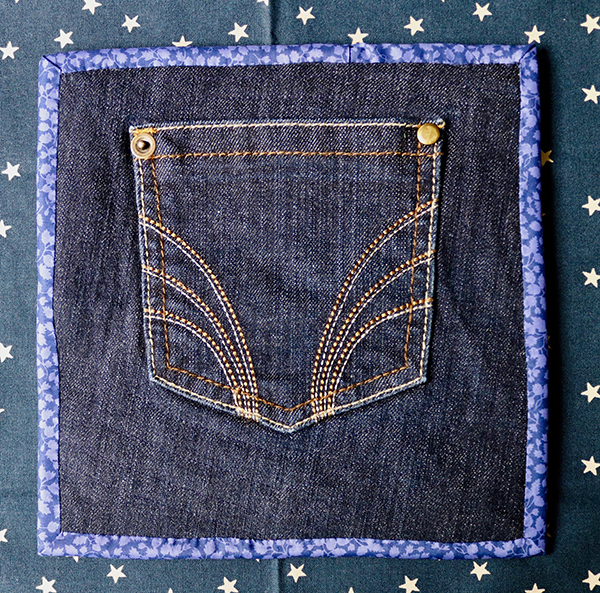
For my pot holders I needed two pieces of denim about 8-9 inches square, and a pocket on each one would give me more heat resistance in the middle, or a handy way to help keep hold of the potholder. With a pair, they could be used like ovengloves.
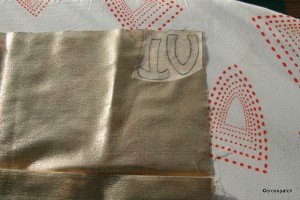
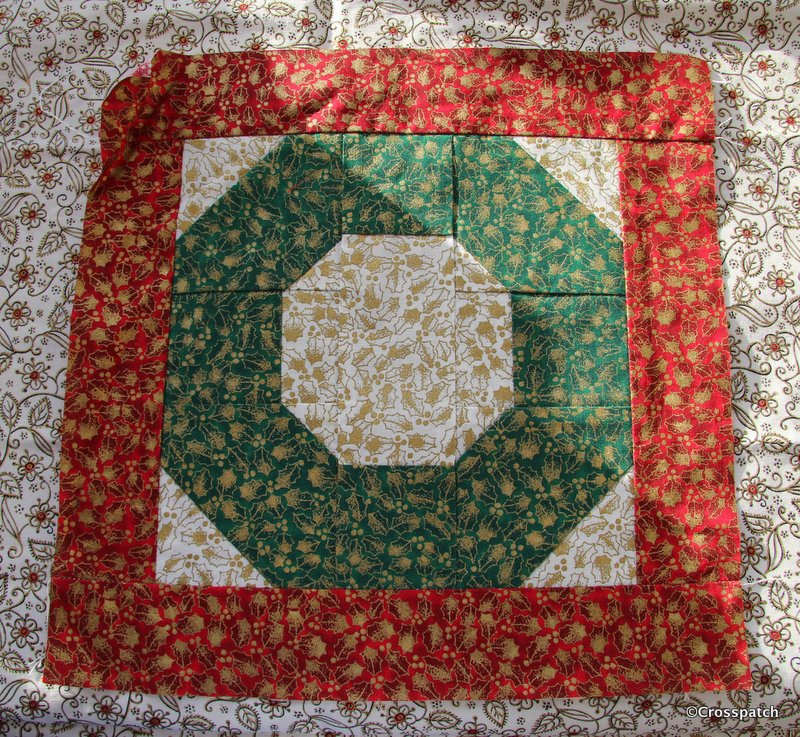
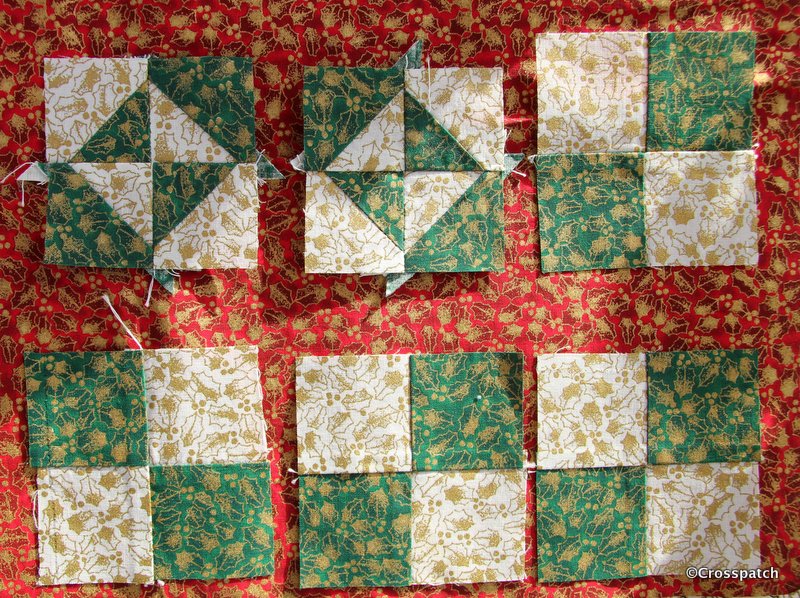
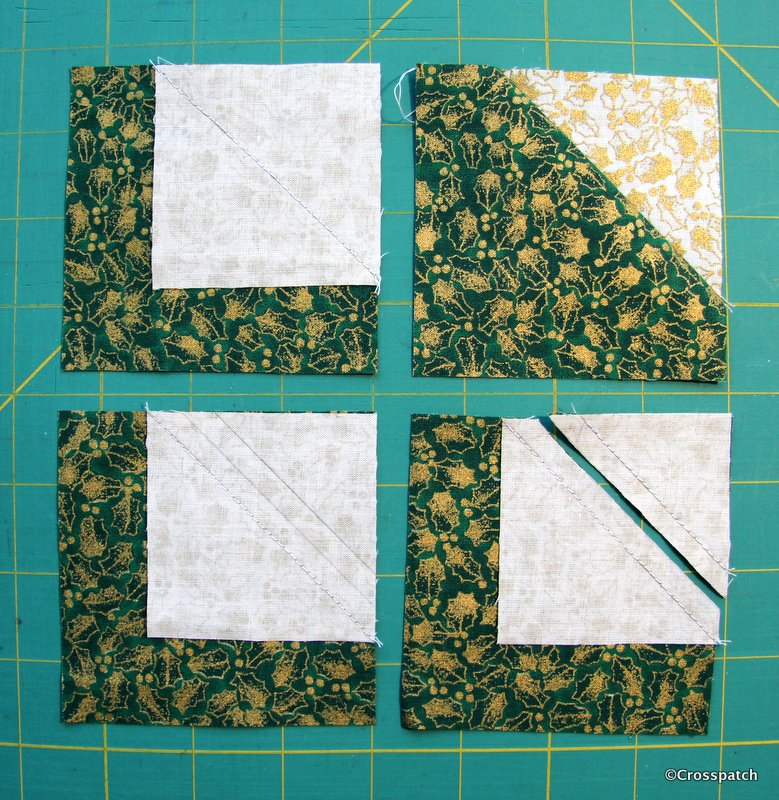
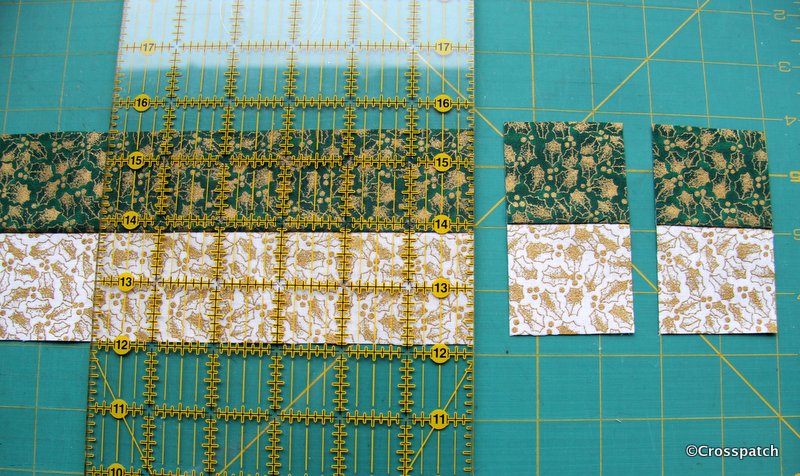
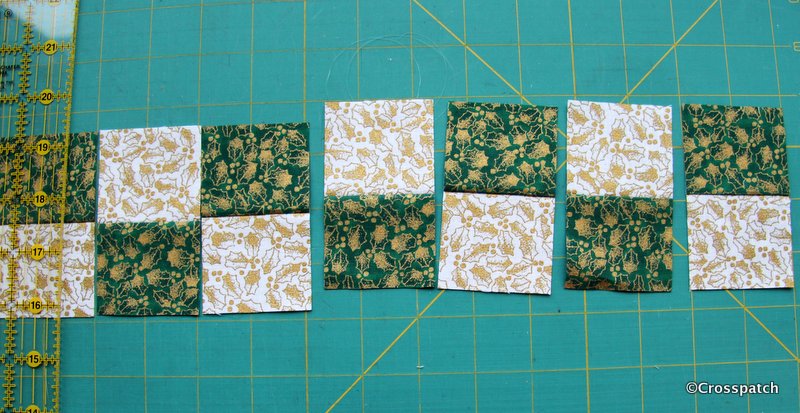
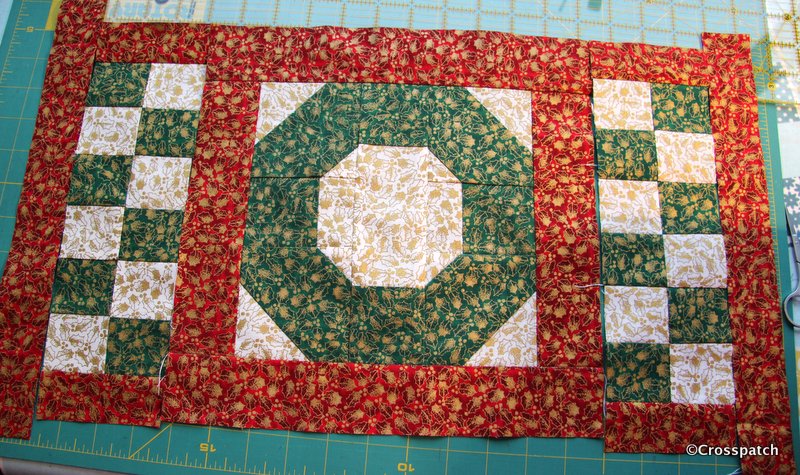
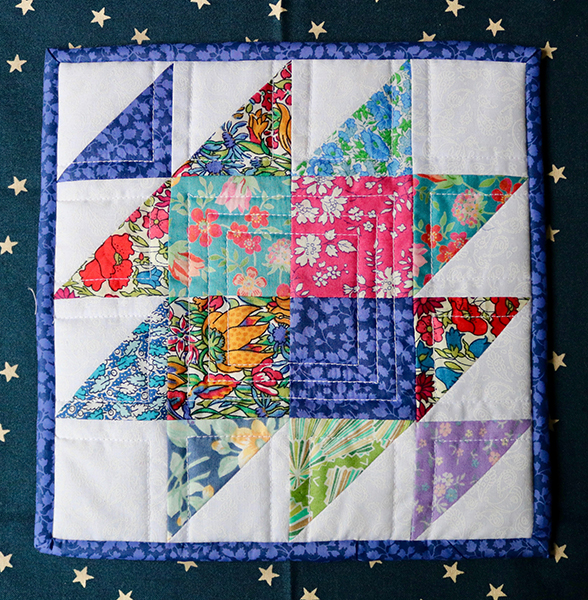
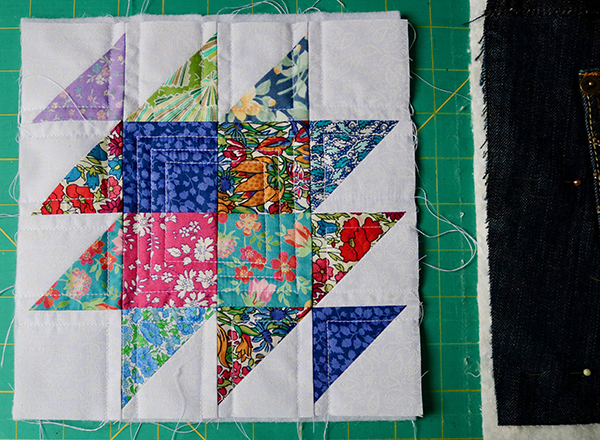
Sorting through my fabrics I came across the left overs from another project, Miriam’s cushion (http://www.mycrosspatch.com/blog/2018/05/11/making-miriams-cushion/)   half square triangles. Just what I needed, I’d seen a block on instagram just a few days before and saved it, now that’s  what I could do with my HSTs. (https://www.instagram.com/p/CANjHUUnDnF/…)
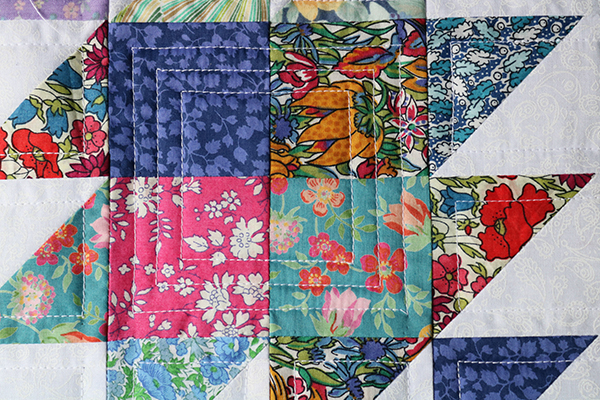
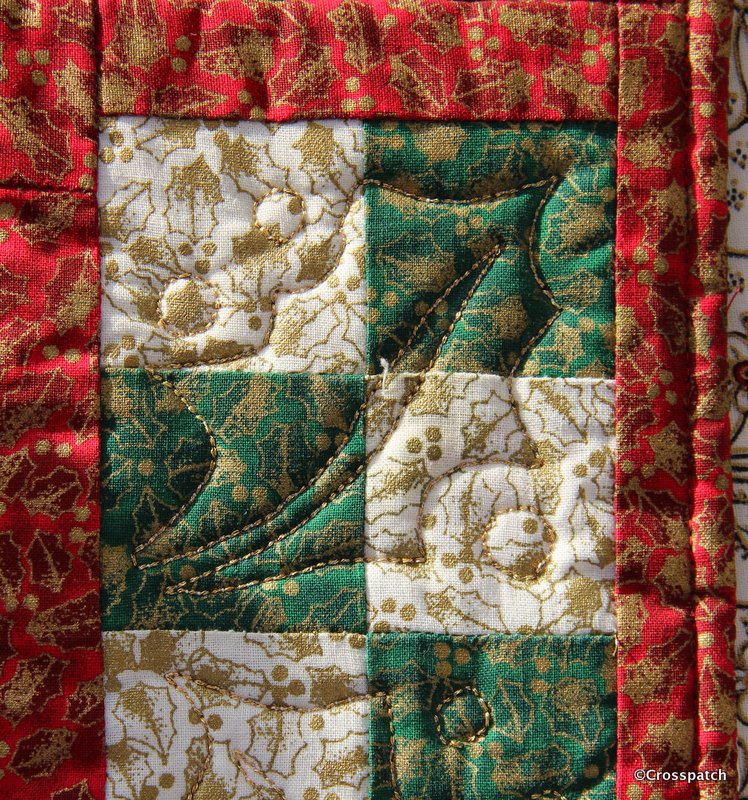
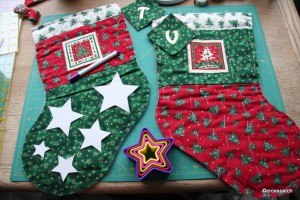
The Potholder only needed a simple quilting design to hold the layers together . I made a pair, one is handy but two is better, they aren’t exactly a pair but I’m happy with them, and so is MUM.   

Maybe I could make myself a pair too, when lockdown is over, and my local charity shop reopens.

Christmas Wreath placemat to complete.

I copied the quilt pattern from a hand bill advert I found, it was a tiny but simple holly leaf with berries, which I had to scale up and transfer to cardboard, machine stitched with gold thread for a little Christmas sparkle.

Christmas wreath
finished article

Here’s another thing I found when searching through my Christmas fabric box, a placemat I made years ago, and the makings of another one. Which is great because I can show you how I made it without having to make another! If only I can remember how it went together.

Christmas wreath
start with snowball block

The centre block, the Christmas wreath, is a “kind of” nine patch, made up of a centre strip 2 green squares 2.5 inches and a white rectangle 2.5″ by 3.5″. the corner squares are 3.5″. The red border is 2 inches, can’t think why. The chequerboard border is made up of 2.5 inch squares too.

Christmas wreath
just little squares

The little square in square blocks I think must have been made up of the bits left over when I made the corner blocks.

christmas wreath
corner block

I used the stitch and flip method, place a small square on the larger square at the corner, stitch diagonally corner to corner, then cut off all but the seam allowance, and flip over to create a new corner to the block, this block uses that method twice with two different size smaller squares on diagonally opposite corners.  I took the opportunity to sew together the two bits I would cut off, simply because it’s easier to sew fiddly little bits while they are still attached to the larger piece.

Christmas wreath
a little gold sparkle

I copied the holly leaf quilting pattern from a hand bill advert I found, it was a tiny but simple line drawing of a holly leaf with berries, which I had to scale up and transfer to cardboard,cereal box card. I drew round the pattern with a disapearing pen, and machine stitched with gold thread for a little Christmas sparkle. Finally the Christmas wreath block, which is supposed to be a holly wreath is embellished with little red buttons, they are too big to be berries, but smaller ones would have been difficult to source, and I would have needed very many of them to get the balance of colour right.

subsequently I’ve cut some more chequerboard squares and made another Christmas wreath placemat… well I’ve got the top done. The wadding backing and quilting will have to wait till I can get to a shop that sells wadding.

christmas wreath
easy squares

Christmas Wreath
easy peasy

Christmas wreath
putting it together.

I’m also making something bigger, I’m not sure yet what it will look like, possibly a table runner to go the length of the table or maybe just something for the middle of the table to hide all the table mats, and protect my snowy white table cloths. Watch this space, but don’t hold your breath, it might be ready for next Christmas.

Every quilt deserves a label

If the label goes on before the quilt is put together and quilted through, then it’s difficult to remove, it can only be covered up by someone who might wish to change its history or attribution, ( I mean pass it off as their own) later to be happily rediscovered, when the stitching begins to come apart.


I have used a spare apple core for the quilt label, and my lovely Janome sewing machine supplied the pretty script to write the words, “Scrappy Apple Core Quilt” My name and the date. It’s really important to put a label on the back of every quilt you make and to put it on before you put the quilt together and quilt it. Why? Many reasons; posterity for one, if your quilt is treasured and survives for hundreds of years as some do, the owners will one day wonder who made it, when and why – so tell them.

scrappy Apple core quilt label

Quilts are used to evidence the history of fabrics and fashions but only if they can be reliably dated. Let the historians be happy to have found a dateable treasure in your quilt.
If the label goes on before the quilt is put together and quilted through, then it’s difficult to remove, it can only be covered up by someone who might wish to change its history or attribution, ( I mean pass it off as their own) later to be happily rediscovered, when the stitching begins to come apart.
If the quilt is made specifically for a person or to celebrate an event in someone’s life, then put it on the quilt label, but be warned….. I once heard of a quilt that was made to celebrate a marriage, it took so long to make that the couple had divorced before it was completed.
scrappy apple core quilt backing
The backing was a happy find in my stash, it’s what was left over from the backing of a much larger quilt, the left over piece was too wide but not long enough, however there was a long strip that I cut off the side of the previous quilt backing, so I managed to stitch on the strip and make a square big enough for the backing of this quilt. There’s a little bit over, perhaps it will back the cushion I might make to go with the quilt. And there’s even enough for the hanging sleeve, how lucky is that!

To finish those stockings

I hit another snag, the mark didn’t show at all on the green fabric. Work came to a full stop again. Till I worked out that if I put the gold thread on the bottom bobbin and marked the quilting out on the lining, I could achieve the result I wanted, problem solved.

which fabric?

I wanted to make a swing tag for each stocking. A gold initial on a swing tag to hang from each one. I’d originally planned to put the initial on the red material of the stocking but realised it would not work visually; the material is too busy and the initial would not be well defined, so I chose the green fabric.

Font: Hobo

I chose a simple font, this is Hobo, which is chunky and nicely shaped without any difficult to cut out narrow bits which would have made appliqué complicated. I enlarged the font in bold, and traced the initials onto bondaweb (if you are going to do this do it rough side up or print off a reversed initial, or your finished initial will be the wrong way round).

bondaweb on gold tissue

I ironed the bondaweb onto some gold tissue fabric, cut out, peeled off and ironed into the green fabric. If this swing tag was likely to be washed I’d consider some stitching round the edge to keep it in place but I don’t think it will be necessary.

quilting design

To quilt my stockings I was struggling to find a suitable quilting pattern, I’d initially thought of using a holly and berry pattern I already had but it wasn’t right, then looking at the green fabric I realised throughout all the co-ordinating fabrics there were 5 pointed stars. Coincidentally I’d just bought a set of star cookie cutters. I drew round the 5 star cutters onto cardboard, the points were a little rounded which I didn’t want, so I cut them out sharper. I used the smallest star along the top edge of the stocking, the middle size down the sides of the panels, and all 5 size stars on the foot of the stocking.
Next problem! I planned to use an air erasable pen to mark the shapes onto the stocking, but in the bright sunshine streaming into the room, the mark was disappearing before I could stitch the stars. I gave up, and found something else to do till it went dark.
Then moving on to the foot of the stocking, I hit another snag, the mark didn’t show at all on the green fabric. Work came to a full stop again. Till I worked out that if I put the gold thread on the bottom bobbin and marked the quilting out on the lining, I could achieve the result I wanted, problem solved.