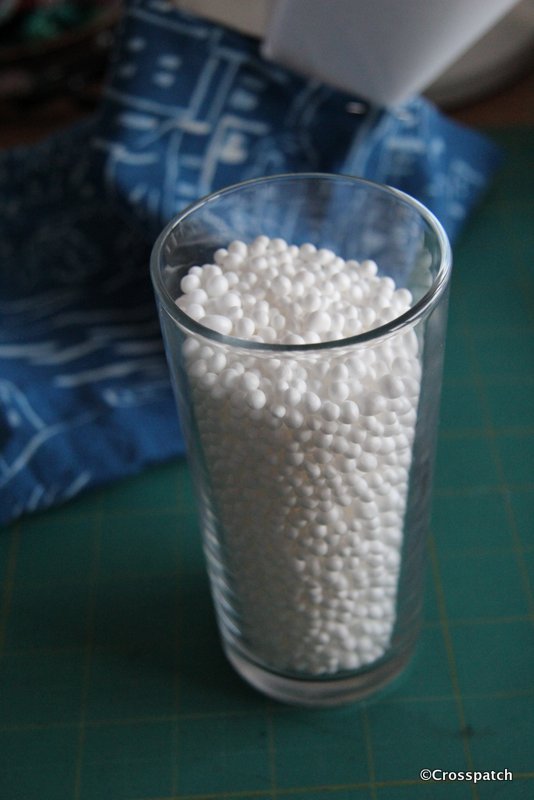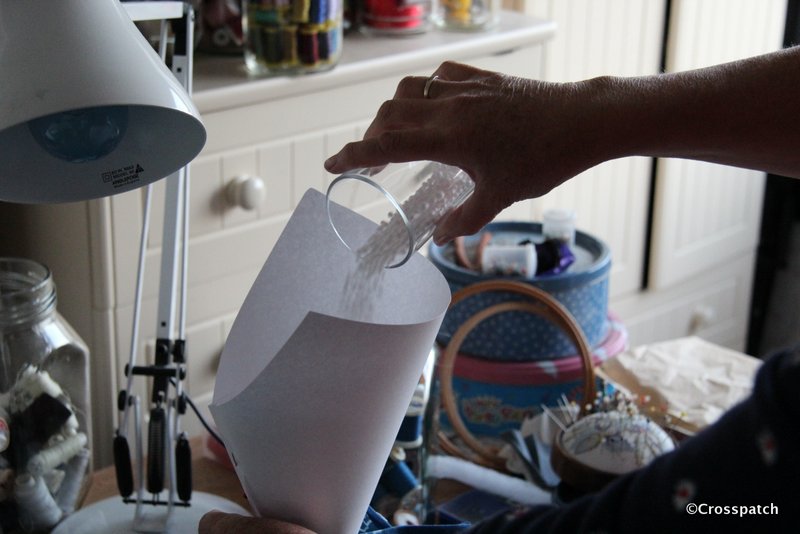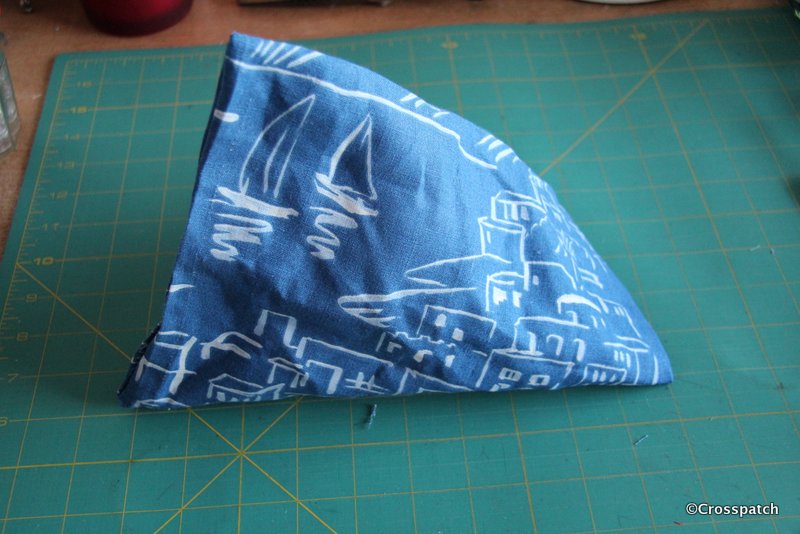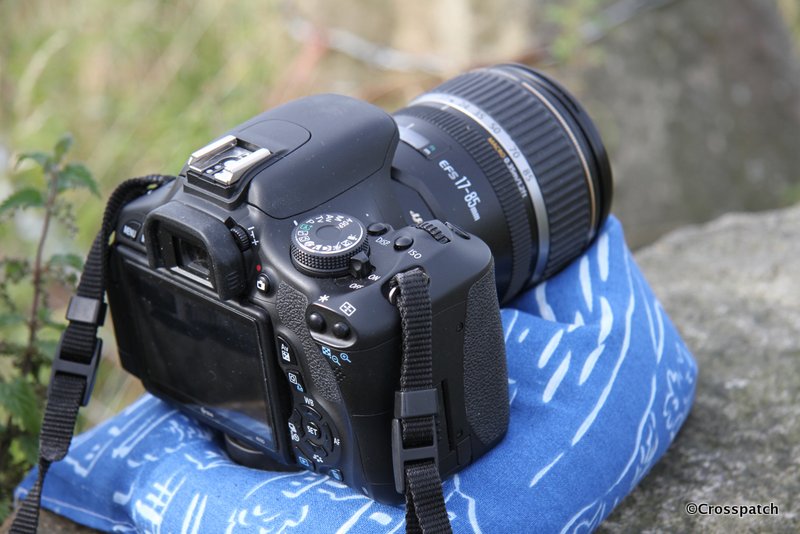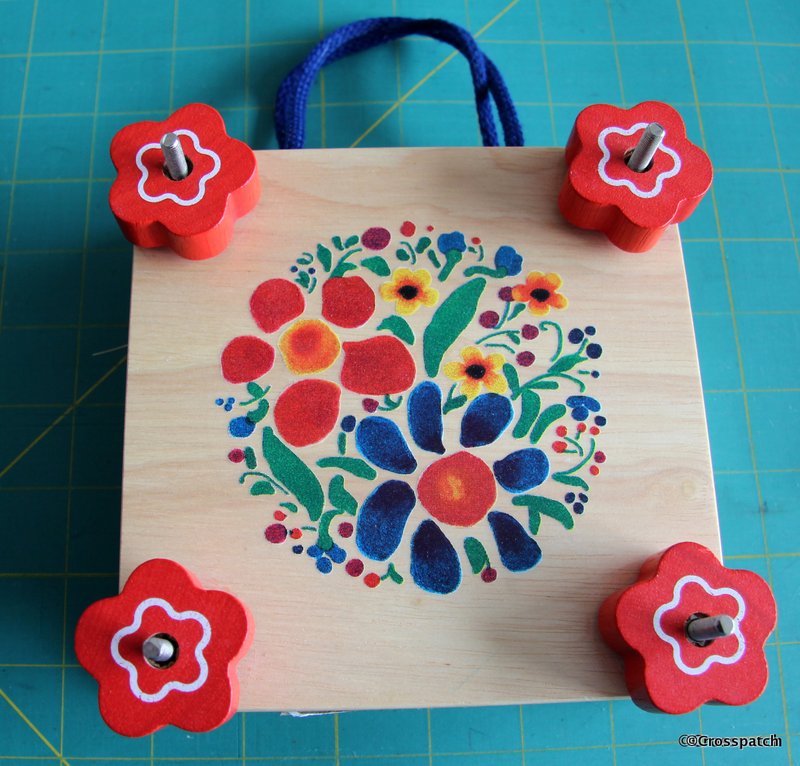
Don’t you just love a bargain? I do, let me show you what I have found recently, more thrifty buys. A few months ago I came across a lady teaching paper making. I’ve always wanted to have a go at that so when she offered to sell me a kit I could not resist it. To make paper with pretty little organic inclusions in it you need organic matter, flower petals for instance.There were some in the kit, but I thought I could make some of my own from the flowers in my own garden. If you just collect petals they will dry up and discolour, they need to be pressed to preserve shape and colour. My dearest suggested I buy a flower press but I reckoned I could find one in a charity shop, and a few weeks later… presto £1 in my local charity shop. It even came with pressed flowers in it. I have a good collection of flower petals in the press waiting till I have time to get out that paper making kit, cold wet winter weekends are just around the corner.
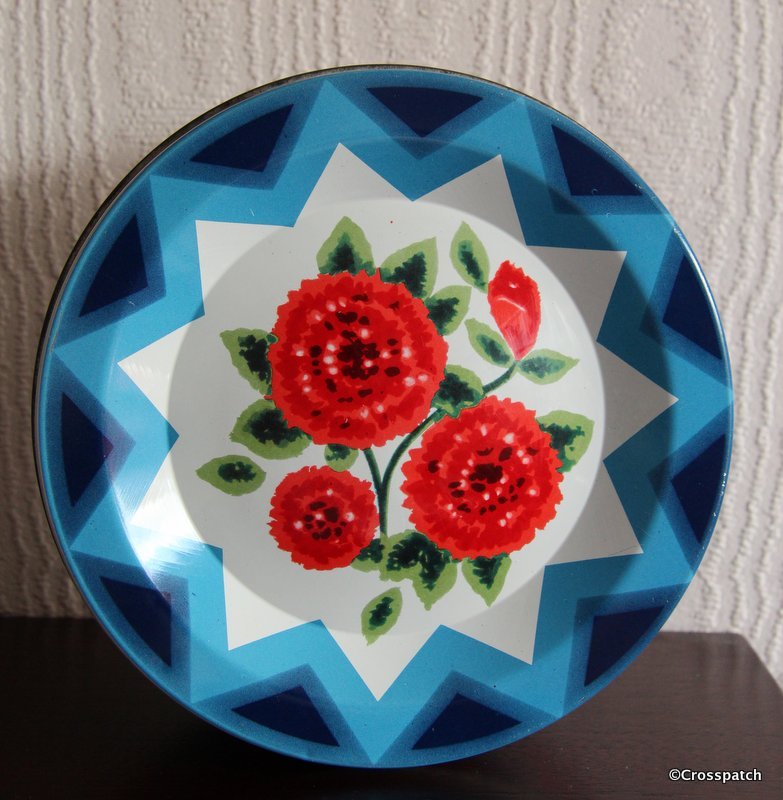
I’m always on the lookout for Haberdashery; buttons for instance, so I was really pleased to find this tin full of buttons some of them quite old, for £2 at a car boot fair. I guess there must be easily £20 worth of old buttons which I can sell, and the tin is vintage, in really good condition it’s a 1960’s Quality street tin. A similar one on Etsy is selling for £4.99. Maybe I should open my own Etsy shop.
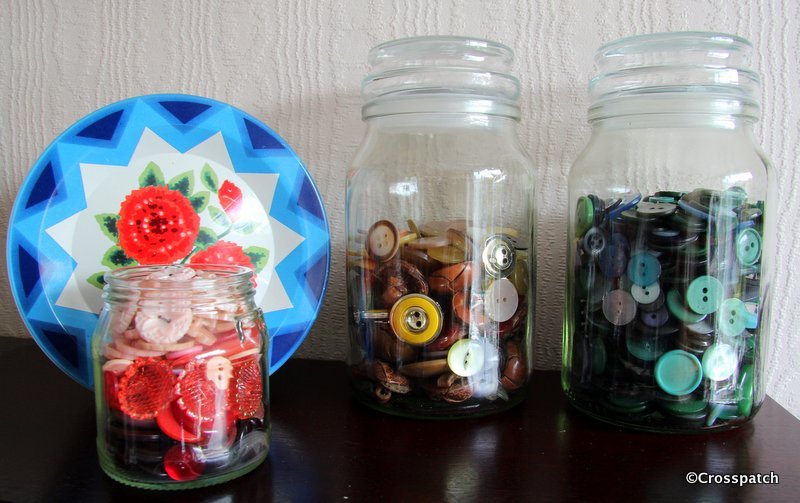
A few days later I found a plastic bag full of buttons also £2, some of which are also quite old, together with the ones in the tin there was enough to fill all of these jars. I might sell the old ones, the Victorian and Art Deco ones, and use the others for embellishments on patchwork or fabric pictures. I’m really pleased with my thrifty buys. It doesn’t take much to please me when it comes to craft materials, my thrift shop bargains.