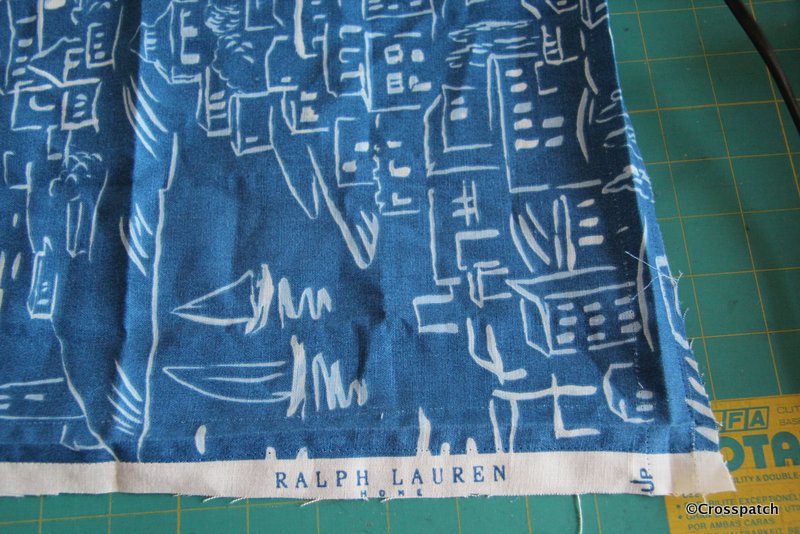
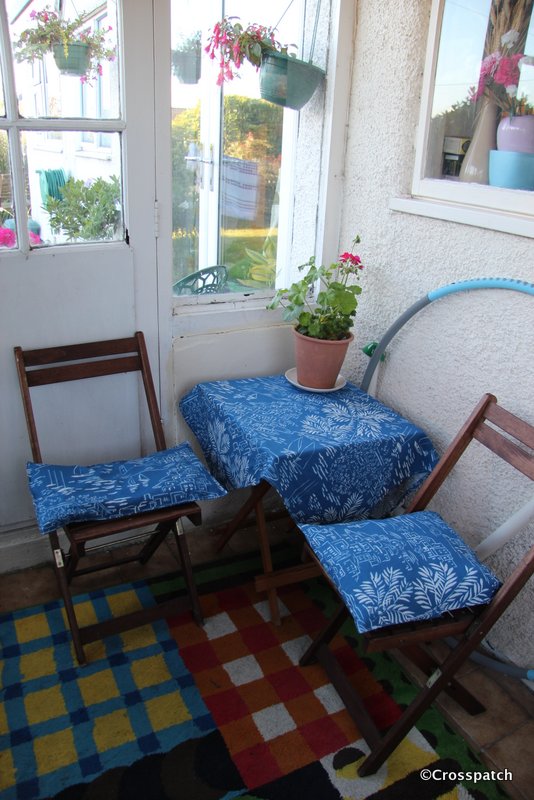
In the middle of developing an idea about making a beanbag support for my camera I visited my sister and whilst telling her all about it she showed me her new make. She had been to the wonderful factory shop we have locally which sells designer furnishing and dress weight fabrics, and bought a small amount of Ralph Lauren Home fabric. She had made cushions and a table cloth to spruce up her porch, to make it into somewhere she could sit when the sun is shining but not quite warmly enough to be outside. She had a small amount left which she gave to me, because it was just the size I needed for my project. I’m such a lucky sister.
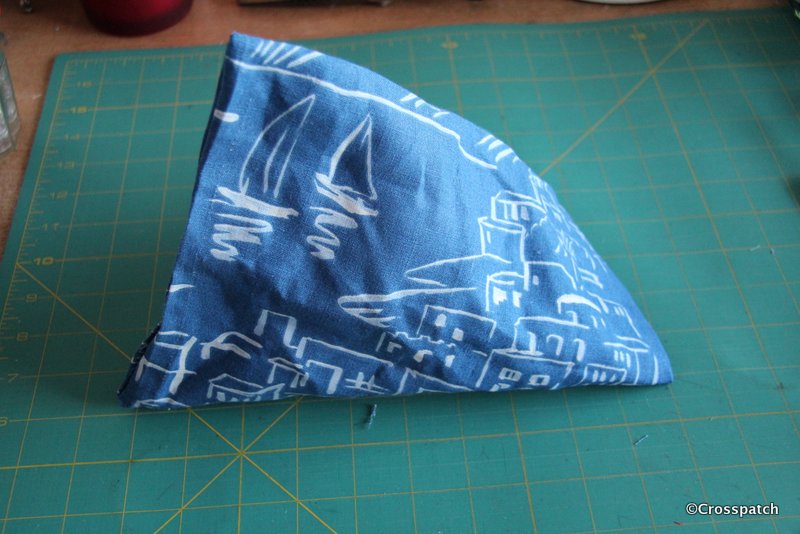
So I made a beanbag, by turning the fabric into a tube and then stitching the end seams at 180 degrees to one another to create a little humbug shaped beanbag cushion, leaving a gap at one end for the filling.
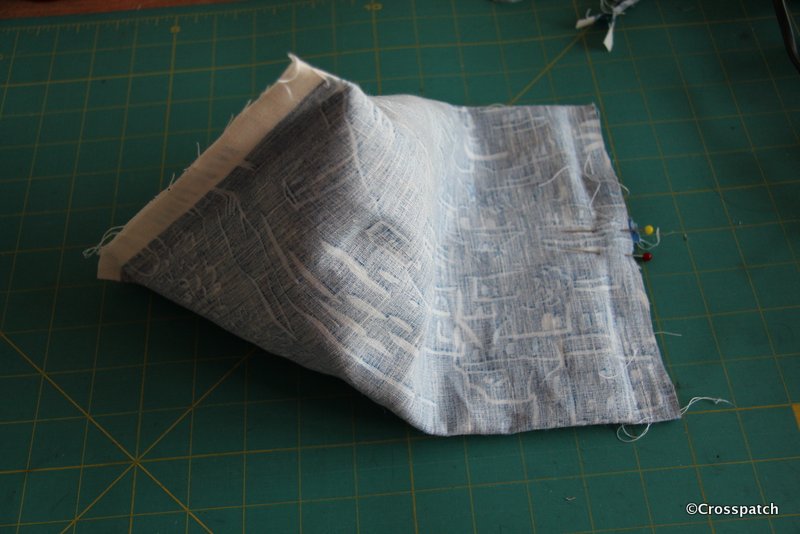
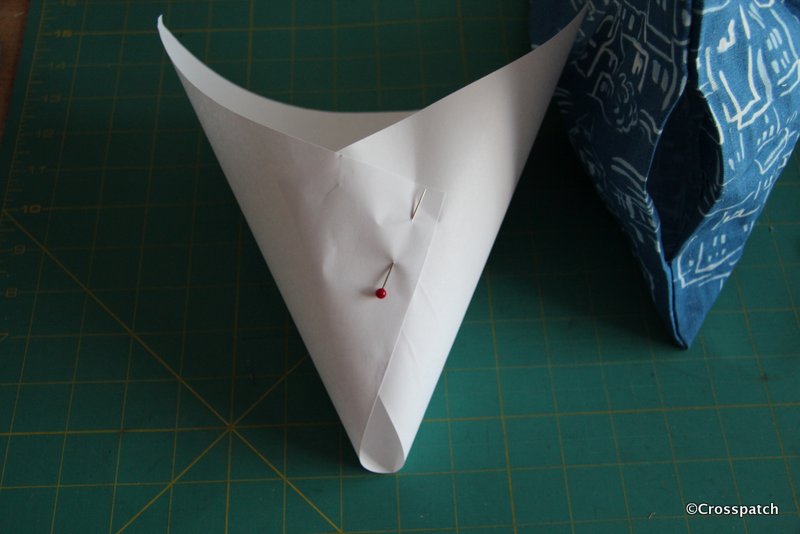
I turned the beanbag right sides out, and made a paper funnel out of some scrap paper to fill the bag with.
The beanbag is filled with polystyrene beads, which I have recycled from an old beanbag seat that was bought for the 15 year old to sit on when he has a little lad, and which has lain forlorn and unused in my studio for longer than I care to admit (my excuse is I always knew it would come in handy one day). l could have used rice or beans but I wanted it to be as light as possible, because my camera kit is already heavy enough.
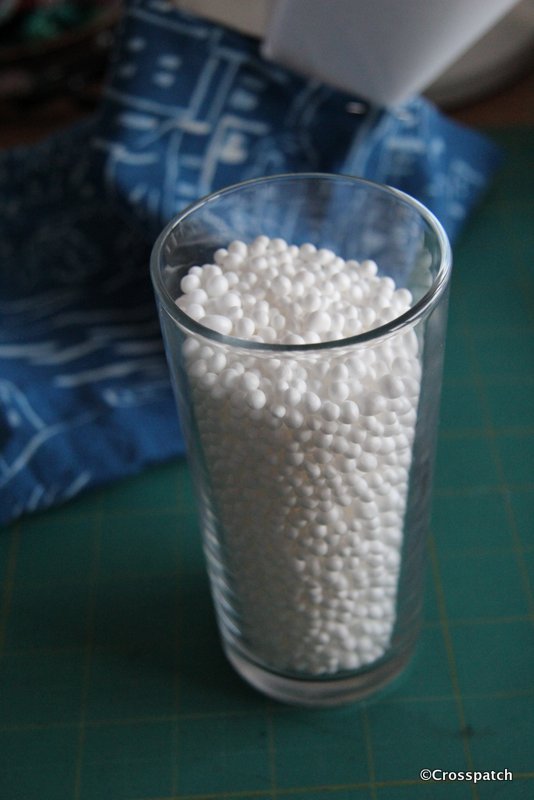
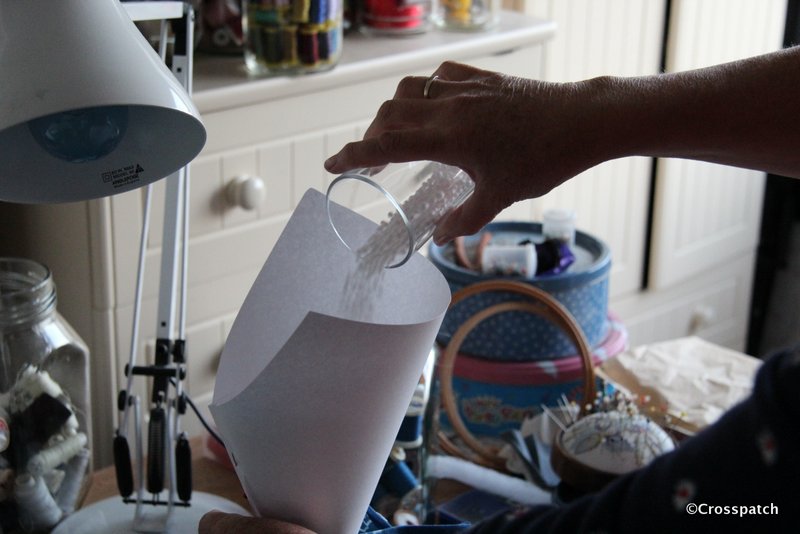
I scooped a glassful of beads from the old beanbag seat, then holding the funnel inside the bag with one hand it was really easy to pour the polystyrene beads into the bag, encountering very little problem with static cling. There were a few beads left in the bottom of the glass, probably because I didn’t dry it properly, but no little beads clinging to every surface, my hands, my clothes… if you’ve ever had dealings with polystyrene beads you’ll know what I mean.
It just needed a machine stitched closure, to make sure it won’t bleed little beads all over the place and it’s done.
and what’s the point of all this I hear you wondering? It’s my own take on beanbag camera kit. At the time I had just bought a telephoto lens for my camera, and at 300mm you can’t really hand hold without getting camera shake. I have a tripod but don’t really want to hump it about with me, it’s rather heavy and my hips and knees are getting arthritic so the weight is a problem. This light as air little cushion allows me to set up my camera on a wall or fence post and take pictures without camera shake… if there is a handy wall at the right height.
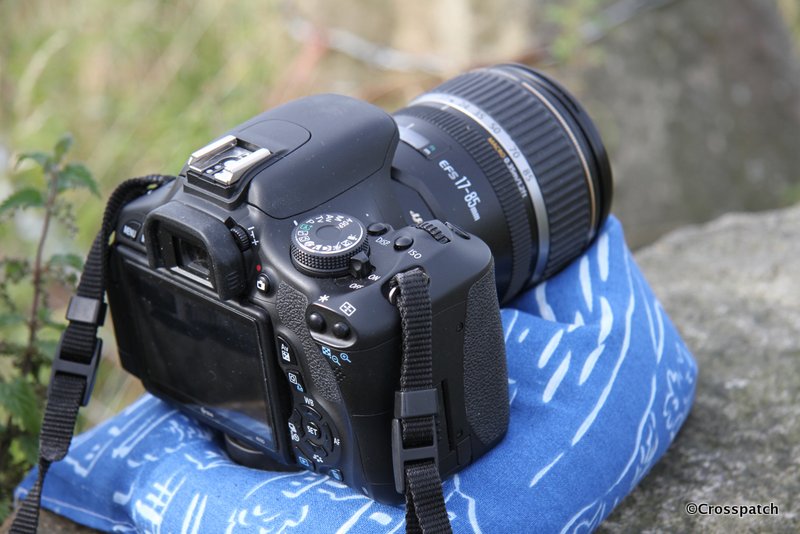
Subsequently I bought myself to a monopod but I still carry the beanbag, it weighs nothing at all and cost me nothing but a little time and ingenuity. My sister is also a keen photographer, I wonder if she might like one…and then my niece… but then I have an idea for a slight design adaptation… watch this space.