My block for the Covid Commemorative Quilt

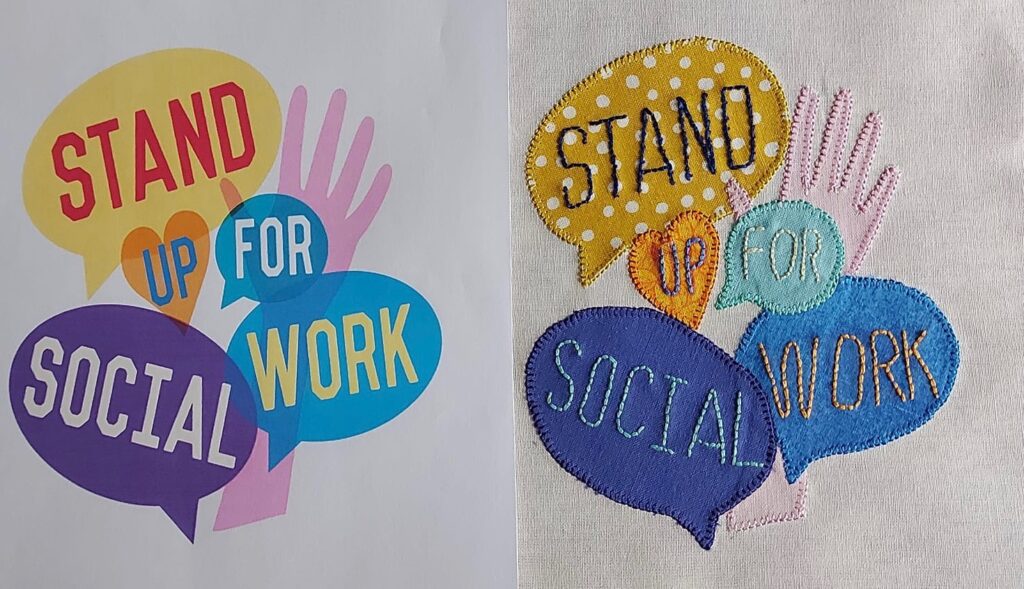
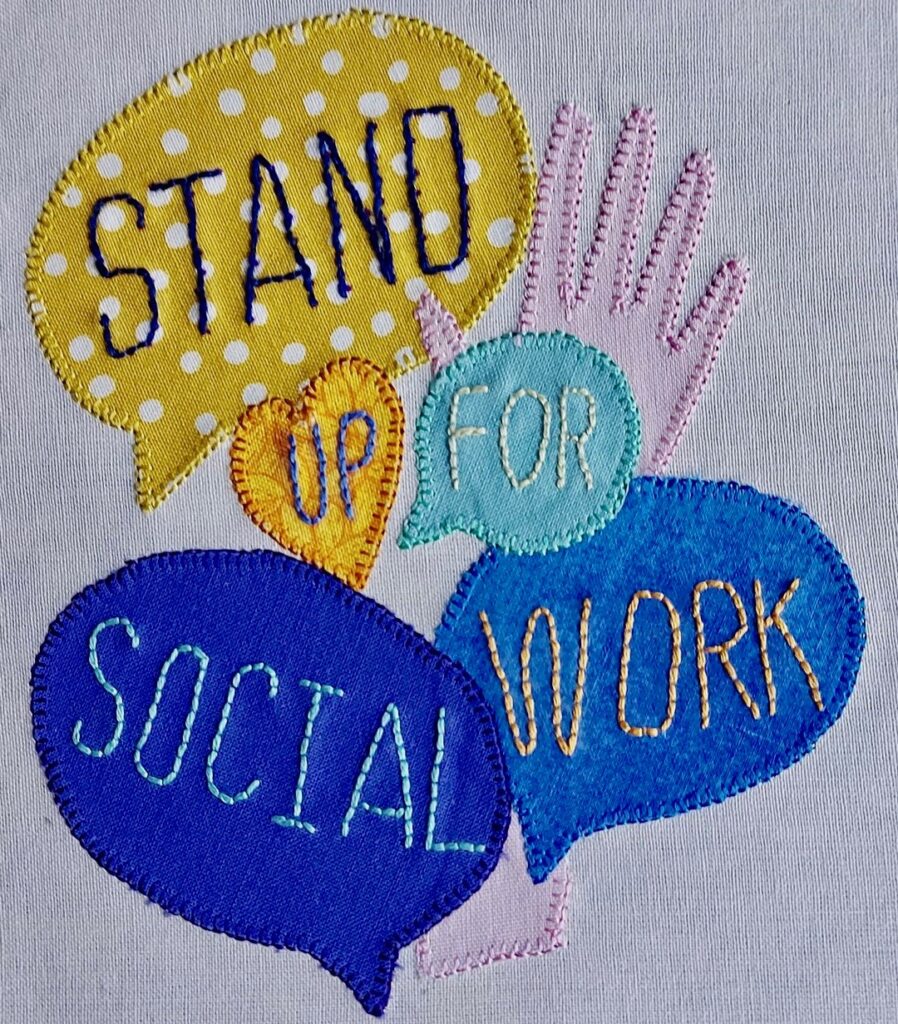
I wanted to give a clear shout out for Social Care, I knew that many contributions would be thanking the NHS, I was going to stand up for the many key workers in Social Care who also went above and beyond during the Pandemic.

What do you do when a planned week of leave is promised cold, wet weather?  I always have a wet weather plan. I spent calm, quiet mornings sewing. As a longstanding member of the Quilters’ Guild of the British Isles I was invited to contribute a block to the Covid Commemorative Quilt; a collaboration between the Quilters’ Guild and Bernina who make very fine sewing machines.

The remit was to “create a block which reflects your thoughts on the pandemic and the recovery from it… commemorate a loved one lost…the NHS…a key worker … (or) just be a ray of optimism as we emerge”

I wanted to give a clear shout out for Social Care, I knew that many contributions would be thanking the NHS, I was going to stand up for the many key workers in Social Care who also went above and beyond during the Pandemic.

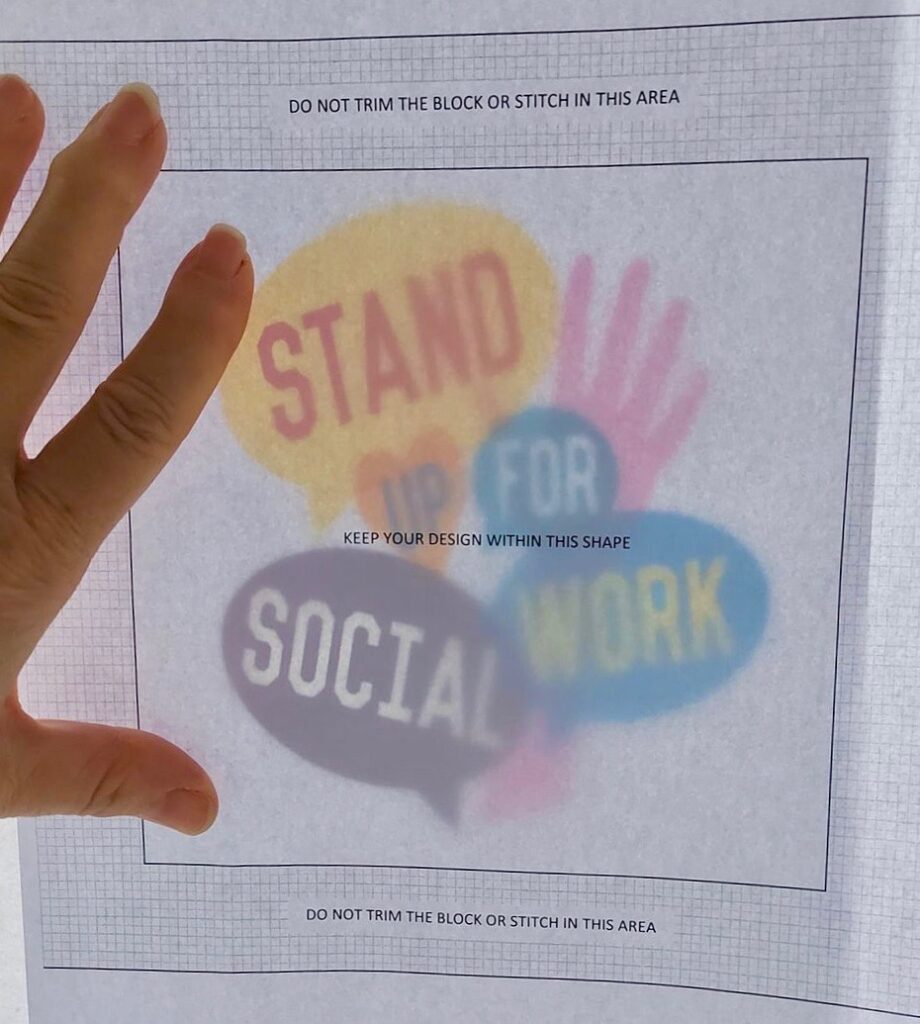
Taking the ‘ Shout out for Social Work’ logo as my design, I resized and printed the logo so that it would fit the piece of calico provided. To ensure all the blocks contributed are the same size, and will go together effortlessly, the organisers very cleverly gave clear and strict instructions. My design must fit inside a 6 inch square centred on the 8 inch calico square provided and must use somewhere in the design a piece of the small 4 inch square of print fabric provided.  Spotty mustard print, its not my thing but the idea is that it will tie each block to its neighbours in the finished quilt.  

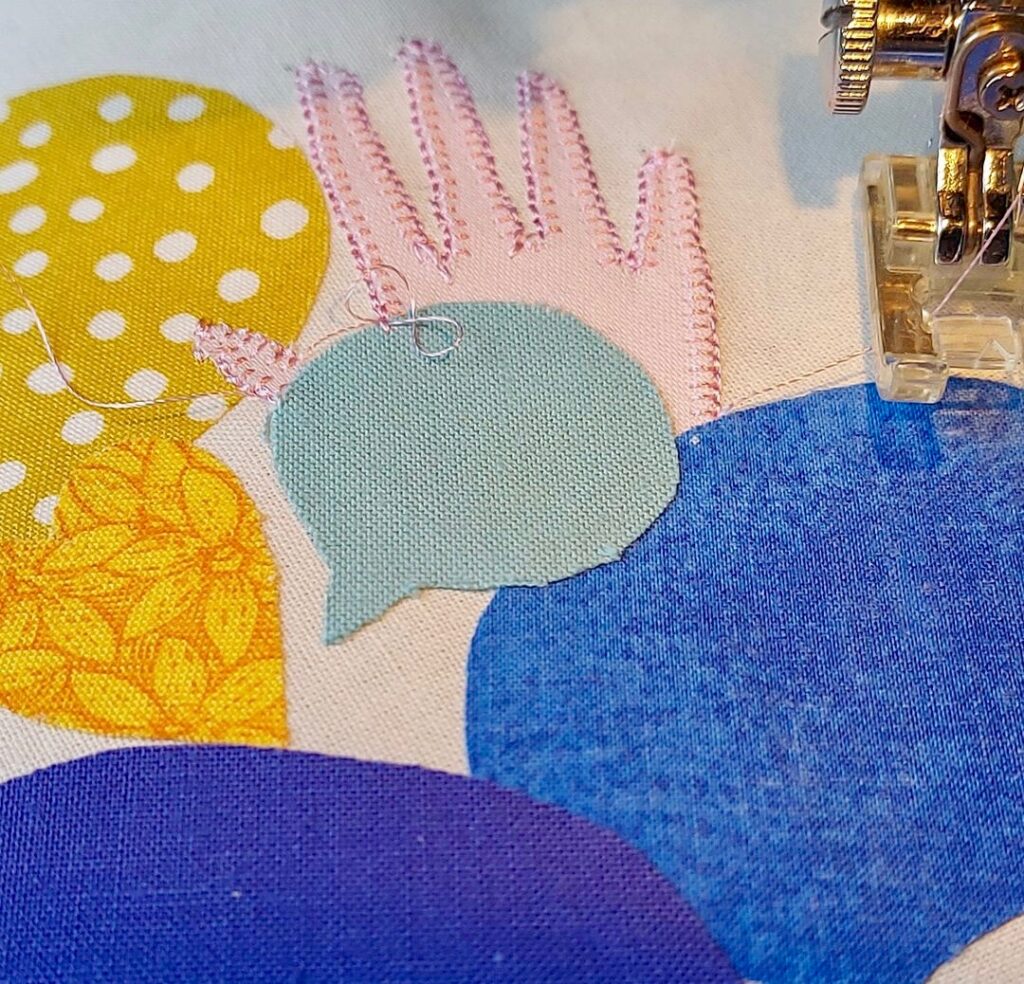
Holding the design and the calico up to the window allowed me to check the size was right,  I traced each element of the design onto Bondaweb (it’s a kind of double sided iron on sticky tape for fabric) ; and ironed the elements of the design in place. First mistake, I ironed on the hand first then realised the thumb should be on top of another element. I had to carefully peel it off, just the thumb, and iron it again over the speech bubble.

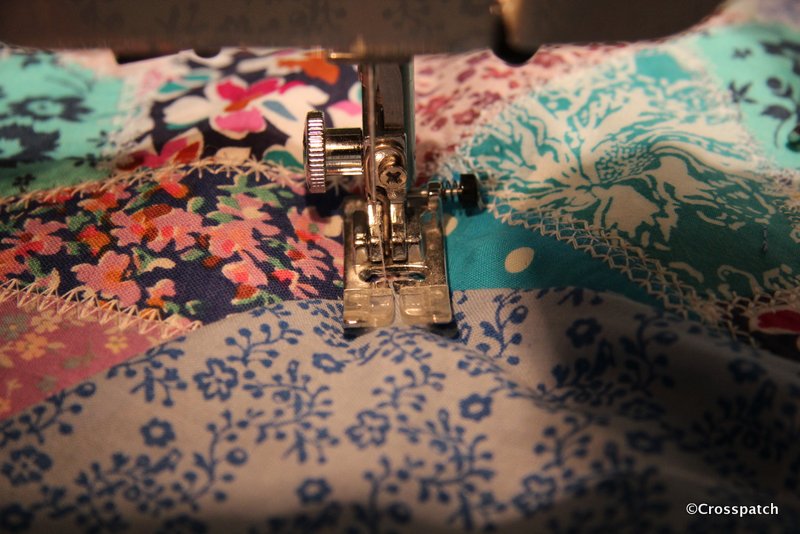
 That mistake then decided the next step, as the quilt will be for display rather than use, I thought I might get away with raw edges, but having peeled back the thumb it looked a bit shaggy, so now I needed to embroider the edges to stop them fraying.  Thank goodness my sewing machine does a tiny and very neat blanket stitch.

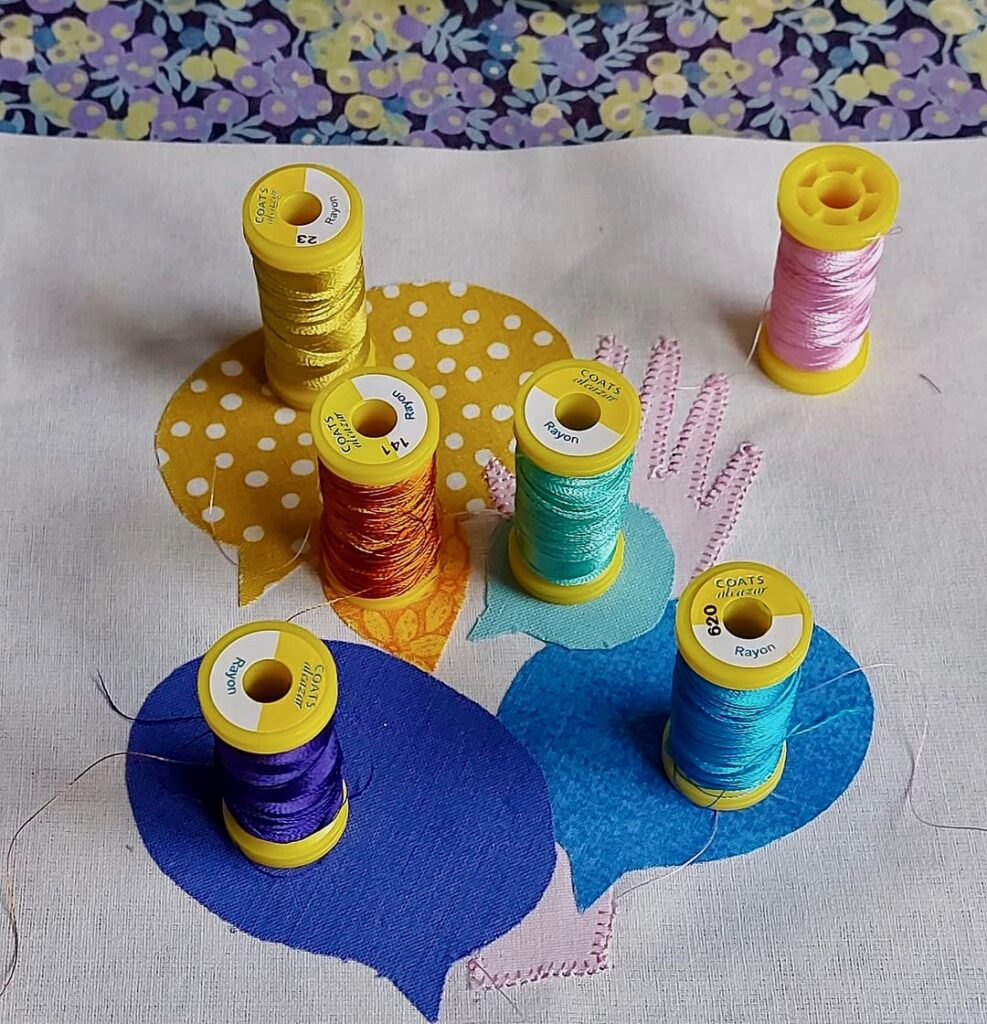
The machine embroidery threads , I have dozens of them, which I bought in a big bag full for £5 in a local charity shop, I do love a bargain. The hand embroidery threads I’ve had tucked away for years, and the fabrics all came from my scrap box, so I didn’t spend anything putting this together, even the bondaweb was borrowed from Mum, she’s 90, and doesn’t sew anymore.

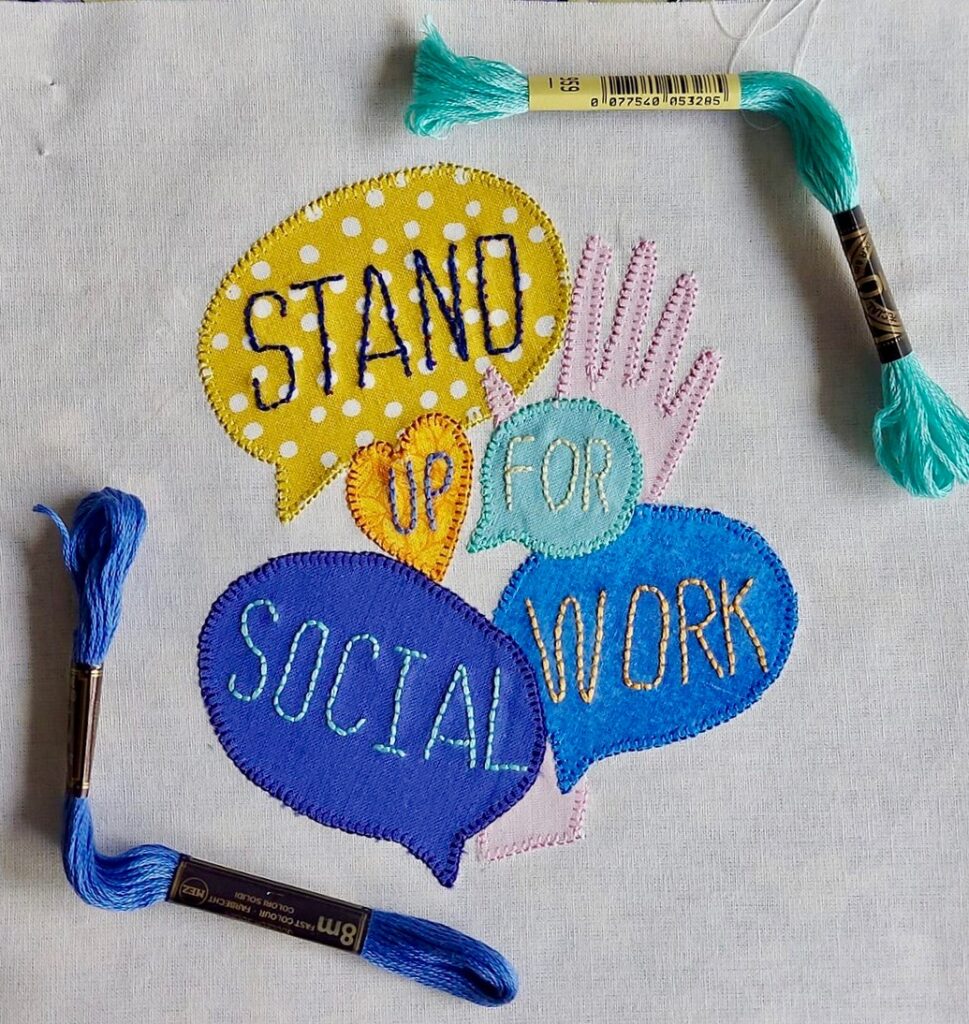
Finally the words are hand stitched, not because I have any skill in that respect, I just wanted to put something of myself into my block, rather than it all being the work of my sewing machine.

Each contributor is also encouraged to say a few words about their block, this is my explanation:-

The NHS received a great deal of well deserved praise for their herculean efforts during the Pandemic, but they weren’t the only group of people who worked tirelessly throughout to keep the country safe.

Being a Social Worker, I want to give a shout out for Social Care, and the people who worked in very difficult circumstances. Some working from their homes, isolated from their supportive community, with fewer and fewer resources to call upon.

 Others left their homes and isolated themselves from their own families, to support the most vulnerable.

These were dark days; so for everyone in social care who spent the time of Pandemic trying to keep vulnerable people safe, supported and out of hospital, a heartfelt Thank You. “

Charitable donations are welcomed to the BERNINA fund-raise for NHS Charities Together , you can do so here www.justgiving.com/covid-quilt

A Scruffy Little Bear

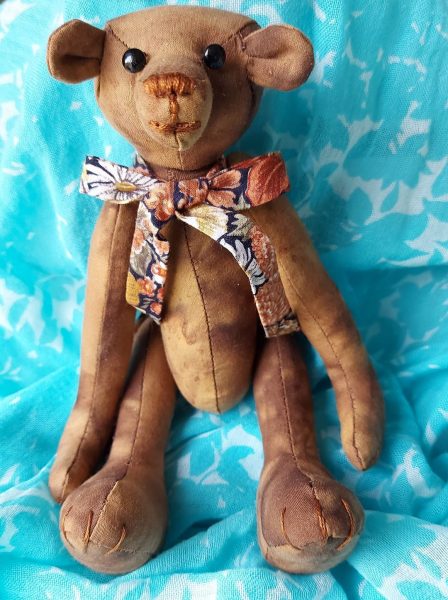
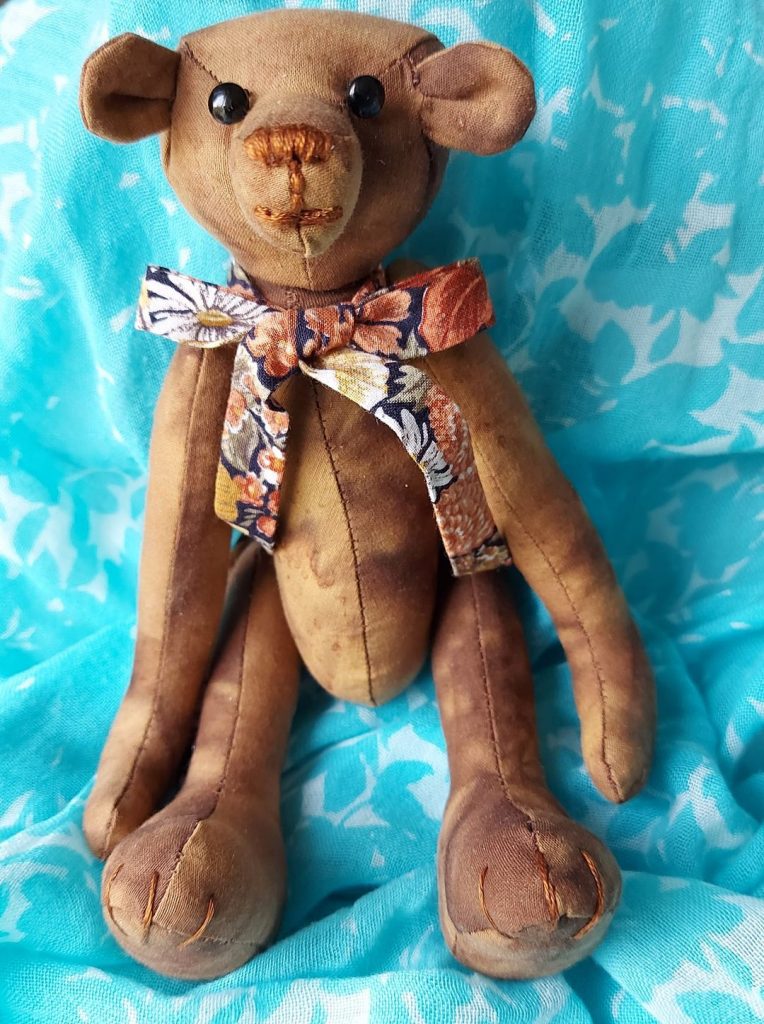
I thought maybe making this scruffy little bear could help me; having something to do and to think about would maybe help to get my sewing mojo back, and I could learn something new.

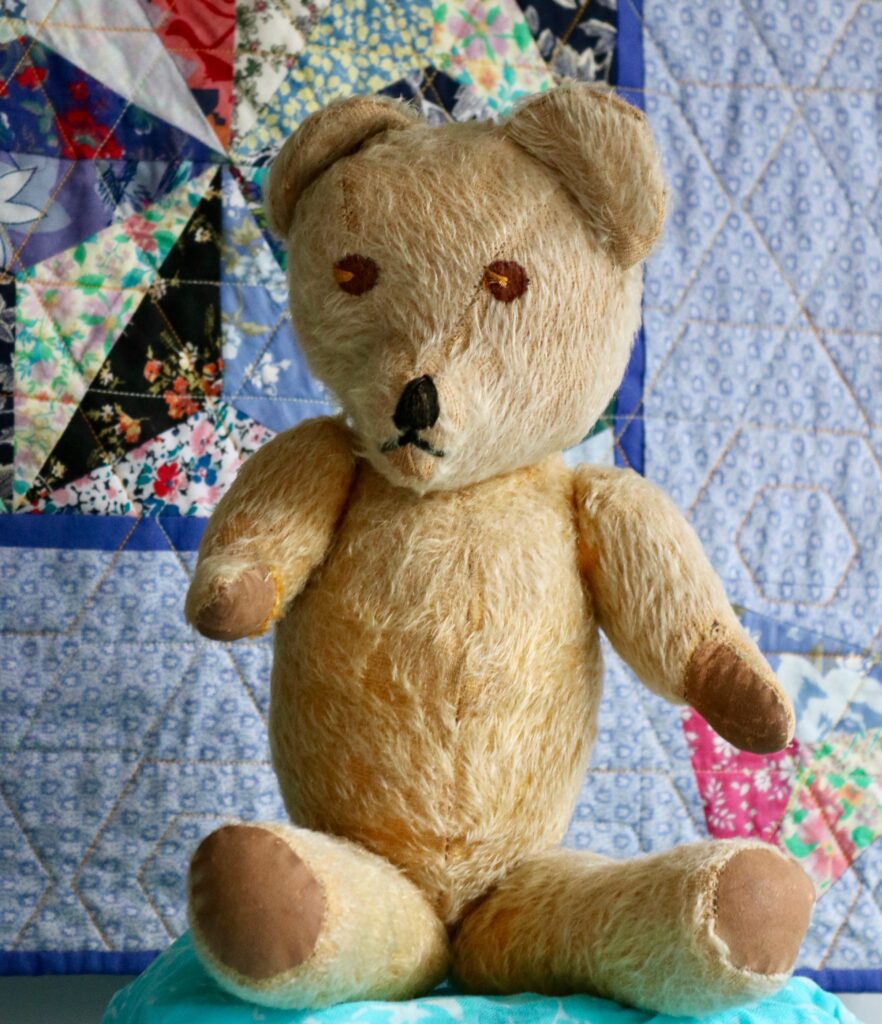
I’ve not really been in the mood for sewing lately certainly not quilting and yet I recently found a need to sew for the solace it brings. My Beloved and I are heartsore and bereft. The Boy has left home! On the day he was coming to collect all his belongings, I spent the morning packing up his things, trying not to cry. The hardest thing for me to swallow was he wanted his childhood teddies. He has moved out and come home again a couple of times, but I guess its really final when they take their childhood companions. He really has left home this time. I’m fairly sure there are toys of mine still tucked away at my Mother’s house which I still think of as “home” but I have my childhood teddy Bear.

Once the packing was done,  and while I waited for The Boy to arrive, I needed to find some calm. I settled down to listen to a podcast “ Bearly Begun, episode 4. ” (you can find it on Spotify or https://anchor.fm/bearlybegun/episodes )

If you are familiar with the BBC One TV program The Repair Shop you will know the two ladies who repair soft toys, not just bears, on that programme.  (If you don’t know The Repair Shop you are missing a delight, seriously it’s one of the best , I wouldn’t miss it, everything about it is wonderful, and I can’t recommend it highly enough. If you are not in the UK, I think you can find it @netflix.

The Bear Ladies had a project to suggest to their listeners, a free pattern to make a little teddy bear called Scruffy Duffy, well that nearly set me off crying again… Scruffy is the name of The Boy’s bear, which I’d just packed up and said goodbye to, remembering the times I’d read bedtime stories to The Boy and his Scruffy bear. My Stepson and I had first bonded over making paper hats for his teddies from ‘The Dangerous Book for Boys’ by Conn and Hal Iggulden, when he was 7 years old.

Scruffy little Bear in progress

I thought maybe making this scruffy little bear could help me; having something to do and to think about would maybe help to get my sewing mojo back, and I could learn something new. So I downloaded the pattern, ordered the bits and bobs required to put it together, found a piece of fabric from my stash, and began.

Scruffy Duffy belongs to The Teddy Bear Ladies, if you are interested in making one you can find the free pattern here, http://bearitinmind.com/ and images of bears which have been made from the pattern can be found on their Pinterest account https://www.pinterest.co.uk/teddybearladies/, there is also an instagram account https://www.instagram.com/theteddybearladies/ where you can follow The Teddy bear ladies.  Do watch them on The Repair Shop too.

So what did I learn while making this Scruffy Little Bear?

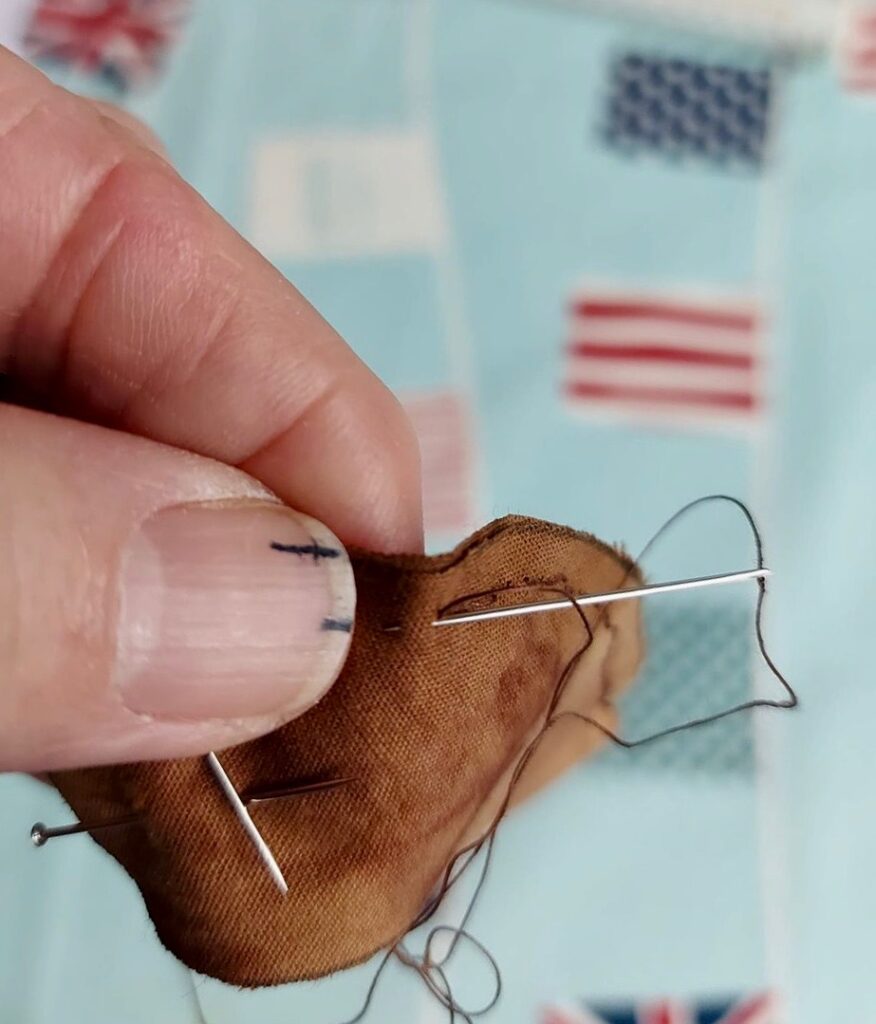
I learned that my hand sewing could do with more practice, that I’m not good at judging a half centimetre seam allowance by eye, but if you mark the seam allowance on your thumbnail, that works.

I learned that I’m not good at stuffing soft toys, but practice may make perfect, and a pencil helps.

I learned how to create a cotter pin joint; again practice may improve technique, thankfully I have some round nose pliers in my kitchen drawer.

I learned that mohair, despite being more expensive than free fabric from my stash, may have been a better choice, and the pile would likely cover a multitude of inaccurate stitching sins.

I learned that I have arthritis developing in my thumb joints, and that I need varifocal glasses.

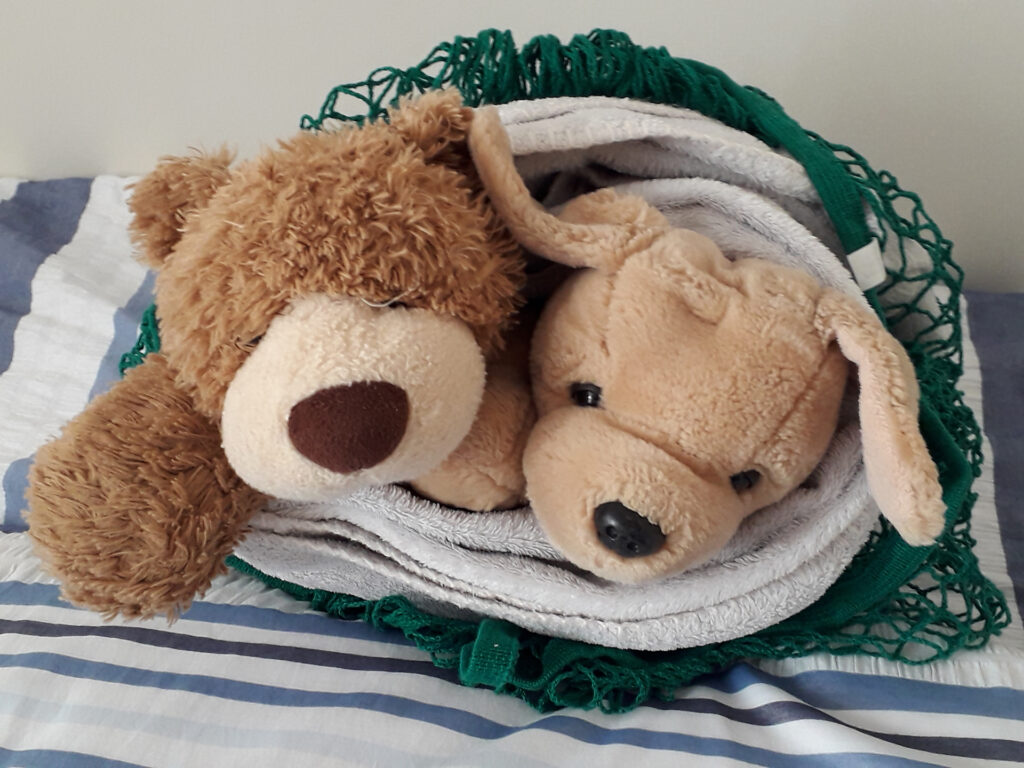
Most importantly and with much reflection, I learned that you cannot keep your children close, they will leave home and you have to let them go with an open heart.  I just hope he will let us know where he is and what he is up to, that he will come and see us occasionally.  And if he does decide to join the Army as he says he will, perhaps he’ll need a foster home for his beloved childhood friends, Monty and Scruffy, I do hope so.

Making Miriam’s cushion

I wanted to give Miriam a leaving gift that was personal from me to her, no shop bought gift , it had to be hand made.

Recently one of my staff team handed in her notice, I was very sad to see her go because she is a great practitioner and a lovely human being, but I was happy to see her progress in her career.

Naturally I wanted to give Miriam a leaving gift that was personal from me to her, no shop bought gift , it had to be hand made.  A cushion was all I had time to achieve, so this is the tale of Miriam’s cushion.

Miriam's cushion
Finished!


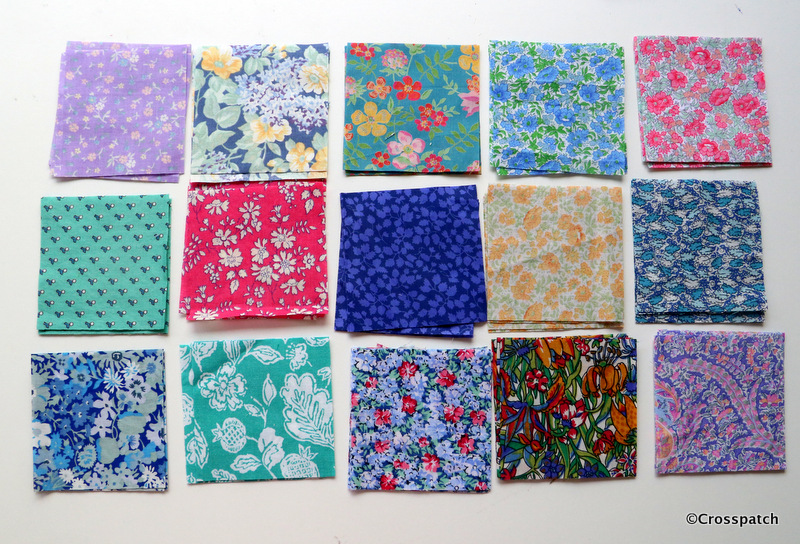
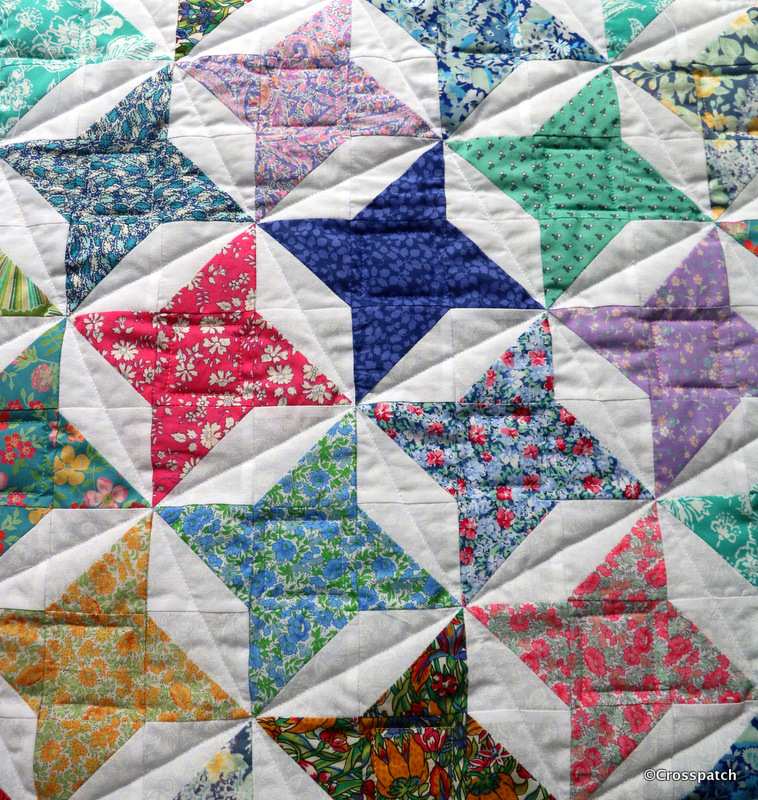
I decided all would be made from my fabric stash, and wanted something very pretty, so Liberty prints seemed to fit the bill.

I wondered if perhaps there was a block called Miriam, well there is but it isn’t particularly pretty, and its also known as Crazy Susan, so that wouldn’t go down well. Stars was my second thought. Pinterest supplied this idea, Miriam’s cushion was going to be Fab.

Miriam's cushion
Liberty prints


15 different fabrics were picked out of my stash, and a new white on white fabric was bought to tie them all together, there was nothing suitable in my stash.

Miriam's Cushion
trimming down to 2.5 “


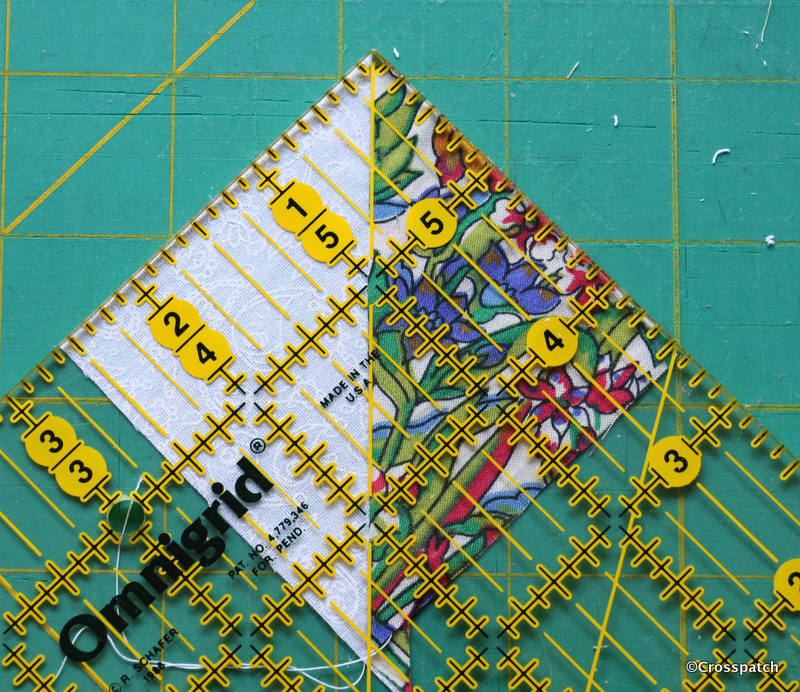
From each fabric one 2 ½ “ square and four 2⅞ “   triangles were required.  I found it easier to cut 2 x 3 “ squares from each fabric and the same from the white to make 4 half square triangle units by putting a Liberty fabric square right sides to right sides with a white square, sewing two lines half an inch apart across the diagonal and cutting them apart, pressing to the dark side, then cutting down to 2 ½ “.


Half square triangle units are traditionally made by marking a fine pencil line diagonally across the paler fabric, so that it can easily be seen, and sewing a ¼“ from either side of the line.  We press the seam allowance towards the darker fabric so as not to allow the darker fabric to show through the paler, it also helps to nest seams for a flatter, neater end result.

Miriam's Cushion
placing fabrics


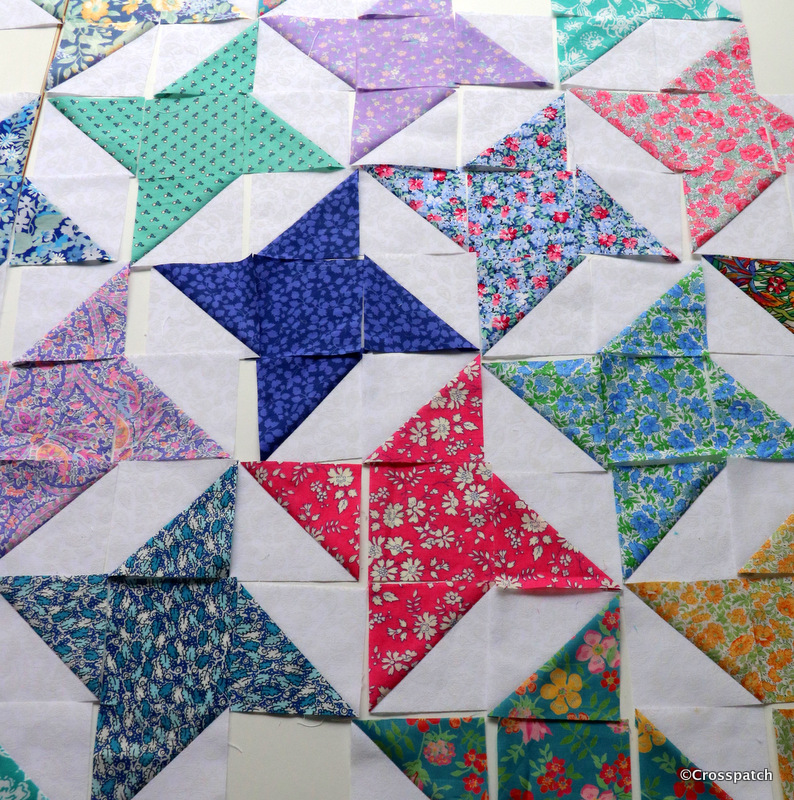
Once I had 15 sets of square and triangles, I had to decide on placement of the fabrics, with this pattern there are no blocks which can be made up and colour placement decided later, each fabric interlocks with its neighbours row on row , so the whole design must be laid out in advance.  Thank goodness it was only a cushion, I don’t have space to lay out an entire quilt in this way.
Miriam's cushion


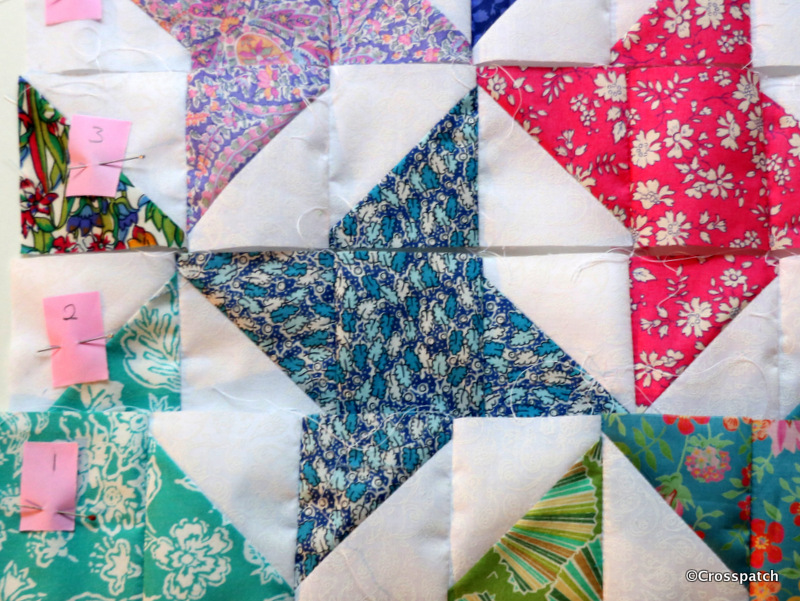
Numbering the rows so that I didn’t get myself in a tangle I stitched each row individually, then pressed the odd rows in one direction and the even rows in the other direction so that the seams would nest neatly.


I was under time pressure, so as I worked I considered how to finish Miriam’s cushion, I wanted to finish the edge with a binding which would look like piping without the faff of having to use piping. But that left me with a problem of how to close the cushion cover.


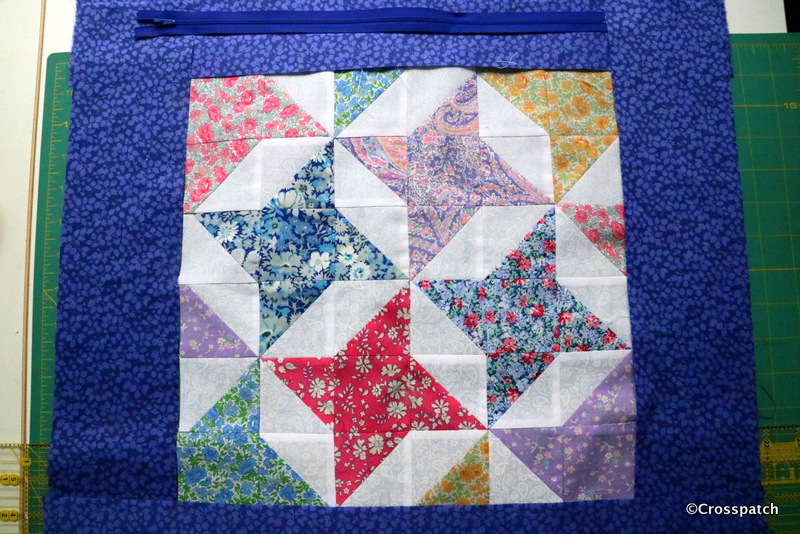
A Zipper looks better than an envelope back, which I always think looks baggy and unfinished, but I couldn’t figure out how to put a zipper in a bound edge. So rather than make a matching back I had to make a smaller version of the front for back with a sashing to insert a zipper and leave a raw edge to bind.

Miriam's cushion
cushion back with zipper


Each side was sandwiched with a 2oz wadding bought specially at Abakhan    (https://www.abakhan.co.uk/stores) in Preston; and quilted simply with diagonal lines, happily because the wadding was quite chunky, it didn’t need a lot of close quilting.

Miriam's cushion
quilting Miriam’s cushion

I sewed the front to the back wrong sides together with the raw edges on the outside, a ¼ “ seam allowance.


Finally I cut and stitched the binding ; I cut a 2 ¼ “ binding and folded  it in half lengthways, right sides out, sewing it to the front of the cushion just a smidge wider than  ¼ “ so that the first seam isn’t showing.  It also stabilises and strengthens the seam around the edge being stitched round a second time.  Then rolling the binding over the raw edge by hand, because I have folded the binding I now have a folded edge to hand stitch along the seam line on the reverse side.

Miriam's cushion
Finished!


I used the same fabric for the binding as the sashing so that any wobbliness of the binding or the hand stitching would be less obvious on that side. I was burning the midnight oil by this time; Miriam’s cushion had to be finished, she was leaving the following day.


I wanted to label the cushion, but not for it to be seen  announcing myself constantly, so I made a label and stitched it inside the cushion, just under the zipper.  It simply says it was made for  Miriam, it is Miriam’s cushion.


When I gave Miriam’s Cushion to her, I pointed out my two errors, the zipper isn’t centrally placed, can’t figure out how that happened, but I didn’t have time to fix it, and the far corner fabric isn’t quite “right”, but I left it in because, as all quilters know, “only God is Perfect”.


There was one final flourish that I had planned to add but I ran out of time. It was a bible quotation I sought out especially For Miriam, a committed Christian, as she was leaving us for another job nearer to her home. I had planned it to be sewn inside like the label.


So here it is :-


To enjoy your work and accept your lot in life—this is indeed a gift from God. (Ecclesiastes 5:19)


It’s more than simply Miriam’s cushion it is a gift to express fond appreciation of the person she is.  Thank you Miriam for passing through my life however briefly, it has been a pleasure to know you, to work with you, to see you develop and flourish in your profession.


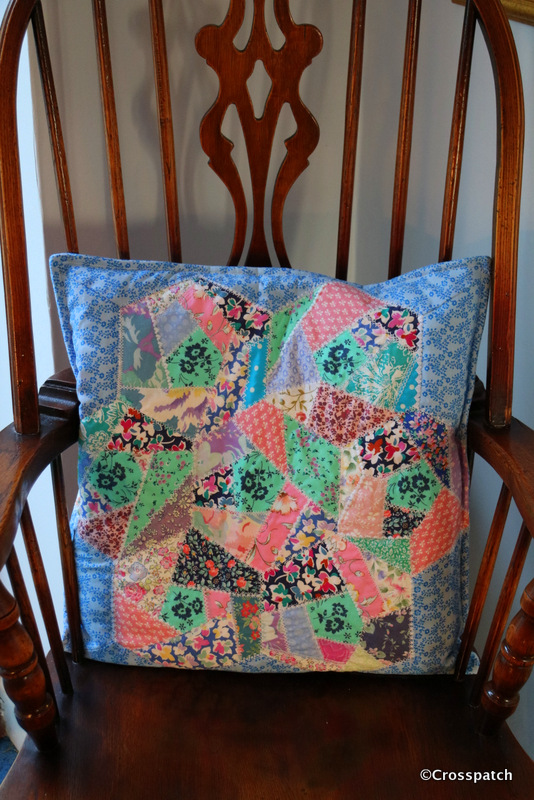
Crazy Patchwork Cushion , completed

Nearly two years ago, and before being thrown out of my studio to make room for a sixteen year old, I made a crazy patchwork cushion for a group challenge.

Crazy Patchwork Cushion… continued…

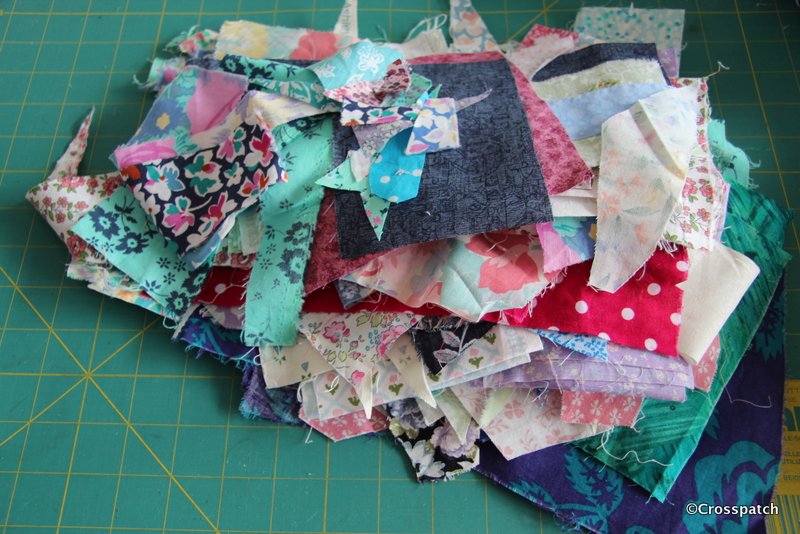
Nearly two years ago, and before being thrown out of my studio to make room for a sixteen year old, I made a crazy patchwork cushion for a group challenge from 1980’s scraps some of which were Laura Ashley fabrics.

Crazy

Crazy patchwork cushion
scraps left over from the 1980’s

I wasn’t happy with the way it was finished but as with many of my projects I ran out of time and completed it in a rush in order to submit it to my quilt group’s annual challenge.
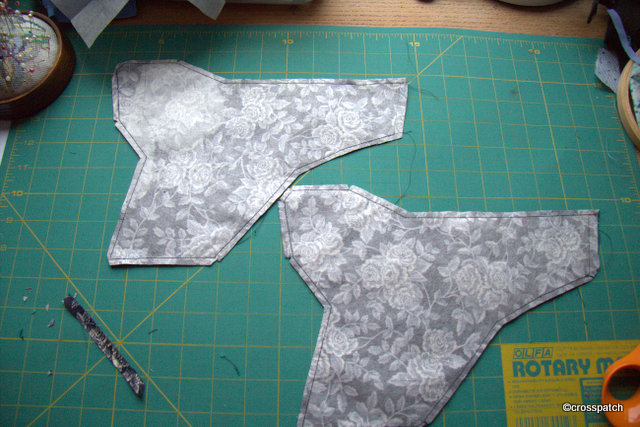
So the plan was to deconstruct it, well take the back off. I’d stitched it with a long stitch to make that easy. Put a zip in the back, instead of the envelope back that I’d had to do as a quick temporary fix.

crazy patchwork cushion

Then I needed finish the white embroidery on the front, so that all the edges were finished in the same way.
Finally I top stitched round the edge, I do this a lot on cushions just to give definition to the edge and to make them fit the cushion pad better. I do like a plump cushion.

crazy patchwork cushion
cushion for a Windsor chair

My cushion was made particularly to go to work with me to pretty up my office, but just as it was being made we were told we would soon be moving to a new “agile “ working environment where there would be 3 desks to 5 staff . The “personalisation of work spaces” would be frowned upon, or rather strictly forbidden. So my Crazy patchwork cushion will remain at home, and pretty up my new studio, on my Windsor chair with a view of the back garden.

The crazy patchwork cushion will also be submitted to my group’s biennial exhibition later this month, so that’s two items… see my next blog post for the third item.

Natural dyes, experimenting with black beans

This is such an easy process, no heat, no chemicals, and if I hadn’t reused the beans as a dye stuff, I could have cooked and eaten the beans, so no waste either, and the colour is divine. I love it, love it, love it.

Last weekend I began experimenting with natural dyes, and had mixed success. I hoped to try onion skins next because I wanted a bright orange, but haven’t had time to gather together enough onion skins. Nevertheless I’ve got the bit between the teeth now, dying with natural dyes from plant materials is like alchemy.

I love that lavender blue colour I call Eeyore blue. I once saw a picture of some lace which had been dyed using black beans which was just that glorious colour and decided I was going to experiment with it myself. Black beans can be found with the chick peas and kidney beans on supermarket shelves.

natural dyes
black beans soaked in cold water

The black beans were soaked in cold water for 24 hours, they produce a rather gloomy, murky mauve coloured liquid. Not very promising I admit. But then comes the alchemy.

natural dyes
murky mauve

I drained off the soaking liquid from the beans, added a length of fabric which had previously soaked in Alum mordanted water and presto, the magic began… not mauve but a lovely purply blue began to develop.

natural dyes
magic

Just to test how strong the dye stuff was I put the beans back in another jar, topped up with more water and added more fabric. I left both jars soaking for a couple of days. The result was a lovely purply blue fabric, and a paler version with a rather more tie dye effect, caused by the lack of space in the jar for the beans, the liquid and the fabric.

natural dyes
second soaking

This is such an easy process, no heat, no chemicals, and if I hadn’t reused the beans as a dye stuff, I could have cooked and eaten the beans, so no waste either, and the colour is divine. I love it, love it, love it.

natural dyes
lovely lavender blues

More Thrifty buys

I’m always on the lookout for Haberdashery; buttons for instance, so I was really pleased to find this tin full of buttons some of them quite old, for £2 at a car boot fair.

more thrifty buys
flower press

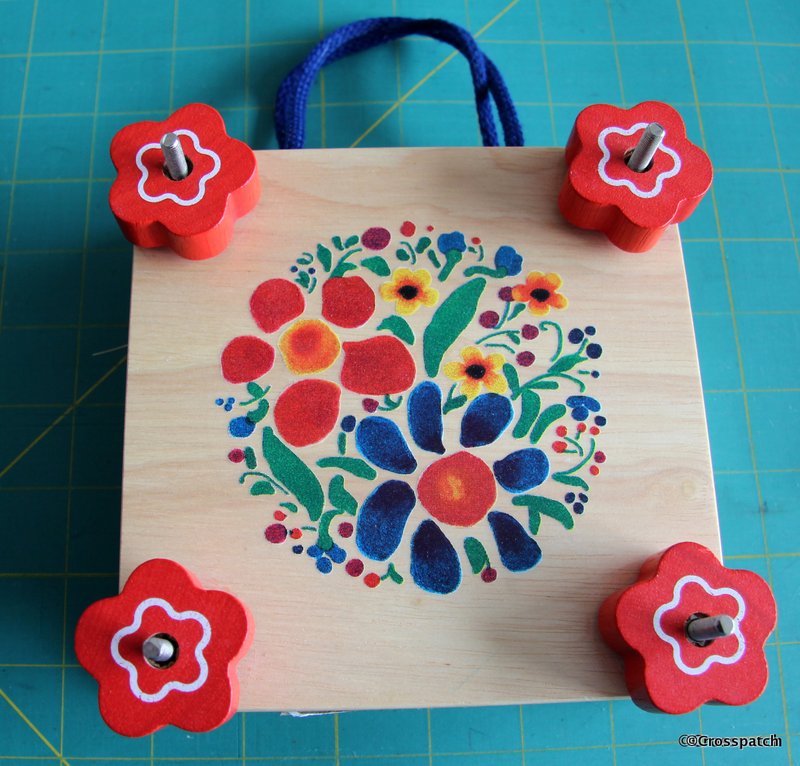
Don’t you just love a bargain? I do, let me show you what I have found recently, more thrifty buys. A few months ago I came across a lady teaching paper making. I’ve always wanted to have a go at that so when she offered to sell me a kit I could not resist it. To make paper with pretty little organic inclusions in it you need organic matter, flower petals for instance.There were some in the kit, but I thought I could make some of my own from the flowers in my own garden. If you just collect petals they will dry up and discolour, they need to be pressed to preserve shape and colour. My dearest suggested I buy a flower press but I reckoned I could find one in a charity shop, and a few weeks later… presto £1 in my local charity shop. It even came with pressed flowers in it. I have a good collection of flower petals in the press waiting till I have time to get out that paper making kit, cold wet winter weekends are just around the corner.

more thrifty buys
button tin

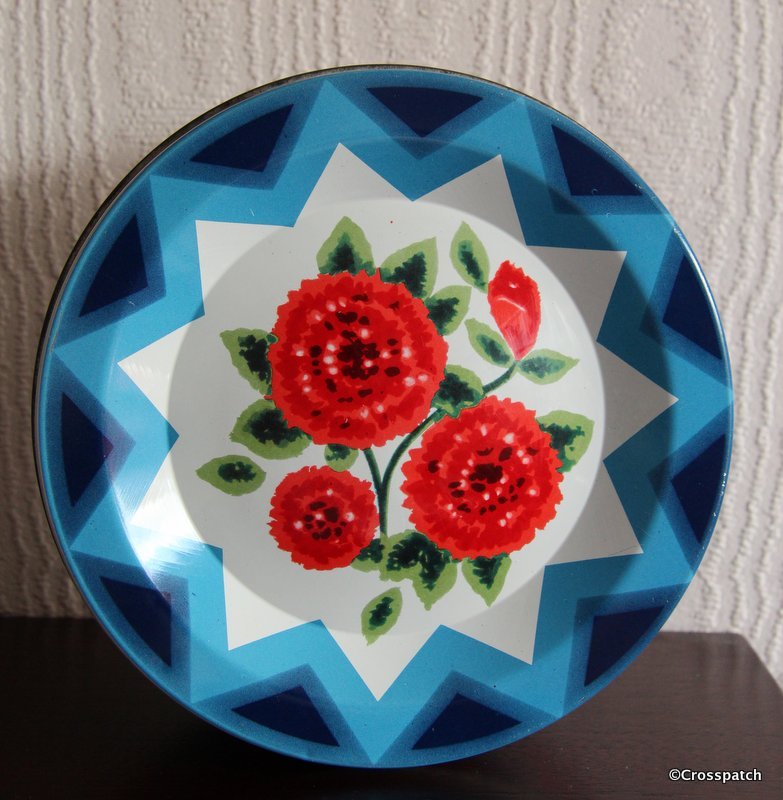
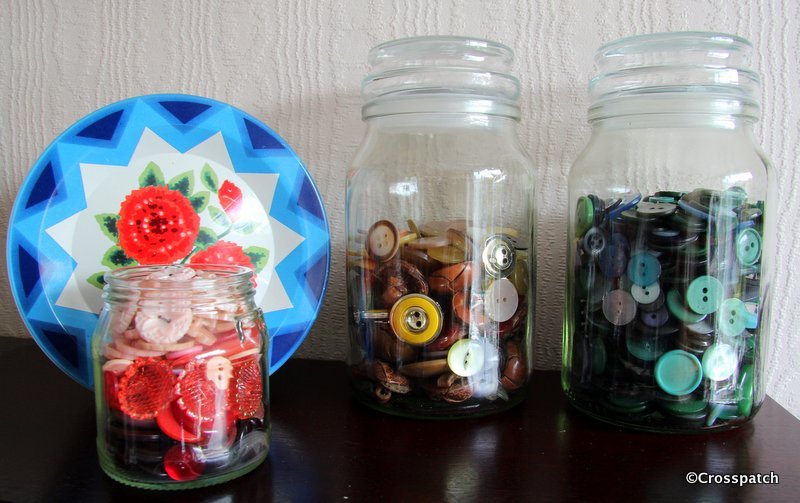
I’m always on the lookout for Haberdashery; buttons for instance, so I was really pleased to find this tin full of buttons some of them quite old, for £2 at a car boot fair. I guess there must be easily £20 worth of old buttons which I can sell, and the tin is vintage, in really good condition it’s a 1960’s Quality street tin. A similar one on Etsy is selling for £4.99. Maybe I should open my own Etsy shop.

more thrifty buys
button jars

A few days later I found a plastic bag full of buttons also £2, some of which are also quite old, together with the ones in the tin there was enough to fill all of these jars. I might sell the old ones, the Victorian and Art Deco ones, and use the others for embellishments on patchwork or fabric pictures. I’m really pleased with my thrifty buys. It doesn’t take much to please me when it comes to craft materials, my thrift shop bargains.

A sewing Companion

Despite looking complicated it was incredibly easy to make.

finished sewing companion
sewing companion

Look what I found on Pinterest! Having been asked to make something to put in the gift raffle for my quilt group’s exhibition I needed an idea, something simple to make that most folks would have a use for. This little sewing companion is ideal, small enough to tuck in a drawer, so it’s always to hand for quick repair jobs, and or to pack in suitcase so you have the essentials for hand sewing when travelling. So much better than those awful sewing kits found in hotels. (see http://www.popularpatchwork.com/news/article/simple-sewing-companion/210/ for the original article and Pattern)
sewing companion
making two

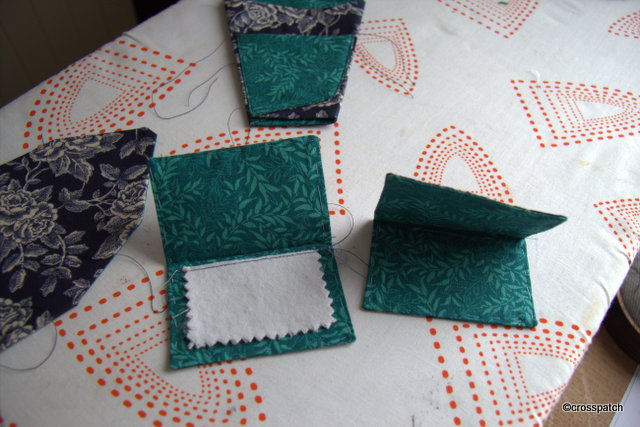
Despite looking complicated it was incredibly easy to make. First download your pattern and print it, on to card if you have it, it makes it easier to draw round. Put the pattern on to some light weight fusible interfacing, and draw round it, this line becomes the stitching line so cut the pattern out with a tad more than 1/4 ” seam allowance and iron to the wrong side of the fabric you have chosen for the outside of the sewing companion; cut out with a generous seam allowance, and place right side to right side of the second fabric for the lining.

sewing companion
sew first, then cut

Stitch round along the stitching line leaving one side open so that you can turn it out, cut the seam allowance to a scant 1/4 “, and snip the corners before turning out. finally tuck the raw edges in and catch them in with a running stitch, it won’t show in the finished piece. I pressed the whole thing at this point, and considered top stitching to hold the edge firm but decided against, it wasn’t recommended in the Original.

sewing companion
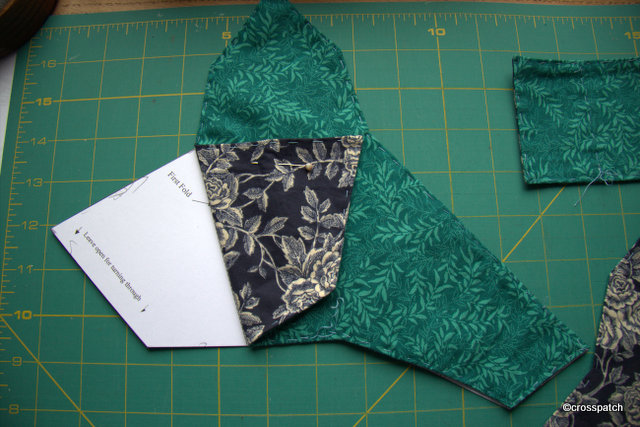
First fold

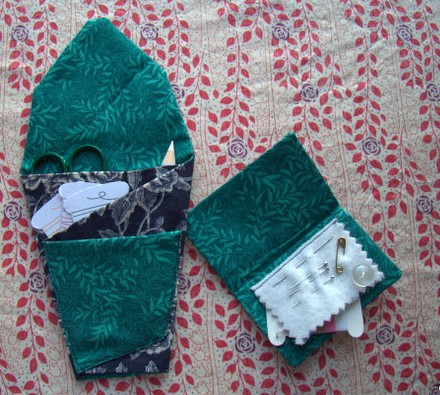
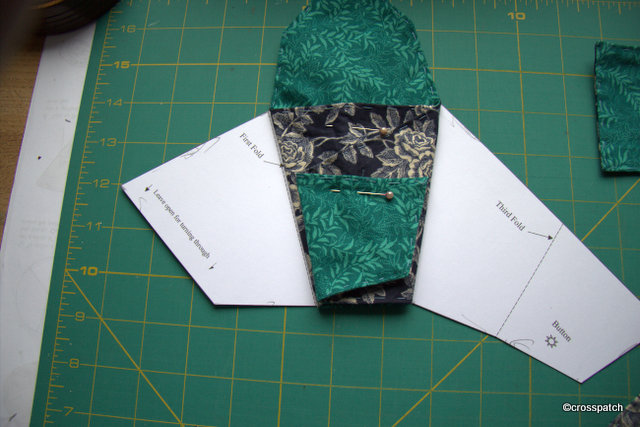
Using the pattern to guide me I folded the flap from the left, and top stitched a V shape the left hand corner of the flap, to the bottom and up to the top and inch and a half from the right edge this makes a scissor pocket, and a small pocket to the side for a measuring tape or marking pencil.

sewing companion
Second fold

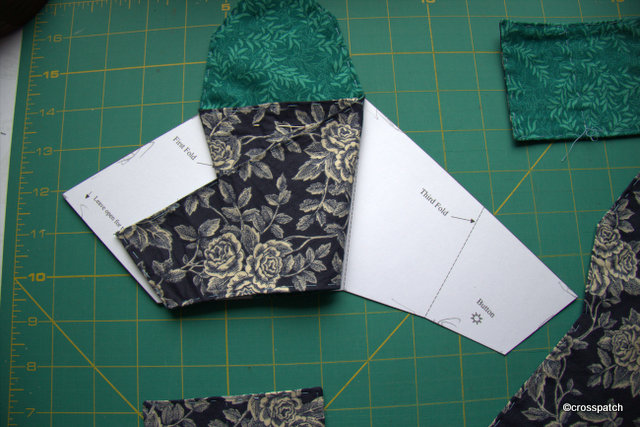
The second fold and then the third fold are completed together and then stitched down one side along the bottom and up the other side to hold the whole thing in place.

sewing companion
Third fold

A needle case to match is made very neatly using a two piece lining which is not stitched completely accross the inner seam so you can stitch it inside out and turn it. the pattern recommends using flannel for the inner pages of the needle case, I had some lining from a silk tie that I had bought and deconstructed to use for crazy patchwork, but it was bulky so I only used one “page” and stitched the open seam closed under the spine of the “page”.

sewing companion
Needlecase

As I plan to make these into gifts I can hardly give them with all the tools missing, so I ordered a pair of needle work scissors on line, green handles to match the fabric, a set of 3 chalk pencils one for each and a spare; I ordered 3 tape measures, but when they came they were too bulky and pulled the sewing companion out of shape, so I rejected them. the original pattern showed embroidery silks tucked into the pockets, instead I downloaded some sweet little thread holders which can just be seen poking out, so that each owner can use threads colours which are most likely to be required. Into the needle case I put from my own stash, a needle, a safety pin, 3 pins, and a shirt button. I’m still waiting for the needle threaders to arrive. All I need to do now is add a press stud fastener and they are ready to go.

finished sewing companion
sewing companion

If you’d like to make one yourself the pattern and instructions are copyrighted; the intellectual property of Brenda Dean and can be found at http://www.quiltersinternational.co.uk/, Many thanks Brenda I really enjoyed making these and will be making more, for myself and as gifts for quilty friends.

Making Strawberry pincushions

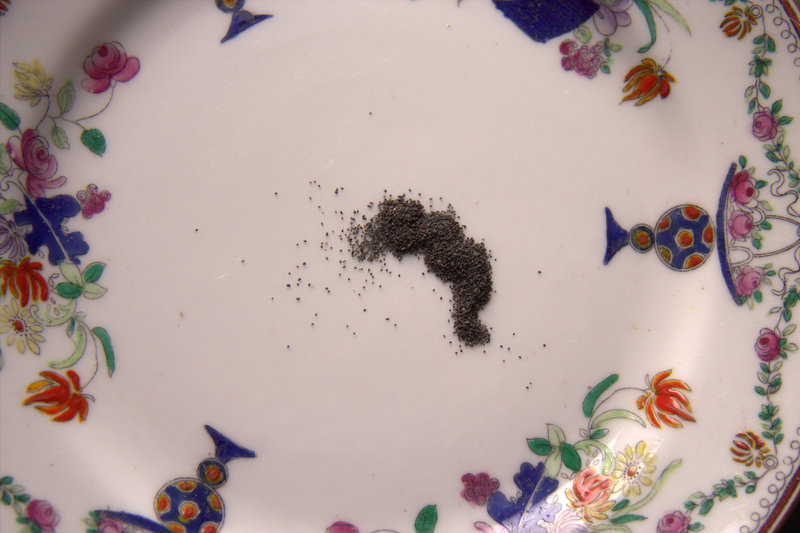
At a recent meeting of my quilt group I was intrigued by a fellow member passing round the tables as we sewed with small bags of powder, now it’s not what you are thinking, it wasn’t white powder, but black, it looked like iron filings or gun powder perhaps. she sold me a bag, and I was very pleased to have it.
strawberry pincushion
looks like gunpowder to me

She told me a funny story that went with the powder, which is carborundum, or emery powder. My fellow quilter had sourced the powder from a manufacturer but she had to buy a significant amount, more than she might ever need. Because it is heavy and would be expensive to have shipped she had arranged for a friend who lives near the supplier to collect the cannister and pass it to her husband when they next met.
Her husband and friend met in the car park of a ferry terminal, they were traveling to Ireland together. Rather than leave the exchange till they got back, fearing they may forget, the cannister was transfered to her husband’s car before they both got into his car and made the ferry crossing to Ireland.
Needless to say, there must be CCTV cameras trained on we hapless travelers in ferry terminals. When the two gentlemen arrived in Ireland, customs officers took them aside and asked them to explain the canister with the suspicious gunpowder like contents. Imagine their disbelief when these two men, who I’m told are built like rugby players and not in the first flush of youth, explained the contents of the canister was to be made into…pincushions!

strawberry pincushions

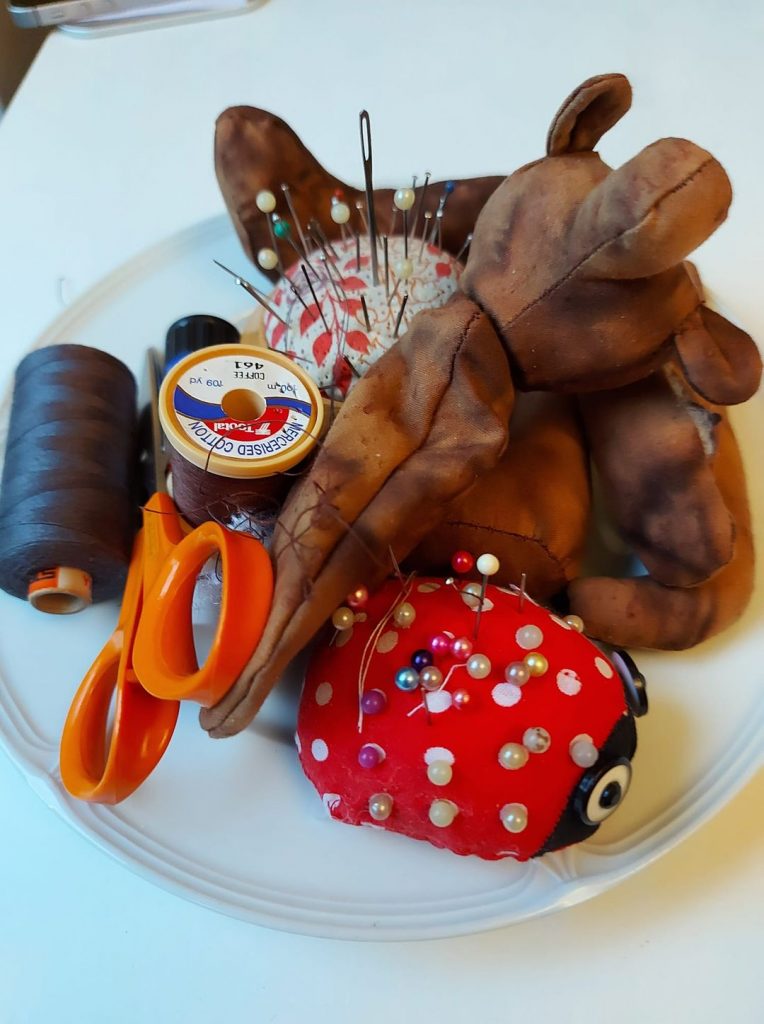
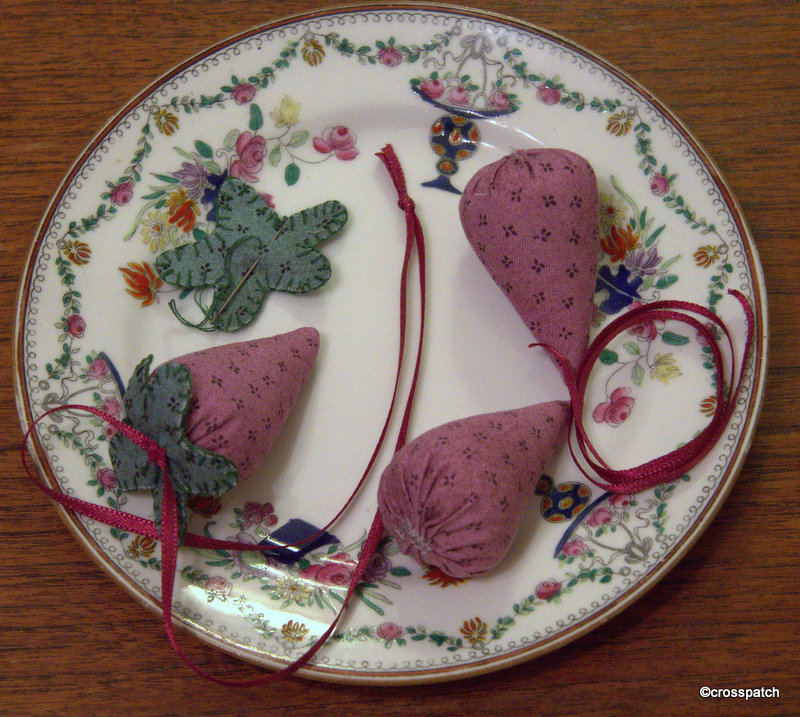
If you have ever been cursed with rust on your needles this is your answer. The Victorian ladies who were probably more plagued with dampness in their homes than we are today, often had little pincushions made to look like strawberries. These strawberry pincushions contained emery powder. Any pin or needle could be stuck into the pincushion a few times till the rust was rubbed off and the needle once again made usable: not leaving rust stains on the fine lace and fabrics being worked. I have planned to make myself some strawberry pincushions but not knowing where to find emery powder, or even what it was, I thought they would simply be scissor keepers, which save your fine embroidery scissors from disappearing down the side of the sofa when you are not paying attention.

strawberry pincushions
cutting the pattern

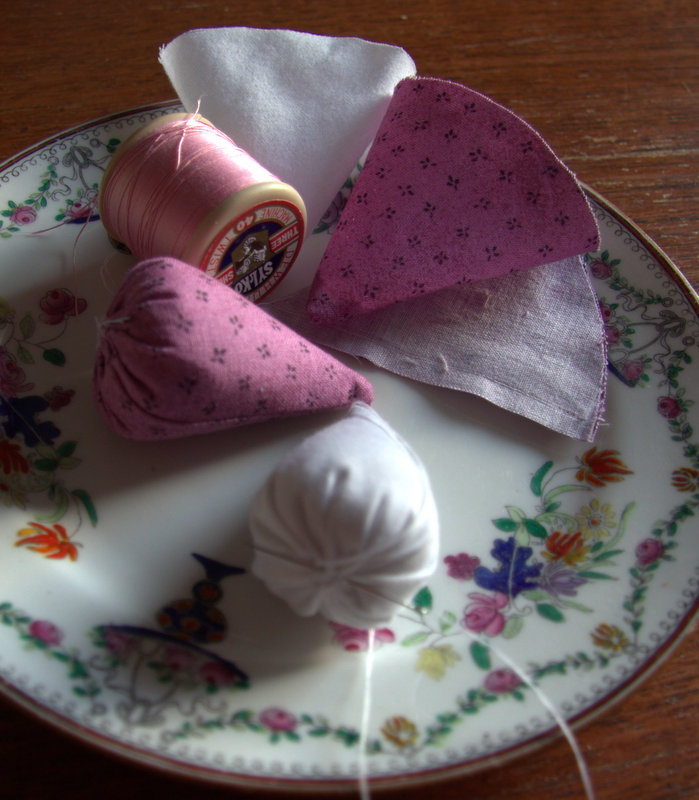
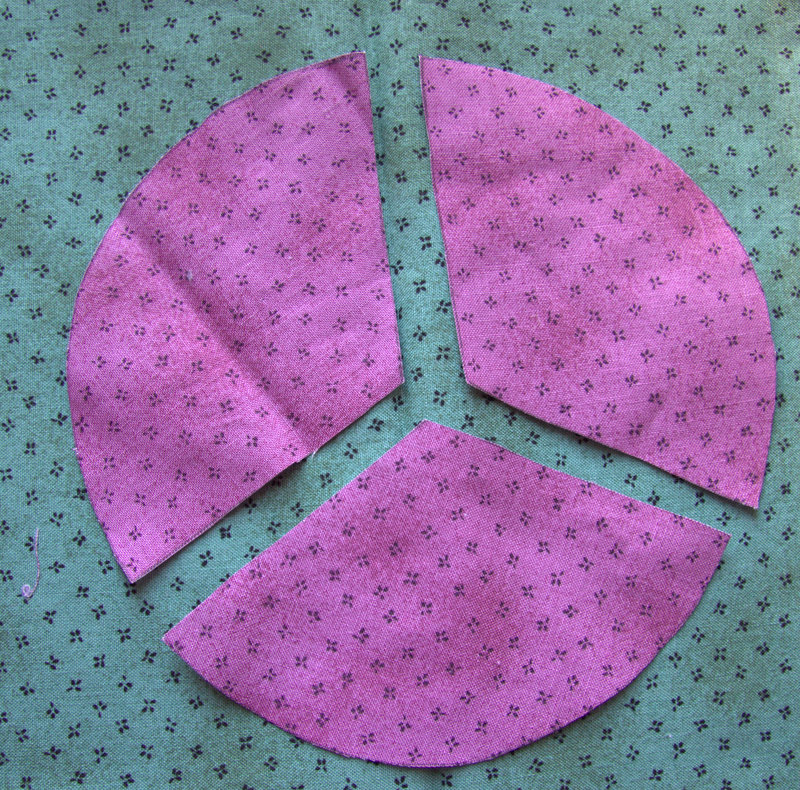
I found an old pattern dating from the 1930’s on Pinterest, cut two layers, the inner one in a tightly woven fabric, I used a piece of the 14 year old’s outgrown school shirt, to make sure the emery powder didn’t leak out.

strawberry pincushions
The outer fabric I chose for its little ditsy print in a pretty pink, for the strawberry pincuchions and a toning green fabric for the leaves.
filling the strawberry pincushions
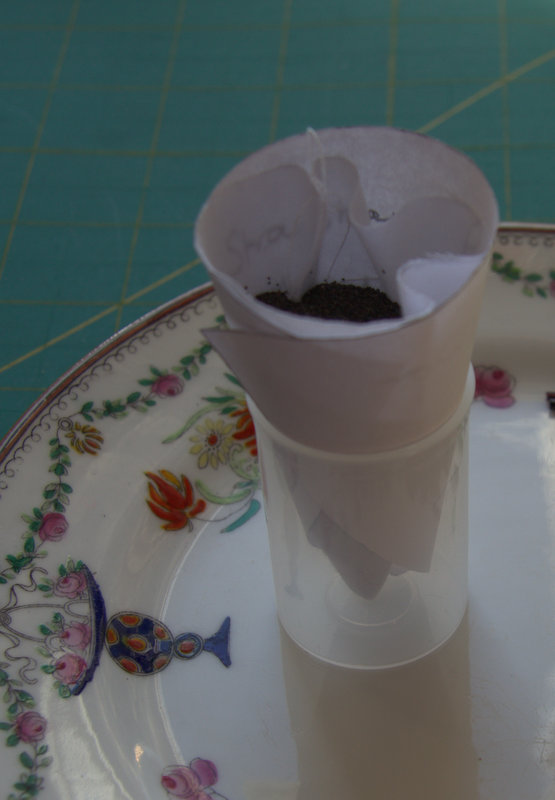
filling these little cones with the emery powder was really fiddly. I found that if I fixed a cone of paper into an empty plastic container, (this contained camera film, but was re-purposed into containers for bugle beads) then the liner could be filled and I had both hands free to tuck in a circle of fabric on top of the emery powder and draw the raw ends over the top so the powder wouldn’t leak.

leaves for the strawberry pincushions
cutting “strawberry leaves”

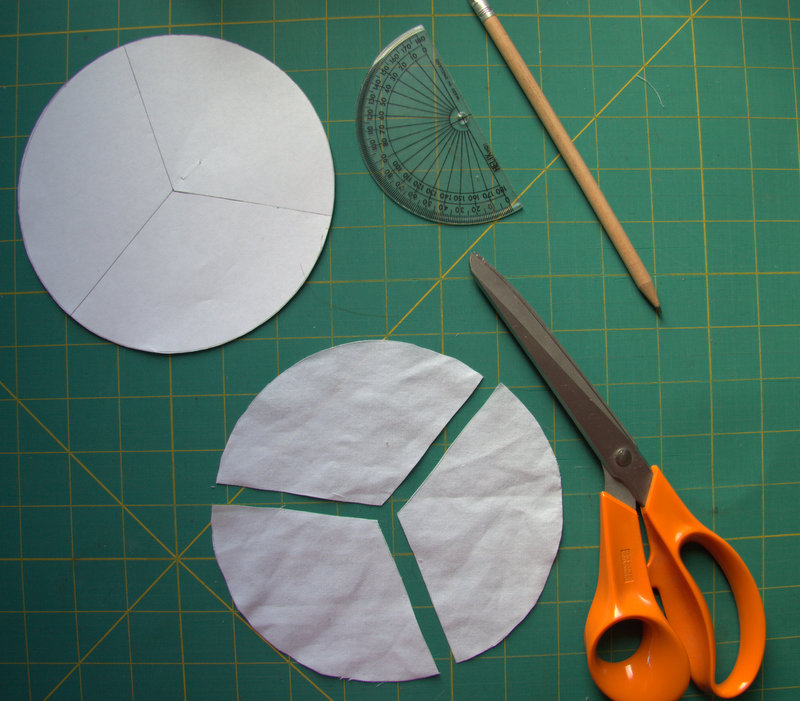
I used freezer paper to cut a pattern for the leaves (you can iron freezer paper to the fabric, and cut it out without any slippage). two layers , the edge neatened with some hand stitching , I don’t do it often, but my attempt to use a machine stitch was disastrous.

strawberry pincushions

And finally a little ribbon, attached to the Strawberry pincushions means they can be used as scissor keepers or hung from my wrist, to keep pins to hand. I usually have a mouthful of pins when I’m dressmaking, which is never a good idea, but strangely habit forming.

Another successful raid

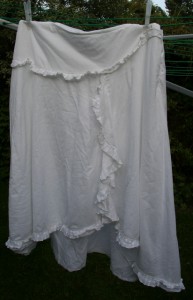
the ugliest white skirt imaginable, which isn’t even in my size, ruffles in all the wrong places, an asymmetric hem, down at the back and up at the front.

More Plaid
More Plaid

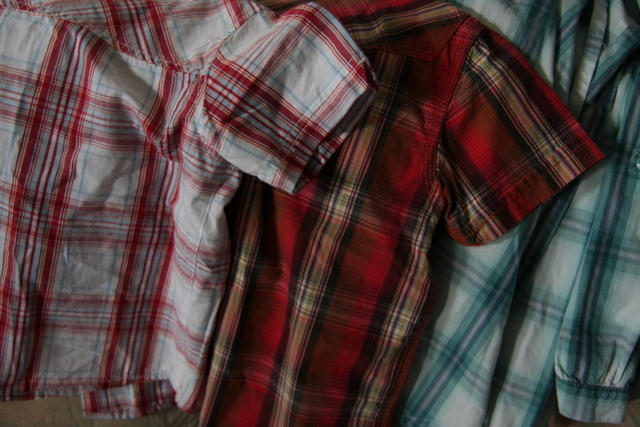
Another trip to my local charity shop, I’m light very little cash but I have 2 weenie little plaid shirts (age3) 50p each, and a ladies plaid shirt in a pretty lavender and cool green which will pretty up my planned plaid quilt with some more feminine colours.

ugly white skirt
ugly white skirt

A beautiful Monsoon Blouse for £2, and the ugliest white skirt imaginable, which isn’t even in my size, ruffles in all the wrong places, all so badly gathered and stitched in place, and an asymmetric hem, which hung down at the back and rose up at the front, a real horror. £1.50
Why?  You may well ask, although the skirt looked rather sad it was made of fine cotton lawn, and was lined in the same fabric, and edged in the some nice quality Guipure lace.

The skirt was a supermarket brand, the materials were good but it was badly made, and badly designed. Who on earth wants a ruffle around the hips adding inches at the very place you want it to skim? And why stitch on and edge the ruffle in polyester thread which either was cream or has yellowed so making the whole skirt look grubby. The one thing you want from white clothing is the fresh look of pure white, grubby white will never be a good look.

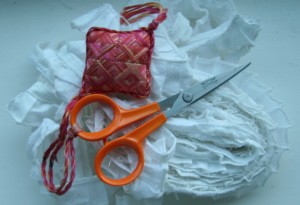
The lace alone was worth it

Only the ruffles went in the bin

So I bought it to cut up, and for £1.50 and a little work I got more than a yard of fine white cotton lawn, not suitable for patchwork, but perfect for foundation piecing, and linings where you don’t want what is underneath to show through; a white zip, a spare button, and 3 and a half yards of good white lace, which I’m sure I’ll find a use for. All I threw out was the ruffle.

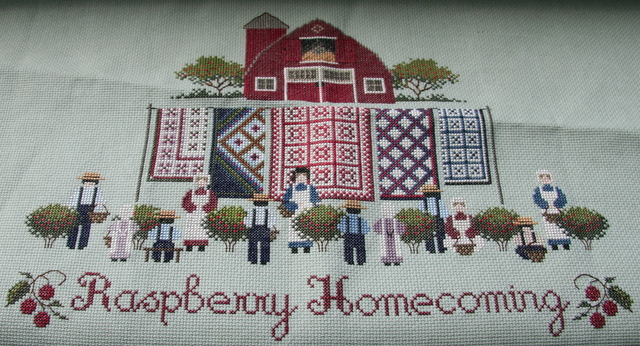
Amish quilts
Amish quilts

Lastly a completed embroidery, of an Amish scene with quilts! All I need now is to find a suitable frame for it, and it can hang in my workroom, 50p and there was another canvas in the bag with crewel wool, I might give that to a friend who does embroideries, as I doubt whether I will ever find time to stitch it myself.

Another Grand Day Out

Noting that the clouds had rolled back, the sun was shining and the tide was high, we drove north looking for a suitable place for lunch.

22.08.2013
What a lovely day I had today, with nothing planned and a promise of mixed weather, we set off to Morecambe to collect my winnings, not a lump sum, sadly but a novel written by a local author, and offered as a competition prize in my local newspaper. Having collected it and noting that the clouds had rolled back, the sun was shining and the tide was high, we drove north along the promenade looking for a suitable place for lunch. We turned off the coastal road and headed for the shore at Red Bank Farm.

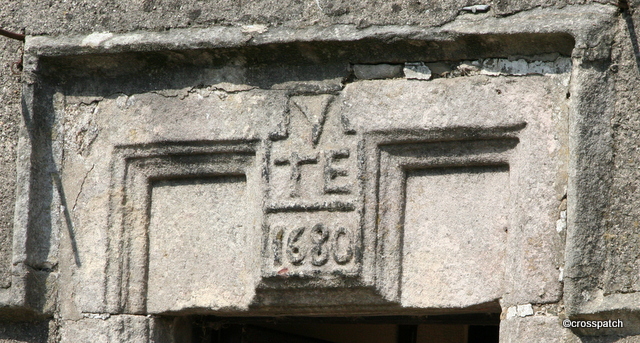
date stone, Red Bank Farm

Red Bank Farm has a very enviable setting being sited at the very point where the sea meets the land, any further west and it would be in the sea. A High bank protects the land from being encroached upon, I guess when the Farm house was built perhaps the sea was not so close, but then the date stone over the door says 1680, so Red Bank farm has weathered many a storm since it was built.

So close to the Sea
So close to the Sea

My Dearest had a Bacon Buttie, no change there then, and I had a baked potato, butter and salad, being on the Hay diet limits my choices as I don’t eat protein at lunchtime, still I could have just had a bowl of chips, I restrained myself. They did look good though, thick cut and crisp cooked with the skin on.

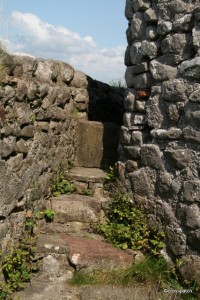
ancient steps on a right of way


A footpath passes behind the farm house, right on the edge of the beach, ancient steps form a style between the building and the wall which borders the property.

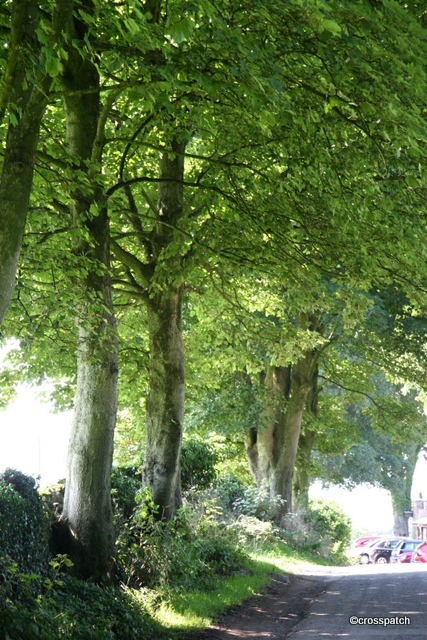
dappled sunshine on a country road


We drove on to Silverdale, a place of outstanding Natural Beauty, visited a little gallery we know and then on to Jack Scout for a walk, the sun was very hot and the day humid, so we did not walk far before my Dearest wanted to turn back. I snatched a couple of pictures near the cliff edge looking up the Kent Estuary towards Arnside.

Jack Scout, Kent estuary

Not wanting to set off home just yet we turned the car northwards up the A6, a route we had taken several times already this week, but stopped at Beetham, it’s one of those villages which is by-passed by the road and so is rarely seen or investigated by passing traffic but I knew there was a Pub the Wheatsheaf, which had been recommended to me for good food, so we stopped to check out the menu.

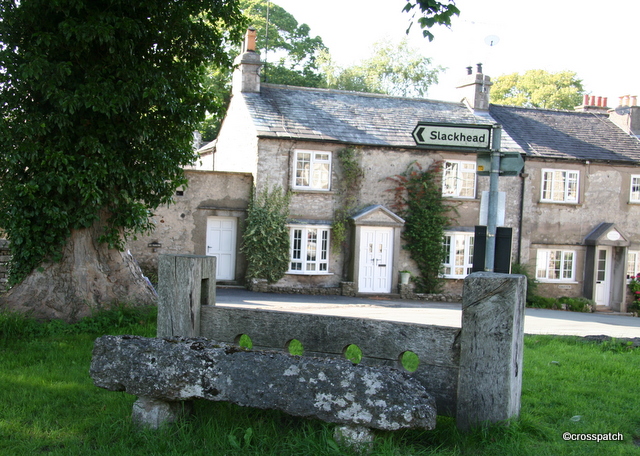
stocks, now where are those rotten tomatoes?

What a charming little village, with fine old houses, a set of stocks on the green, a good pub, a beautiful church (The Church of St Michael and All Angels, parts of which date from the 12th century) , it still boasts a Post Office and general store, but more than that it has its own theatre! ( The Heron Theatre, a 80 seat theatre housed in the listed 18th century grammar school ) I believe the village has its own amateur theatre group, who put on productions, and it is otherwise used as cinema, “Quartet” is showing this weekend.

St Michael and all Angels

There is apparently The Heron Corn Mill, a working watermill, which we did not investigate. We went home via Morecambe again to walk on the promenade, and enjoy the cool sea breeze. Whilst promenading we saw a BBC news team about to record a piece live for that evening’s news, we didn’t stay to find out what it was to be; given the lateness of the hour, and having left the 13 year old alone all day, we decided it was time to go home and feed him.
The day had been unexpectedly sunny, almost cloudless and very warm, we even got to sit in the garden till it went dark, and then the rain which had been promised but which we thought we had escaped, came down suddenly in great big drops and soaked us as we ran across the garden from the terrace to the back door, if only it would always rain through the night, and allow us clear skies during the day.