Christmas cards

Sometimes I receive a Christmas card which I like too much to throw away on 12th night. this is one way to preserve them.

Sometimes I receive a Christmas card which I like too much to throw away on 12th night.
I tend to keep some maybe just in case no-one sends me a card next year! Perhaps when I’m old and friendless I’ll be able to put up cards that I have kept and still feel surrounded by the love of old friends, who are no longer around to send cards.
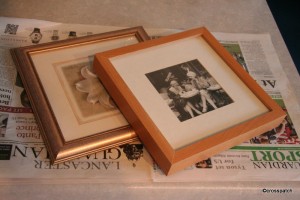
framed Christmas card

This card I loved so much I wanted to make something with it, so I decided to frame it, it will still get packed away with the Christmas decorations and come out every year but it will not get tatty or bent out of shape.

charity shop frames

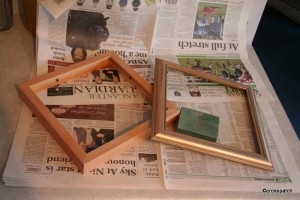
I took charity shop frames,

sand your frame

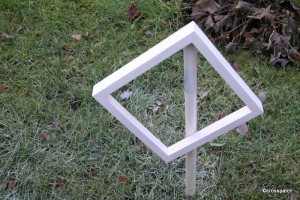
sanded and spray painted them,

spray painted frame

used red wrapping paper to mount the card on.

framed card and decoration

Wanting to have something to hang alongside it and not being able to find another card of a similar type I bought a little felt tree decoration, from a budget store, it doesn’t entirely work , I’ll keep looking out for another paper cut card.

Craft for Christmas

I love the smell of clove oranges and always make some for Christmas, and put them by my chair so that I can enjoy the fragrance, heaven!

In the run up to Christmas, I always think I will have time to be creative and make gifts rather than buying them, Pinterest has a lot to answer for!
I also thought that I would have time to blog what I have made, then Christmas arrived, work went viral, home life was hectic and the cold virus crept up to bite me too. I didn’t finish the present wrapping till 22.20 on Christmas Eve, and the cards got posted on the last posting day. So let me tell you what I did manage to achieve.

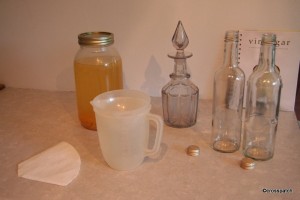
Limoncello ready to be bottled and given
nearly ready

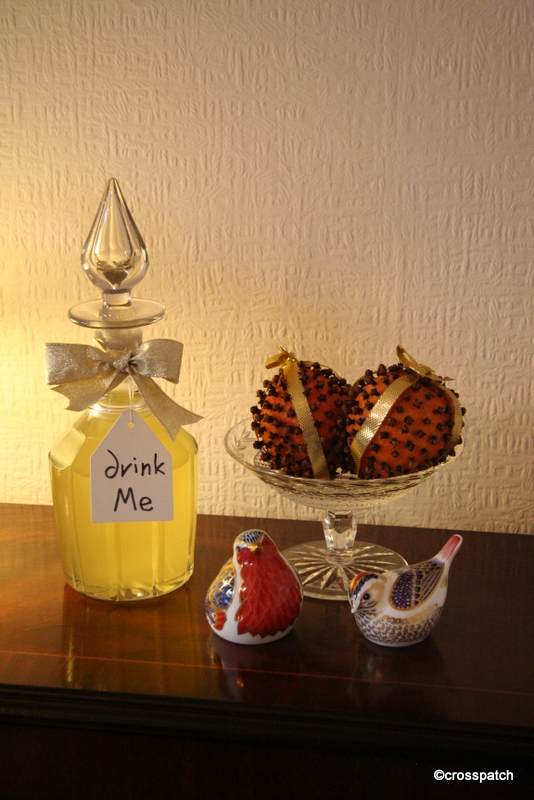
The Limoncello (see a still life with lemons) was filtered and bottled, I tried the coffee filters but it didn’t work very well, so I used a double layer of muslin in a sieve over a funnel, which worked much better. It made a litre and a half of Limoncello. The 500ml bottles were cordial bottles that I have put aside once empty specifically for the purpose. I kept one bottle for myself, gave one to my sister, and put the rest in a beautiful Victorian cut glass decanter I found at an antiques fair in the summer and gave it to my Mum.

There’s something very evocative of Christmas in the smell of spices, I love the smell of clove oranges and always make some for Christmas, and put them by my chair so that I can enjoy the fragrance, heaven! If you want them to last you should wrap them in paper and put them in a warm dry place till they have dried, and then they won’t go mouldy, but if you do they look desiccated and not nearly so pretty. I prefer my clove oranges to have a short but pretty lifespan.
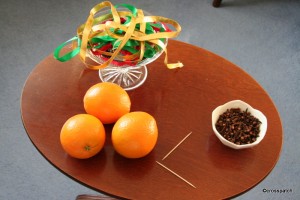
all you need to make a clove orange
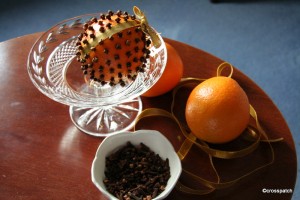
They are so easy to make, just take an orange, a cocktail stick, some ribbon and some cloves. I tie the ribbon on first giving me four quarters to fill, and allowing the cloves to be placed to keep the ribbon in place. Use a cocktail stick to make a hole to push the clove into, if you try to use the clove to make the hole you will find the bud of the clove will be crushed by your finger as you push it in, and it will fall off leaving just the stem behind.

making clove oranges for Christmas

They make nice little stocking gifts wrapped in cellophane, but you’d need to make them the night before they are given to be sure they are given in perfect condition.

a little bit of Christmas
smells wonderful, tastes better.

And so happy Christmas Mum.

Scrap comforter

One of my most used quilts, most washed and cuddly, the one that gets to sit on my knee when I’m ill is this one

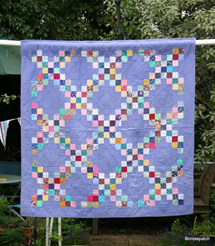
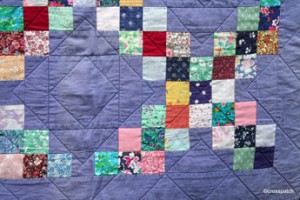
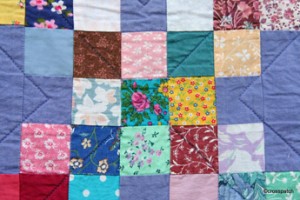
One of my most used quilts, most washed and cuddly, the one that gets to sit on my knee when I’m ill is this one. It isn’t really a quilt as it has only two layers, the back being fleece. I based it on the Double Irish Chain, traditionally made in red and white. This one was made with my favourite hyacinth blue and a collection of my two inch scrap squares.

It is made up of two alternating blocks one block is made up of 25 two inch squares put together randomly apart from the centre square in each side which is the hyacinth blue fabric; the other block is a 4” square of the hyacinth fabric, surrounded by 4“ x 2” rectangles of hyacinth, topped and tailed with a random 2” scrap. When put together alternately the two blocks blend into squares and chains.


Sadly it has become rather faded over time, but still goes with us when we go camping and is a great comfort on chilly summer evenings. It sits on the back of the sofa in winter ready to go over a lap when a nod in the chair is needed, and even gets the occasional trip in the sports car if the roof is down and the weather less than perfect. I’m not precious about this one it’s just a comforter and a great comfort it has been, the epitome of what a quilt should be, bright and cheerful, soft and warm, always to hand when needed.

There in the middle is that fabric again, no show without Punch!

I think this was the last quilt I made which has a little of that old dress fabric in it.

More Christmas Stockings

You might want to consider tucking a ribbon (to use as a hanger) into the back seam of the outer pair, but remember to put it between the seam on the INSIDE before you stitch it, you don’t want it between the outer and the lining do you?

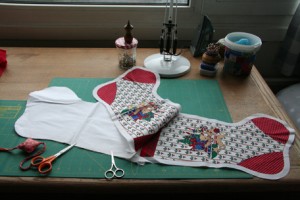
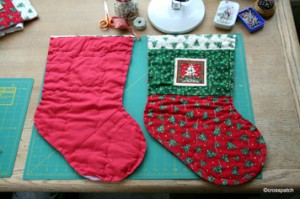
If you want to make your own quick and easy Christmas stockings you can buy ready printed panels, or simply choose a Christmassy fabric and a simple lining. Once you have found or drafted a pattern you are happy with cut two stockings from the outer fabric and two from the lining, make sure you cut them right sides of the fabric together so you get a left and a right, rather than two lefts or two rights.

Stitch each outer and its lining together along the top edge, then lay the two right sides together outer on outer, lining on lining and stitch right round the whole piece, leaving a gap on the back seam of the lining as indicated between the points of the scissors in the photo

You can then turn the whole thing right sides out, hand stitch the opening in the lining closed and then tuck the lining in.
You might want to consider tucking a ribbon (to use as a hanger) into the back seam of the outer pair, but remember to put it between the seam on the INSIDE before you stitch it, you don’t want it between the outer and the lining do you?
You might also want to top stitch the top edge to stop the lining rolling out, and a few stitches in the seam at the toe to hold the lining in place. And if you aren’t wadding and quilting then choose a furnishing fabric to give some substance to your stocking.

Christmas is coming

thank goodness I didn’t make them bigger, stockings have to be well filled at Christmas, a thin and meagre stocking is so dispiriting isn’t it?

And I need to finish a project I began 5 years ago, we were driving to Hull and back twice each weekend to facilitate contact with   my Dearest’s 7 yr old son and 11 yr old daughter. To while away the long car journeys and thinking I might have two children staying with us at Christmas, I began to make them a stocking each to hang at the fireplace.
I have already made a number of Christmas stockings but they are for adults and generally fairly small for the kind of little stocking gifts that amuse adults, these stockings would need to be bigger, much bigger.

I can’t remember where I got the original pattern from, but it has been modified a number of times over the years. There are plenty of stocking patterns on the net if you’d like to try this yourself.
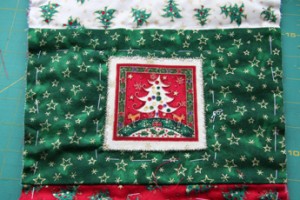
The fabric was my quilt group’s Christmas challenge fabric for 2007, sadly I’m five years too late to enter the challenge, but they will be finished this Christmas, come what may!  There were two colours of co-ordinating fabric, and a collection of small panels. I chose two matching panels one for each side of each stocking, a different colour way for each stocking, so that I could tell them apart.

The panels were applied using bondaweb, and the edge stitched with Gold thread using a fancy machine stitch. I used a stitch which reminded me of icicles, it would have worked far better in silver but the embellishment on the fabric is gold, so my embellishments had to be gold too.


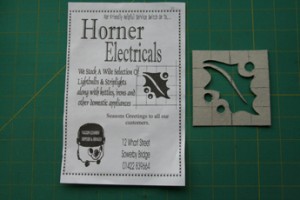
I will have to quilt the panels in gold tread before I stitch up the sides of the stockings, and I haven’t quite worked out how I will quilt them, but probably the holly leaves and berries, which I have used before. It’s easy to create your own quilting patterns or stencils, I found a simple line drawing of a holly leaf and berries on an advertising handbill, scaled it up and cut it out of cereal box. I might have used plastic film if I needed to use it on an entire quilt, but cereal packet is fine for a few uses.

Each stocking will have metre of ribbon folded in half and stitched into the back seam so it can be tied with a bow to whatever I want to attach it to, the banister rails are a favourite place.
I plan, if I have time to make a swing tag,a gift tag to hang from each stocking like the little dog on a Radley handbag, with just an initial for each of them V and T, the children are now 12 and 16, their gifts tend to be smaller and more expensive than back then, so the stockings are probably large enough, thank goodness I didn’t make them bigger, stockings have to be well filled at Christmas, a thin and meagre stocking is so dispiriting isn’t it?

Pyramids Quilt

I took the pattern and volunteered to give it a trial run, to see if it would work as a group quilt

My quilt group have an exhibition biennially; we use it as an opportunity to raise money for charity and like to choose a small local charity rather than a large national charity. We don’t raise much but a little often goes a long way for a small charity, and makes a real and tangible difference. We always create a group quilt to raffle and to publicise the forthcoming exhibition.

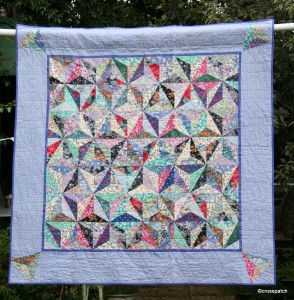
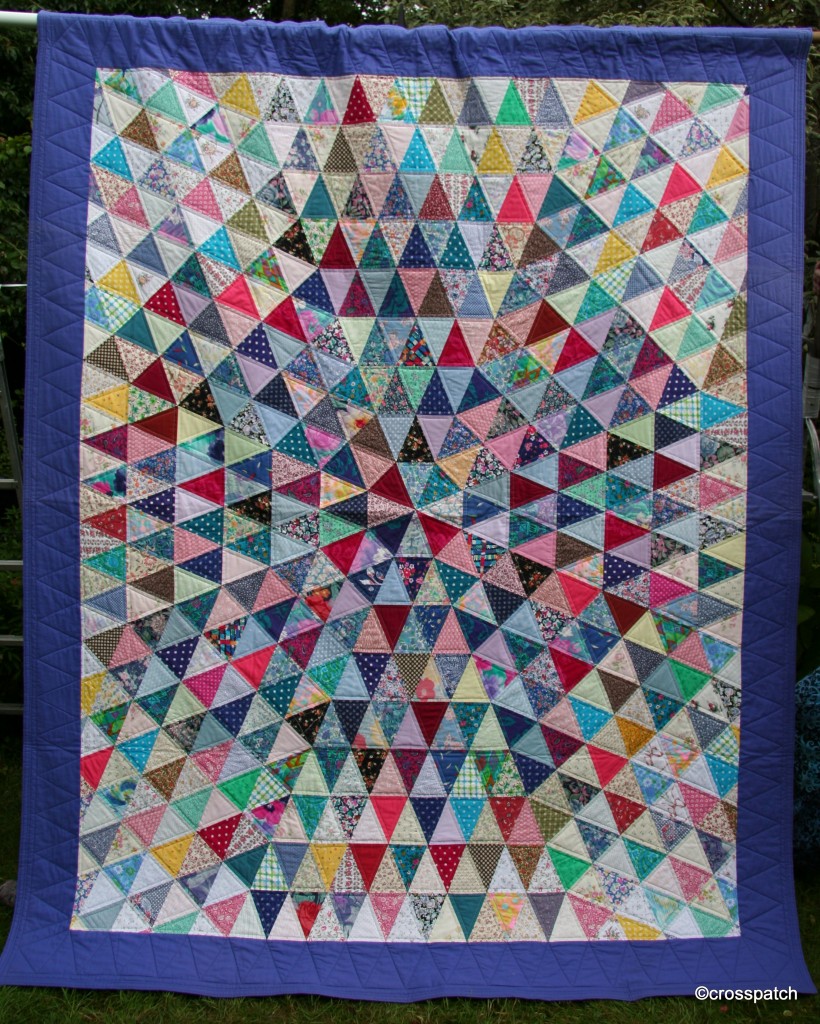
This design was presented as a possible group project to create a quilt to raffle, as a member of the committee at the time I took the pattern and volunteered to give it a trial run, to see if it would work as a group quilt. There is one simple piece to cut, and to achieve an optical illusion similar to the tumbling blocks design, it’s necessary to chose fabrics in light, dark and medium tones, one of each tone is then sewn together to produce a triangle; placing the light, dark and medium in the same position in each block to give the effect of a pyramid viewed from above.It’s important always to have the three tones in the same position because the 3D effect of the pyramids only works if the light appears to be coming from the same angle across the whole surface of the quilt.

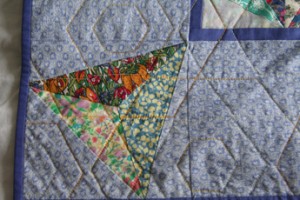
Although the triangles are put together in rows one pattern which also emerges is the hexagon; it was the hexagon I used as inspiration for my quilting design, as can be seen where it extends into the border.The design never made it as a group quilt, there were just too many possible variables, group quilts work best when the variables are kept to a minimum, this pattern required hand drawing of pieces round templates, cutting with scissors not rotary cutting, there would be fabric placement variables, seam allowance variables….. etc… etc. No there were just too many possible ways in which blocks made by many individuals would fail to go together neatly to produce a quality finished article.

Nevertheless I liked the finished article, so much so I began to make another quilt, from the same design but with a limited palette of just three fabrics, but somehow, somewhere I lost the template, and the impetus to finish, so for years I had a number of cut pieces and a bag of bits, but no template. The original pattern came from an Australian Quilt magazine, which didn’t belong to me, and I’m not sure who owns it. I have subsequently found another template for the same design in a quilting book I bought in (of all places) ALDI. Maybe I’ll get round to finishing that quilt, or maybe not, the thing is … the moment has passed.

Thought Stalking

Have you ever been stalked by a thought, or an image, or a half formed plan?

Have you ever been stalked by a thought, or an image, or a half formed plan? Some months ago I saw a block of a yacht and had a half-cocked idea for a quilt but the block itself didn’t really do it for me, it had no sense of movement and wasn’t very yacht-like, so the idea didn’t progress further than that initial “hmmmm” moment.

However since then I have been stalked by images of yacht’s, not just the real thing at sea or on lakes but wherever I go, in stained glass, in shop windows, in magazines or on fabric, toy pond yachts on window sills in houses I pass (not one but several in a single week), postcards, even in a bag of Haribo sweets, and a shower curtain.

Am I being stalked or are Yacht’s simply ‘on trend’ at the moment, either way I think I need to work out my thoughts in fabric. What is a Yacht without billowing sails, a floating gin palace; a glorified floating caravan? My Yachts must have wind in their sails, and movement in the block, I don’t want the quilt to represent a flat calm, but I’d rather have a brisk breezy day than stormy weather.

Goth, Emo, Mosher?

My Dear Nephew, that sweet boy with the gappy teeth, is now a grown man, he lives in a bedroom painted black and grasshopper green, and yes it really is bright green.

Young people object to labels, as applied to themselves, they will tell you they are independent free thinkers, unique and not following anyone else in their choice of clothes, music etc and yet to the aged observer there are types and styles which are identifiable to those young people more easily than to the uninitiated. They seem within their friendship groups to be wearing uniform. Do you know the difference between a Goth, Emo and a Mosher? No, neither do I, but they all wear gloomy clothes and dye their hair black, choose black over any other colour, and don’t laugh much (well that’s just a personal observation, it’s like a season ticket to depression).
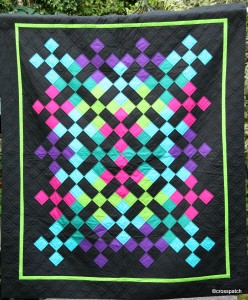
My Dear Nephew, that sweet boy with the gappy teeth, is now a grown man, he lives in a bedroom painted black and grasshopper green, and yes it really is bright green. The lovely Appliqué star quilt I made him when he was 6 no longer meets his colour preferences, so my mother made him a new quilt a couple of years ago inspired initially by Amish quilts,but also by the neon bright colours and black that he was wearing then and the chequered patterns which were popular.

Out of the fabric that was left when this one was completed my mother managed to make a similar smaller one for my Stepdaughter who was going through her ‘dark’ period too, thankfully she has left her inner Emo behind.
As for my Nephew I hope he will shortly leave behind his black period and escape both his bedroom and his computer games, and seek the daylight.

Fibonacci and the Quilt Police

Points have to come to a point, seams need to meet where they are supposed to meet, and I will unpick and try again, once, even twice, but after that I will embrace imperfection and move on; life is too short, and only God is perfect.

Inspired by the wonderful work of Ricky Tims, based on the Mathematical theorem of Fibonacci, I was inspired to have a stab at one of Ricky’s quilts; the first attempt was for a gift, a cot quilt for a friend who was expecting her first child. I was so pleased with it when it was finished it, that I could hardly bear to part with it, but still, it was made for Eric, and so to Eric it was given. Eric now prefers aeroplanes, so it lives in his parent’s room, hanging on the wall. Can’t argue with that!
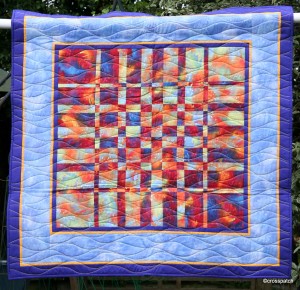

This is my second attempt, in Fossil Fern fabrics. I have to say with this particular design, accuracy is all. Many people will tell you they are not members of the Quilt Police and it’s OK if your points don’t meet. I am a paid up member of the Quilt Police, points have to come to a point, seams need to meet where they are supposed to meet, and I will unpick and try again, once, even twice, but after that I will embrace imperfection and move on; life is too short, and only God is perfect. I can be relaxed about points and joins in some Quilt patterns but if you are working to a pattern, inspired by a 13th Century mathematician, then surely to goodness, accuracy is absolutely the point. (Fibonacci’s 1202 book Liber Abaci introduced the Fibonacci sequence to Western European mathematics).
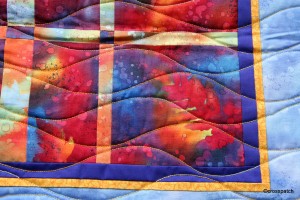

Look closely at my joins, I did my absolute best to make sure every point and join met as neatly as I could, mostly that was achieved by careful planning and pressing of seams to make sure every seam butted neatly with the next.
It looks very complex to achieve but actually, provided you give it your full and undivided attention, it’s very simple to make, take 4 equal size squares of fabric, stitch two together,then the other two and laying them side by side you simply cut each strip incrementally larger from the centre to the edge and then interleave the narrowest strip from one pair with the widest from the opposite edge of the other pair, and so on till the centre strips are of equal width, stitch together, press, turn by 90 degrees and do it again.
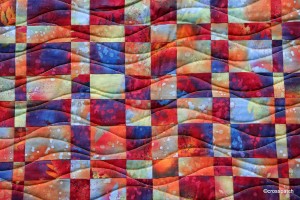
I do mean full and undivided attention, don’t have the TV on in the background, don’t be talking to a friend, don’t be singing along to the radio, and for goodness sake don’t be stewing about a row you’ve had, or some other cause for irritation, that way disaster lies. You need to be in a Zen like state of calm concentration when cutting each strip, as any mistake is very difficult to retrieve.
If you want better instructions, it’s a Ricky Tims’ quilt design, I recommend you check out his website (see below) and consider buying one of his books on the subject, where he gives excellent guidance and many more interesting projects.

click for Ricky Tims site.

There’s Plenty More

Each time I look at this quilt I see another fabric memory, not just of the individual garments they came from, but where we were and what we were doing when we wore them.

My Favourite Quilt

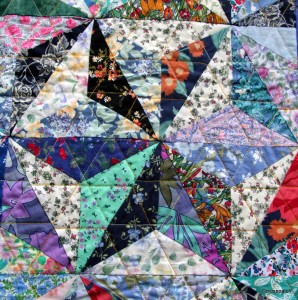
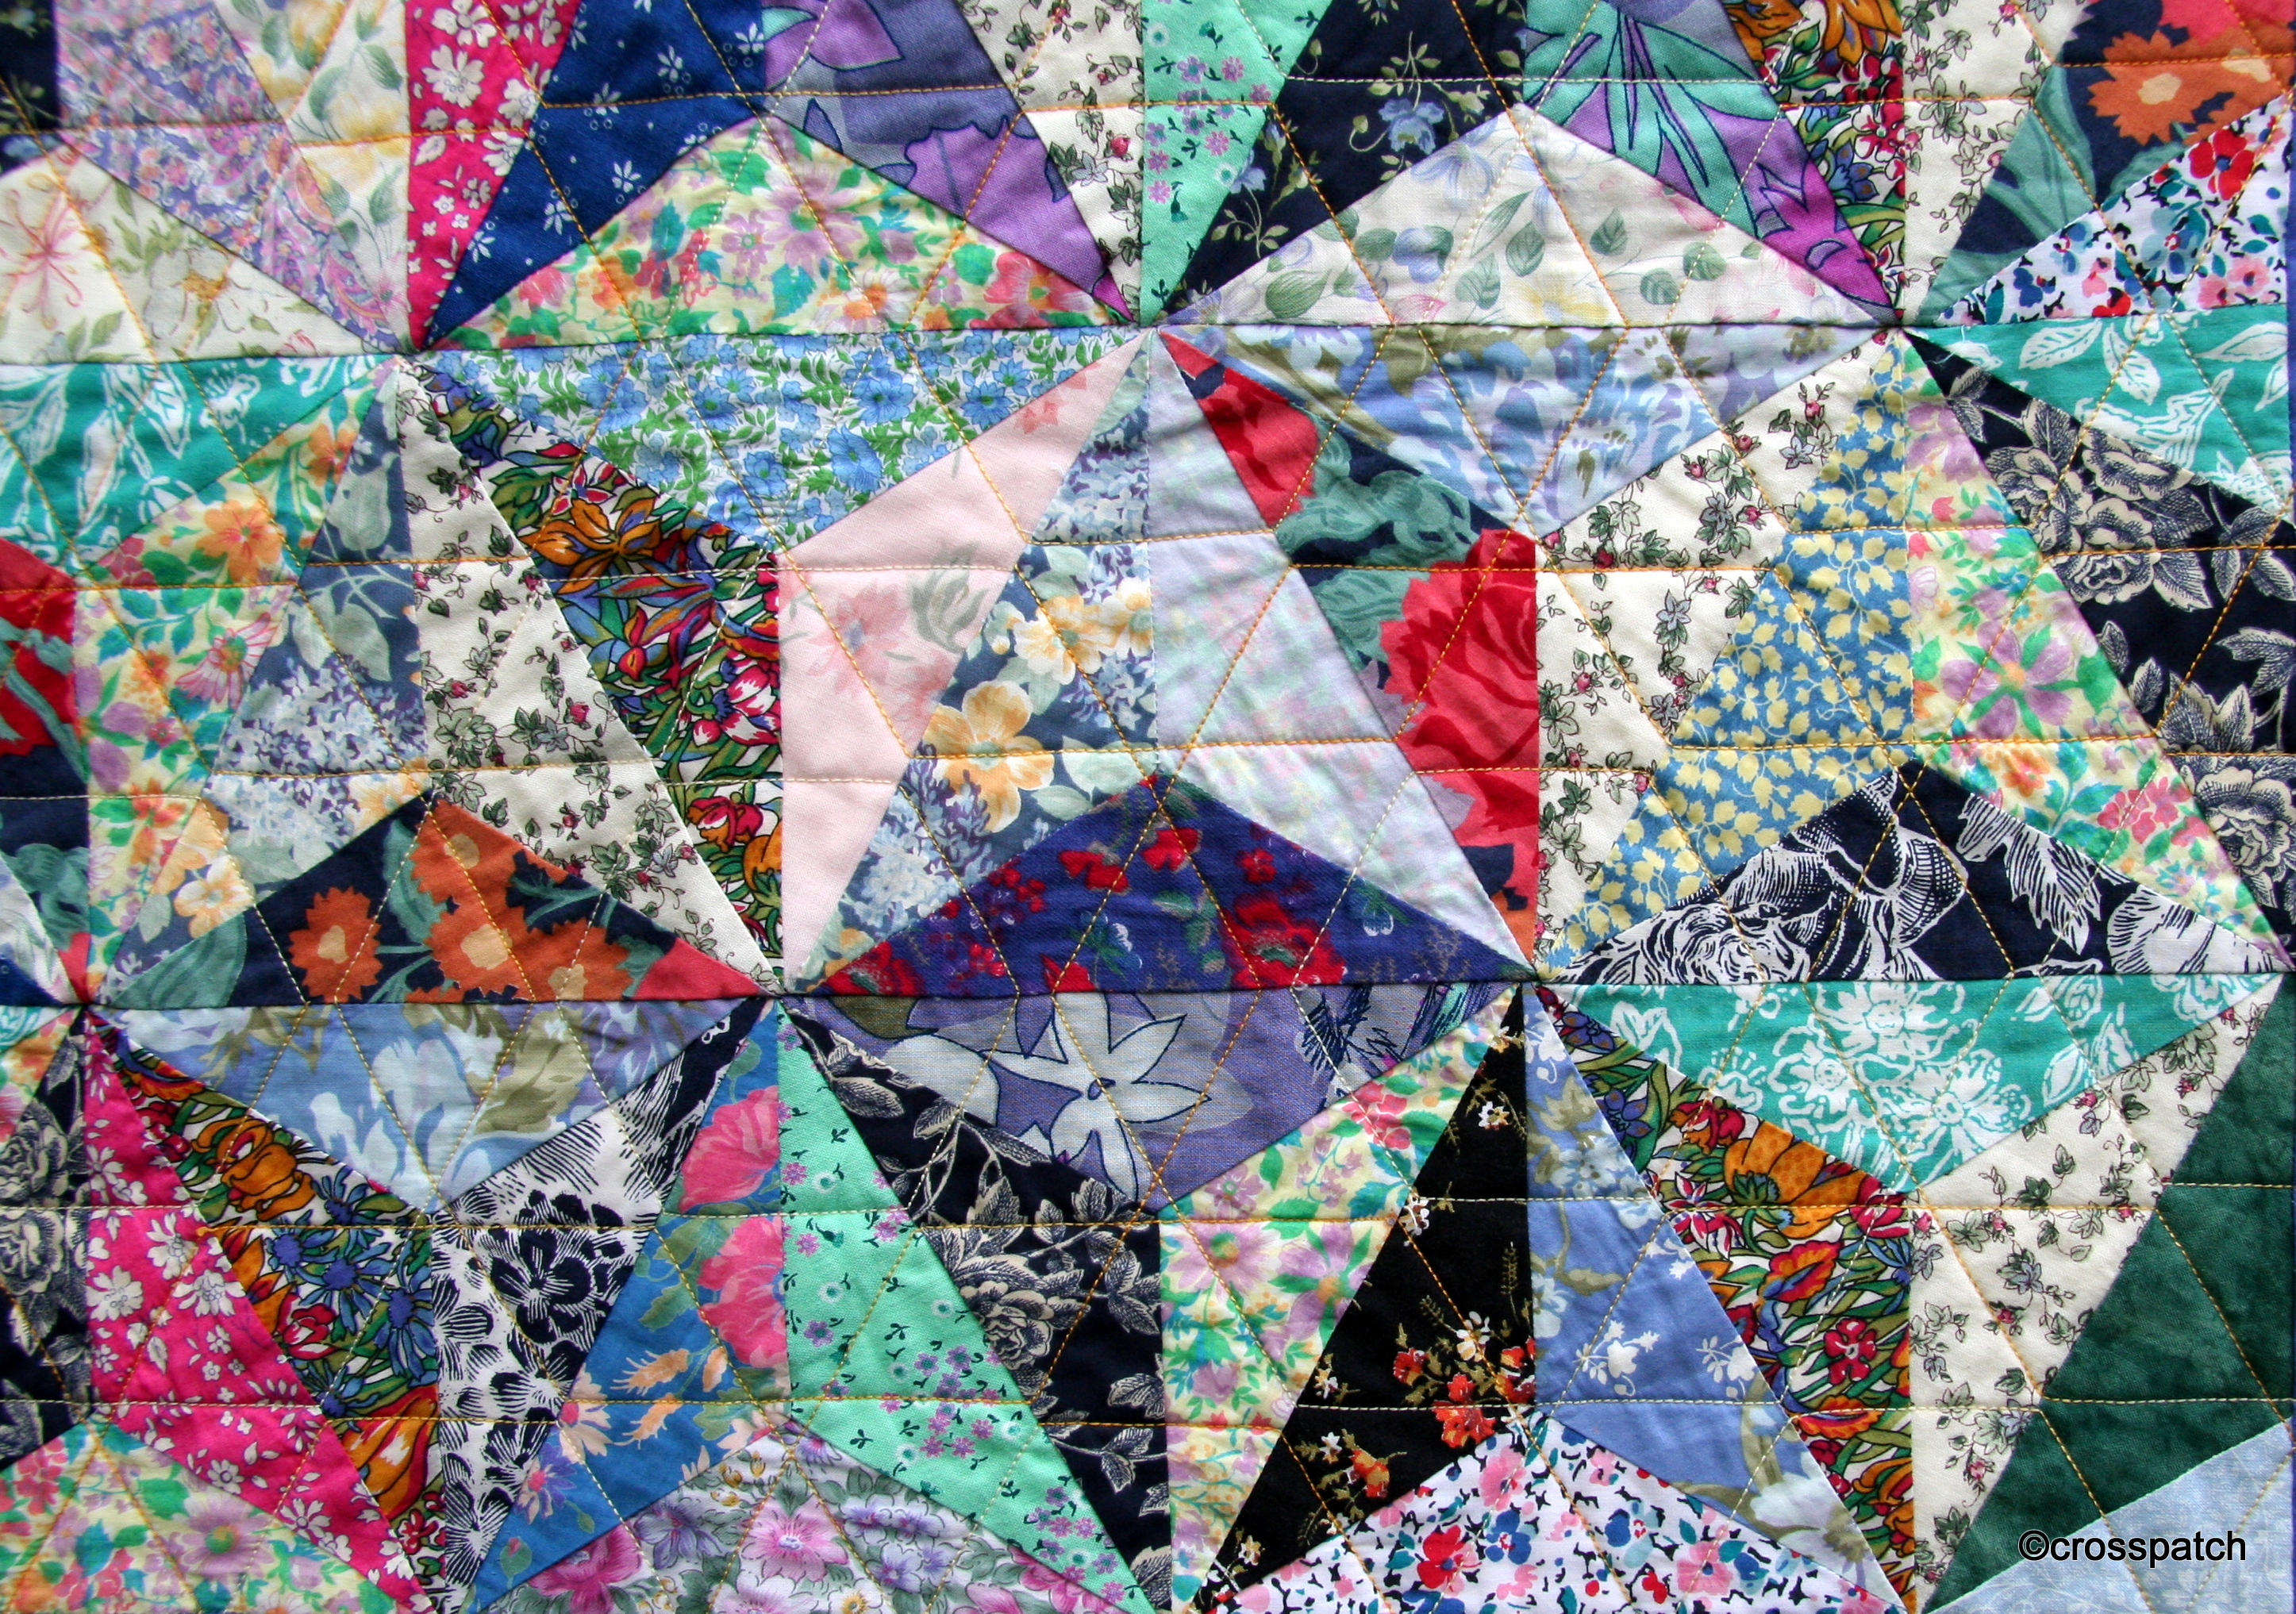
My Favourite quilt, the one I’m most proud of, the one which hasn’t yet been washed, and the one no-one is allowed to sit on, is called “There’s plenty more”.  I collected together scraps of almost every fabric in my stash and my mother’s, it even has a contribution from a friend, who began a dress and never finished it, back in the 1980’s.

I cut a simple triangle out of them, and then sorted them from lightest to darkest; in order to shade the quilt from dark in the centre to light at the edge, what represented “light” in the centre would be a “dark” at the edge. I made 4 columns of the cut triangles, from darkest in the 1st column to lightest in the 4th, then broadly speaking working from the centre of the Quilt to the edge I began matching the fabric in the first column to the fabric in the 3rd.  By the time I reached the edges the fabric in column 3 which had been used as ”light” now  represented “dark” .

so many happy memories

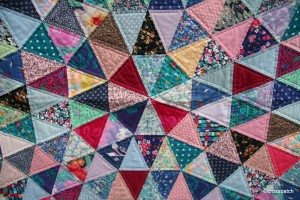
In the quilt is fabric from that favourite dress I wore when I was eight, (see “ There’s nothing new about recycling”), there are also fabrics from the 60’s , 70’s, 80’s, and 90’s, just looking at the centre, I can see the remnants of clothing  worn by myself, my sister, my mother and my niece, there are Liberty fabrics, a blouse here, a pair of Capri pants there, Laura Ashley dresses, patchwork packs once sold in the shops, when Laura Ashley was still alive and encouraging hand -made crafts. My Niece’s little baby dresses, shorts I made for her to match my own. Each time I look at this quilt I see another fabric memory, not just of the individual garments they came from, but where we were and what we were doing when we wore them.