Stash buster for a good cause

So I am really pleased to have found, and joined a community on Facebook called Quilts for Care leavers (Q4CL ) we make quilts and gift them to young people leaving care.

A lady never discusses the size of her stash !

It’s a well known joke among quilters, we all have a stash of fabric and it’s probably bigger than we know; it’s certainly bigger than our loved ones realise.  Who has not sneaked fabric into the house without admitting it to our other half?

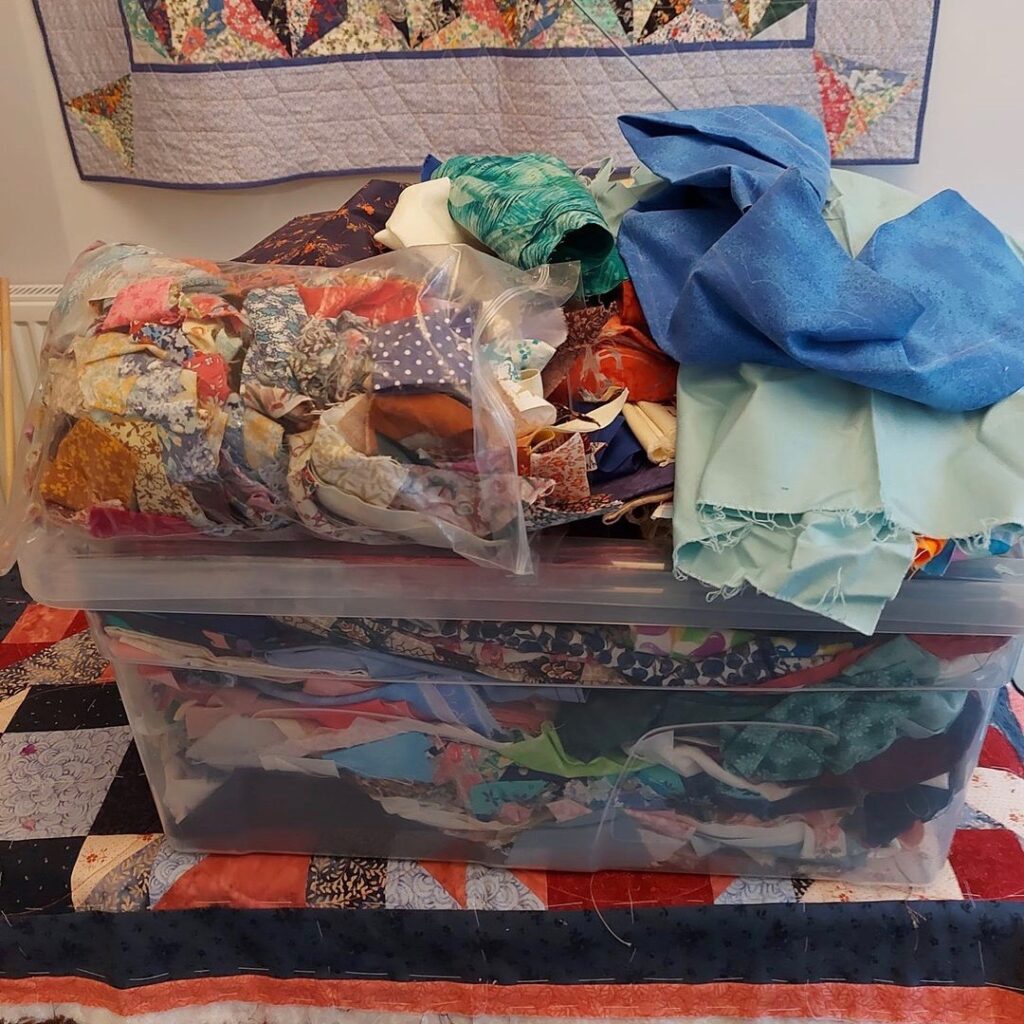
Lately I have been thinking about my stash, I’ve been buying and setting aside fabric for years, and now in my 60’s I realise I will never have time to use all that fabric to make quilts or even have a purpose for them.

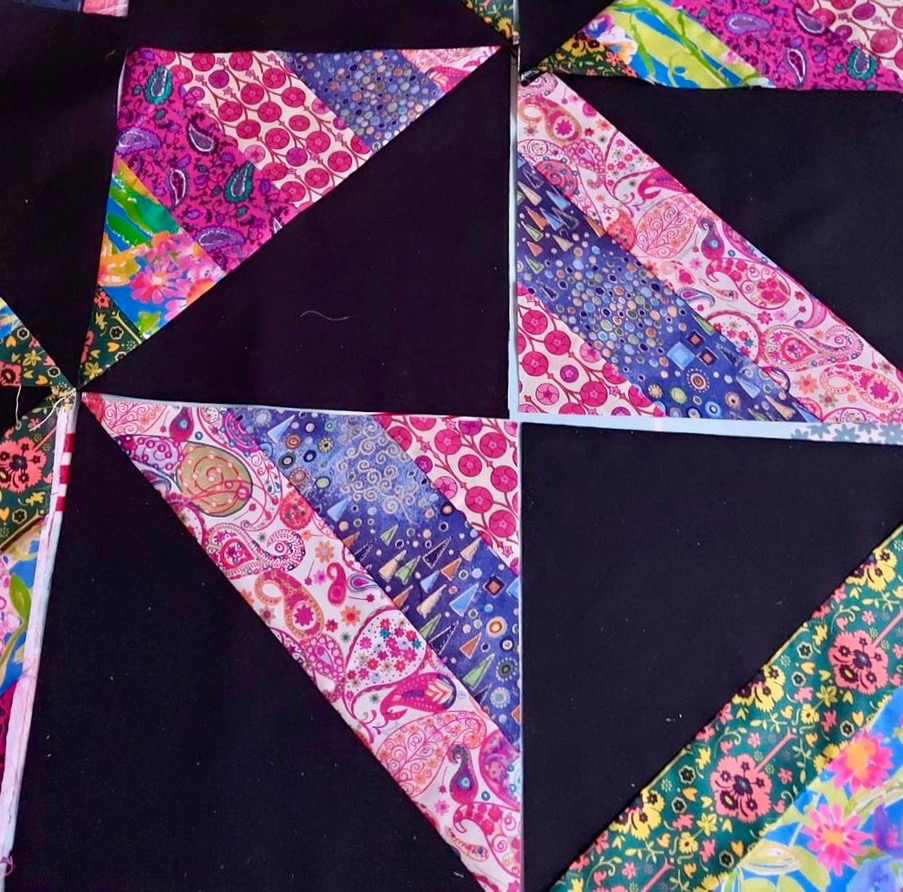
So I am really pleased to have found, and joined a community on Facebook called Quilts for Care leavers (Q4CL ) we make quilts and gift them to young people leaving care.  It means I can use my stash; piecing blocks to my heart’s content, and never have to make a complete quilt. If you would like to join us you can find us here: https://www.facebook.com/groups/QuiltsforCareLeaversMakers

 The quilts made are called “hugs“; made longer than they are wide so they can be wrapped around the shoulders and worn without dragging on the floor. They are intended to be a means of warmth and comfort, perhaps even more necessary in these times of fuel poverty.

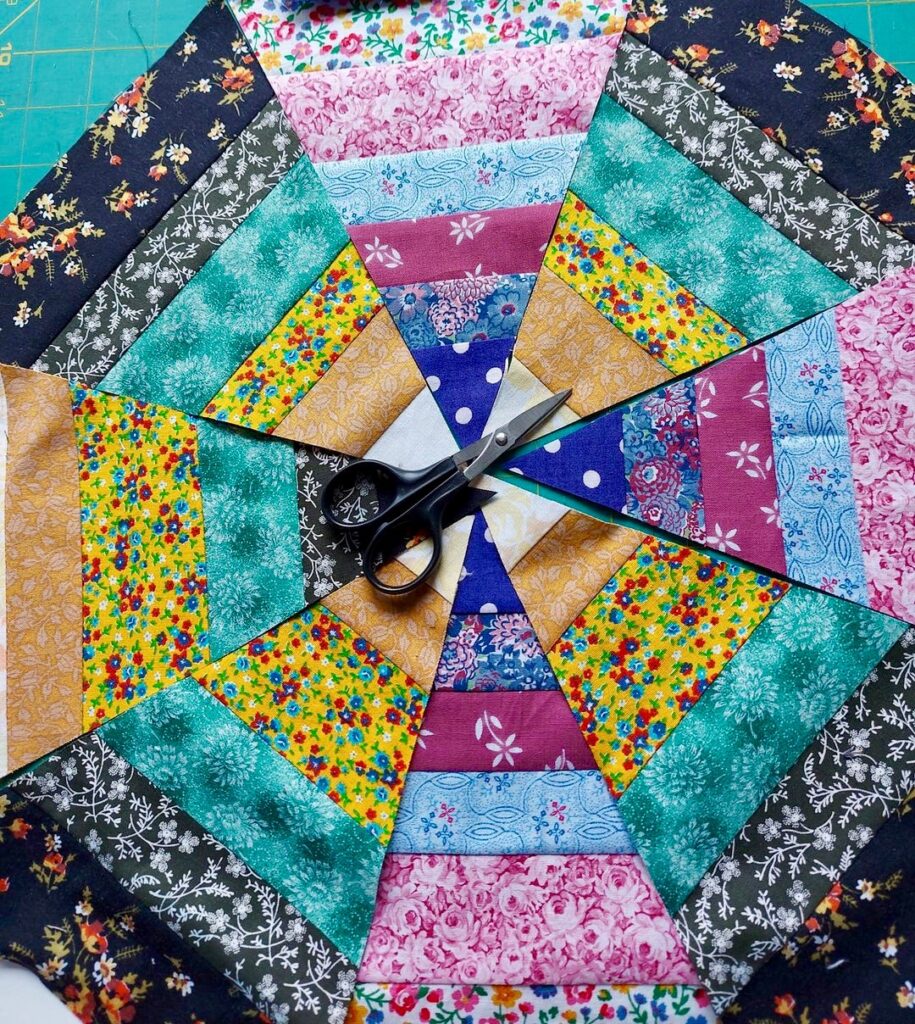
Each month a member will propose a “block of the month” (BOM) and set out the instructions for how to put together the fabrics and the size of the block, so that all the contributed blocks will fit together.  Each contributor can make as few or as many blocks as they choose, and send them to the organiser, the person who proposed the block.

 I don’t know if the organiser then puts the quilt tops together themselves, or whether there are teams of people waiting for the incoming blocks.  I’m not sure how the quilts are put together or quilted, no doubt all will become clear in time.

Group members can also create their own “hugs” either just the quilt top then donated to be made into a quilt or they can donate finished quilts.

I contributed to the BOM for January 2022.  So far 4469 blocks contributed; 28 hugs made and counting.

I contributed to the BOM for February 2022.  So far 3237 bocks contributed will make 34 Hugs.

 And I contributed to the BOM for March 2022. Numbers not in yet.

I’m looking forward to the BOM for April,

I’m still working from my scrap box, and picking out scraps from my mother’s stash; at 90yrs old, she doesn’t sew anymore, and she is happy for me to raid her stash whenever I want. Mum would be happy for me to take all of her stash, but where on earth would I put it?

I can’t say I’m having sleepless nights about the size of my stash…yet, but I don’t want to have to strengthen the rafters to take the weight of my mother’s stash, after all she was sewing before I was born, and her stash is impressive, even though she’s been retired for 30 years.  

Potholder for Mum

So what does a kind and loving daughter do when her mother confides… she has lost her pot holder?

 So what does a kind and loving daughter do when her mother confides… she has lost her pot holder? She thinks maybe it got thrown out with some newspapers which had been sitting by the kitchen door ready for recycling.

Make her a new one of course.

It took me a while to come up with a plan, I didn’t have suitable heat resistant wadding, well who does? So I needed to use a fabric which would be substantial enough to be heat resistant. Denim perhaps?

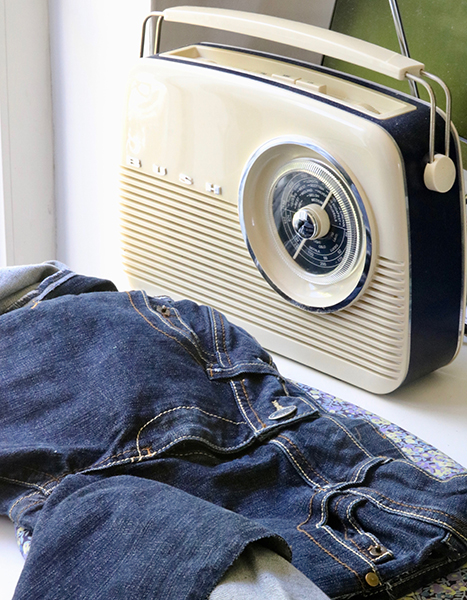
Denim jeans £1 , such a bargain.
Charity shop denim

In my stash I had a pair of jeans bought for £1 in a charity shop, I’d been thinking about a floor covering made from denim, but that would need a LOT  of denim. Not sure what I might do with the legs, but I will come up with something, what about a gardening apron? Hmm, I’ll need to think about that.

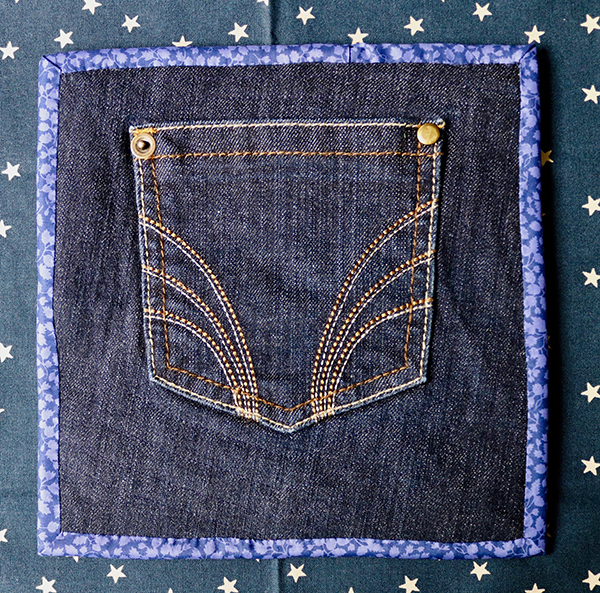
For my pot holders I needed two pieces of denim about 8-9 inches square, and a pocket on each one would give me more heat resistance in the middle, or a handy way to help keep hold of the potholder. With a pair, they could be used like ovengloves.

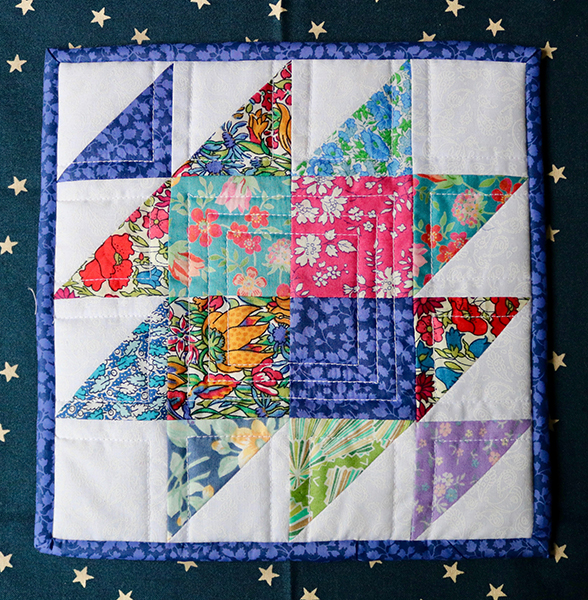
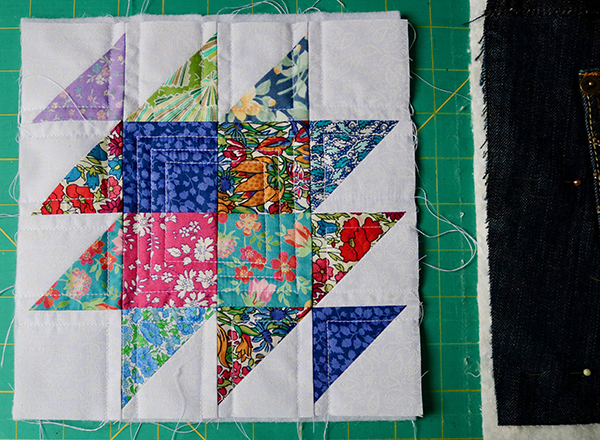
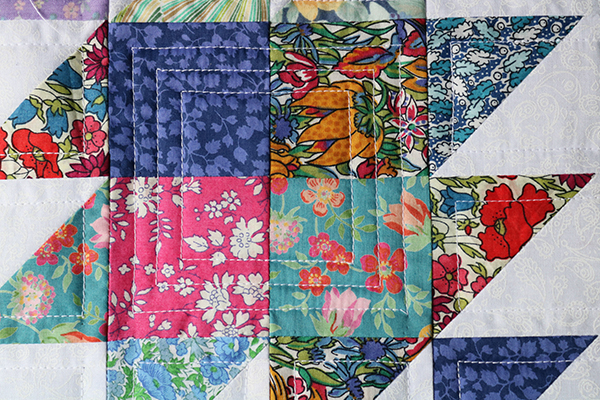
Sorting through my fabrics I came across the left overs from another project, Miriam’s cushion (http://www.mycrosspatch.com/blog/2018/05/11/making-miriams-cushion/)   half square triangles. Just what I needed, I’d seen a block on instagram just a few days before and saved it, now that’s  what I could do with my HSTs. (https://www.instagram.com/p/CANjHUUnDnF/…)

The Potholder only needed a simple quilting design to hold the layers together . I made a pair, one is handy but two is better, they aren’t exactly a pair but I’m happy with them, and so is MUM.   

Maybe I could make myself a pair too, when lockdown is over, and my local charity shop reopens.

How to disappear a nine patch

only to find I was a week too early. Curses! Well at least I now have time to stitch that binding on, and take it back next week.

nine patch
Little winner

We all deserve a little luck occasionally; this quilt was made from a little bit of mine.
I’m lucky enough to live near a company called Standfast and Barracks, they print fabric for Liberty and Designers Guild amongst others. They have a factory shop where these fabrics can be bought in small amounts for discounted prices. You won’t be surprised that I shop there often. They also have a facebook page. (https://www.facebook.com/search/top/q=standfast%20%26%20barracks%20fabric%20factory%20shop ) and some time ago they ran a little competition to win some fabrics … guess who won?
nine patch
lucky Me

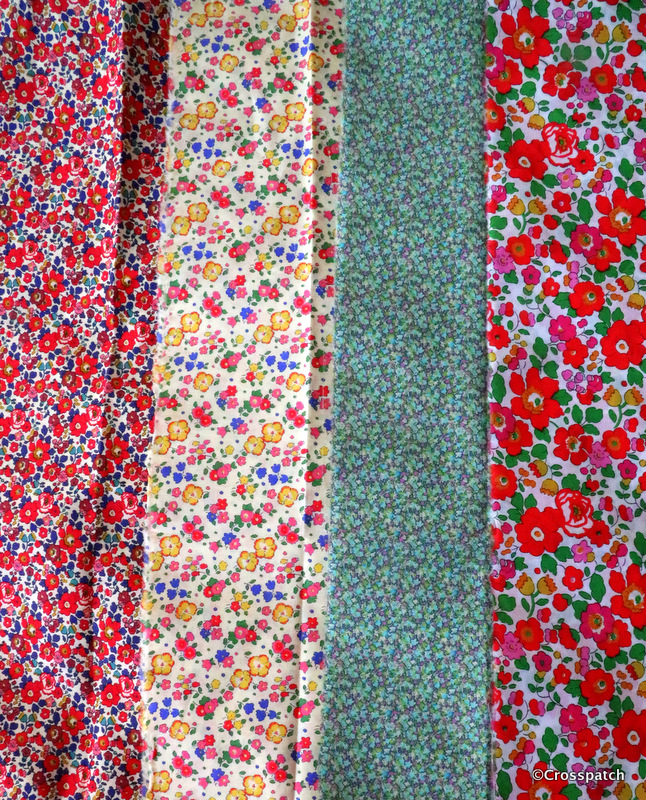
I won… Four lovely pieces of Liberty Tana Lawn; now what to make?

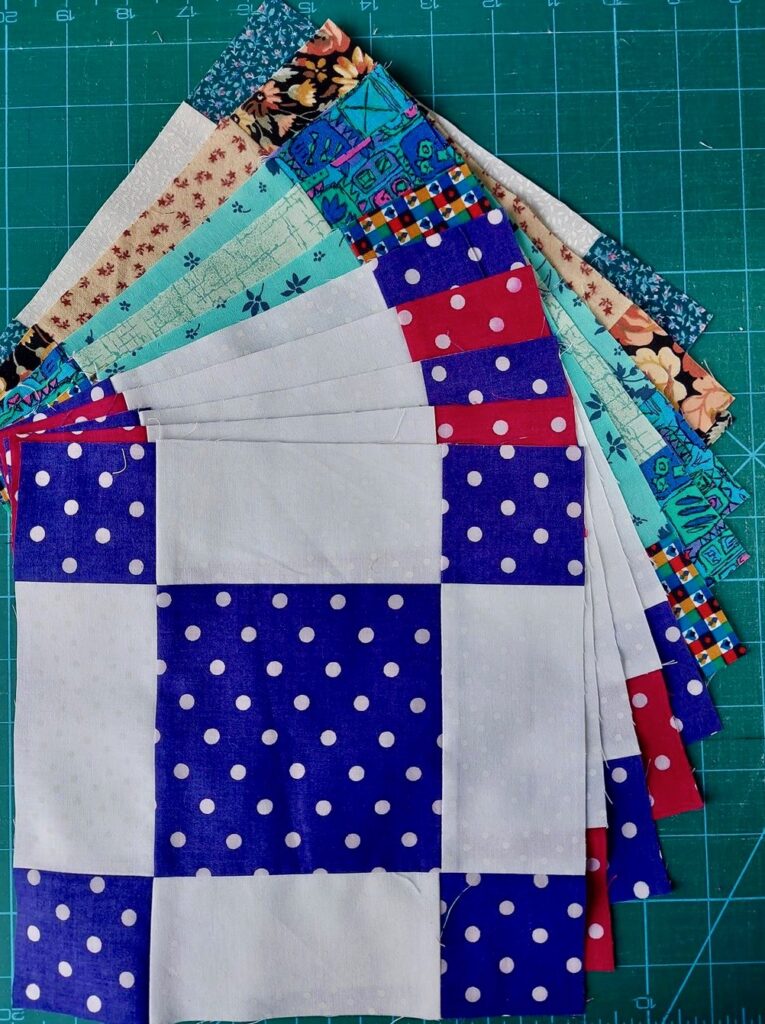
I decided to make a disappearing nine patch, I had only used that block once before but I knew it would go together quite quickly, and I liked it, you don’t need a better reason, do you?

nine patch
3 of the 4

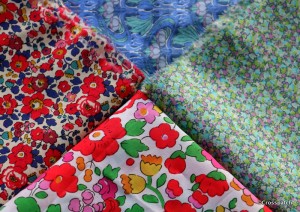
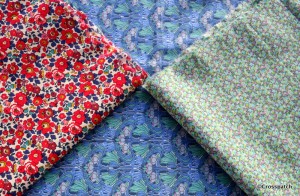
I fiddled around for a while trying to work out the placement of the fabrics and came to the conclusion that I needed more contrast, a different colour. I dug out my enormous stash of Liberty Tana lawn remnants from Standfast and Barracks, and found a blue which I thought would work.

nine patch
2 and a contrast

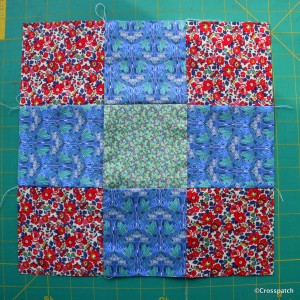
Thinking about the balance of your fabrics in simple terms, the fabric you want to use the most of or to be the dominant fabric should go in the corners of the nine patch block .

nine patch block
nine patch block

The next fabric or fabrics should go on the four sides of the nine patch , you could use all one colour as I did or you could alternate two colours which would create a completely different look.

NB , if you use a fabric with a directional pattern, as I did the pattern should not be placed the same way up, but directed from the sides to the middle of the nine patch block, otherwise when you cut it up and try to put it together again, you’ll find the pattern going every which way. It won’t work.

nine patch
Disappearing nine patch

Finally the fabric you have least of if you are using scraps, or you like least, or would dominate the quilt if used in greater amounts, goes in the centre of the nine patch block. The disappearing nine patch block has a balance of fabrics which is expressed by 4, 2, 2, 1 . The largest patch is 4 times bigger than the smallest and the middle sized patches are half of the larger, if you see what I mean?

nine patch
180 degrees

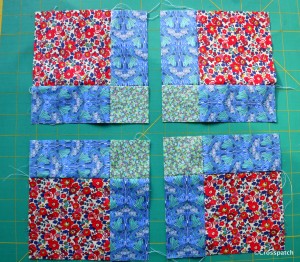
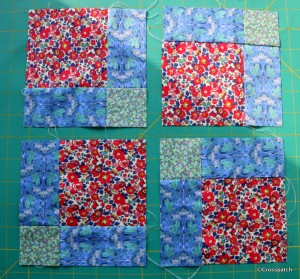
Having put together the nine patch I cut it into 4 quarters and put it back together having turned two of the quarters 180 degrees. All the blue patches are aligned in the same direction. If two patches had the pattern aligned along the length, and the other two along the width, it would be visually distracting.

nine patch
neither works for me


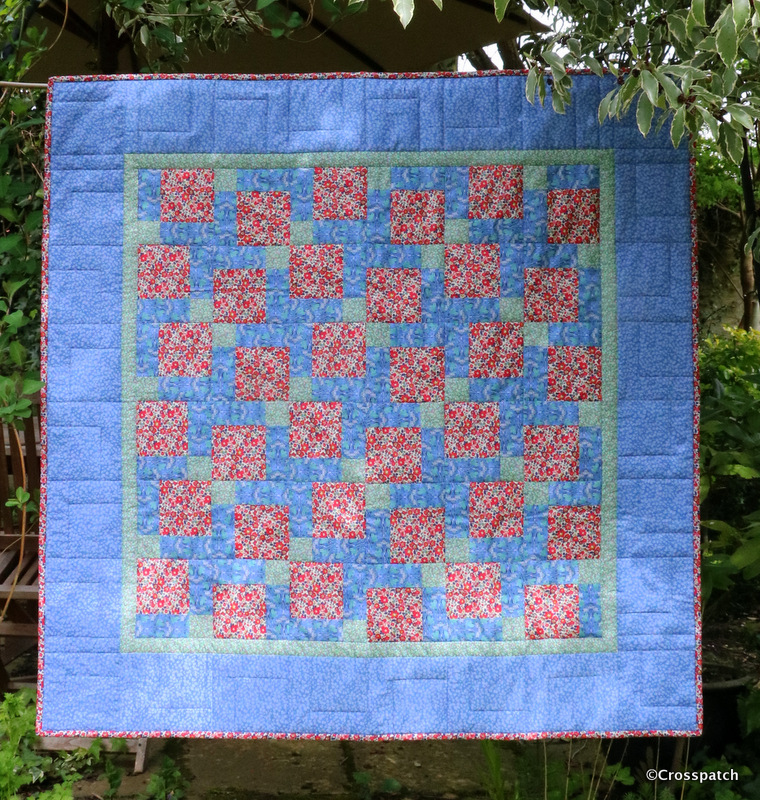
Nine nine patch blocks gave me a 30” quilt top and used up all of the flowered and the blue fabrics, to make it big enough for a lap quilt usually 40 -45 “ square, borders were needed. First I considered a darkish blue… too dark, then a bright watermelon pink… too bright. I thought it would dominate and make my pieced disappearing nine patch centre look dull.

nine patch
blue and green work together

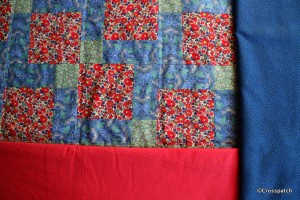
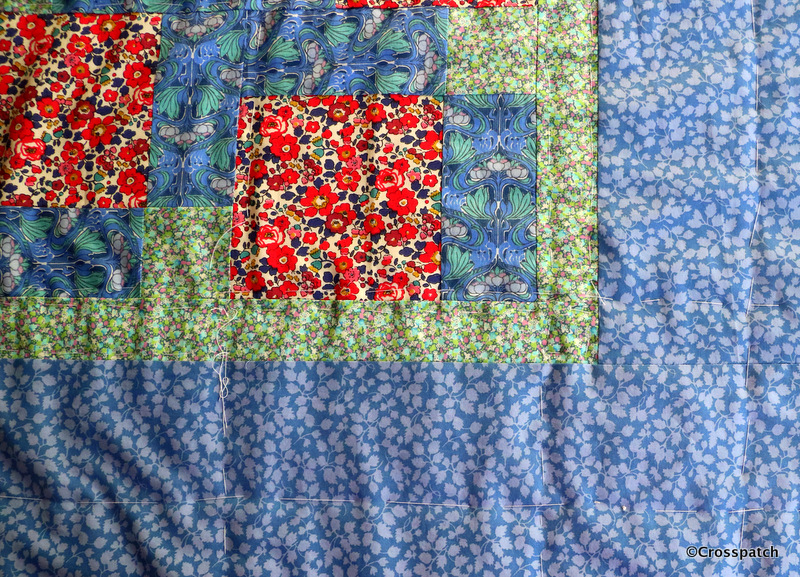
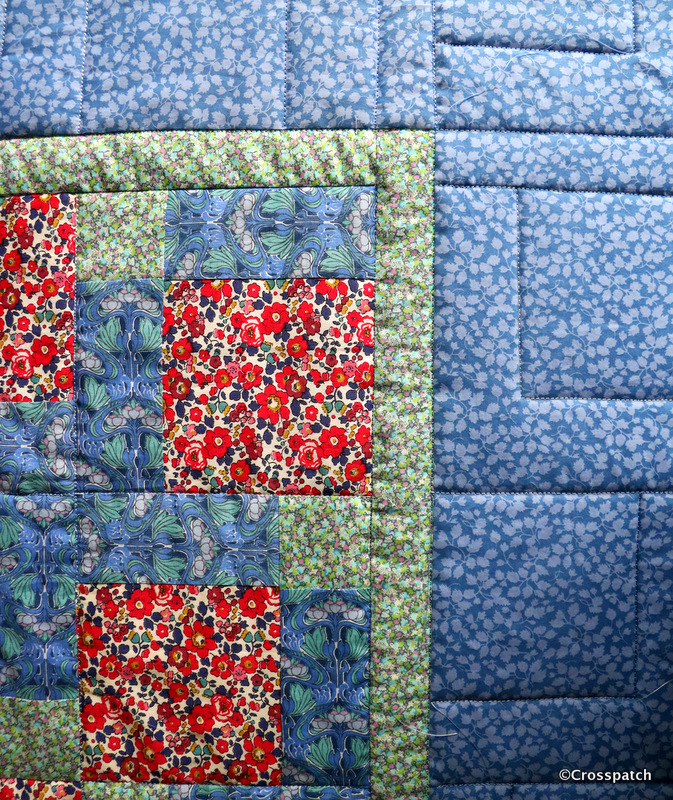
I added a narrow green border to separate the pieced top from the outer border, using the green helped to balance the colour across the quilt and use the green up too. Finally I took my centre back to Standfast and Barracks, draped it over the rolls of fabric for sale in the shop. I found another blue that worked for the border. I also bought a piece of the flowered fabric big enough to back and bind the edge, leaving enough left over for the hanging sleeve too.

nine patch
simple quilting

I planned to submit this to my quilt group’s exhibition; the third of my three items, and thinking it needed to be handed in in a few days time I was in a hurry to finish it. The last time I had used this disappearing nine patch block I used a circular quilting to balance the very square pattern, I began to mark out the circles, but my disappearing pen was dried up and useless, pencil was too laborious, I had to do something simple.
It’s stitched in the ditch, just outlining each quarter block, and the border follows the pattern of the disappearing nine patch block in a simplified form.

nine patch
burning the midnight oil, less than 24 hrs to go

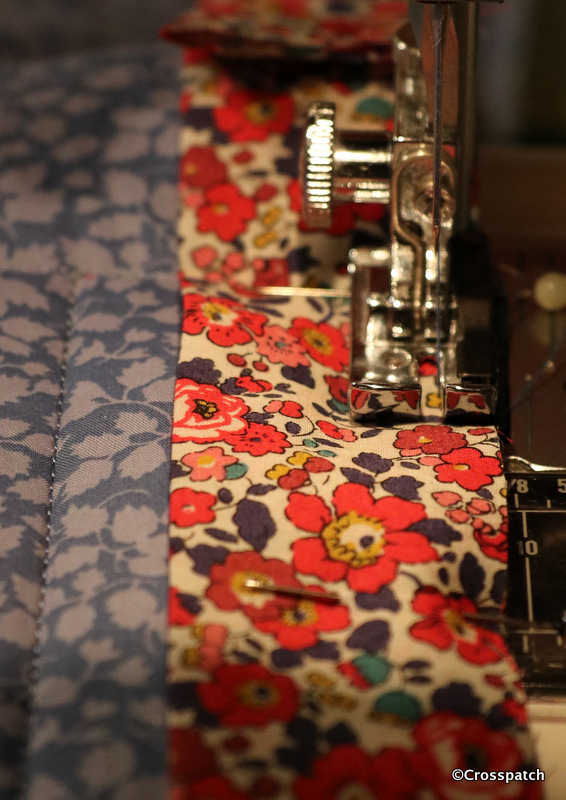
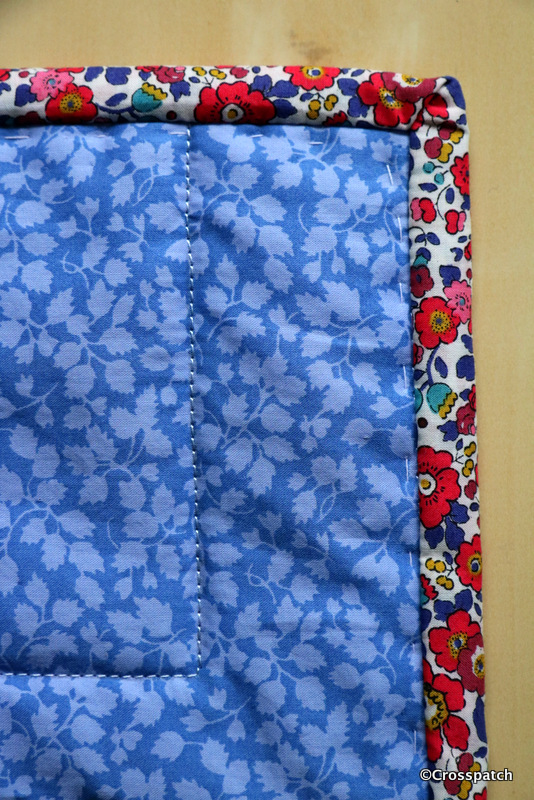
The binding was stitched onto the front, rolled over and tacked down over the stitch line on the back, almost ready but time was up. I drove out to the village where my Quilt group meet to hand it over, only to find I was a week too early.

nine patch
how neat is that?

Curses! Well at least I now have time to stitch that binding on, and take it back next week.

In case you are wondering I have a plan for the other two fabrics not used in this quilt, with the addition of that bright watermelon pink, I think I’ll make a disappearing four patch… watch this space.

Little Hearts pieced Cushion

It makes for a nice plump cushion, and was finished with a fortnight to go before it needs to be handed in. Result!

little hearts
foundation pieced little hearts

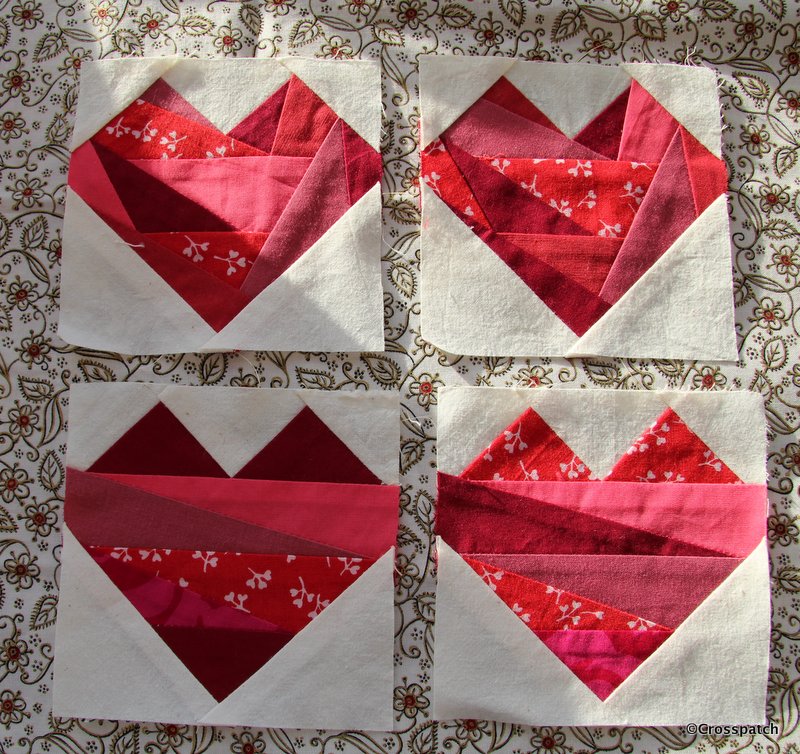
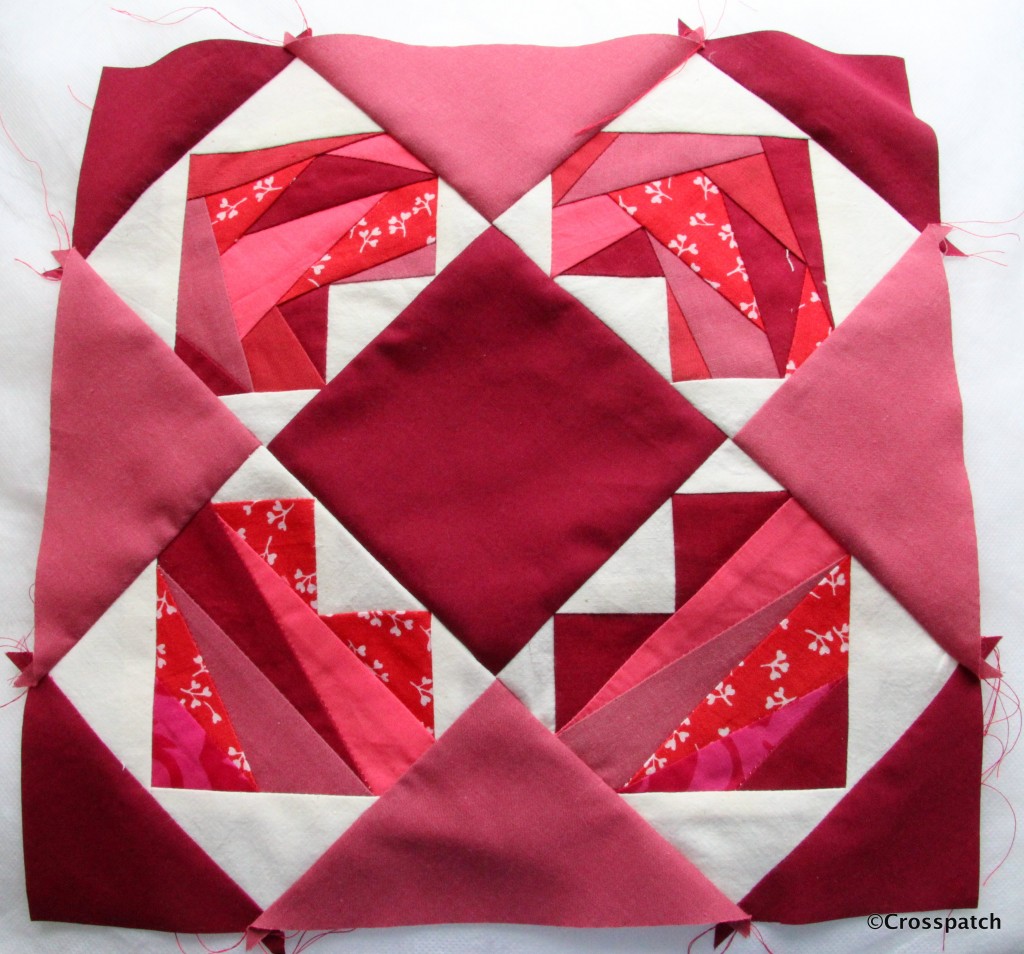
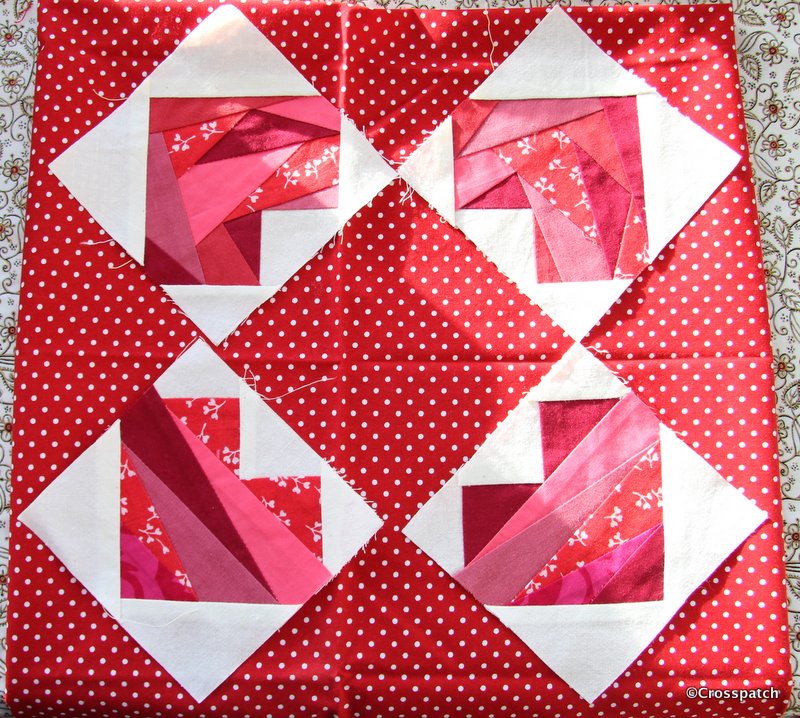
18 months ago I found 4 little hearts foundation pieced blocks in red fabrics. I had a fine idea that I could make them into a finished piece in time to submit them to my quilt group’s annual challenge. (See the original blog post here http://www.mycrosspatch.com/blog/2015/12/23/four-little-hearts

little hearts
two plains

I found two plain fabrics and cut pieces to put the 4 little Hearts together to make a cushion front, but there was something not quite right. I couldn’t put my finger on it so I put it aside to think about it before going any further.

As predicted I had to pack up all my belongings and move out of the lovely newly redecorated room in order to make way for the then 16 year old who I had to admit had outgrown the box room which was his bedroom. He was beginning his important sixth form years and would need a proper study space.

All my sewing materials had to be packed up and moved into what was the box room ( we now call it Harry Potter’s room, the cupboard over the stairs) so the little hearts were packed up and moved (buried). The challenge came and went without me submitting my piece. It was only when I realised our quilt group’s exhibition was due in a couple of months that I dug out my little hearts and some other half finished pieces in the hope I could produce something to show.

little hearts
looking much better

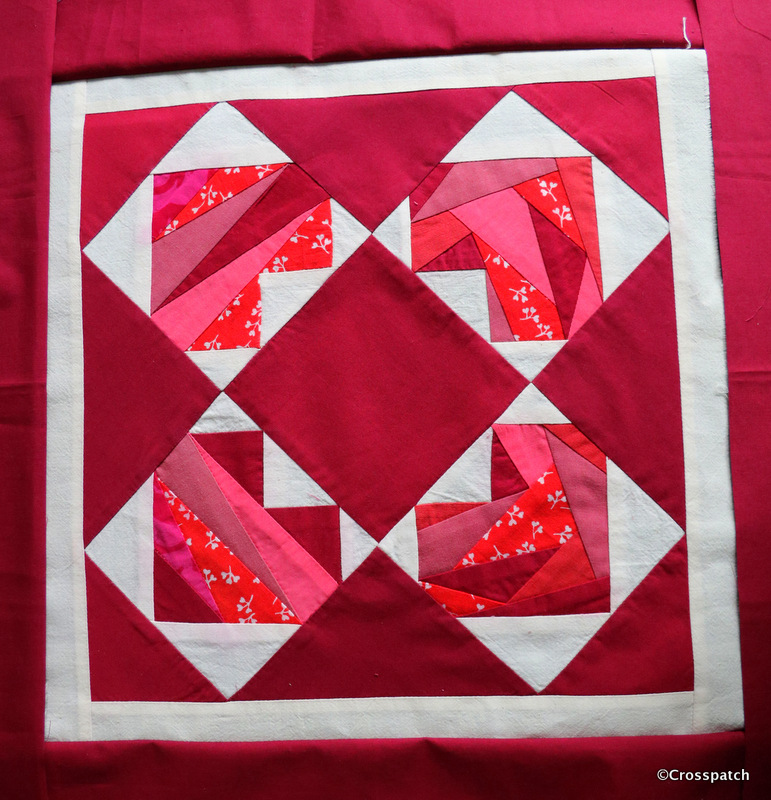
The first step was to work out what was wrong with it. I realised the colours didn’t work together; the dull pink at the sides was just too dull, so I took it apart and replaced the dull pink with the darker burgundy colour. Sorted!


little hearts
zip and backing from my stash

I wanted to make an 18” cushion and would have had barely enough of the burgundy to achieve that. A 1” sashing of the cream calico, added a pretty frame to my 4 little hearts block and allowed me to achieve that 18+” square I needed for the cushion top.
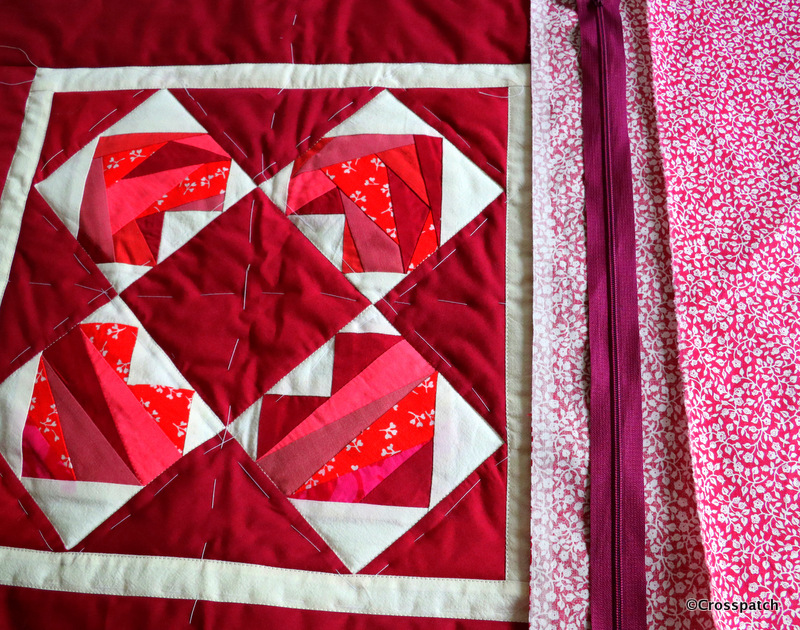
I really wanted to complete this cushion completely from my stash, and no cheating. So the backing was a found item, from my stash, it’s quite an old piece, a remnant left over, I think, from a skirt or dress from the 1980s. Happily it has finally found its purpose. The zip came from another stash, a lucky find in a charity shop, a whole carrier bag full of zips, over a hundred zips for £5.

little hearts
Finished at last

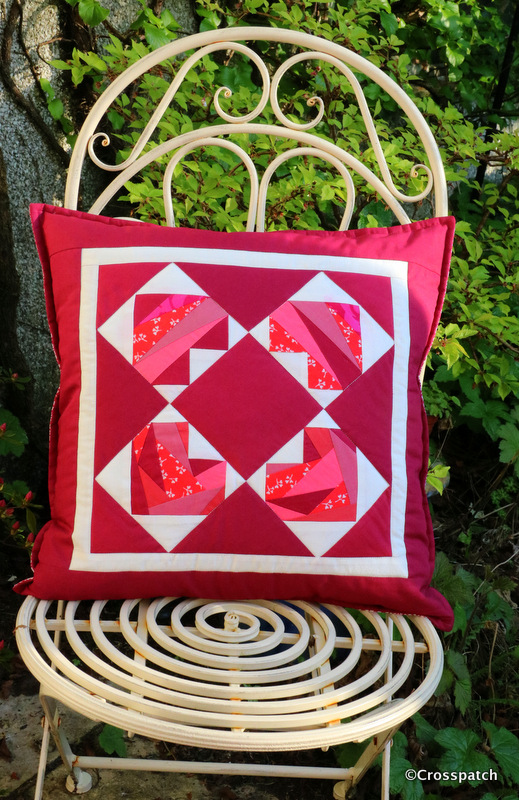
Finally when I had put the cushion together it measured just shy of 18.5’’ and the 18’’ cushion pad was a little loose in the cover, so a quarter inch top stitching round the edge gave a good finish to the edge, a little definition and pulled in the cushion size to just under 18”, it makes for a nice plump cushion, and was finished with a fortnight to go before it needs to be handed in. Result!

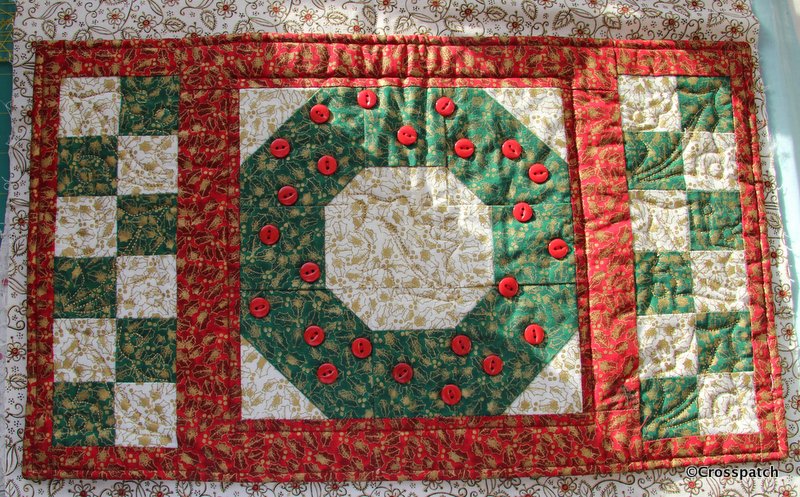
Christmas Wreath placemat to complete.

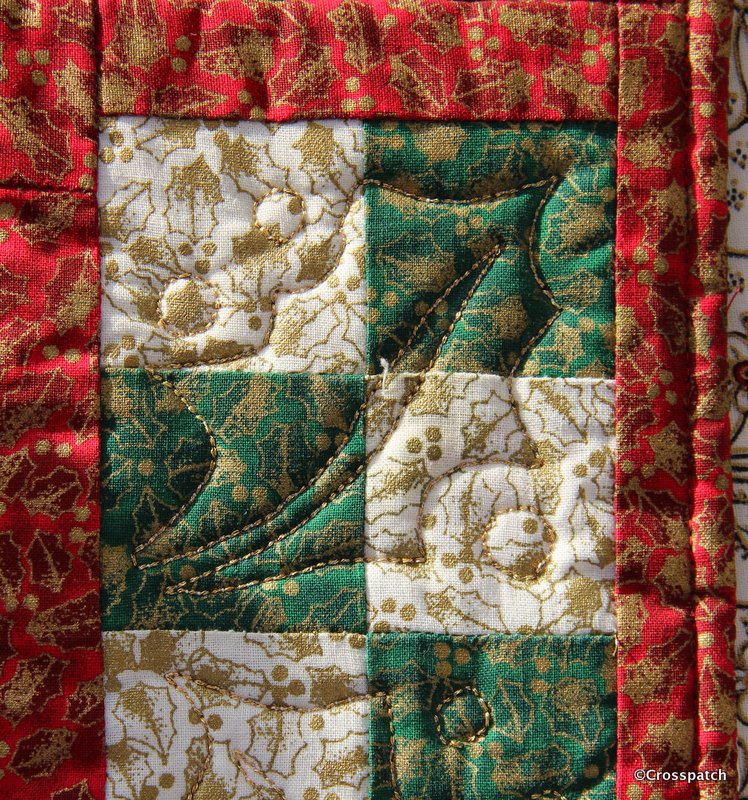
I copied the quilt pattern from a hand bill advert I found, it was a tiny but simple holly leaf with berries, which I had to scale up and transfer to cardboard, machine stitched with gold thread for a little Christmas sparkle.

Christmas wreath
finished article

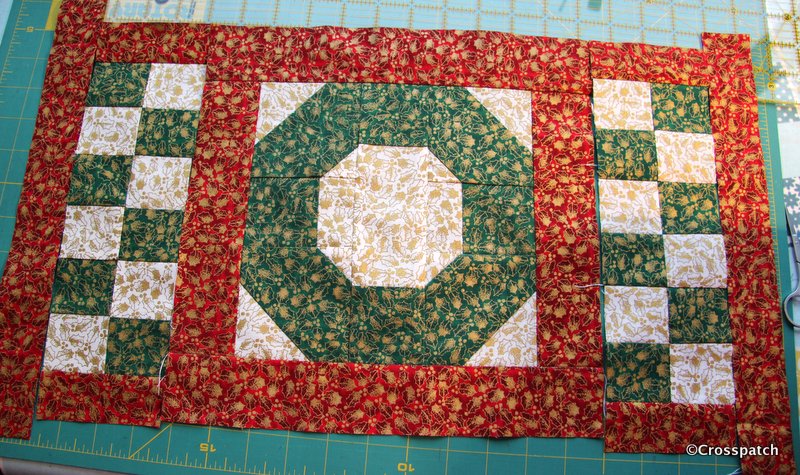
Here’s another thing I found when searching through my Christmas fabric box, a placemat I made years ago, and the makings of another one. Which is great because I can show you how I made it without having to make another! If only I can remember how it went together.

Christmas wreath
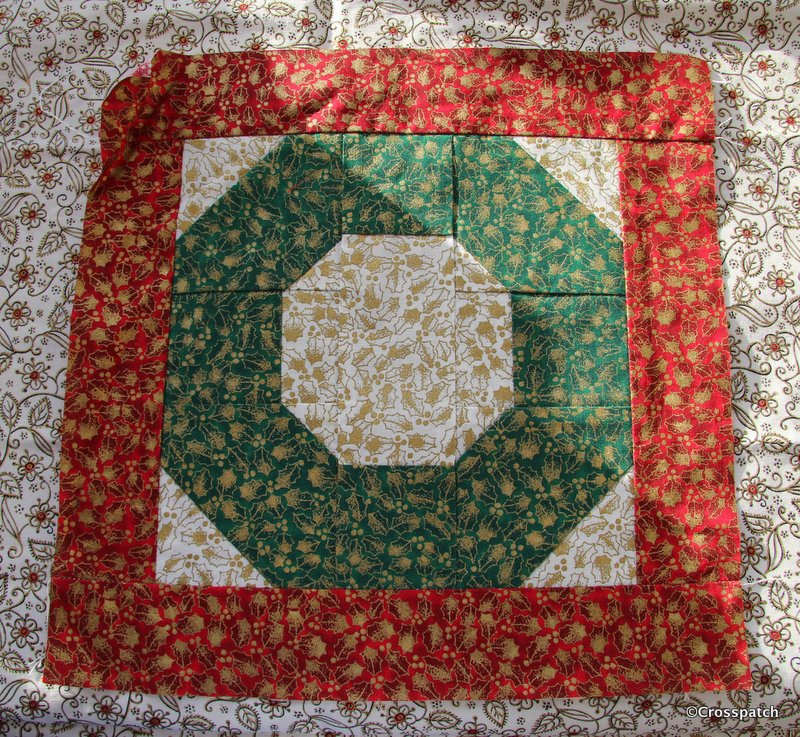
start with snowball block

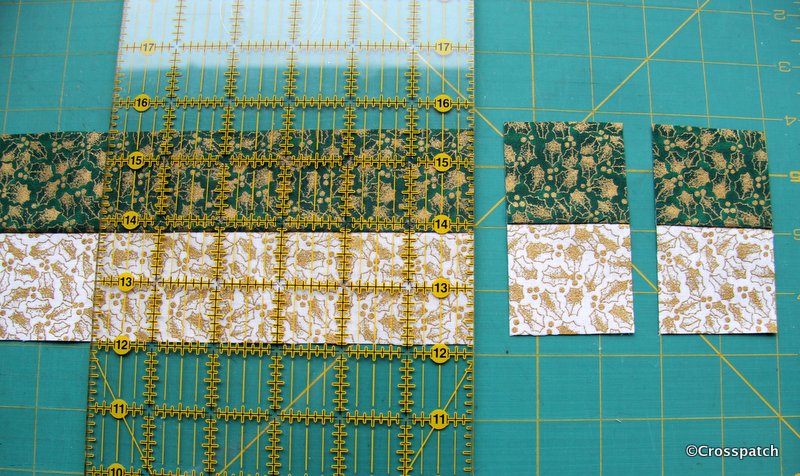
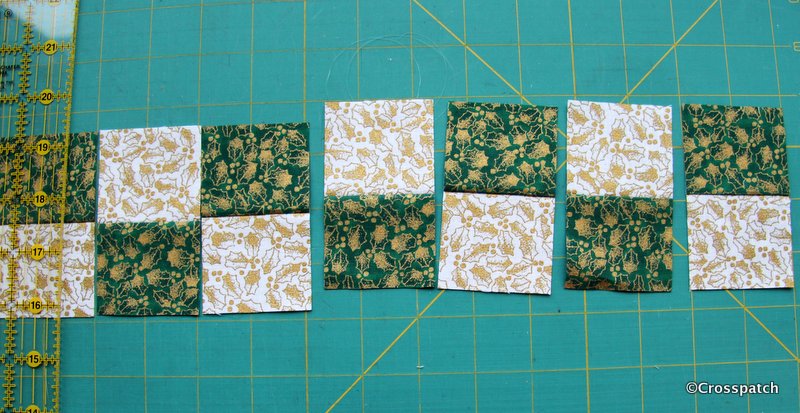
The centre block, the Christmas wreath, is a “kind of” nine patch, made up of a centre strip 2 green squares 2.5 inches and a white rectangle 2.5″ by 3.5″. the corner squares are 3.5″. The red border is 2 inches, can’t think why. The chequerboard border is made up of 2.5 inch squares too.

Christmas wreath
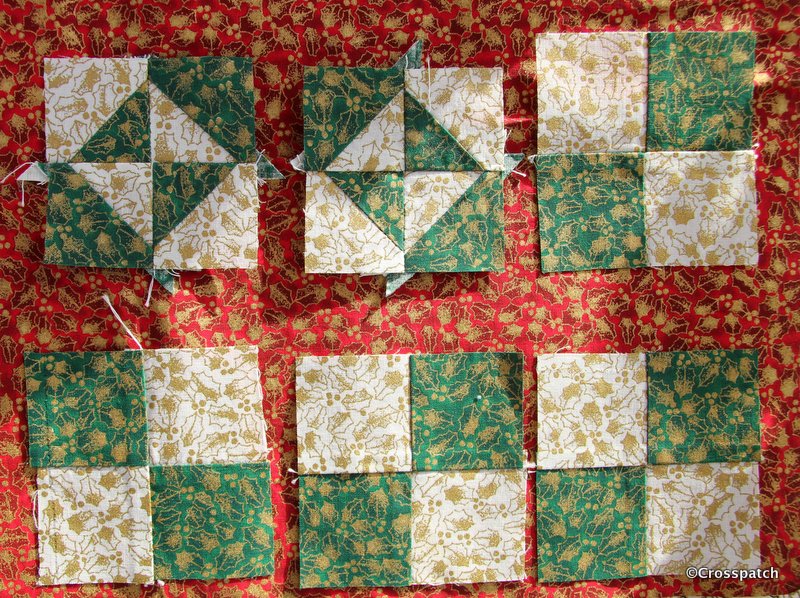
just little squares

The little square in square blocks I think must have been made up of the bits left over when I made the corner blocks.

christmas wreath
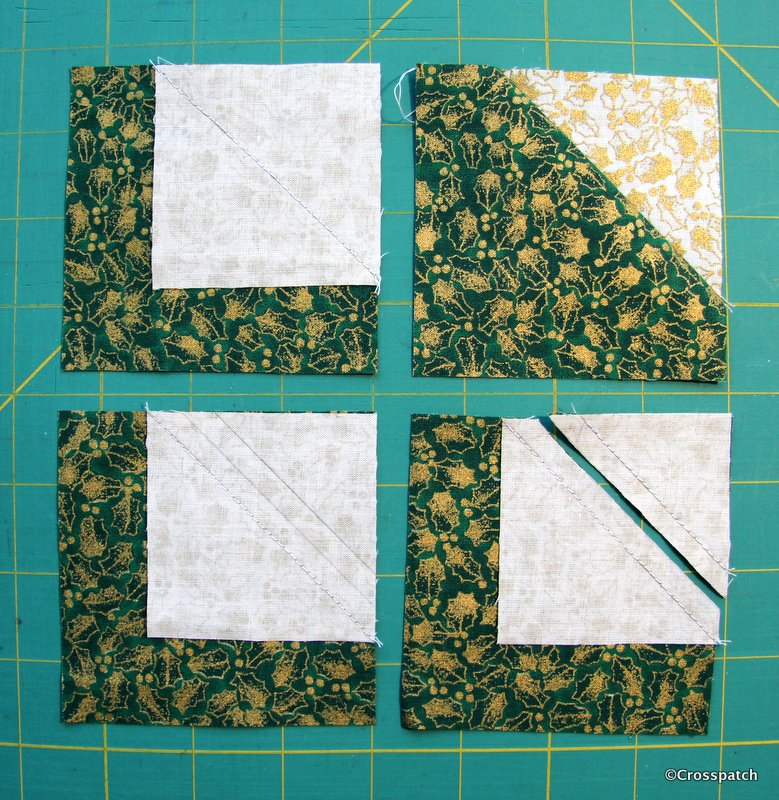
corner block

I used the stitch and flip method, place a small square on the larger square at the corner, stitch diagonally corner to corner, then cut off all but the seam allowance, and flip over to create a new corner to the block, this block uses that method twice with two different size smaller squares on diagonally opposite corners.  I took the opportunity to sew together the two bits I would cut off, simply because it’s easier to sew fiddly little bits while they are still attached to the larger piece.

Christmas wreath
a little gold sparkle

I copied the holly leaf quilting pattern from a hand bill advert I found, it was a tiny but simple line drawing of a holly leaf with berries, which I had to scale up and transfer to cardboard,cereal box card. I drew round the pattern with a disapearing pen, and machine stitched with gold thread for a little Christmas sparkle. Finally the Christmas wreath block, which is supposed to be a holly wreath is embellished with little red buttons, they are too big to be berries, but smaller ones would have been difficult to source, and I would have needed very many of them to get the balance of colour right.

subsequently I’ve cut some more chequerboard squares and made another Christmas wreath placemat… well I’ve got the top done. The wadding backing and quilting will have to wait till I can get to a shop that sells wadding.

christmas wreath
easy squares

Christmas Wreath
easy peasy

Christmas wreath
putting it together.

I’m also making something bigger, I’m not sure yet what it will look like, possibly a table runner to go the length of the table or maybe just something for the middle of the table to hide all the table mats, and protect my snowy white table cloths. Watch this space, but don’t hold your breath, it might be ready for next Christmas.

Four Little Hearts, foundation style.

I just have to use these little squares, waste not want not. My first thought was to just put them together , on a red background, or maybe add some applique.

hearts
foundation pieced hearts

What do you do with your unfinished projects, I don’t remember making these scrappy hearts blocks, who knows how long they have a lain unloved in the bottom of a box? While searching for some star templates to finish another project I found another UFO (Un-finished Object) four little red hearts foundation pieced from scraps of red fabric on cream calico. Well what can I do with those? Looking at the fabrics I don’t think I have any left, I don’t recognise them at all, but no matter, I think I can finish them into a usable size by introducing another red fabric.

hearts
maybe like this?

Co-incidentally, my quilting group’s annual challenge this year is “call it red“. I just have to use these little squares, waste not want not. My first thought was to just put them together as in the picture, on a red background.
Or… I could add some applique hearts in Calico on red, with red stitchery… perhaps some more foundation pieced hearts in different reds… perhaps… anyway I have till July to figure it out.

I love red and white quilts and I had been planning to begin a red and white quilt for Cecily’s challenge , a feathered star in white on a red background, but if I’m honest it’s not likely to happen, not unless I find an eighth day in the week, or am in the happy position of being able to  retire before July. So I’m really pleased to have found these Hearts, I can get them made into something before July… surely.

I have recently redecorated and re-carpeted my Studio and am back in and free to sew again, but for one small problem, now the room is clean and warm and bright, a certain 15 year old who had denied any designs upon the space, now thinks his own room is way too small for him and perhaps my playroom will suit him better. In the summer when I have redecorated the living room, I will have to think about decamping to what is currently the dining room, so hopefully I can get my little red hearts quilt completed before then.

Christmas stocking, finished at last…

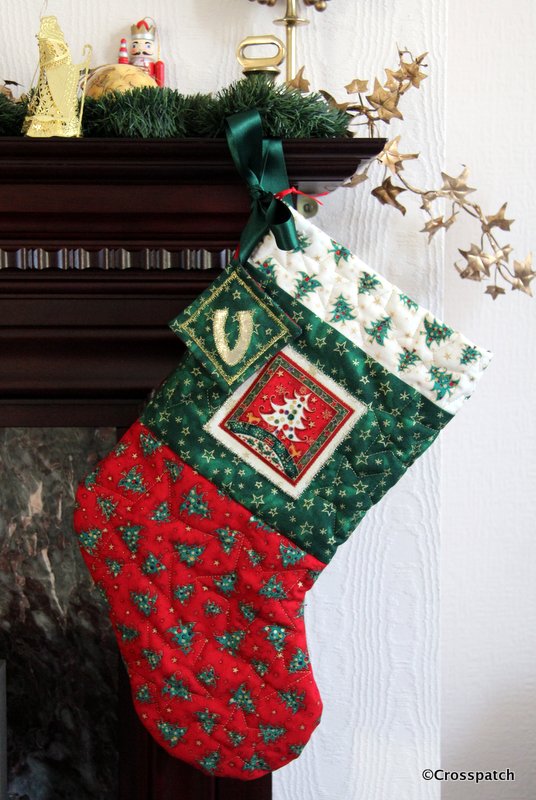
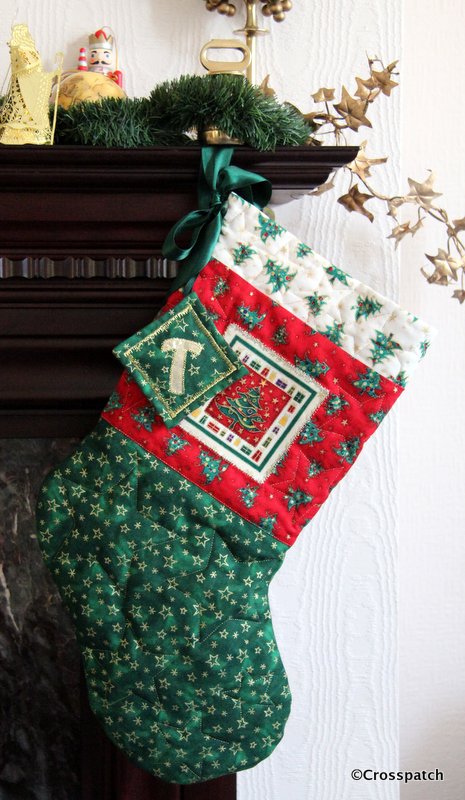
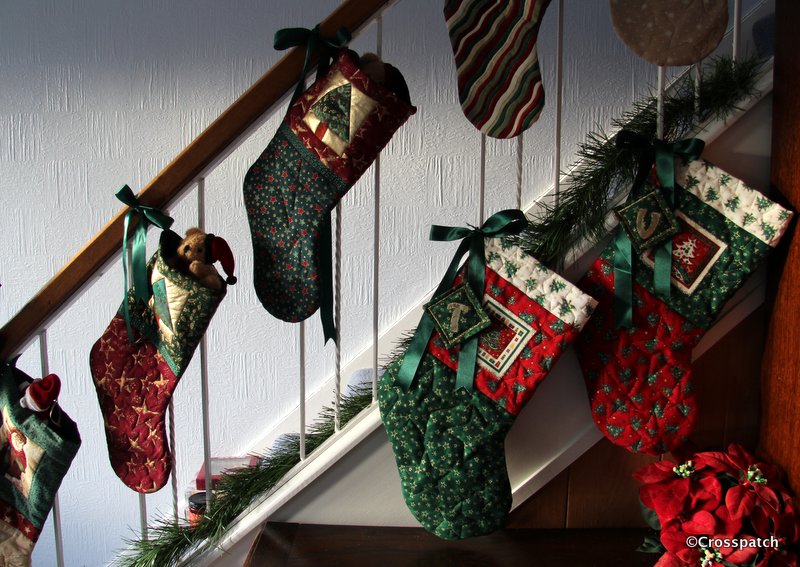
I’m celebrating finally finishing two Christmas stockings I began 8 years ago.

Christmas stockings
finished at last

I’m celebrating finally finishing two Christmas stockings I began 8 years ago. The children for whom I began making them were 7 and 11, are now 15 and 19. If you want the whole story check out my archive for December 2012and January 2013. Suffice to say Christmas is always a busy time and sometimes you just have to prioritise, Sewing takes second place to shopping, cooking and cleaning only once a year, at Christmas.

Christmas stocking
both finished

So beginning where I left off, one of the stockings was quilted and ready to be made up, the other was not. I wanted them to be the same and I had lost the quilting templates, 5 little cardboard stars in graduated sizes which I created using cookie cutters, which I had also subsequently lost, and to this day have not turned up… I suspect foul play.

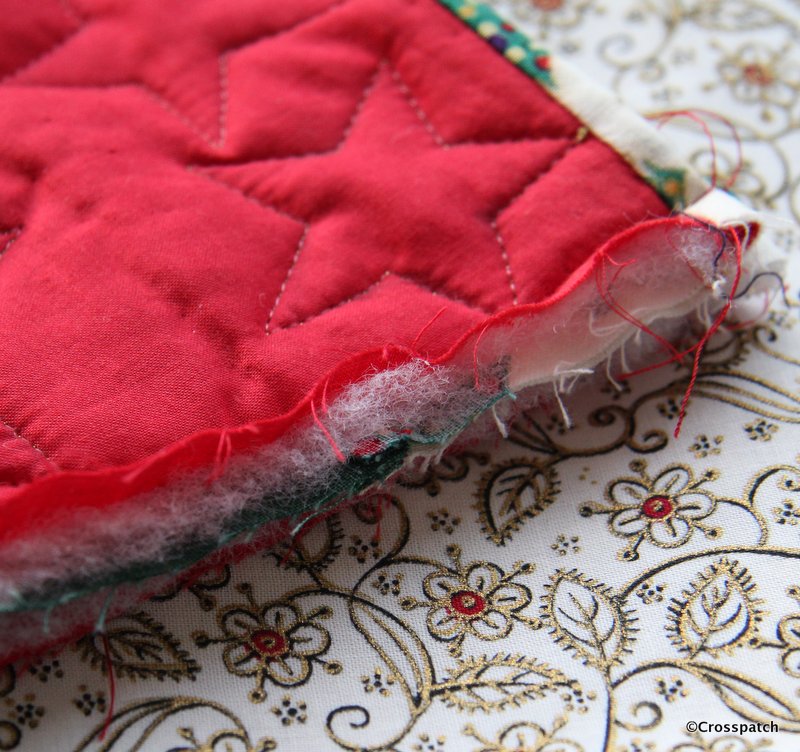
Thankfully the templates did turn up, and this Christmas I was determined to finish what I’d started. I used a disappearing pen, (which for some reason isn’t disappearing) and drew the stars on the lining of the stocking, then putting the gold thread in the spool and a transparent thread on the top I quilted from the back stars in different sizes to fill the spaces round the motif in the centre of the stocking leg, and in the foot of the stocking.

Christmas stockings
final finishing touches

Putting the right sides together I stitched the two halves around the edge with a generous 3/8ths seam allowance to make it easier to neaten the edges. To finish the seams on the inside I cut away the wadding, and hand stitched the lining closed over the raw edges down to the bottom of the leg. Beyond there the foot still has raw edges showing, well not showing, but that’s the point, you can’t see it so I’m not going to worry about it, I may overlock the raw edges with a machine stitch…when I have a minute.

christmas stocking
another mistake

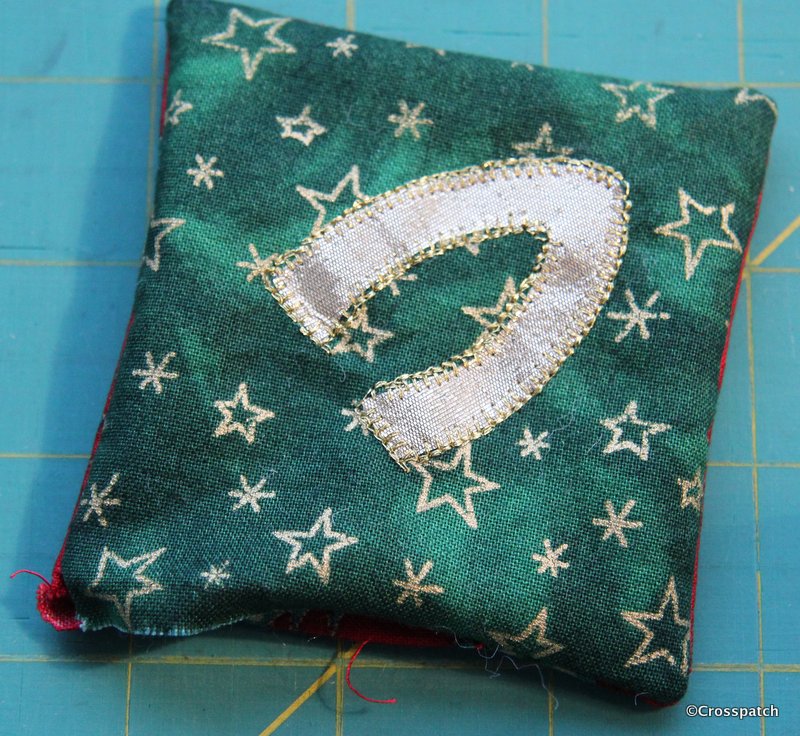
Next, I had to make the swing tags for each stocking, cutting two squares of fabric for each tag, and applying a gold letter to the green side of each. I worried that the gold letter might eventually peel off having been applied with Bondaweb, so I used my gold thread again and stitched around the edge with a machine blanket stitch, not very accurately I have to say, but I wasn’t about to unpick and start again.

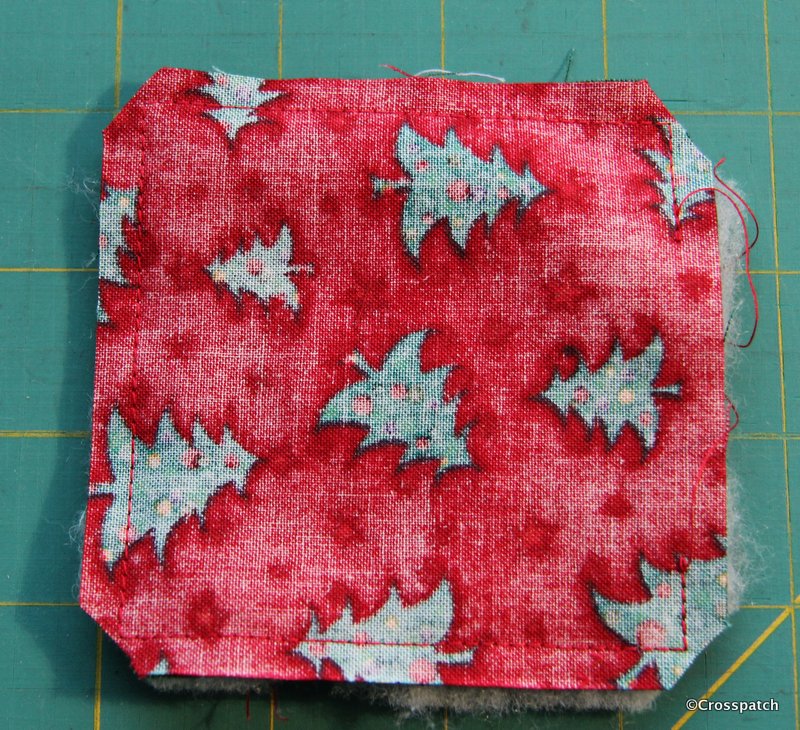
Right sides together again, with a little wadding on the back, I made another mistake; if you leave the hole to turn the fabric at a corner you’ll never achieve a neat closure… unpicked and did it again, this time with the turning gap amidships.

christmas stocking
better, all 4 corners stitched and clipped.

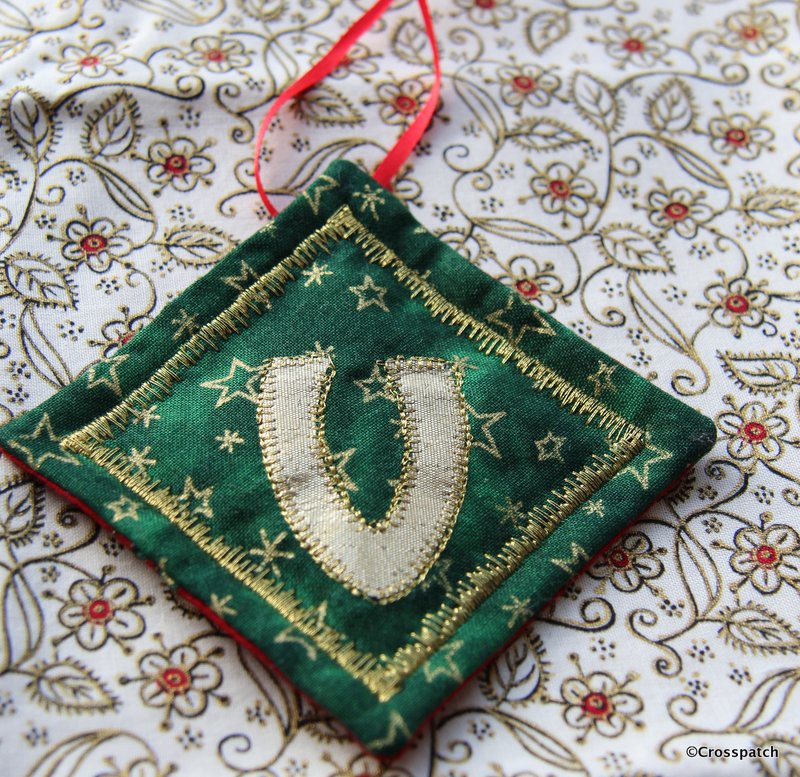
Having snipped the corners and turned each tag right ways out, I neatly closed the open edge by hand. Then I topstitched a gold border using another fancy machine stitch like the one I used on the stocking motifs.

Christmas Stocking
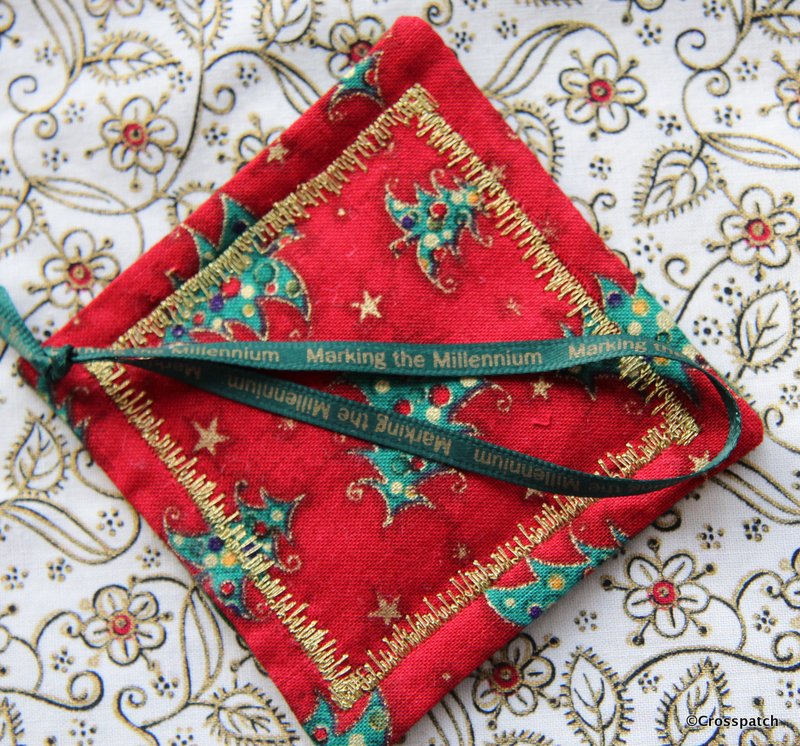
ribbon loop


Finally a loop of ribbon was attached to the back of each tag, these ribbons tend to get ragged over time so rather than stitch it into the seam I’ve just tacked it to the back. The 15 year old is a Millennium baby, born in 2000, and when I first knew him at 7 he couldn’t say Millennium, he would a say Millellium, or Minnellium, it has always been a thing I could tease him with, so I used some ribbon I had tucked away since the Millennium, it has “Marking the Millennium” printed on it. Maybe if he keeps and treasures his stocking, it may make him smile every Christmas…long after my day.

christmas stocking
millennium ribbon

And so they are completed and hung up ready for Christmas… now all I have to do is help the 19 year old make a wall hanging, and start the wrapping, with only 3 days left till Christmas.

Christmas stocking
and here’s a few I made earlier


Hurry up, Christmas is coming

so I put the fabric aside in a safe place till I was ready to begin….but where?

For months now I have been searching without success for a stash of fabric I had put aside to make a quilt for a friend for Christmas, I had planned to make it last year but ran out of time and energy, so put the fabric aside in a safe place till I was ready to begin….but where? I can’t find it anywhere, and I guess even if I did now, I would not have time to make even the simplest quilt. I even pulled out one of my UFO’s and considered finishing it for her but decided not, I love her dearly, she deserves her own quilt conceived and made specifically for her, in her colours. It doesn’t have to be now and it shouldn’t be rushed or ill conceived, besides I am still having ideas about it, so clearly it is not yet a done deal.

£2.99 Oxfam, Kendal
£2.99 Oxfam, Kendal

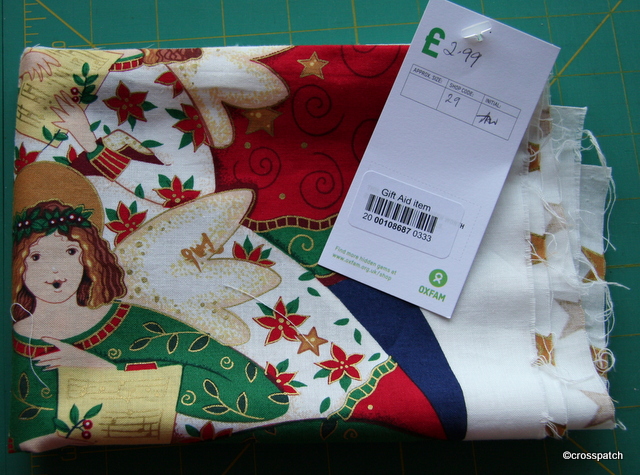
However I am making something for her, her own stocking. I found in a charity shop some weeks ago a printed panel for a Christmas stocking, and bought it for £2.99, I guess it would have been £5 to £10 pounds or more to buy in a quilt shop.
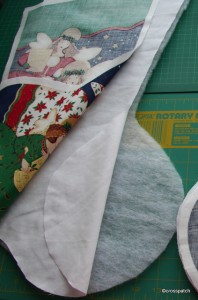
I cut the two sides apart and cut out the shapes with a centimetre seam allowance, it needs to be greater than a quarter inch because I will use the seam allowance turned in on itself to neaten the seam. I will sew it at 5/8ths and this will ensure no white will show at the edge.

press before you sew

I cut a lining from a plain white fabric I had to hand and a piece of wadding for each side, and sewed all three together along the top edge the front and the lining right sides together, with the wadding on the back.

not a wadding sandwich


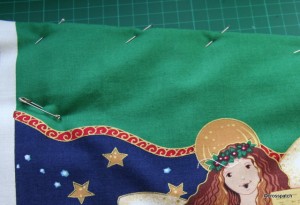
Then the wadding was trimmed back as close to the seam as possible , and the printed panel flipped over so that the wadding is now in the middle. I neatly pinned the top edge then tacked it to ensure the lining did not roll out and show above the printed panel. I will top stitch when it has been tacked together to keep the top edge stable.

stabilise the top edge


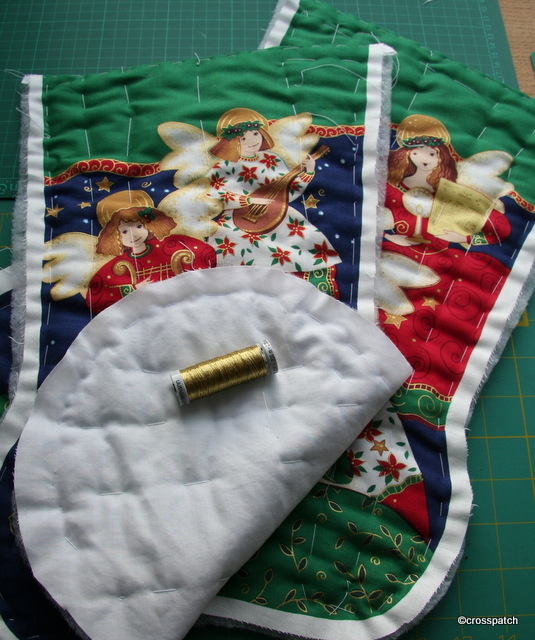
Having tacked all three layers together I am now in the process of quilting the layers together with a gold machine embroidery thread to add a little Christmas sparkle.

a little sparkle to be added

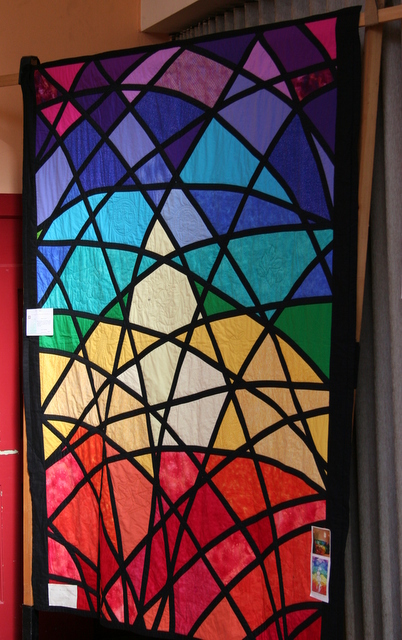
Stained Glass Window Quilt

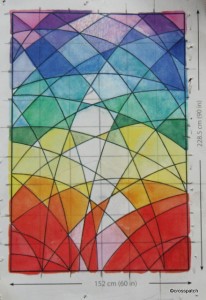
Eek, no pattern, no instructions, just an image. So Mum set about it valiantly, scaling up the image then drawing it onto a backing layer, sourcing the fabrics, so many colours, so little time.

Here’s a quilt my mother made for her granddaughter to celebrate her 21st Birthday, Sally found the design in a book and brought it to Mum, “Grandma, I’d love this for my 21st Birthday, could you….?

working diagram: stained glass window quilt
Eek, no pattern, no instructions, just an image. So Mum set about it valiantly, scaling up the image then drawing it onto a backing layer, sourcing the fabrics, so many rainbow colours, so little time.

Each fabric piece was individually cut to fit the space on the backing where that colour belonged, and stitched to the backing along the very edge of the piece, so that the black bias binding used to “lead the windows” would cover the stitching. It was then quilted with images relevant to Sally’s life, the logo for her university, The University of Cumbria; a Dragon, because she was born in the Year of the Dragon; a set of Scales for a Libran; two Trefoils to represent the Guiding Movement; the logo of the University of Lancaster where she teaches swimming and a Gerbera to remind her of her Prom Night.There is also space for more quilted memories as they occur.

stained glass window quilt

The quilt was displayed at the last Exhibition our quilt group had two years ago , the best photos of this quilt have my mother standing proudly in front of it, but she would KILL me if I published a picture her on my blog, so this one will have to do.
The Garstang Patchwork Quilters’ next exhibition is 19th to 21st April 2013, find us at Bilsborough Village Hall on the A6 north of Preston,Lancashire, UK. I’ll be there on Saturday morning, see you there.

Warm hands; Cold heart, or so the saying goes.

Some of the creams are evidently different from their neighbours, if one person had made all the blocks, all the creams would match

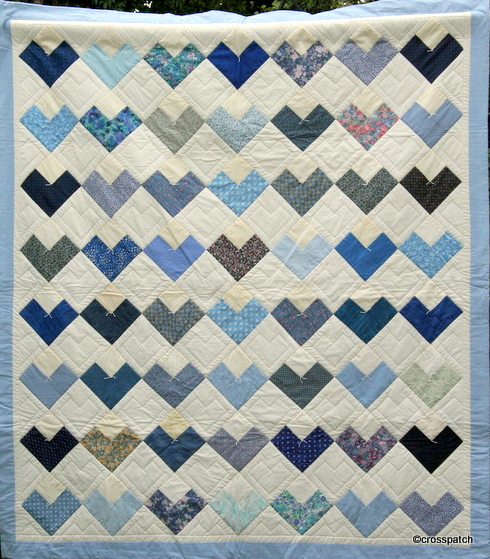
I do have warm hands, always, and so I make lousy pastry, the saying would have me cold hearted too. Blue hearts may look cold too but they make an easy to make, simple quilt.

cold cold hearts

The quilt belongs to my mother, I don’t actually remember it being made but I’m pretty sure it must be a block of the month challenge, each heart just a four patch; 3 blue squares and a cream one, set on point alternating with plain cream squares. Some of the creams are evidently different from their neighbours, if one person had made all the blocks, all the creams would match, or there would be a selection of creams carefully placed to balance across the quilt.
It’s such a simple rustic quilt , quilted and tied, no need for anything elaborate.