An Owl quilt for a dear friend

All I needed was some freezer paper and an iron, how difficult could it be?

I have a dear friend who likes Owls, or “Wols” as she calls them, so when I came across this remnant of fabric being sold at my quilt group meeting I just had to buy it. I didn’t know what I would do with it but I knew I would come up with something. An Owl quilt, a lap quilt, a comforter, a virtual hug, that my friend could use whenever a hug was required and me not there to offer it.

owl quilt
a lucky find

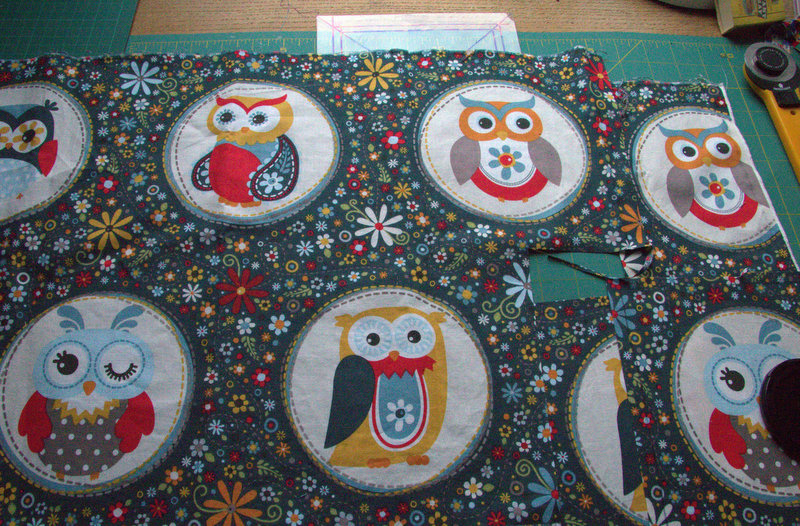
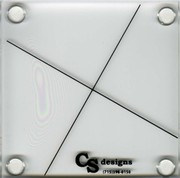
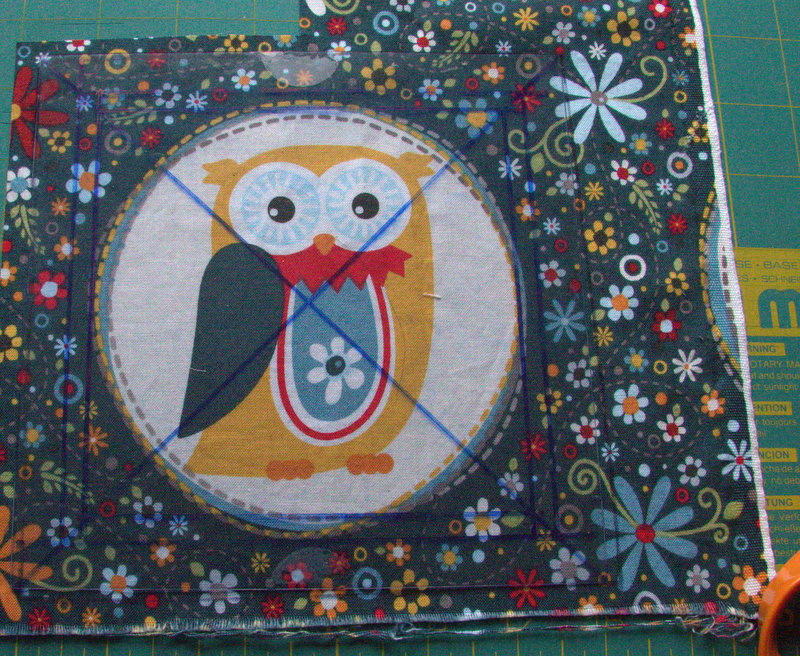
The first challenge was to cut out each Owl with as much fabric as possible surrounding the centre medallion, cut each one with the Owl dead centre in the medallion, and each the same size. The background fabric was too random to give me any help so I devised my own template using a piece of clear plastic  packaging. The circles were asymetrically placed so I needed two squares to fit them into, to “fudge ” a best fit with the centre of the medallion. The outer edge of the template I lined up by eye, given the background pattern was random I knew it wouldn’t cause me too much problem if it was slightly off the grain. In any case I don’t think it was printed entirely plumb with the straight grain of the fabric.

owl quilt
transparent template

Next challenge, there were only 10 complete Owl medallions, and no way of buying more, I had to come up with a design which would make a lap quilt, at least a metre square, and quickly, I wanted to give it as a Christmas present and it was well into November when I began. While I was cutting out the medallions, I was reminded of an old nursery rhyme about a wise old Owl.
owl quilt
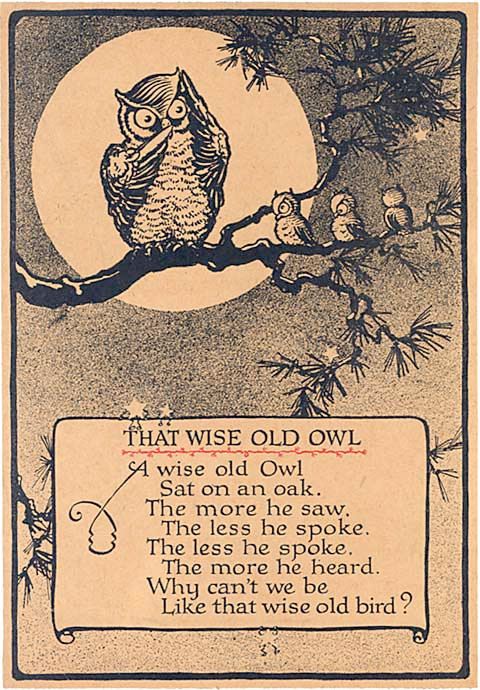
Happily its 8 lines long so I could alternate each of 8 Owl medallions with a line of the poem in a plain fabric, but what fabric? I went to the fabric shop thinking cream, and came home with blue, it often happens that way, when I get to see the fabrics together what I had in my mind’s eye just doesn’t work and so I always have plan B.

owl quilt
what to put with it?

Challenge three, how to apply the lines of poetry to the fabric? My handwriting is not good enough. My hand embroidery is even less appealing, not to mention how long it would take me to hand embroider each one. I could have used machine embroidery but I wasn’t convinced my machine would do a good job either, and centring the text would be a nightmare. I did however have a plan. I’d read on Pinterest a number of articles about printing onto fabric using an ordinary household ink jet printer. All I needed was some freezer paper and an iron, how difficult could it be?

owl quilt
perfect…ish, not quite central

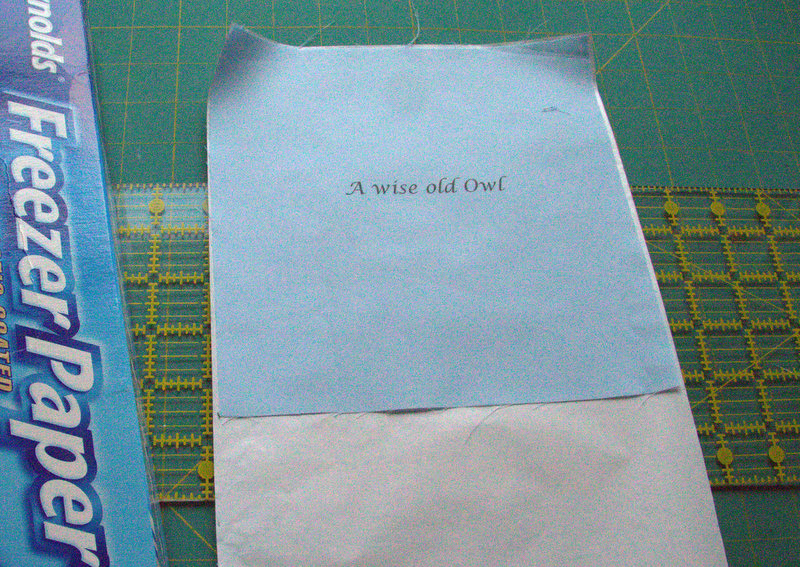
The plain fabric was cut slightly larger than the Owl medallions and the printing planned to be in the centre and then trimmed down to the right size leaving a little wiggle room all round in case the centring wasn’t accurate.

Let’s twist again like we did last Summer

it’s never a good idea to use bias cut fabric , bias cut edge to bias cut edge if you can avoid it, but if you cut same size squares on straight grain, and
join then alternately bias cut edge to straight grain edge, you can produce a string of coloured squares to use as a border,

These two quilts are another mother and daughter effort, the first is mine using my favourite bright colours, with black. The second is my mother’s, rich colours which tone beautifully together.

Mulitcoloured Twister quilt

The block is known as Twister, it looks rather complicated, and whilst it does take some planning and a large workspace is helpful it is actually fairly simple to achieve.
First task is to cut out squares and put them together in a grid bearing in mind that each square will tessellate with its neighbouring squares in the finished article, so each square should be sufficiently different from its neighbour to give the definition you want.

Mum's twister quilt

Once you have a grid maybe 20 percent larger than the finished article you plan, you take your scissors to it cutting it up using a template guide. At first it may seem that there is a profligate waste of fabric as you do cut to waste. A large bias square is cut from the centre of each square, I set these aside to use in the border. As each new square is cut diagonally from the fabric with the intersection of the squares as the centre of the new squares you cut, you should then rotate the square 90 degrees and set it back next to its neighbour. You will find they begin to tessellate; now you see why you need to have a large workspace, because you need to set out the entire quilt top, each piece placed by its neighbour, to get the placing correct.

http://www.pinkchalkfabrics.com

You will have a collection of little bias cut squares left over, now it’s never a good idea to use bias cut fabric , bias cut edge to bias cut edge if you can avoid it,because both edges will stretch. If you cut the same size squares on straight grain, and join them alternately bias cut edge to straight grain edge, you can produce a string of coloured squares to use as a border, it will still stretch a little if you are not careful, but at least there will be no waste. I cannot bear waste.

The first quilt I made in this pattern I can’t find a photo of, probably because it was photographed long before I discovered digital photography, in fact it may have been made before digital photography existed.( Do you know how old that makes me feel?) It was a cot quilt made for a friend at the birth of her daughter, and was in pretty pinks and blues and on a very small scale, hand quilted in circles.