Four Little Hearts, foundation style.

I just have to use these little squares, waste not want not. My first thought was to just put them together , on a red background, or maybe add some applique.

hearts
foundation pieced hearts

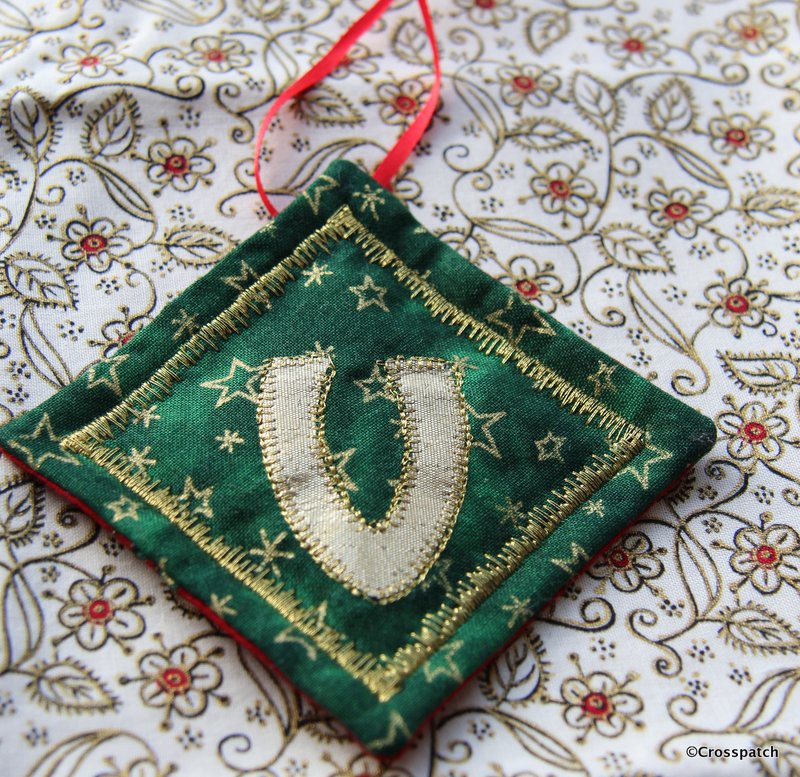
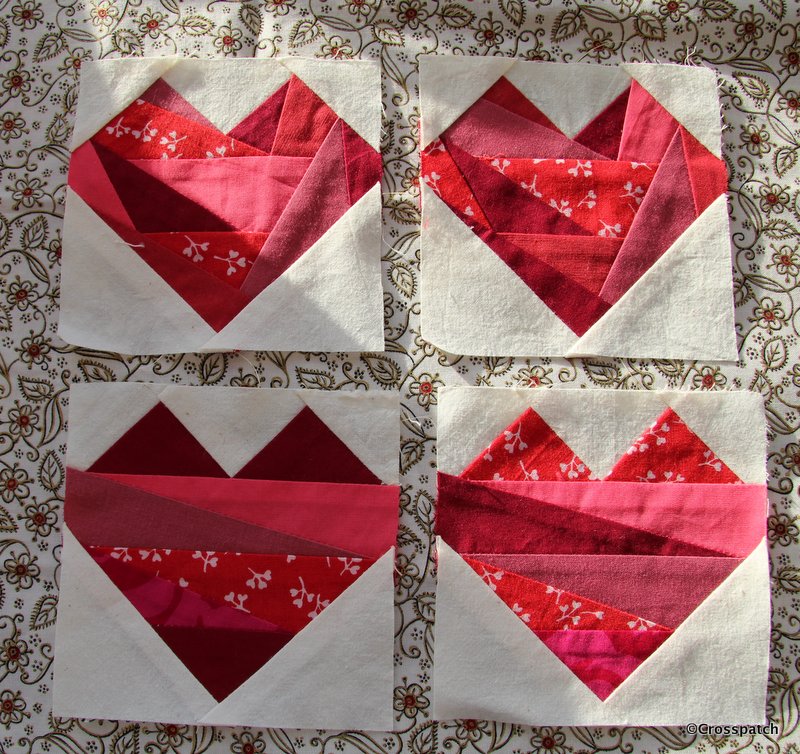
What do you do with your unfinished projects, I don’t remember making these scrappy hearts blocks, who knows how long they have a lain unloved in the bottom of a box? While searching for some star templates to finish another project I found another UFO (Un-finished Object) four little red hearts foundation pieced from scraps of red fabric on cream calico. Well what can I do with those? Looking at the fabrics I don’t think I have any left, I don’t recognise them at all, but no matter, I think I can finish them into a usable size by introducing another red fabric.

hearts
maybe like this?

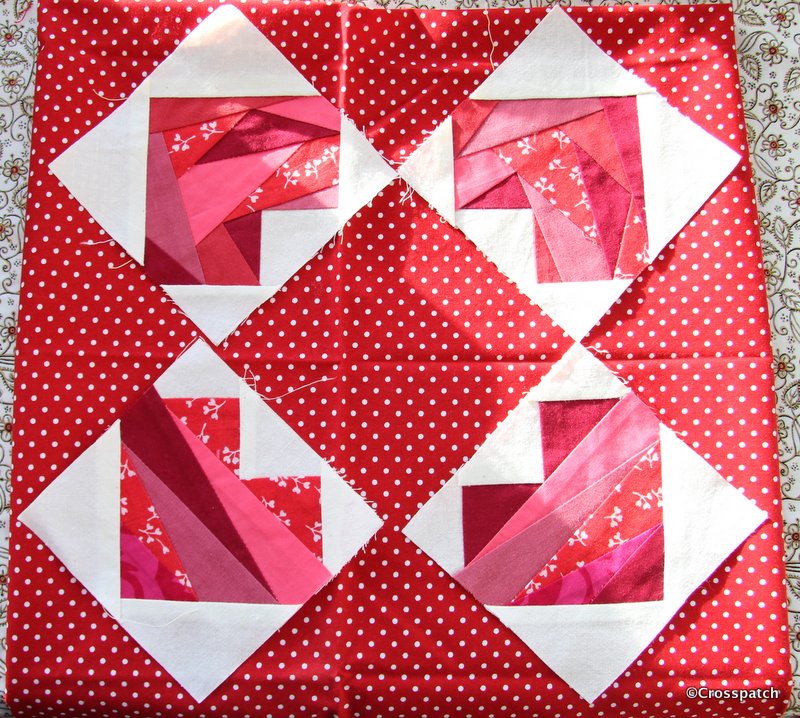
Co-incidentally, my quilting group’s annual challenge this year is “call it red“. I just have to use these little squares, waste not want not. My first thought was to just put them together as in the picture, on a red background.
Or… I could add some applique hearts in Calico on red, with red stitchery… perhaps some more foundation pieced hearts in different reds… perhaps… anyway I have till July to figure it out.

I love red and white quilts and I had been planning to begin a red and white quilt for Cecily’s challenge , a feathered star in white on a red background, but if I’m honest it’s not likely to happen, not unless I find an eighth day in the week, or am in the happy position of being able to  retire before July. So I’m really pleased to have found these Hearts, I can get them made into something before July… surely.

I have recently redecorated and re-carpeted my Studio and am back in and free to sew again, but for one small problem, now the room is clean and warm and bright, a certain 15 year old who had denied any designs upon the space, now thinks his own room is way too small for him and perhaps my playroom will suit him better. In the summer when I have redecorated the living room, I will have to think about decamping to what is currently the dining room, so hopefully I can get my little red hearts quilt completed before then.

Christmas stocking, finished at last…

I’m celebrating finally finishing two Christmas stockings I began 8 years ago.

Christmas stockings
finished at last

I’m celebrating finally finishing two Christmas stockings I began 8 years ago. The children for whom I began making them were 7 and 11, are now 15 and 19. If you want the whole story check out my archive for December 2012and January 2013. Suffice to say Christmas is always a busy time and sometimes you just have to prioritise, Sewing takes second place to shopping, cooking and cleaning only once a year, at Christmas.

Christmas stocking
both finished

So beginning where I left off, one of the stockings was quilted and ready to be made up, the other was not. I wanted them to be the same and I had lost the quilting templates, 5 little cardboard stars in graduated sizes which I created using cookie cutters, which I had also subsequently lost, and to this day have not turned up… I suspect foul play.

Thankfully the templates did turn up, and this Christmas I was determined to finish what I’d started. I used a disappearing pen, (which for some reason isn’t disappearing) and drew the stars on the lining of the stocking, then putting the gold thread in the spool and a transparent thread on the top I quilted from the back stars in different sizes to fill the spaces round the motif in the centre of the stocking leg, and in the foot of the stocking.

Christmas stockings
final finishing touches

Putting the right sides together I stitched the two halves around the edge with a generous 3/8ths seam allowance to make it easier to neaten the edges. To finish the seams on the inside I cut away the wadding, and hand stitched the lining closed over the raw edges down to the bottom of the leg. Beyond there the foot still has raw edges showing, well not showing, but that’s the point, you can’t see it so I’m not going to worry about it, I may overlock the raw edges with a machine stitch…when I have a minute.

christmas stocking
another mistake

Next, I had to make the swing tags for each stocking, cutting two squares of fabric for each tag, and applying a gold letter to the green side of each. I worried that the gold letter might eventually peel off having been applied with Bondaweb, so I used my gold thread again and stitched around the edge with a machine blanket stitch, not very accurately I have to say, but I wasn’t about to unpick and start again.

Right sides together again, with a little wadding on the back, I made another mistake; if you leave the hole to turn the fabric at a corner you’ll never achieve a neat closure… unpicked and did it again, this time with the turning gap amidships.

christmas stocking
better, all 4 corners stitched and clipped.

Having snipped the corners and turned each tag right ways out, I neatly closed the open edge by hand. Then I topstitched a gold border using another fancy machine stitch like the one I used on the stocking motifs.

Christmas Stocking
ribbon loop


Finally a loop of ribbon was attached to the back of each tag, these ribbons tend to get ragged over time so rather than stitch it into the seam I’ve just tacked it to the back. The 15 year old is a Millennium baby, born in 2000, and when I first knew him at 7 he couldn’t say Millennium, he would a say Millellium, or Minnellium, it has always been a thing I could tease him with, so I used some ribbon I had tucked away since the Millennium, it has “Marking the Millennium” printed on it. Maybe if he keeps and treasures his stocking, it may make him smile every Christmas…long after my day.

christmas stocking
millennium ribbon

And so they are completed and hung up ready for Christmas… now all I have to do is help the 19 year old make a wall hanging, and start the wrapping, with only 3 days left till Christmas.

Christmas stocking
and here’s a few I made earlier