Little Hearts pieced Cushion

It makes for a nice plump cushion, and was finished with a fortnight to go before it needs to be handed in. Result!

little hearts
foundation pieced little hearts

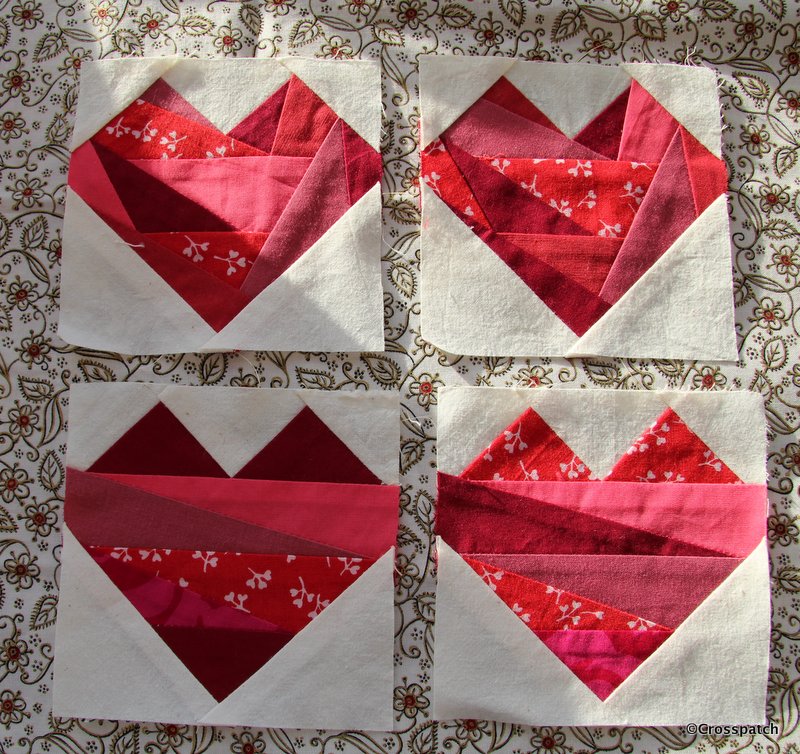
18 months ago I found 4 little hearts foundation pieced blocks in red fabrics. I had a fine idea that I could make them into a finished piece in time to submit them to my quilt group’s annual challenge. (See the original blog post here http://www.mycrosspatch.com/blog/2015/12/23/four-little-hearts
little hearts
two plains

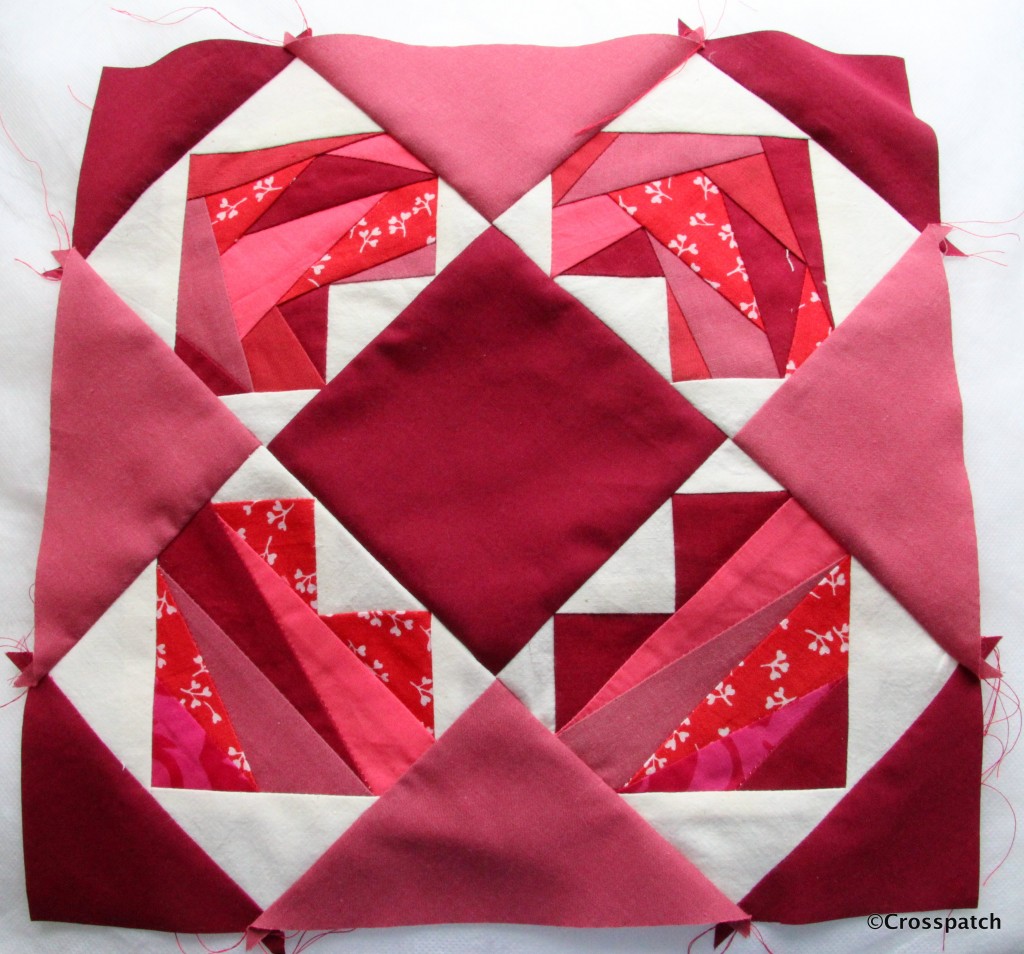
I found two plain fabrics and cut pieces to put the 4 little Hearts together to make a cushion front, but there was something not quite right. I couldn’t put my finger on it so I put it aside to think about it before going any further.

As predicted I had to pack up all my belongings and move out of the lovely newly redecorated room in order to make way for the then 16 year old who I had to admit had outgrown the box room which was his bedroom. He was beginning his important sixth form years and would need a proper study space.

All my sewing materials had to be packed up and moved into what was the box room ( we now call it Harry Potter’s room, the cupboard over the stairs) so the little hearts were packed up and moved (buried). The challenge came and went without me submitting my piece. It was only when I realised our quilt group’s exhibition was due in a couple of months that I dug out my little hearts and some other half finished pieces in the hope I could produce something to show.
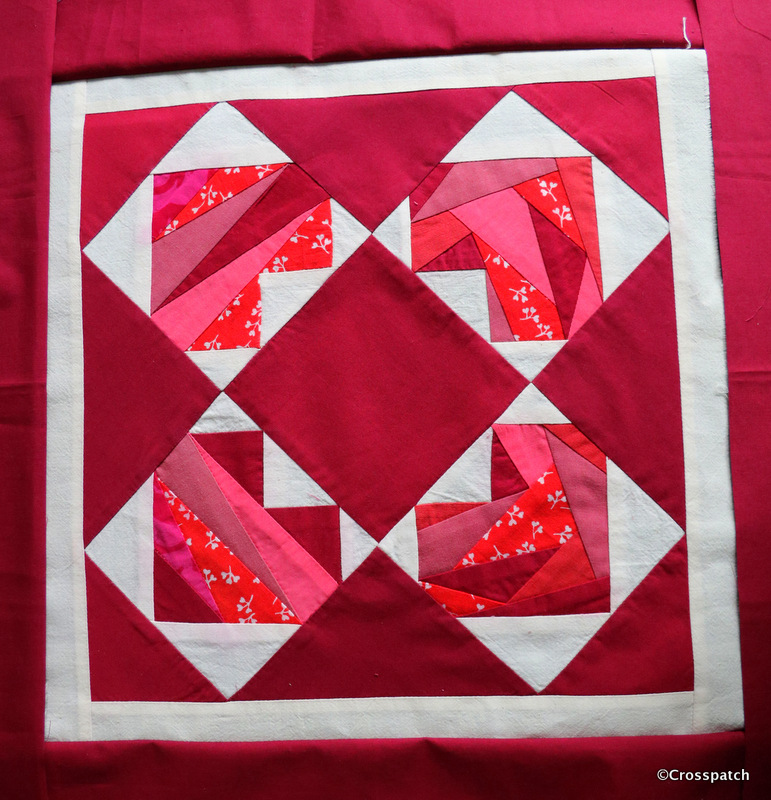
little hearts
looking much better

The first step was to work out what was wrong with it. I realised the colours didn’t work together; the dull pink at the sides was just too dull, so I took it apart and replaced the dull pink with the darker burgundy colour. Sorted!
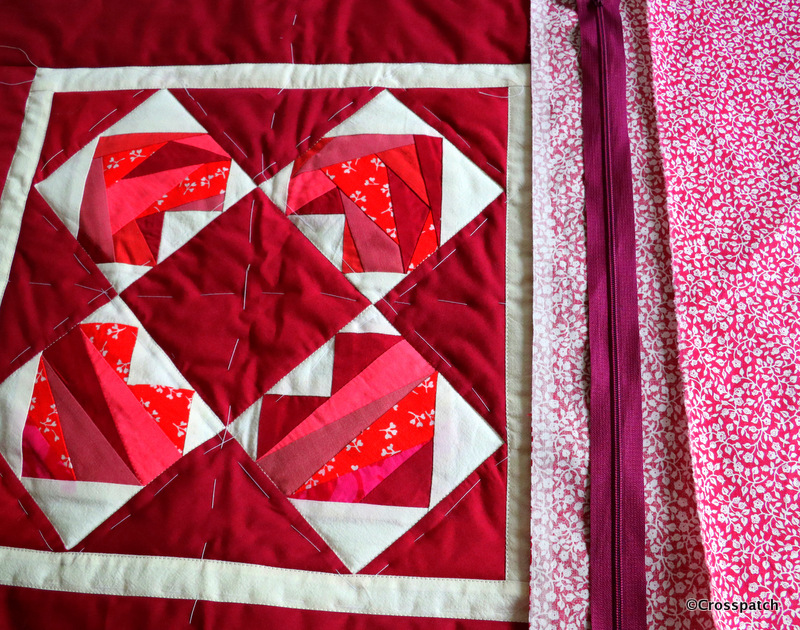
 

little hearts
zip and backing from my stash

I wanted to make an 18” cushion and would have had barely enough of the burgundy to achieve that. A 1” sashing of the cream calico, added a pretty frame to my 4 little hearts block and allowed me to achieve that 18+” square I needed for the cushion top.
I really wanted to complete this cushion completely from my stash, and no cheating. So the backing was a found item, from my stash, it’s quite an old piece, a remnant left over, I think, from a skirt or dress from the 1980s. Happily it has finally found its purpose. The zip came from another stash, a lucky find in a charity shop, a whole carrier bag full of zips, over a hundred zips for £5.
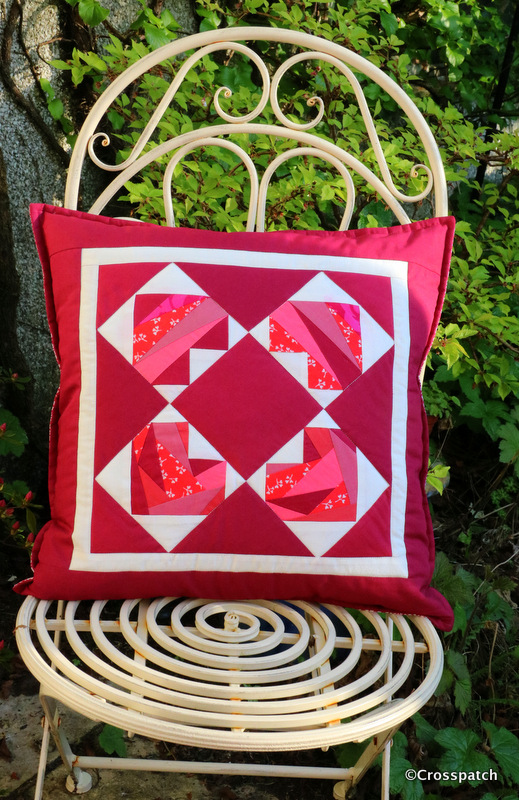
little hearts
Finished at last

Finally when I had put the cushion together it measured just shy of 18.5’’ and the 18’’ cushion pad was a little loose in the cover, so a quarter inch top stitching round the edge gave a good finish to the edge, a little definition and pulled in the cushion size to just under 18”, it makes for a nice plump cushion, and was finished with a fortnight to go before it needs to be handed in. Result!

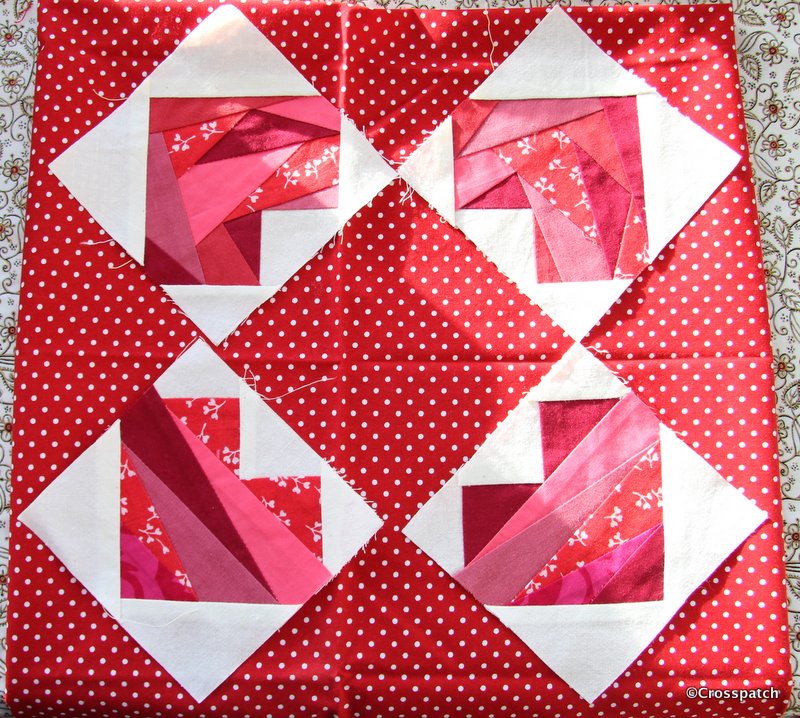
Four Little Hearts, foundation style.

I just have to use these little squares, waste not want not. My first thought was to just put them together , on a red background, or maybe add some applique.

hearts
foundation pieced hearts

What do you do with your unfinished projects, I don’t remember making these scrappy hearts blocks, who knows how long they have a lain unloved in the bottom of a box? While searching for some star templates to finish another project I found another UFO (Un-finished Object) four little red hearts foundation pieced from scraps of red fabric on cream calico. Well what can I do with those? Looking at the fabrics I don’t think I have any left, I don’t recognise them at all, but no matter, I think I can finish them into a usable size by introducing another red fabric.

hearts
maybe like this?

Co-incidentally, my quilting group’s annual challenge this year is “call it red“. I just have to use these little squares, waste not want not. My first thought was to just put them together as in the picture, on a red background.
Or… I could add some applique hearts in Calico on red, with red stitchery… perhaps some more foundation pieced hearts in different reds… perhaps… anyway I have till July to figure it out.

I love red and white quilts and I had been planning to begin a red and white quilt for Cecily’s challenge , a feathered star in white on a red background, but if I’m honest it’s not likely to happen, not unless I find an eighth day in the week, or am in the happy position of being able to  retire before July. So I’m really pleased to have found these Hearts, I can get them made into something before July… surely.

I have recently redecorated and re-carpeted my Studio and am back in and free to sew again, but for one small problem, now the room is clean and warm and bright, a certain 15 year old who had denied any designs upon the space, now thinks his own room is way too small for him and perhaps my playroom will suit him better. In the summer when I have redecorated the living room, I will have to think about decamping to what is currently the dining room, so hopefully I can get my little red hearts quilt completed before then.

Crazy

I dread to think how many times I pieced and unpicked that border, and every time it was wonky.

scraps for crazy patchwork
30 years of scraps

This year’s challenge from my Quilt group, was Crazy, put simply anything made from crazy patchwork, fill your boots. My plan was to collect silk ties to cut up, and I did buy a few from my favourite charity shop, but I soon realised that I would need a lot of ties, to have enough variety of colours and patterns, so back to the stash.

not scraps for crazy patchwork
rejected scraps

I found a bag of scraps, (well three actually), sorted it into three piles, blue and white Laura Ashley scraps dating back to 1977, (of which more later), a pile of pastels some Laura Ashley of the same vintage and some from the 80’s, and a reject pile the colours of which would not meet the criteria for my piece, brown orange, cream etc.

geometry for crazy patchwork
always knew Geometry would come in one day

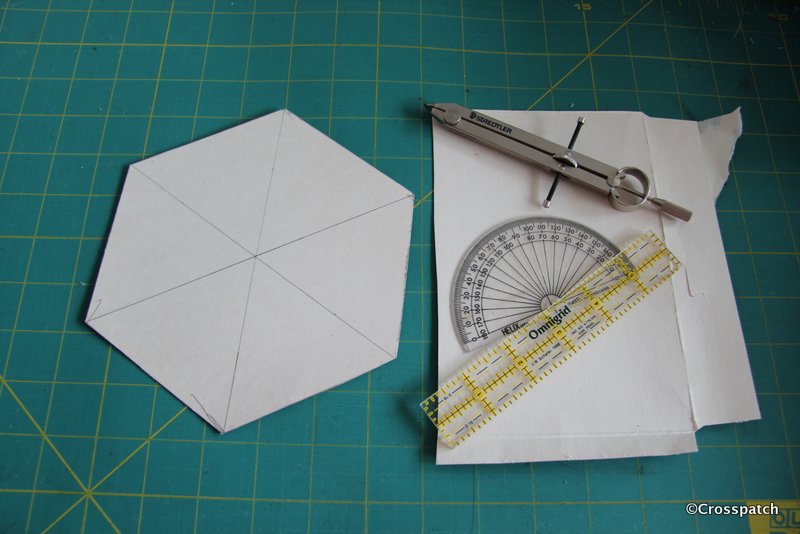
I wanted to work on small pieces which could be joined together in a larger piece, and had seen a number of crazy patchwork studies created as large hexagons, all I needed was a large hexie pattern. So out came the cereal packet, compass and ruler, not difficult, simply draw a circle, divide into 6 equal parts (60 degrees), and draw a line from radius to radius, where the circle intersects, to create a hexagon. The size of the hexagon was determined by the size of the cereal packet.

making crazy mistakes
big mistake

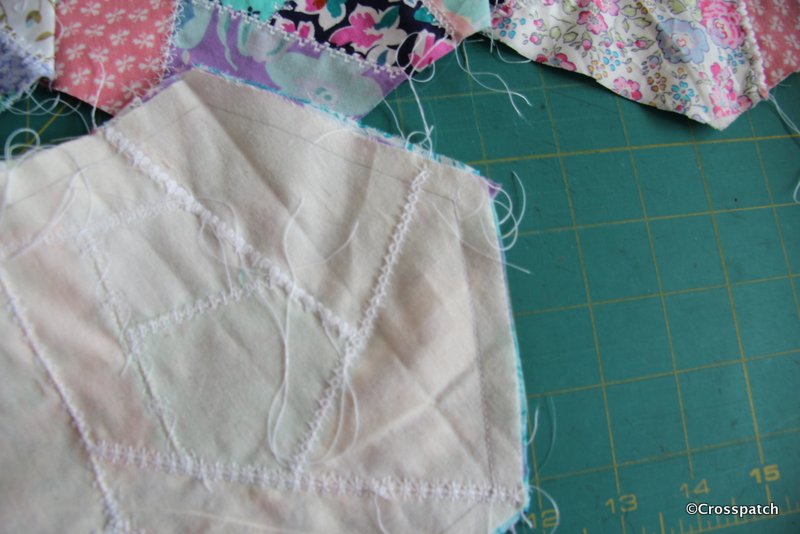
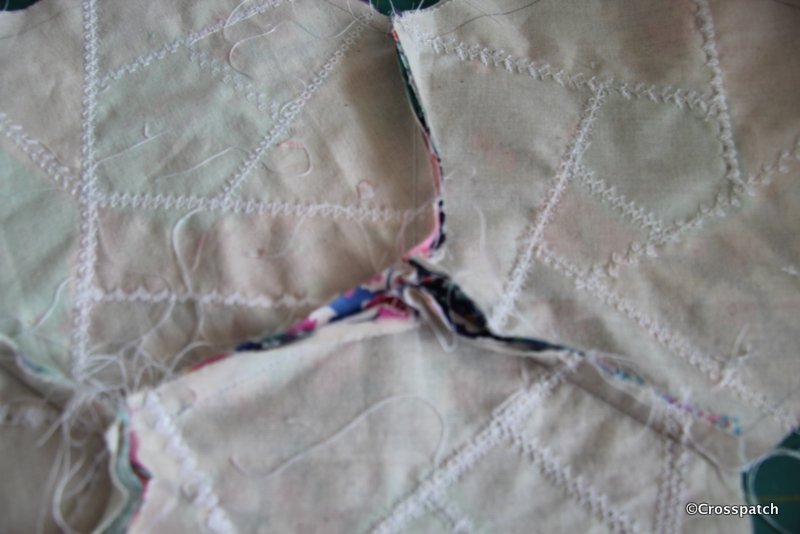
Initially I followed the advice in my only Crazy patchwork book, (big mistake, but excellent lessons) I cut and laid the pieces on a backing fabric cut from cotton calico (lesson one backing layer too thick). I overlaid the pieces by a eighth of an inch and then stitched them down with a fine zig-zag stitch using transparent filament, (mistake two, this is nasty scratchy stuff and leaves a ridge of stitching which then causes drag when using machine embroidery stitching on top).

crazy machine embroidery
seen from the back

Running out of time (72 hours and counting) I realised using differing coloured threads to embroider the patches would take time I didn’t have and possibly require threads I didn’t have, so I decided I could pull the whole thing together and achieve balance by using one colour for the embroidery throughout, white.

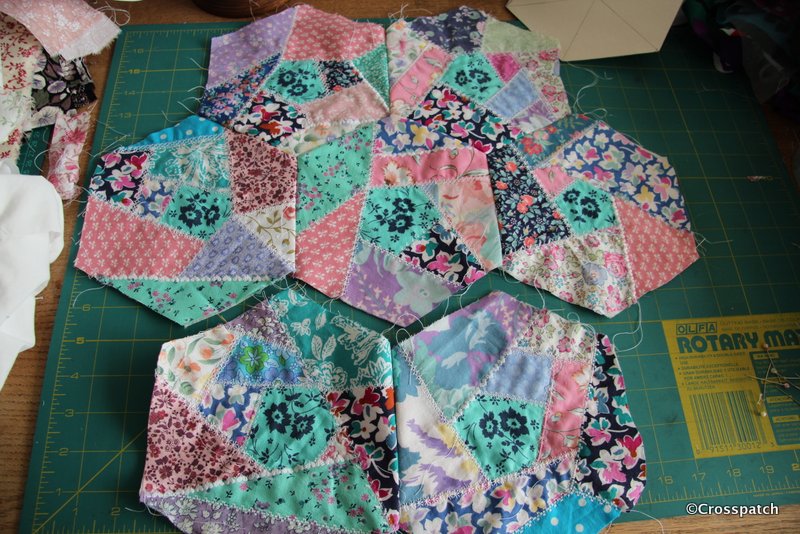
7 crazy hexagons
I need seven!

As I picked the embroidery stitches to decorate my scraps I made my next mistake (number three), I didn’t try out every stitch on scrap before I began, and there’s no unpicking it afterwards! Had I tried them out first I could have adjusted the length and width of stitch to get the optimum look of the embroidery stitch. I would have also realised that the thread I was using would not work well with some of the more open, spidery stitches leaving a barely visible embroidery, a bold thread would have worked better (mistake number four).

 crazy hexagons
always a fiddly task.

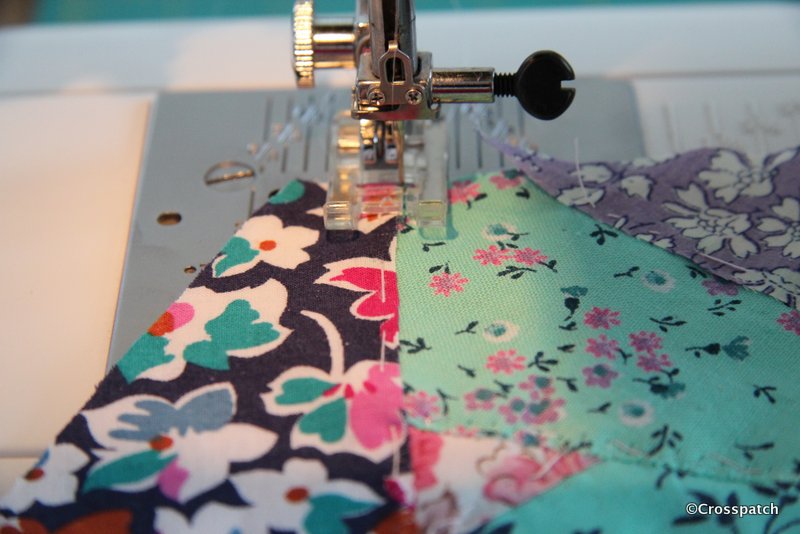
Now comes the fiddly bit, piecing the hexagons by machine, stitching into acute corners requires some skill, the trick is not to stitch right to the edge , leave yourself a quarter inch of wiggle room, it doesn’t matter if you leave a little hole at the corner, you will be embroidering over it anyway.

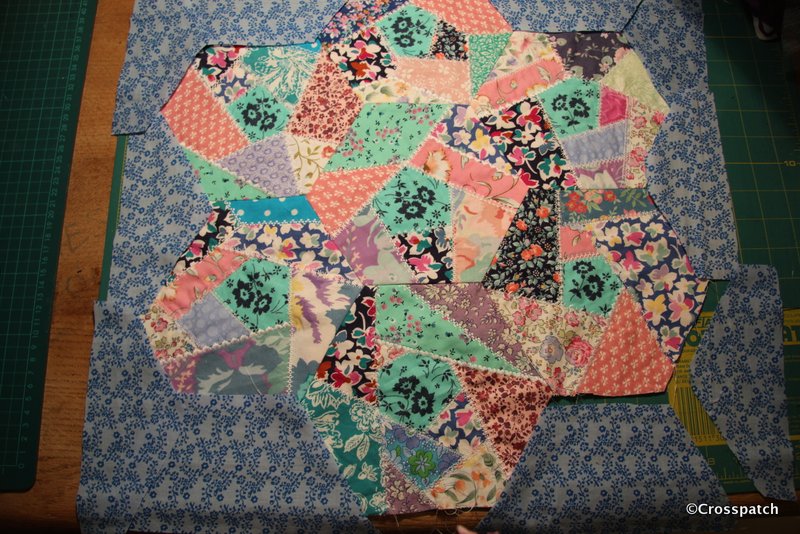
7 crazy hexies
and now for my next trick

It’s at this time I discovered mistake number five, for some reason I can’t fathom I had only made 6 hexagons, and of course I needed 7, with only 48 hrs to go I didn’t have time to fiddle about with my previous method so I cut another hexagon in calico, grabbed some spray tack, sprayed liberally, cut up some scraps and dabbed them on in a haphazard way, forgot the filament zig-zag and completed with white embroidery. No mistakes and it turned out the best of the 7 hexies. Finally mistake number six , I then decided to piece the edge to create a square, all the blue sashing is made of part hexagons cut to fit around the edge, and pieced in. It would have been so much easier and quicker to applique to a straight piece of sashing. I dread to think how many times I pieced and unpicked that border, and every time it was wonky.

making a crazy cushion
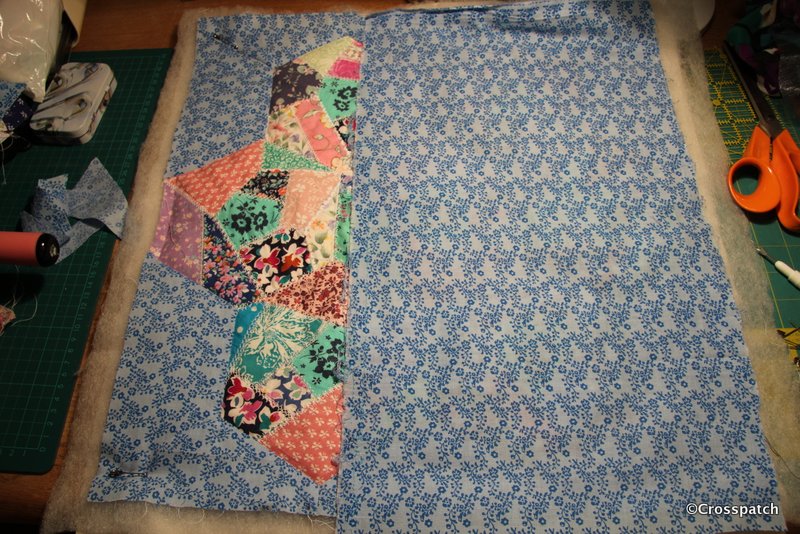
envelope back

Consequently I ran out of time to finish it properly, I should have put a zip into the back but I didn’t have one, nor time to buy one so I made an envelope back, which I don’t like and will replace, I stitched the final edge seam with a big stitch so I can unpick it easily, and the pieced sash edge has not been embroidered where it joins the crazy patches, so when I unpick it I’ll add more embroidery.

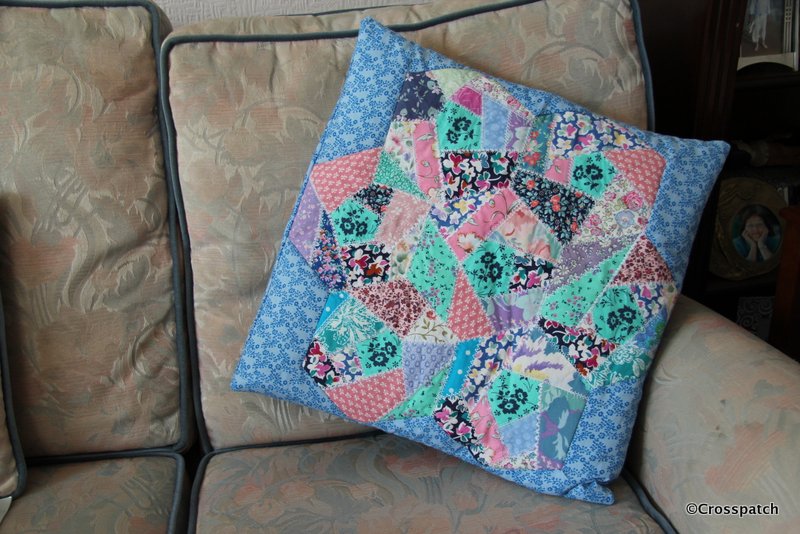
crazy cushion finished...ish
finished…ish

At least I managed to produce a “finished” piece of work to submit for the challenge, it didn’t win a prize. That’s ok ,I wouldn’t have quibbled with the judges decision and loved the crazy bag made by Anne Thistlethwaite which won. Well done Anne.

Owl quilt; part Two too wit too woo

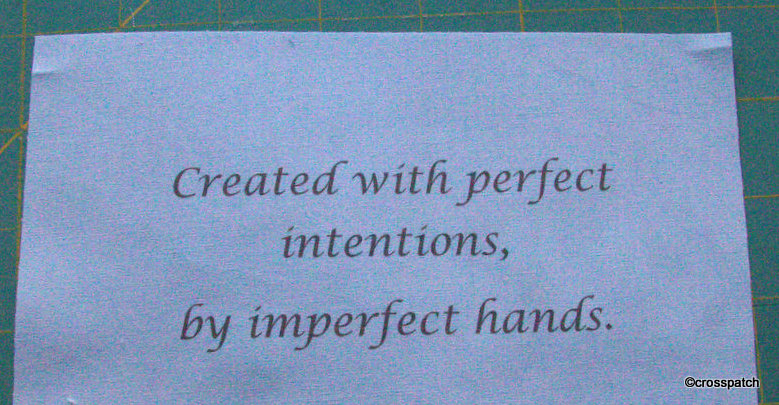
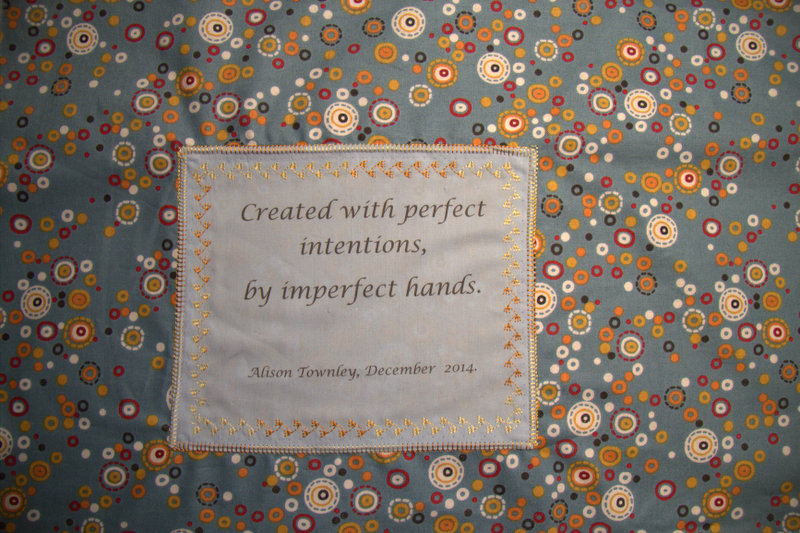
The label is a little wonky, but it matches the sentiment, made by imperfect hands.

The technique for printing on fabric is really quite simple, cut a piece of freezer paper the same width as a piece of A4 printer paper, then cut a square of fabric and iron it to the freezer paper waxy side up, so the fabric is completely welded to the paper. I created a word document for each line of the poem, and tried to set the line in the centre of the printable area, bearing in mind the fabric is ironed to the top 7 inches of the paper.

Owl quilt
quilt label for the back

Put the paper in the printer, face down and press print.Then Presto, out comes a piece of fabric neatly printed with a line of the poem, just about centrally placed. Peel the fabric from the freezer paper. Trim the piece of fabric down to the desired size making sure the printing remains centred, and press with a really hot iron, to fix the ink onto the surface.

Owl quilt
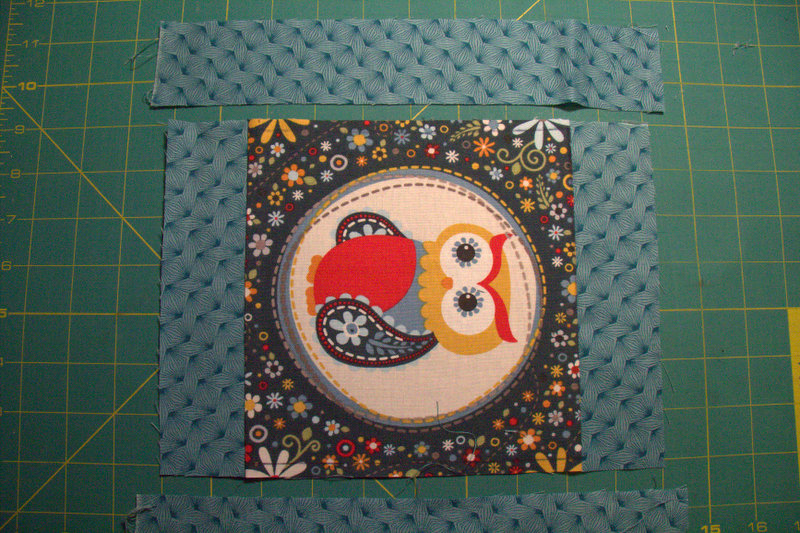
sashing from my stash

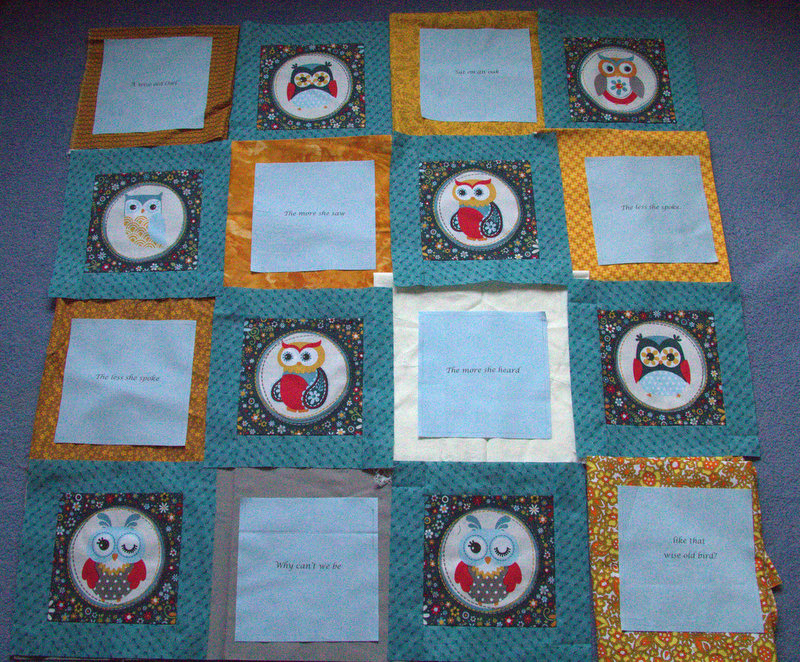
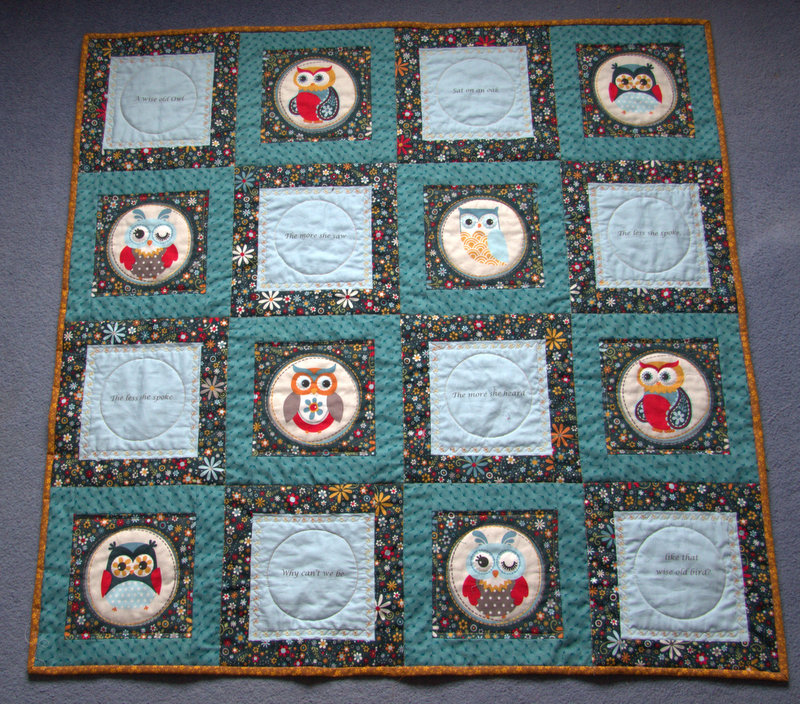
Challenge four, putting it all together. The sashing for the Owls came from my stash and was a perfect match, but I couldn’t find a fabric to sash the blue squares, nothing in my stash of fabrics was working, and I was running out of time. As you can see I tried various yellows, cream and taupe but it just wasn’t floating my boat and it looked too busy.

Owl quilt
nothing is working here

I decided the best option was to source some more fabric from the same range, the Internet was my only hope. I only had half a selvedge as a clue to what the fabric range was called and who made it. Nevertheless it only took me a few clicks of the mouse to trace it from the scrap I had, and find a supplier for the background fabric. I also found another fabric from the same range for the backing. Flashed the plastic, and the fabric arrived two days later, I love the Internet.

Owl quilt
that’s better!

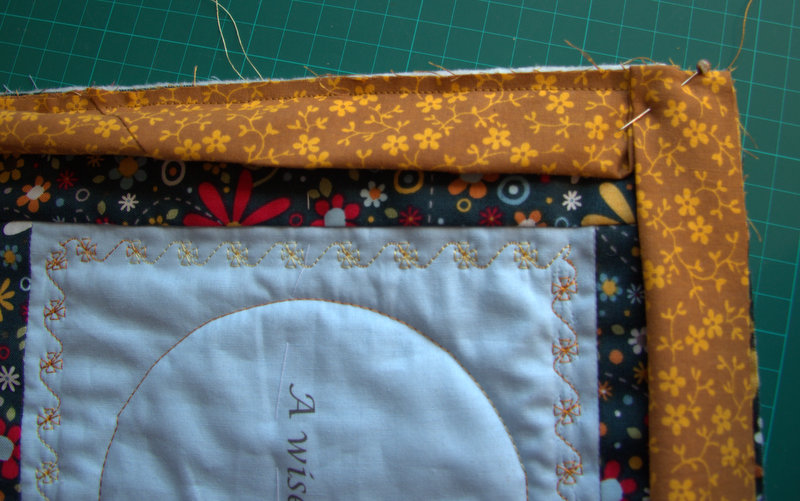
Challenge five, once I had the quilt top put together and the wadding and backing tacked in place I realised that the blue squares lacked something, there was too much plain space around the lettering, my first thought was to create a quilting template of an Owl and quilt the centre of the square but I wasn’t sure how that would work with the lettering. Maybe just a pair of Owl eyes, above the lettering, but that would be too asymmetric. I decided to keep it simple, a circle in the middle to echo the Owl medallions, and some flowers embroidered round the edge to echo the flowers on the background fabric, and to add colour. I used a space dyed thread, but I think a darker yellow or orange might have worked better.

Owl quilt
quilting and binding

I used one of the rejected yellows I had auditioned earlier for the sashing of the blue squares to bind the edge of the quilt and to add a little contrast. It worked well with the backing fabric too. The label is a little wonky, but it matches the sentiment, made by imperfect hands.

Owl quilt
Owl quilt label for the back.

And so, I managed this Christmas to complete a quilt in time to give it to my Dearest Friend, and even better my lovely Sister volunteered to make a detour from her day out with her daughter to a Spa to deliver it in person to my friend. It was the day before Christmas eve. I am so blessed in my Friend, and my Sister. Thank you both for being there for me.

Owl quilt, finished
Owl quilt, finished

Oh what a lovely pair of brassicas

from the scraps and a button I made another little cauliflower to fasten between them

Brassicas
cauliflower bra

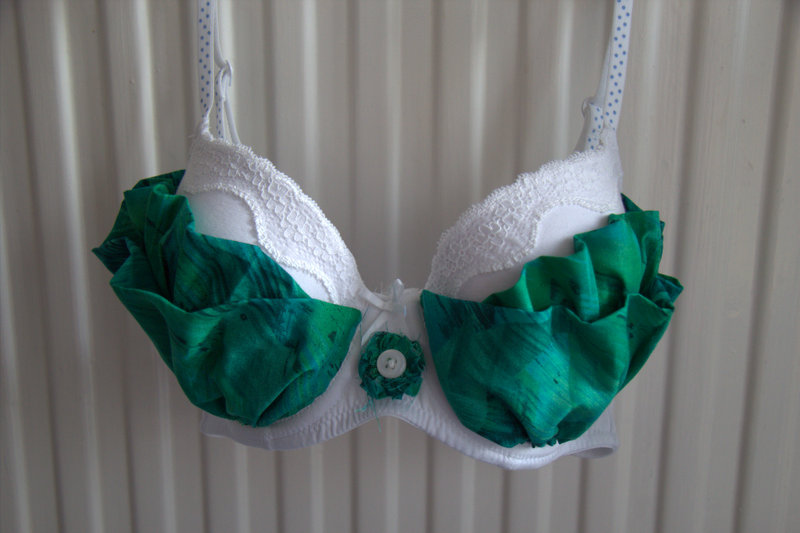
And secondly I found a little white bra in a charity shop 30D: a bra made for a generous little lady. Its not one I’ll ever fit into, but perfect for the challenge. It only needed a few strips of green fabric gathered onto the cups, and softly tacked down here and there; hey presto, two little brassicas (cauliflowers). From the scraps and a button I made another little cauliflower to fasten between them.
Both bras were entered into the bra challenge for the Christmas meeting of my quilter’s group, and will be entered into our exhibition planned for 17th to 19th April 2015.

I know its silly. It’s just a bit of fun, but I really enjoyed coming up with these ideas for words containing the letters BRA, and interpreting them in fabric, and bras. I don’t know who won the challenge, not that it matters. It’s not about winning, its about taking up the challenge.

If you happen to be in the North west of England this April do please try and visit our exhibition, you’ll find us on the A6 at Bilsborrow just North of Preston; in Bilsborrow Village hall. All welcome, see you there.

Cecily’s Challenge: I fell at the last hurdle.

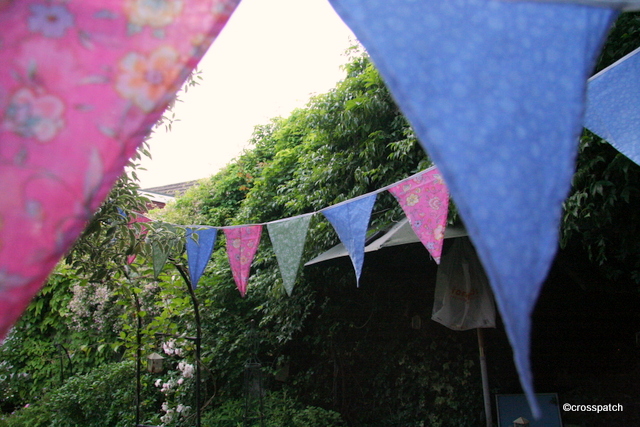
I hung the bunting in my garden, and sat on the front step in the late afternoon sunshine, chatting to my neighbour and enjoying a glass of Pimms with ice and cucumber. Sometimes the simple pleasures in life are what counts.

It’s Challenge Month again and this year’s challenge was to take a greetings card, and create something using the card as inspiration. We had to bring the card and finished item to the quilt group meeting tonight.
For months I have searched high and low for a greetings card which sparked my imagination, I even found an interesting sympathy card which might have worked but the card was bought for the purpose for which it was made, and went to a bereft friend, I could not find it again.
So last week I set myself a harder challenge, I would use a card I had, whether a card I had in my stash of “just in case” cards or one which had been received and kept for sentimental reasons, it was crunch time, I did not have time to look any further and would have to make do with what I had.

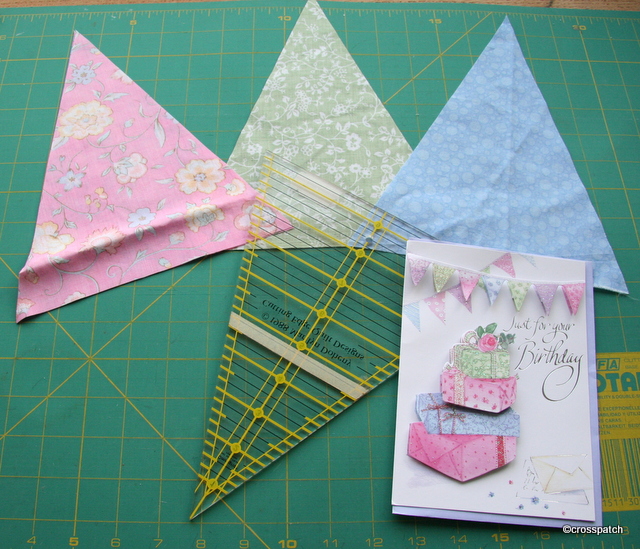
the card was my inspiration

I found a rather tatty card I’d bought in a sale, (pictured) a hand finished decoupage card with wrapped presents and bunting. It was the bunting which caught my eye. Last year I made red, white and blue bunting to decorate the garden to celebrate the Queen’s Jubilee year and the London Olympics, I made it from off cuts of furnishing fabric, cut with pinking shears and due to the wet and windy weather it didn’t survive too well, this year I had planned to make some more, in prettier colours. This card with its Sweet Pea colours chimed with what I had wanted to make, so that was decision made.
I have a triangular cutting ruler which is pennant shaped and ideal for the job of cutting all the pieces….could I find it…… not! It took me a week to search the house, The thing is, when I have lost something I know my subconscious knows where it is so I often go and stand where I think it might be and wait for my subconscious to direct me, in this case it kept directing me to where a chair stood but I kept moving the chair to search beyond it. Doh! I found it at last, on the desk chair under a pile of other things which I had shoved out of the way several times to search the area in which it was sitting. I must have moved it 5 or 6 times in the week I was searching. Note to self, tidy up for goodness sake!

production line
production line

Next step, what fabric? I didn’t really want to use my precious quilt fabric stash, at £12 a metre it’s way too expensive for bunting just to decorate the garden this summer, so back to the charity shops I went, this time as well as looking for checked shirts to cut up I looked for cotton or poly /cotton sheeting or duvet cover sets in the right colours and patterns, I found a lovely pair of fine cotton curtains in blue and yellow, I think they may be home made as the cotton is dress weight not furnishing, they are now in my stash;I think they will make good quilt backs for lap quilts, not bunting. High and low have I searched but no suitable fabric did I find. Desperation set in on Sunday night, bearing in mind the bunting had to be ready to hang by Tuesday night.
Sometime after midnight I went into my studio (the spare bedroom) and opened the drawers, I had decided to pull out any fabric I knew I would never use for quilting, so what did I find? A flowery pink, poly cotton I’d had for more than 20 years, it was too thin and poly for quilting and would never have graced a quilt of mine, a pale blue bought at Abakhan which was coarser in weave than I was used to and not quite what I had in mind when I bought it, and another green fabric which is at least 30 years old, looks as if it may be a Laura Ashley but I suspect is a fake, printed by another company to take advantage of the popularity of the ditsy prints Laura Ashley made so fashionable on the 70’s. There should have been a fourth colour; a lavender shade, but I had none I was prepared to part with,three colours would have to do.

bunting in the garden

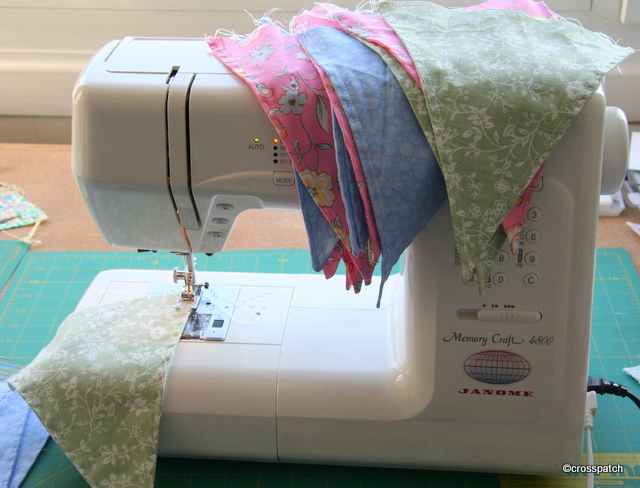
On Monday evening, after work and shopping, I cut out the pennants and stitched them on the two long sides, turned them out and put a row of tacking along the edge to hold the seams in place till I could topstitch them. I really did burn the midnight oil for this one.
On Tuesday evening after work and a walk to pick the last of the Elder flowers for drying (of which more another time), and a long chat with my neighbour in the front garden, I top stitched the pennants and stitched them to a 5m length of cotton tape, eh Voila, my Sweet Pea bunting was ready to go by midnight.

Tonight I came home hot and bothered from work, and was just about to jump in the shower when Mum called, she wasn’t feeling well, and would not be going to the quilting group tonight. I took a shower anyway and while I stood in the shower pondered, should I still go, should I not? I decided not, much as I wanted to take my bunting and have it displayed as Cecily would have enjoyed a good display of work, did I really want to drive in this heat and sit indoors on such a lovely evening? No, I decided not, instead I hung the bunting in my garden, and sat on the front step in the late afternoon sunshine, chatting to my neighbour and enjoying a glass of Pimms with ice and cucumber. Sometimes the simple pleasures in life are what counts.

Just another brick in the wall

As I recognise all the fabrics in the quilt as a collection of “yours and mine” this must have been a joint effort for mum and me

This is one of the quilts I photographed last summer in my rainy garden, such a simple design which would work well with jelly rolls or scraps. I can’t remember the dimensions but it looks as if the Bricks are 2 ½ “ by 4 ½ “; it would work larger or smaller so long as the width was half the length in the finished brick. The white and coloured bricks are then put together round a central square of white.

warm spicy brick quilt

I’m pretty sure this is one my mother made although I can see it was made of a pooled collection of scraps because some of them are from my stash. The block pattern was a block of the month challenge which I think I might have set for our quilting group. As I recognise all the fabrics in the quilt as a collection of “yours and mine” this must have been a joint effort for mum and me rather than of the group as a whole.
Much as I like this collection of earthy, spicy colours, they are not my colours and would not sit well in my home, which is why I guess it languishes at my mother’s house, unloved, unused. And yet I have just realised a use for it, My Dad may have to get used to being transported in a wheelchair at least over longer distances, as a retired Builder, what better than a “Brick” quilt to throw over his knees on colder days when out and about in his wheelchair.
I’m booked to take him to a hospital appointment next week, he’ll have to accept wheelchair transportation for the first time, now dare I introduce the quilt at the same time? Or should I let him get used to accepting the wheelchair first? One brick at a time I think.

Spring has finally sprung

was excited to see evidence of Spring bursting out all over. Thank the Lord.

Spring has finally sprung, and the first warm Saturday morning we have been blessed with I spent indoors helping to steward our quilt show.
Spring has sprung

The daffodils are finally blooming so late in April but it’s still a joy to see them at last, and the hedges are all about to burst into life.

my apple core quilt

My lap quilt was finished in time, thankfully, and was hung at the exhibition. I got some positive comments from visitors, but tried not to hang about near it, you don’t always want to hear what folks have to say.
There were some wonderful quilts on show, we are fortunate to have some very skilled needlewomen amongst our number and they produce the most covetable and imaginative designs.

raffle quilt

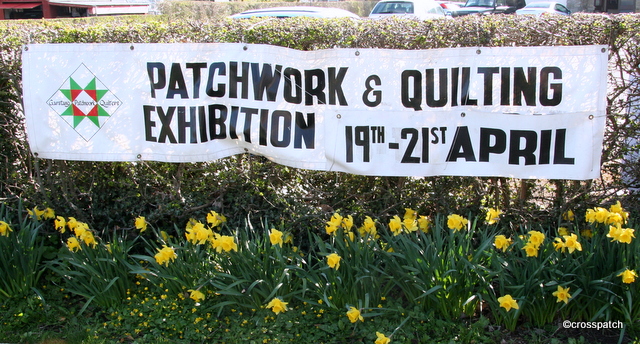
I have many photographs, but cannot post them without the owner’s permission, so will make do with a photo of the group quilt made as the main raffle prize, there’s still time to buy a ticket if you can get to Bilsborrow Village hall before 3 pm on 21st April.
quiltersquarters

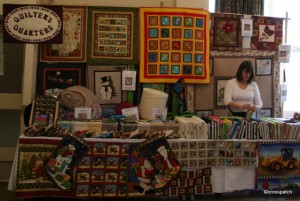
There’s even chance to buy fabric if you have been inspired to quilt. One of our members has her own quilting shop in Longridge, and is one of the traders at our Exhibition. She has an excellent range of fabrics, threads and quilting supplies; offers workshops, and a long arm quilting service.
See www.quiltersquarters.co.uk or follow on Facebook.

cherry blossom

On returning home I took a turn round my back garden, and was excited to see evidence of Spring bursting out all over. Thank the Lord.
tulip

Warm hands; Cold heart, or so the saying goes.

Some of the creams are evidently different from their neighbours, if one person had made all the blocks, all the creams would match

I do have warm hands, always, and so I make lousy pastry, the saying would have me cold hearted too. Blue hearts may look cold too but they make an easy to make, simple quilt.

cold cold hearts

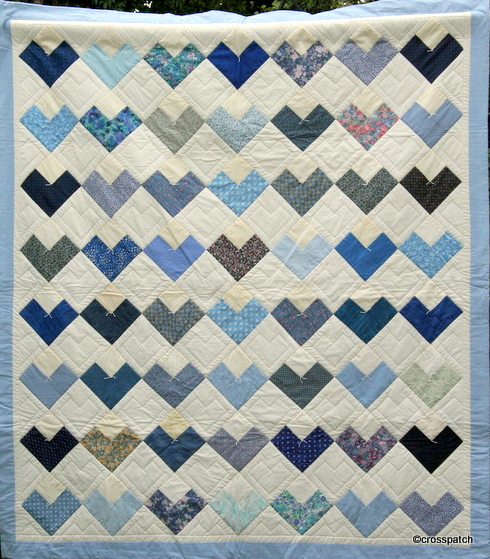
The quilt belongs to my mother, I don’t actually remember it being made but I’m pretty sure it must be a block of the month challenge, each heart just a four patch; 3 blue squares and a cream one, set on point alternating with plain cream squares. Some of the creams are evidently different from their neighbours, if one person had made all the blocks, all the creams would match, or there would be a selection of creams carefully placed to balance across the quilt.
It’s such a simple rustic quilt , quilted and tied, no need for anything elaborate.

Fibonacci: a lesson from the 12th Century

When I have a few hours to spare…. Some time in the next 5 years! I think I have the right two fabrics to make another one of these.

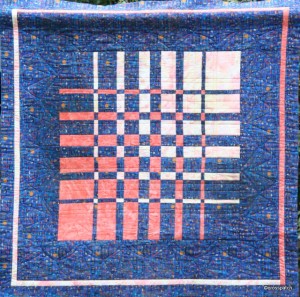
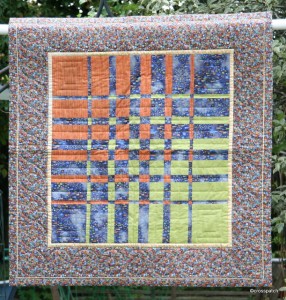
Here are two more quilts made from the inspiring work of Ricky Tims, not mine I’m afraid, these two were both made by my Mother.

Egyptian math

The first probably made at the same time as my first and to the same instructions, I think we may have been lent a book or attended a workshop together.

W.I. challenge quilt

The second, I’m sure was made in response to a Women’s Institute Challenge to use a particular challenge fabric inspired by Gustav Klimt. Or perhaps it was made from the left over fabric. The lime and copper fabrics look to be plains while the other two fabrics are patterned fabrics which have patterns taken from the paintings of Klimt, I particularly love the blue.

When I have a few hours to spare…. Some time in the next 5 years! I think I have the right two fabrics to make another one of these.