Christmas stocking, finished at last…

I’m celebrating finally finishing two Christmas stockings I began 8 years ago.

Christmas stockings
finished at last

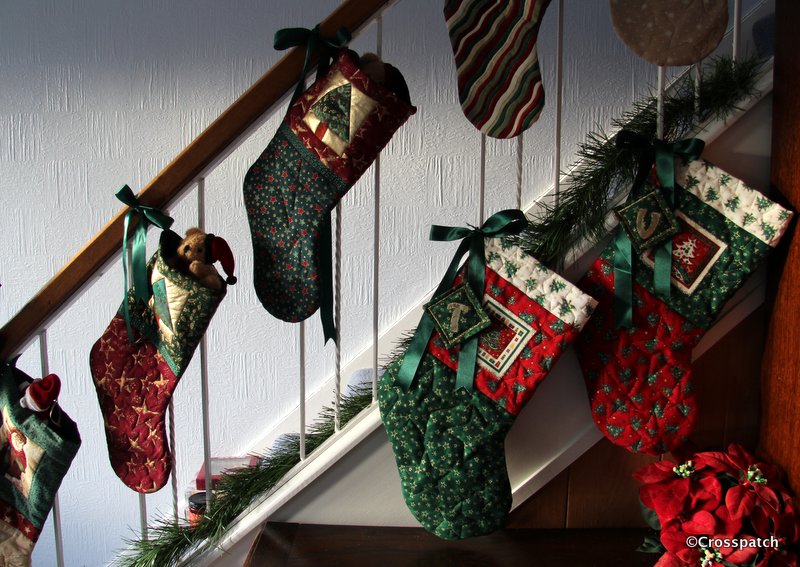
I’m celebrating finally finishing two Christmas stockings I began 8 years ago. The children for whom I began making them were 7 and 11, are now 15 and 19. If you want the whole story check out my archive for December 2012and January 2013. Suffice to say Christmas is always a busy time and sometimes you just have to prioritise, Sewing takes second place to shopping, cooking and cleaning only once a year, at Christmas.

Christmas stocking
both finished

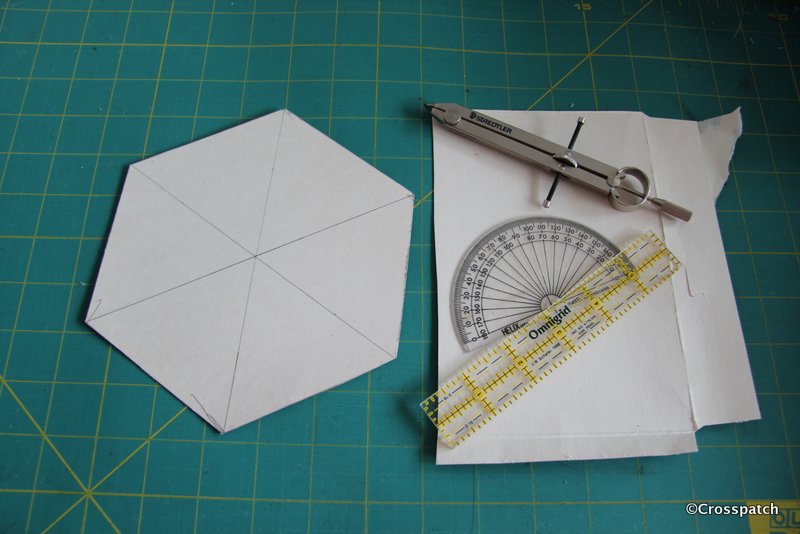
So beginning where I left off, one of the stockings was quilted and ready to be made up, the other was not. I wanted them to be the same and I had lost the quilting templates, 5 little cardboard stars in graduated sizes which I created using cookie cutters, which I had also subsequently lost, and to this day have not turned up… I suspect foul play.

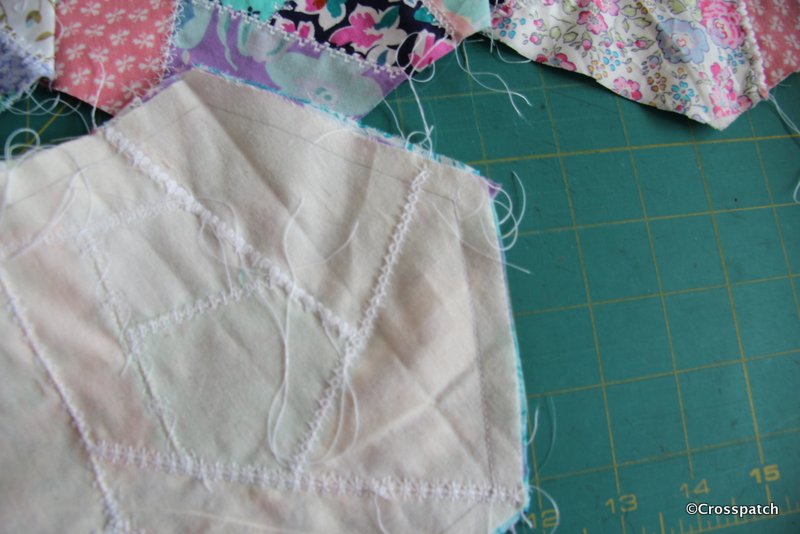
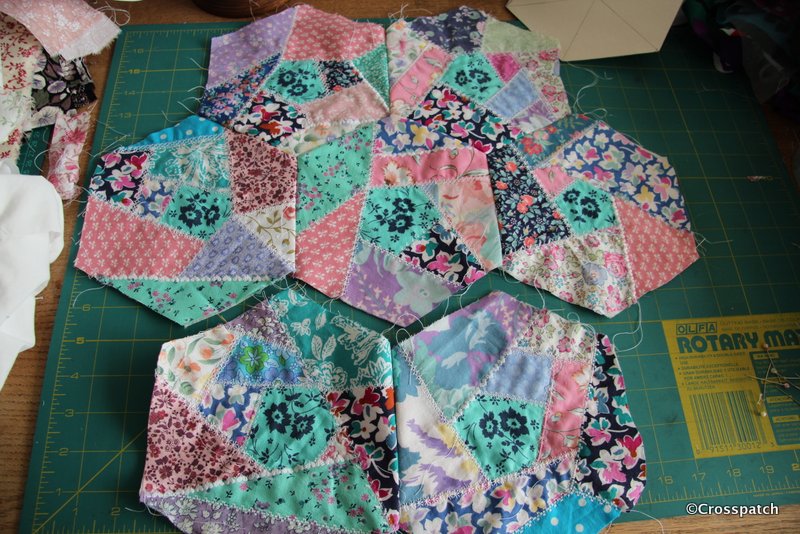
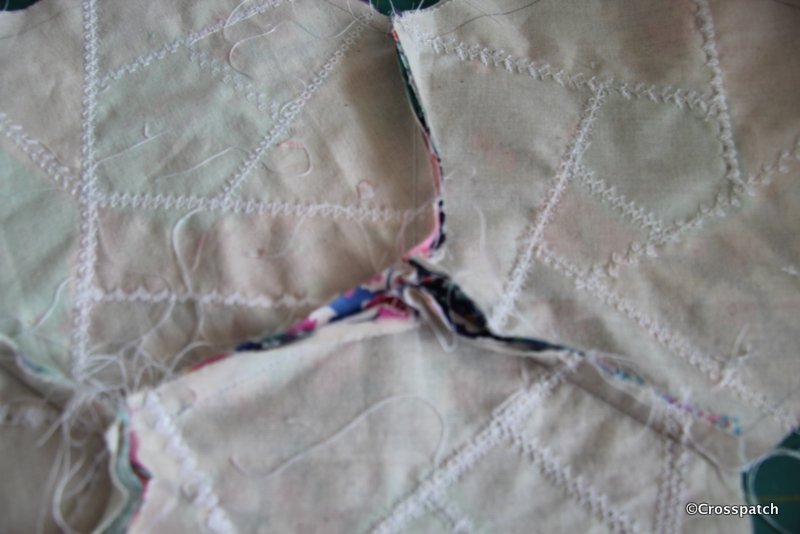
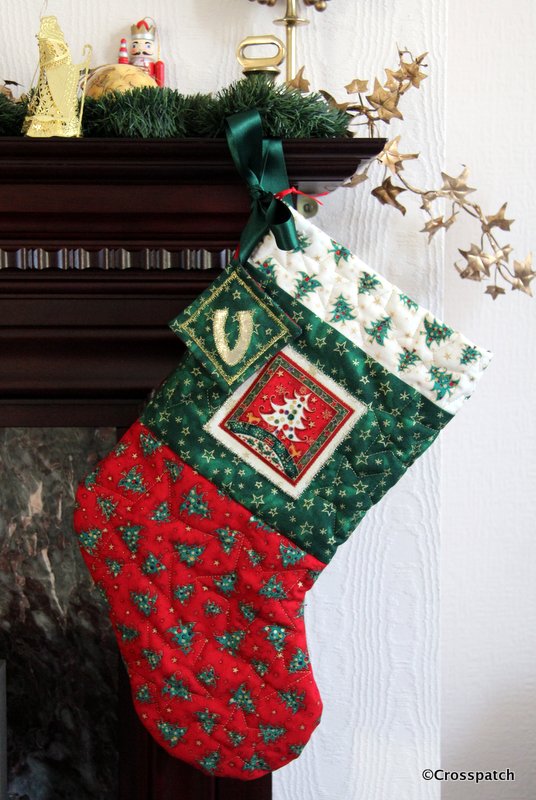
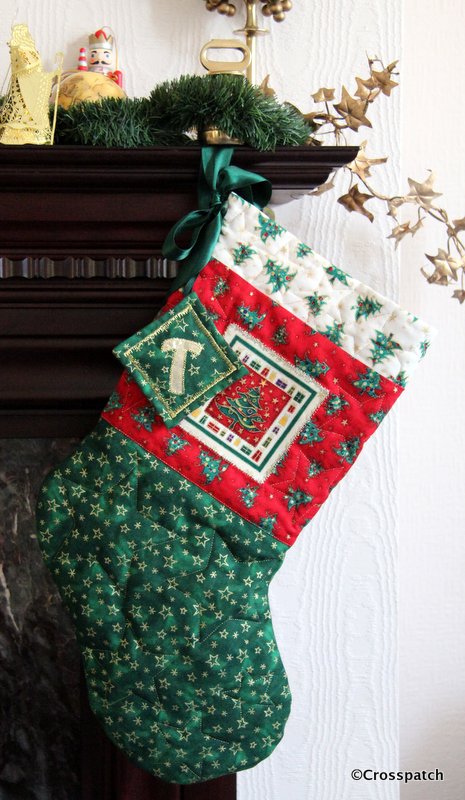
Thankfully the templates did turn up, and this Christmas I was determined to finish what I’d started. I used a disappearing pen, (which for some reason isn’t disappearing) and drew the stars on the lining of the stocking, then putting the gold thread in the spool and a transparent thread on the top I quilted from the back stars in different sizes to fill the spaces round the motif in the centre of the stocking leg, and in the foot of the stocking.

Christmas stockings
final finishing touches

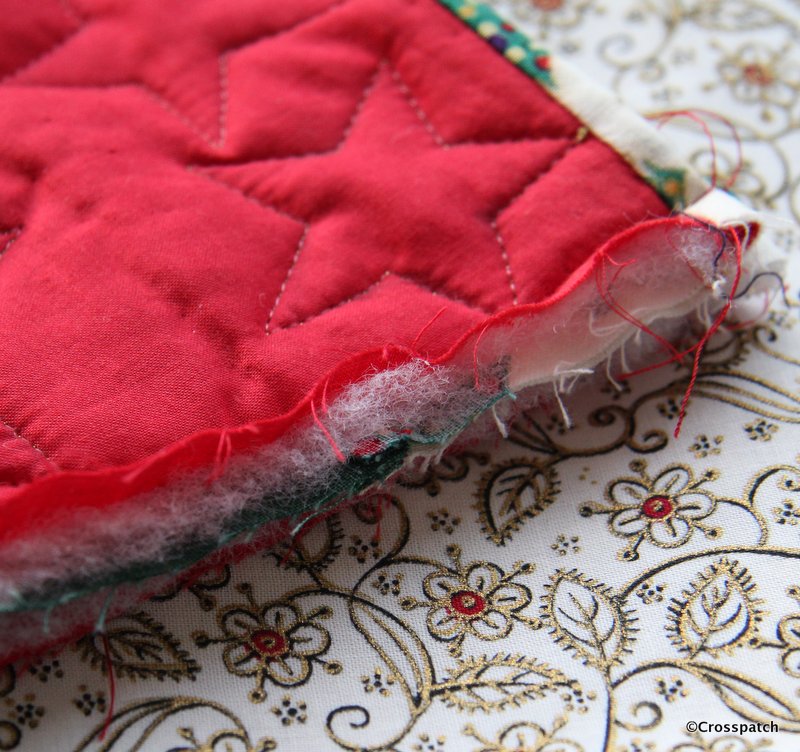
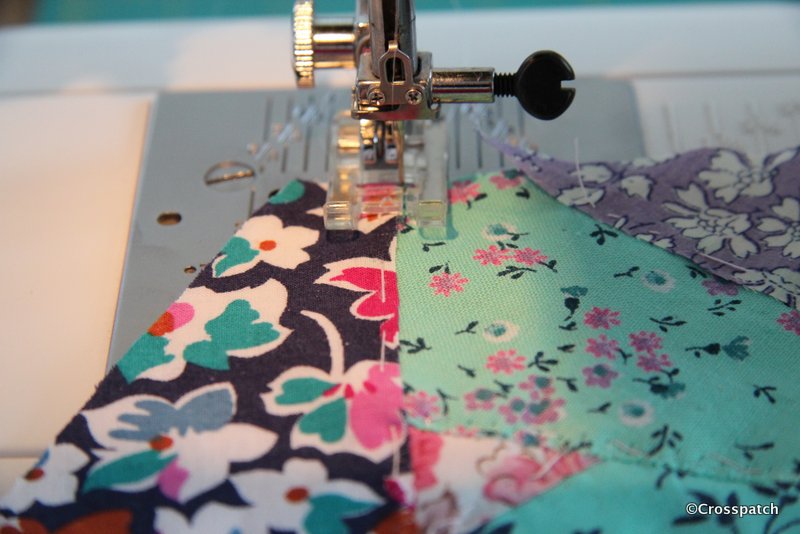
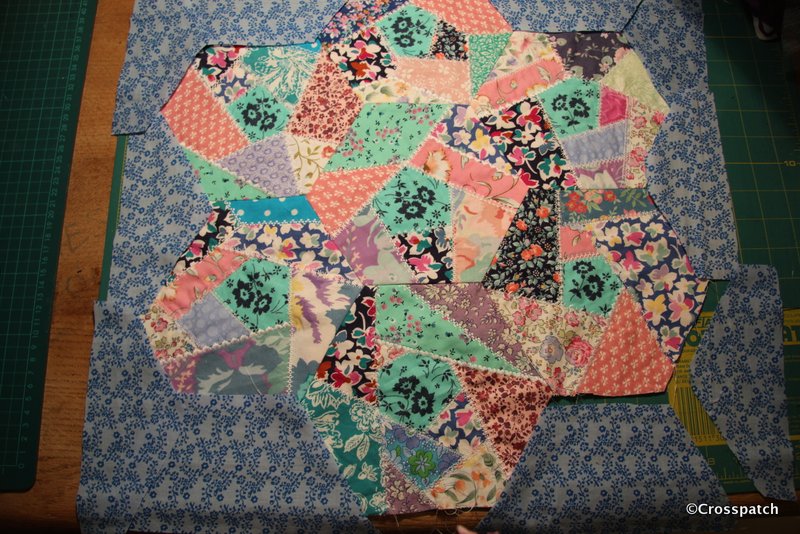
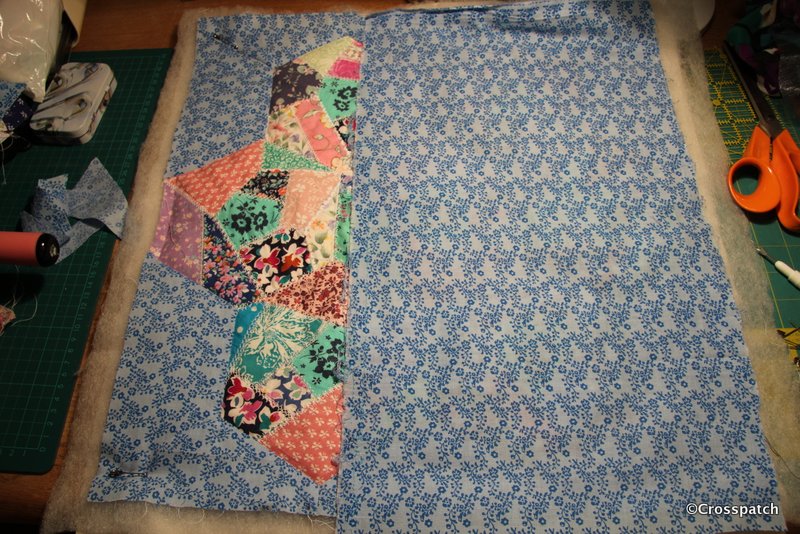
Putting the right sides together I stitched the two halves around the edge with a generous 3/8ths seam allowance to make it easier to neaten the edges. To finish the seams on the inside I cut away the wadding, and hand stitched the lining closed over the raw edges down to the bottom of the leg. Beyond there the foot still has raw edges showing, well not showing, but that’s the point, you can’t see it so I’m not going to worry about it, I may overlock the raw edges with a machine stitch…when I have a minute.

christmas stocking
another mistake

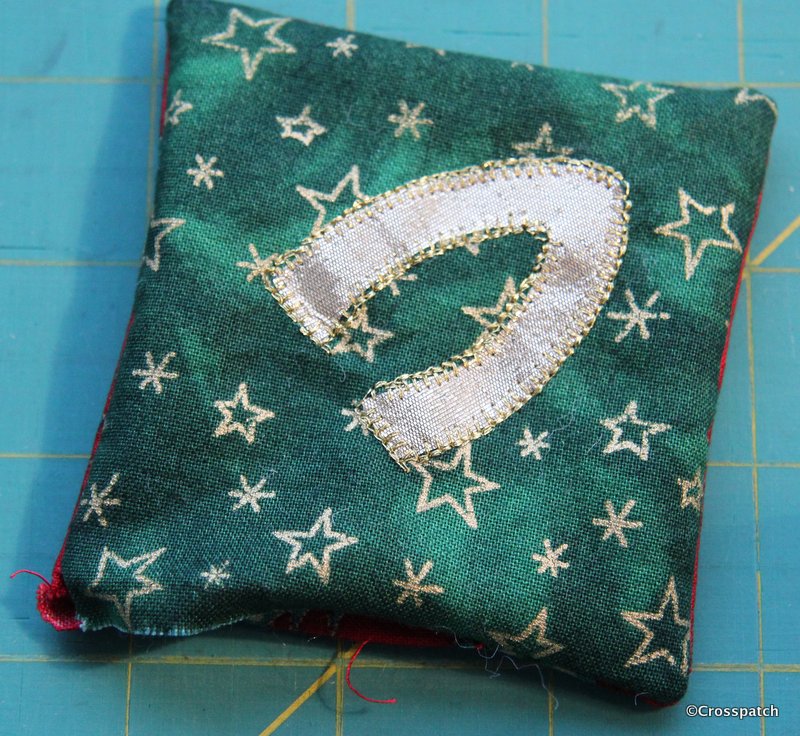
Next, I had to make the swing tags for each stocking, cutting two squares of fabric for each tag, and applying a gold letter to the green side of each. I worried that the gold letter might eventually peel off having been applied with Bondaweb, so I used my gold thread again and stitched around the edge with a machine blanket stitch, not very accurately I have to say, but I wasn’t about to unpick and start again.

Right sides together again, with a little wadding on the back, I made another mistake; if you leave the hole to turn the fabric at a corner you’ll never achieve a neat closure… unpicked and did it again, this time with the turning gap amidships.

christmas stocking
better, all 4 corners stitched and clipped.

Having snipped the corners and turned each tag right ways out, I neatly closed the open edge by hand. Then I topstitched a gold border using another fancy machine stitch like the one I used on the stocking motifs.

Christmas Stocking
ribbon loop


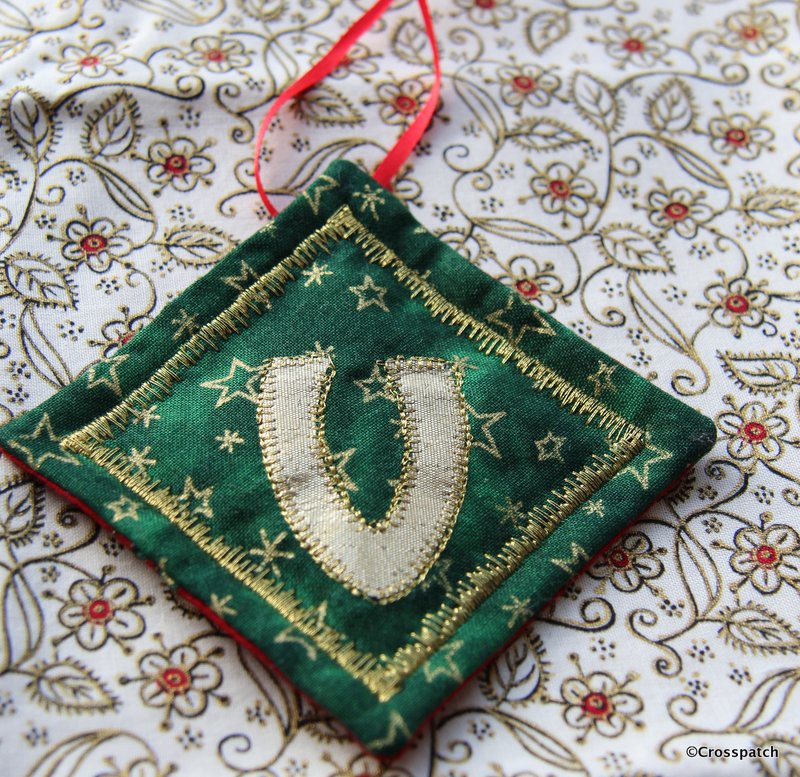
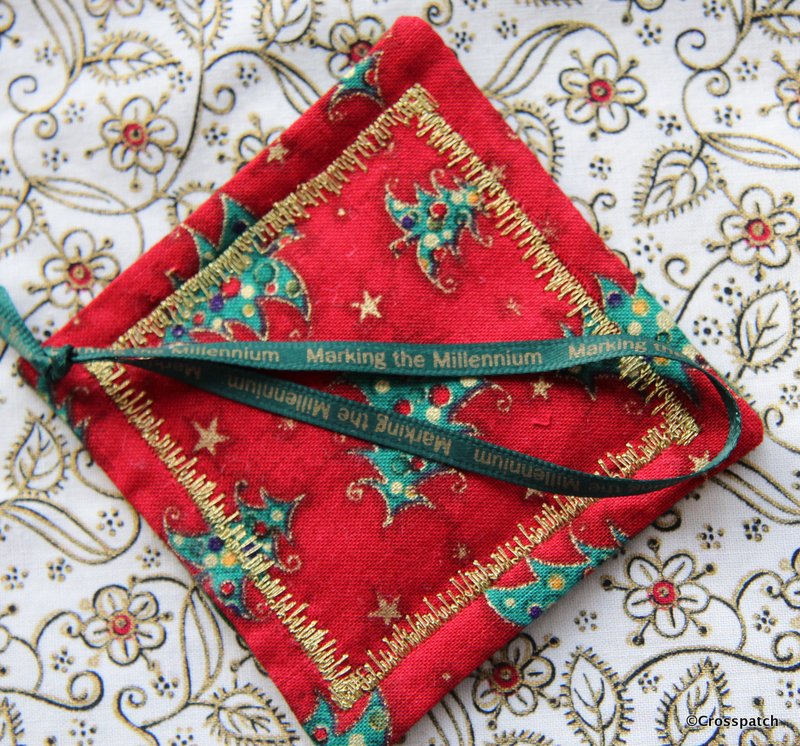
Finally a loop of ribbon was attached to the back of each tag, these ribbons tend to get ragged over time so rather than stitch it into the seam I’ve just tacked it to the back. The 15 year old is a Millennium baby, born in 2000, and when I first knew him at 7 he couldn’t say Millennium, he would a say Millellium, or Minnellium, it has always been a thing I could tease him with, so I used some ribbon I had tucked away since the Millennium, it has “Marking the Millennium” printed on it. Maybe if he keeps and treasures his stocking, it may make him smile every Christmas…long after my day.

christmas stocking
millennium ribbon

And so they are completed and hung up ready for Christmas… now all I have to do is help the 19 year old make a wall hanging, and start the wrapping, with only 3 days left till Christmas.

Christmas stocking
and here’s a few I made earlier


Crazy

I dread to think how many times I pieced and unpicked that border, and every time it was wonky.

scraps for crazy patchwork
30 years of scraps

This year’s challenge from my Quilt group, was Crazy, put simply anything made from crazy patchwork, fill your boots. My plan was to collect silk ties to cut up, and I did buy a few from my favourite charity shop, but I soon realised that I would need a lot of ties, to have enough variety of colours and patterns, so back to the stash.

not scraps for crazy patchwork
rejected scraps

I found a bag of scraps, (well three actually), sorted it into three piles, blue and white Laura Ashley scraps dating back to 1977, (of which more later), a pile of pastels some Laura Ashley of the same vintage and some from the 80’s, and a reject pile the colours of which would not meet the criteria for my piece, brown orange, cream etc.

geometry for crazy patchwork
always knew Geometry would come in one day

I wanted to work on small pieces which could be joined together in a larger piece, and had seen a number of crazy patchwork studies created as large hexagons, all I needed was a large hexie pattern. So out came the cereal packet, compass and ruler, not difficult, simply draw a circle, divide into 6 equal parts (60 degrees), and draw a line from radius to radius, where the circle intersects, to create a hexagon. The size of the hexagon was determined by the size of the cereal packet.

making crazy mistakes
big mistake

Initially I followed the advice in my only Crazy patchwork book, (big mistake, but excellent lessons) I cut and laid the pieces on a backing fabric cut from cotton calico (lesson one backing layer too thick). I overlaid the pieces by a eighth of an inch and then stitched them down with a fine zig-zag stitch using transparent filament, (mistake two, this is nasty scratchy stuff and leaves a ridge of stitching which then causes drag when using machine embroidery stitching on top).

crazy machine embroidery
seen from the back

Running out of time (72 hours and counting) I realised using differing coloured threads to embroider the patches would take time I didn’t have and possibly require threads I didn’t have, so I decided I could pull the whole thing together and achieve balance by using one colour for the embroidery throughout, white.

7 crazy hexagons
I need seven!

As I picked the embroidery stitches to decorate my scraps I made my next mistake (number three), I didn’t try out every stitch on scrap before I began, and there’s no unpicking it afterwards! Had I tried them out first I could have adjusted the length and width of stitch to get the optimum look of the embroidery stitch. I would have also realised that the thread I was using would not work well with some of the more open, spidery stitches leaving a barely visible embroidery, a bold thread would have worked better (mistake number four).

 crazy hexagons
always a fiddly task.

Now comes the fiddly bit, piecing the hexagons by machine, stitching into acute corners requires some skill, the trick is not to stitch right to the edge , leave yourself a quarter inch of wiggle room, it doesn’t matter if you leave a little hole at the corner, you will be embroidering over it anyway.

7 crazy hexies
and now for my next trick

It’s at this time I discovered mistake number five, for some reason I can’t fathom I had only made 6 hexagons, and of course I needed 7, with only 48 hrs to go I didn’t have time to fiddle about with my previous method so I cut another hexagon in calico, grabbed some spray tack, sprayed liberally, cut up some scraps and dabbed them on in a haphazard way, forgot the filament zig-zag and completed with white embroidery. No mistakes and it turned out the best of the 7 hexies. Finally mistake number six , I then decided to piece the edge to create a square, all the blue sashing is made of part hexagons cut to fit around the edge, and pieced in. It would have been so much easier and quicker to applique to a straight piece of sashing. I dread to think how many times I pieced and unpicked that border, and every time it was wonky.

making a crazy cushion
envelope back

Consequently I ran out of time to finish it properly, I should have put a zip into the back but I didn’t have one, nor time to buy one so I made an envelope back, which I don’t like and will replace, I stitched the final edge seam with a big stitch so I can unpick it easily, and the pieced sash edge has not been embroidered where it joins the crazy patches, so when I unpick it I’ll add more embroidery.

crazy cushion finished...ish
finished…ish

At least I managed to produce a “finished” piece of work to submit for the challenge, it didn’t win a prize. That’s ok ,I wouldn’t have quibbled with the judges decision and loved the crazy bag made by Anne Thistlethwaite which won. Well done Anne.