Owl quilt; part Two too wit too woo

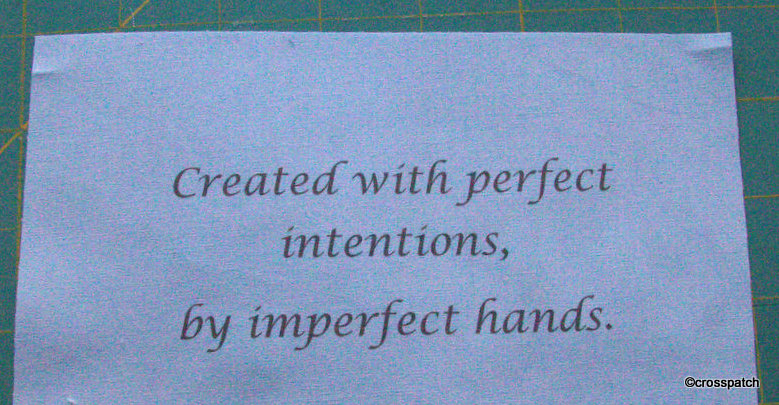
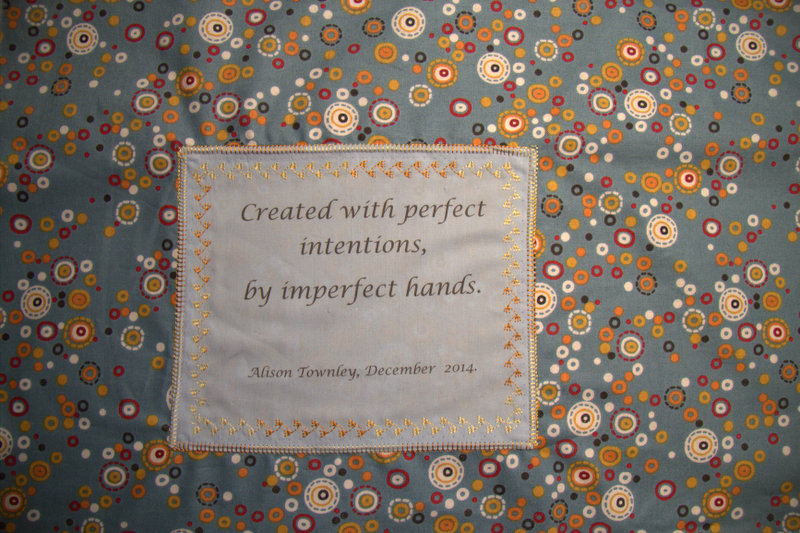
The label is a little wonky, but it matches the sentiment, made by imperfect hands.

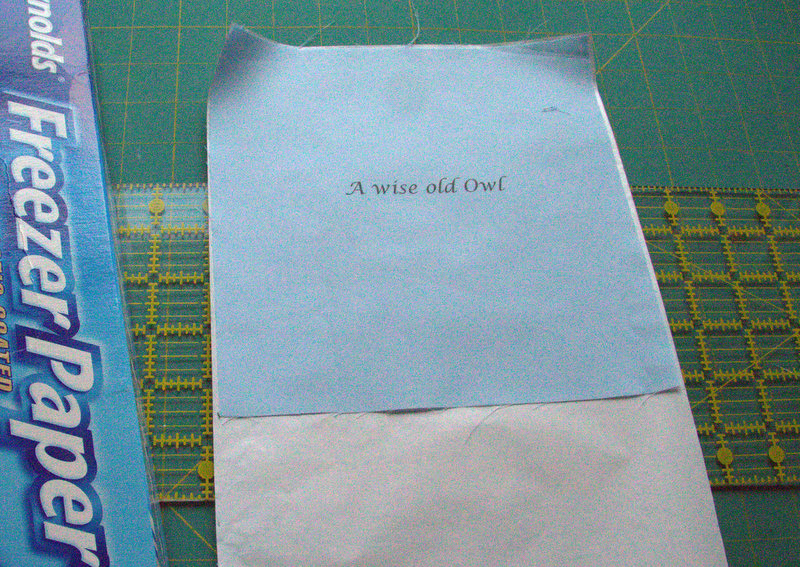
The technique for printing on fabric is really quite simple, cut a piece of freezer paper the same width as a piece of A4 printer paper, then cut a square of fabric and iron it to the freezer paper waxy side up, so the fabric is completely welded to the paper. I created a word document for each line of the poem, and tried to set the line in the centre of the printable area, bearing in mind the fabric is ironed to the top 7 inches of the paper.
Owl quilt
quilt label for the back

Put the paper in the printer, face down and press print.Then Presto, out comes a piece of fabric neatly printed with a line of the poem, just about centrally placed. Peel the fabric from the freezer paper. Trim the piece of fabric down to the desired size making sure the printing remains centred, and press with a really hot iron, to fix the ink onto the surface.
Owl quilt
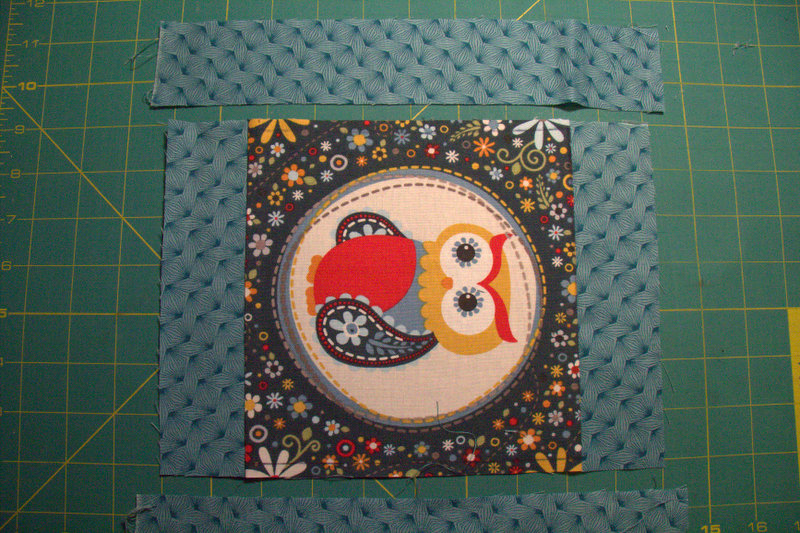
sashing from my stash

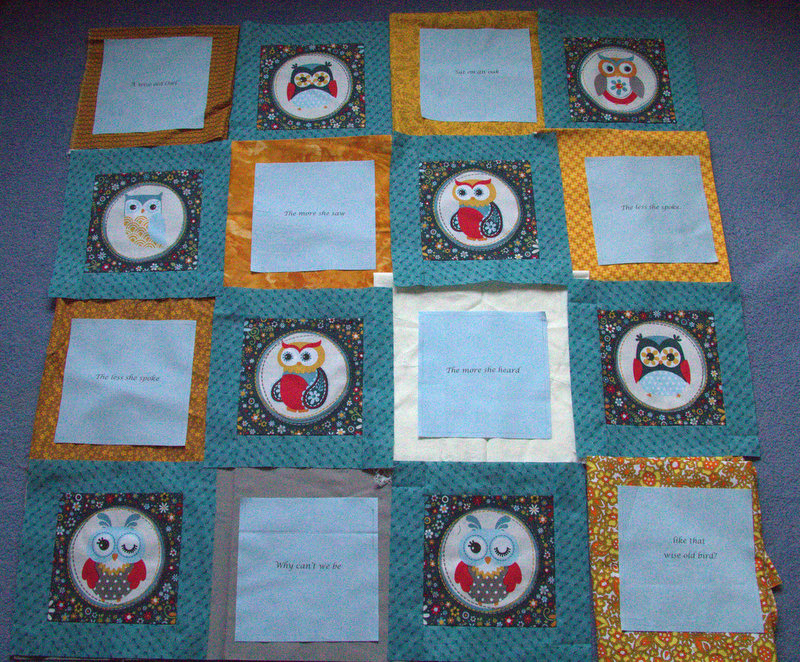
Challenge four, putting it all together. The sashing for the Owls came from my stash and was a perfect match, but I couldn’t find a fabric to sash the blue squares, nothing in my stash of fabrics was working, and I was running out of time. As you can see I tried various yellows, cream and taupe but it just wasn’t floating my boat and it looked too busy.
Owl quilt
nothing is working here

I decided the best option was to source some more fabric from the same range, the Internet was my only hope. I only had half a selvedge as a clue to what the fabric range was called and who made it. Nevertheless it only took me a few clicks of the mouse to trace it from the scrap I had, and find a supplier for the background fabric. I also found another fabric from the same range for the backing. Flashed the plastic, and the fabric arrived two days later, I love the Internet.

Owl quilt
that’s better!

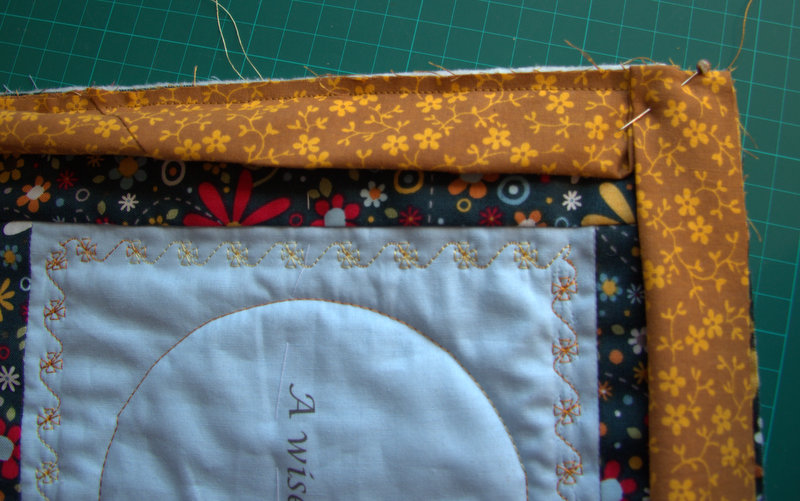
Challenge five, once I had the quilt top put together and the wadding and backing tacked in place I realised that the blue squares lacked something, there was too much plain space around the lettering, my first thought was to create a quilting template of an Owl and quilt the centre of the square but I wasn’t sure how that would work with the lettering. Maybe just a pair of Owl eyes, above the lettering, but that would be too asymmetric. I decided to keep it simple, a circle in the middle to echo the Owl medallions, and some flowers embroidered round the edge to echo the flowers on the background fabric, and to add colour. I used a space dyed thread, but I think a darker yellow or orange might have worked better.
Owl quilt
quilting and binding

I used one of the rejected yellows I had auditioned earlier for the sashing of the blue squares to bind the edge of the quilt and to add a little contrast. It worked well with the backing fabric too. The label is a little wonky, but it matches the sentiment, made by imperfect hands.
Owl quilt
Owl quilt label for the back.

And so, I managed this Christmas to complete a quilt in time to give it to my Dearest Friend, and even better my lovely Sister volunteered to make a detour from her day out with her daughter to a Spa to deliver it in person to my friend. It was the day before Christmas eve. I am so blessed in my Friend, and my Sister. Thank you both for being there for me.
Owl quilt, finished
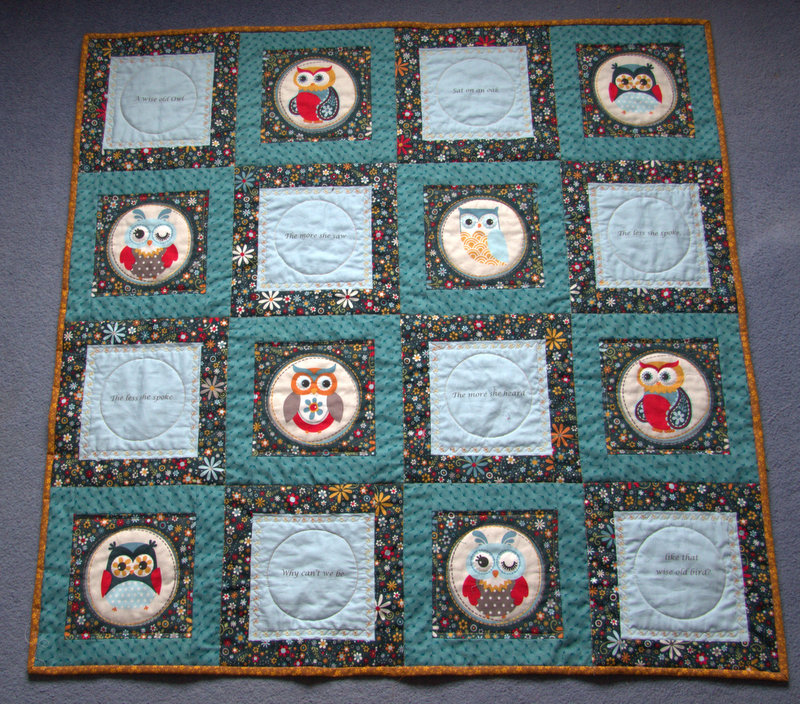
Owl quilt, finished

An Owl quilt for a dear friend

All I needed was some freezer paper and an iron, how difficult could it be?

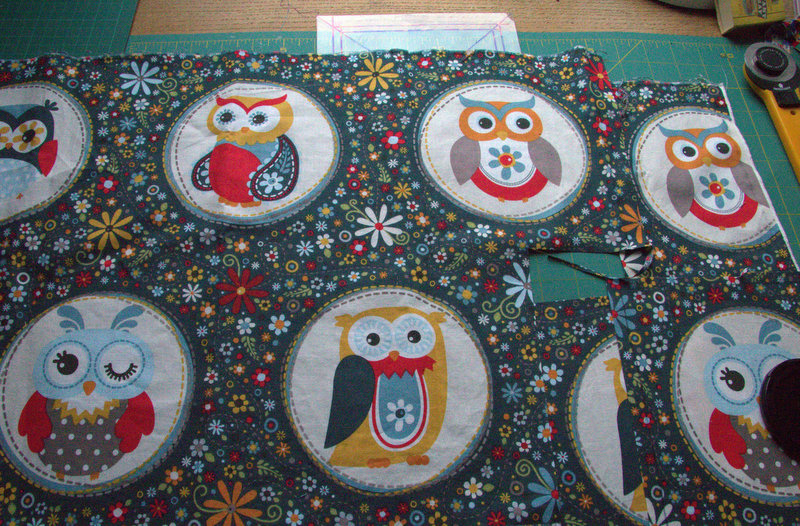
I have a dear friend who likes Owls, or “Wols” as she calls them, so when I came across this remnant of fabric being sold at my quilt group meeting I just had to buy it. I didn’t know what I would do with it but I knew I would come up with something. An Owl quilt, a lap quilt, a comforter, a virtual hug, that my friend could use whenever a hug was required and me not there to offer it.

owl quilt
a lucky find

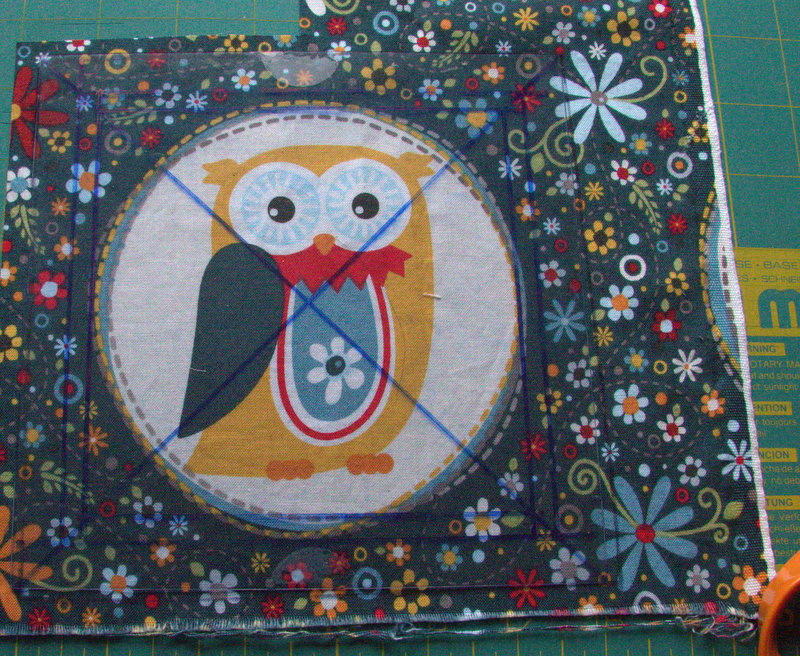
The first challenge was to cut out each Owl with as much fabric as possible surrounding the centre medallion, cut each one with the Owl dead centre in the medallion, and each the same size. The background fabric was too random to give me any help so I devised my own template using a piece of clear plastic  packaging. The circles were asymetrically placed so I needed two squares to fit them into, to “fudge ” a best fit with the centre of the medallion. The outer edge of the template I lined up by eye, given the background pattern was random I knew it wouldn’t cause me too much problem if it was slightly off the grain. In any case I don’t think it was printed entirely plumb with the straight grain of the fabric.

owl quilt
transparent template

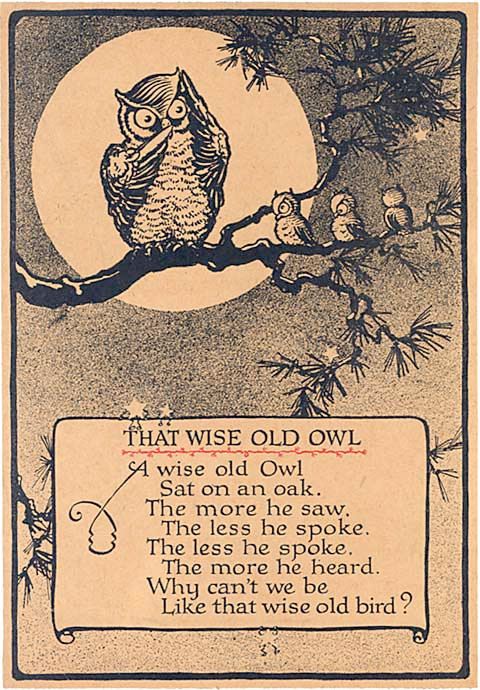
Next challenge, there were only 10 complete Owl medallions, and no way of buying more, I had to come up with a design which would make a lap quilt, at least a metre square, and quickly, I wanted to give it as a Christmas present and it was well into November when I began. While I was cutting out the medallions, I was reminded of an old nursery rhyme about a wise old Owl.
owl quilt
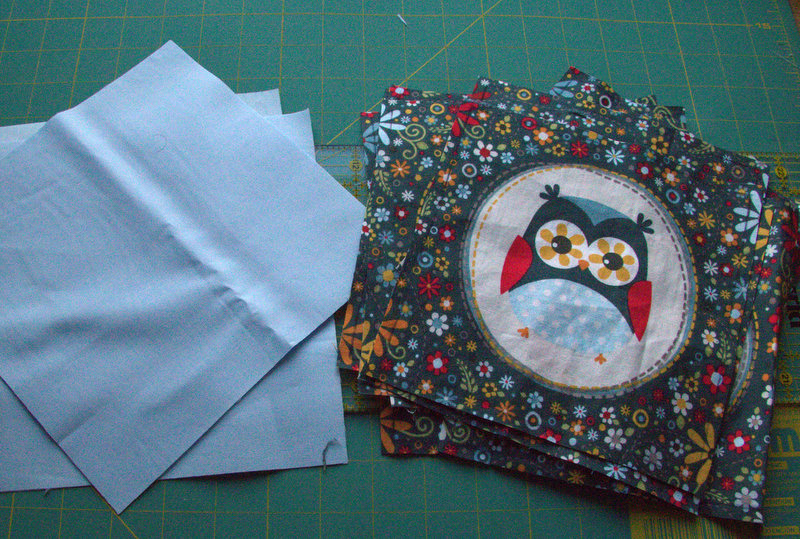
Happily its 8 lines long so I could alternate each of 8 Owl medallions with a line of the poem in a plain fabric, but what fabric? I went to the fabric shop thinking cream, and came home with blue, it often happens that way, when I get to see the fabrics together what I had in my mind’s eye just doesn’t work and so I always have plan B.

owl quilt
what to put with it?

Challenge three, how to apply the lines of poetry to the fabric? My handwriting is not good enough. My hand embroidery is even less appealing, not to mention how long it would take me to hand embroider each one. I could have used machine embroidery but I wasn’t convinced my machine would do a good job either, and centring the text would be a nightmare. I did however have a plan. I’d read on Pinterest a number of articles about printing onto fabric using an ordinary household ink jet printer. All I needed was some freezer paper and an iron, how difficult could it be?

owl quilt
perfect…ish, not quite central

The plain fabric was cut slightly larger than the Owl medallions and the printing planned to be in the centre and then trimmed down to the right size leaving a little wiggle room all round in case the centring wasn’t accurate.

Counselling with benefits; cheaper than therapy

It’s certainly cheaper than therapy, and I get to give as well as receive.

I have been going to the same hairdresser for more than 20 years, every 5 weeks  I go and get my grey roots covered, I often see the same fellow customers who have also been customers for years, it is like a self help group. We have shared our ups and downs getting sympathy and advice, and giving it in return, sharing knowledge or simply a sympathetic ear. No doubt  I am talked about when I’m not there but I don’t mind, if my experiences can be of help, or dire warning to others all well and good, and if it merely gives folks something to laugh at that’s OK too. It’s certainly cheaper than therapy, and I get to give as well as receive.

furnishing silks 3
furnishing silks 2
furnishing silks 1

People also give what they have and don’t need, to those who might make use of it, and this is how I came to acquire some furnishing fabrics.  They are multi coloured samples of a heavy silk weight, probably polyester, which I think I can use for foundation piecing.


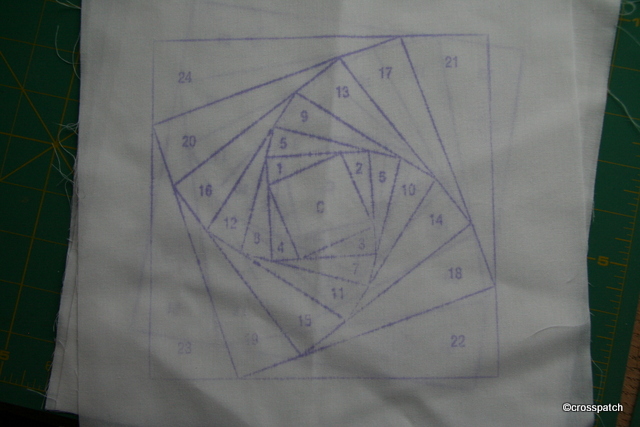
printed foundation

When I was emptying my cupboard , in order to move it without doing ourselves an injury, I found these pre-printed foundation patterns. I think I will make a rainbow coloured quilt from the silks.  It will turn out quite stiff, so it may end up being a wall hanging or maybe it could be a bag…… decisions …decisions.

My lost fabric materialised too late.

a number of lost treasures which had fallen down the back, a few socks, a scarf, and my precious stash of special fabric. So that was an unexpected piece of good fortune.

The fabric which I had been seeking for months, the fabric I wanted to use to make a quilt for a good friend of mine, it turned up the moment I gave up seeking it. Isn’t it always the way? A cupboard which usually stands at the bottom of the stairs, and holds that part of my stash which I’m not planning to use any time soon, needed to be moved.

We had invited my parents to join us for Christmas dinner which meant the dining table needed to moved to the dining room from the sitting room where it normally lives ( long story, don’t ask), and the two arm chairs which normally live in the dining room, had to move to the sitting room.  The Christmas tree which would normally be put up in the dining room, would not fit in there this Christmas, so we decided to set it up in the hall; the only place it would fit was the spot where the cupboard was standing.

The cupboard clearly had not been moved for some time, and once moved there were a number of lost treasures which had fallen down the back, a few socks, a scarf, and my precious stash of special fabric. So that was an unexpected piece of good fortune.  ( Note to self, clean behind furniture more often.)

Turned up at last
Turned up at last

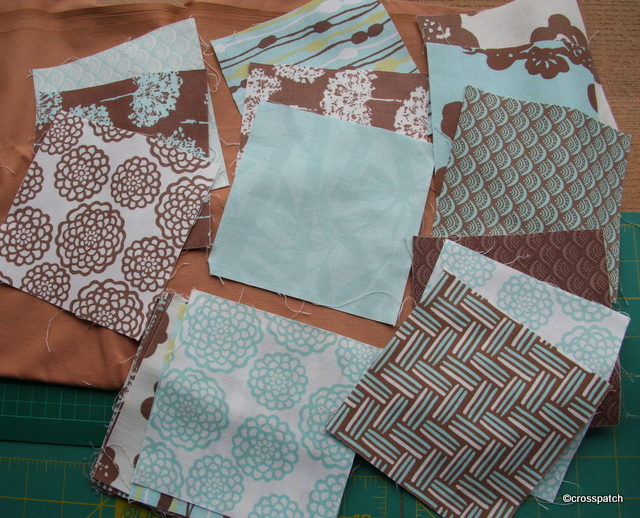
This is a charm pack of squares, which I need to put together with another bought fabric to tie them all together, and an accent colour to brighten them up a bit, I originally thought of using the terracotta fabric I’ve placed them on but it isn’t right, it just isn’t looking good, so I might see if I can find a mushroomy grey beige for sashing, and a guacamole or mushy pea green for the accent.

Return to sender, for refill

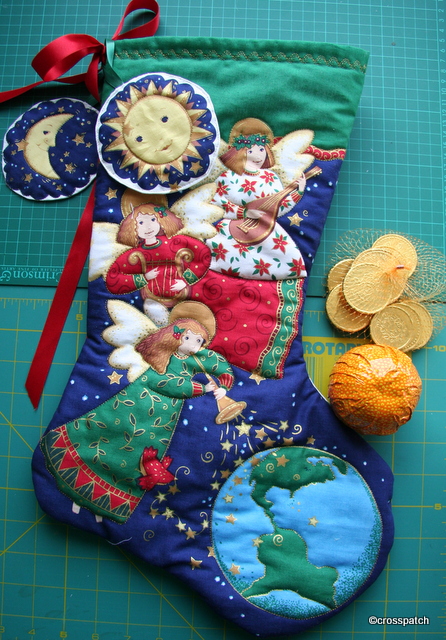
The stocking needed …(a gift tag)… with very specific instructions, to return the stocking to sender for an annual refill.

Christmas Sparkle
Christmas Sparkle

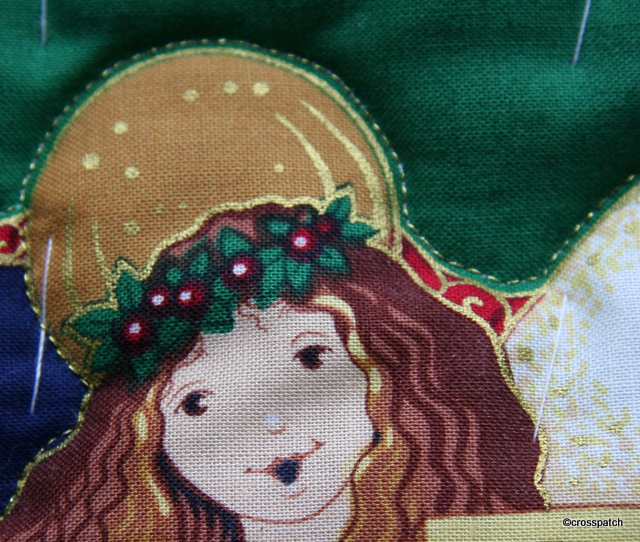
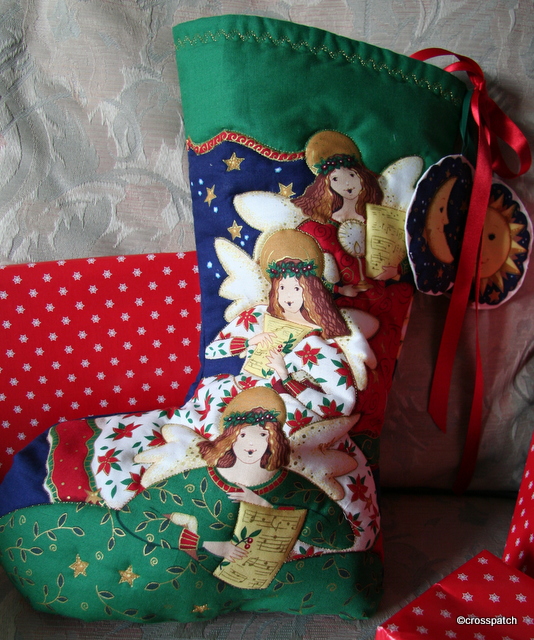
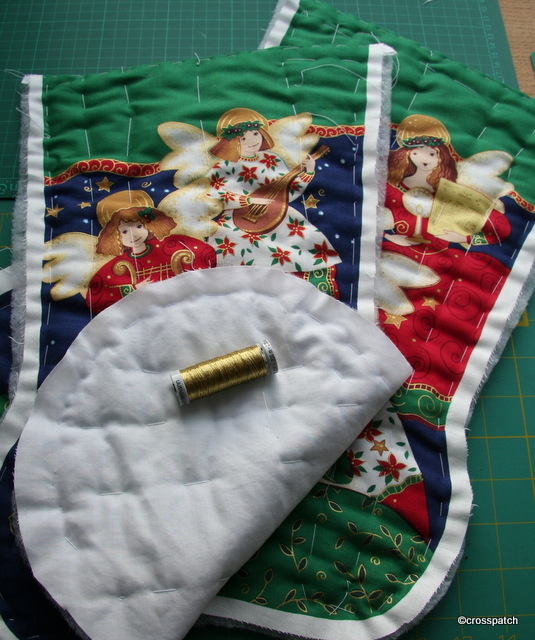
The Angels have all been outlined in gold thread to give them some shape and depth. Some of the stars stitched to hold the layers together, and the continents outlined too. Then the two sides stitched together, a ribbon tucked into the back edge to allow the stocking to be hung up; the excess wadding trimmed off and the seam allowance snipped where needed on the curves to allow the stocking seams to lie flat. I hand rolled and stitched the raw edges of the seam allowance to neaten the inside.

return to sender
return to sender

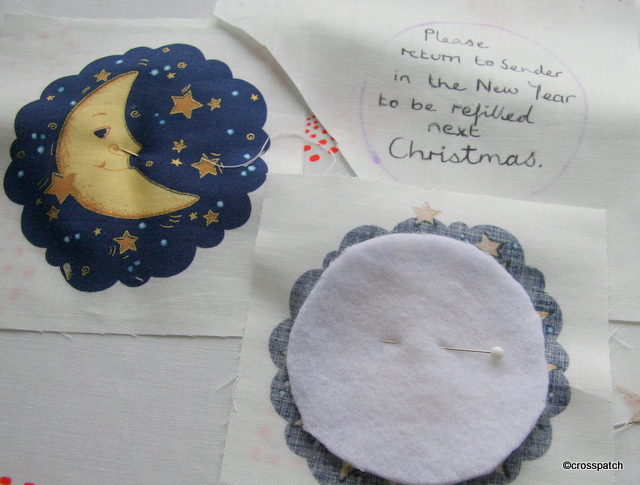
This stocking needed two gift tags one to identify the planned recipient and wish her a Happy Christmas, and the other with very specific instructions, to return the stocking to sender for an annual refill. Each panel had a medallion printed on it, a sun and a moon, which I wanted to use to make the gift tags. Problematically they were largely but not accurately round, I initially planned to force the medallions onto a circular shape but realized that I would lose the integrity of the design, so they finished up with all of the design intact but a rather wobbly, not quite round tag. I cut a circle of wadding first, applied it to the back of each medallion, and stitched it down with a little gold thread, then took a plain piece of the panel and wrote my messages on with a laundry marker, sadly the marker did not enhance my hand writing, it kept running dry and had to be retraced, but it’s the sentiment which matters, not the wobbly hand in which it is written. The two sides were stitched together with a gap at the top and turned out, a ribbon attached and the small gap closed with hand stitching. A line of gold top stitching holds the edge flat and secures the ribbon.

coins and an orange
coins and an orange

What to put in the stocking? Traditionally it should be a few coins and an orange, or in this case chocolate gold coins, and a Terry’s Chocolate Orange. I won’t tell you what else is in the stocking, the recipient should be the first to know and I’d hate to spoil the surprise. I had planned to deliver the stocking today but yesterday my car decided to make ominous noises, bump, thud, bang, metal screeching on metal so I had to stay off the road today until I could get it fixed.

Oh Dear, parking brake spring disintegrated into rear nearside brake disc, much damage done, big bill, but back on the road, thankfully.

ready to go
ready to go

Hurry up, Christmas is coming

so I put the fabric aside in a safe place till I was ready to begin….but where?

For months now I have been searching without success for a stash of fabric I had put aside to make a quilt for a friend for Christmas, I had planned to make it last year but ran out of time and energy, so put the fabric aside in a safe place till I was ready to begin….but where? I can’t find it anywhere, and I guess even if I did now, I would not have time to make even the simplest quilt. I even pulled out one of my UFO’s and considered finishing it for her but decided not, I love her dearly, she deserves her own quilt conceived and made specifically for her, in her colours. It doesn’t have to be now and it shouldn’t be rushed or ill conceived, besides I am still having ideas about it, so clearly it is not yet a done deal.

£2.99 Oxfam, Kendal
£2.99 Oxfam, Kendal

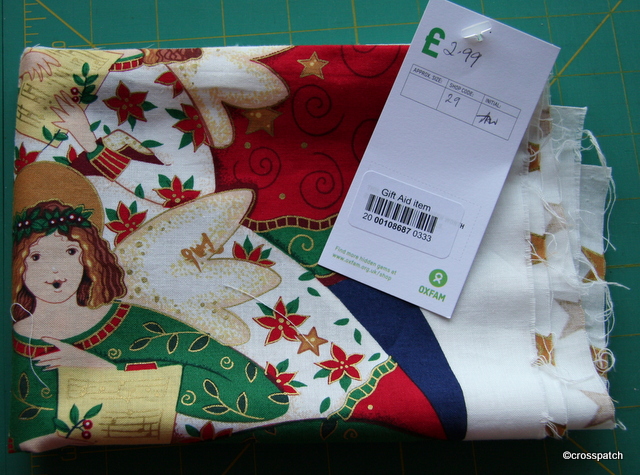
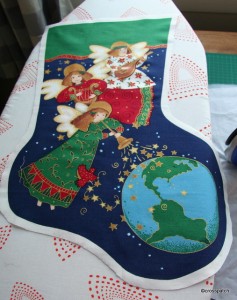
However I am making something for her, her own stocking. I found in a charity shop some weeks ago a printed panel for a Christmas stocking, and bought it for £2.99, I guess it would have been £5 to £10 pounds or more to buy in a quilt shop.
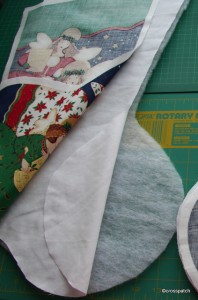
I cut the two sides apart and cut out the shapes with a centimetre seam allowance, it needs to be greater than a quarter inch because I will use the seam allowance turned in on itself to neaten the seam. I will sew it at 5/8ths and this will ensure no white will show at the edge.

press before you sew

I cut a lining from a plain white fabric I had to hand and a piece of wadding for each side, and sewed all three together along the top edge the front and the lining right sides together, with the wadding on the back.

not a wadding sandwich


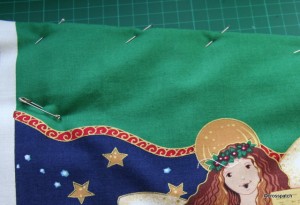
Then the wadding was trimmed back as close to the seam as possible , and the printed panel flipped over so that the wadding is now in the middle. I neatly pinned the top edge then tacked it to ensure the lining did not roll out and show above the printed panel. I will top stitch when it has been tacked together to keep the top edge stable.

stabilise the top edge


Having tacked all three layers together I am now in the process of quilting the layers together with a gold machine embroidery thread to add a little Christmas sparkle.

a little sparkle to be added

a completed task

Back to the drawing board then, what does a girl have to do to get some appreciation around here?

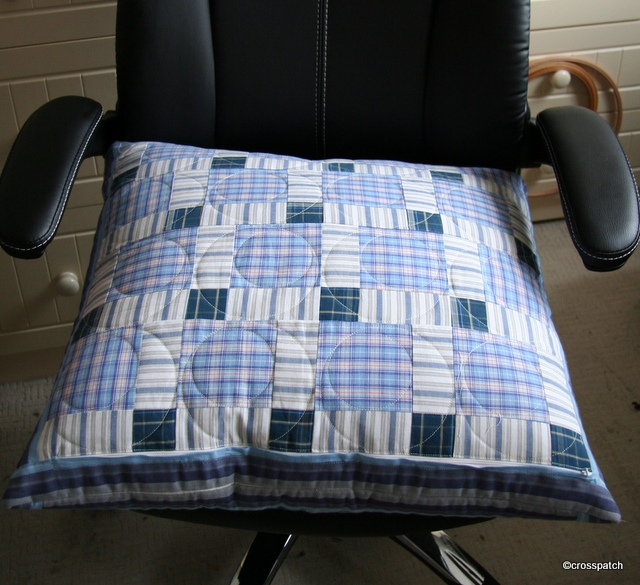
finished cushion:front

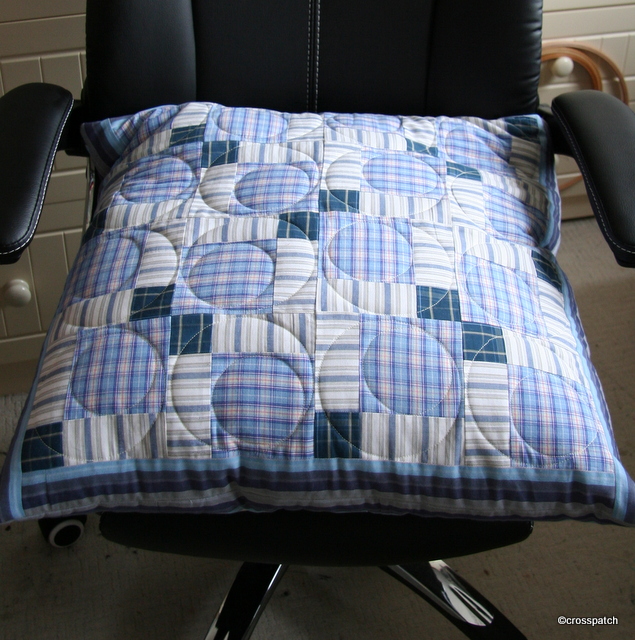
The two sides were quilted in circles using a CD and a circle cut from card as my quilting guide, and the zip carefully set into one side.the wadding cut back and the lining turned under and slip stitched to the zip fabric, to allow the zip to run. The whole thing then stitched round and turned out through the zip opening. Had the cover turned out to be too big, I would have top stitched around the edge to adjust the size, but it worked out just right.
So I finally finished the cushion, and proudly presented it to the 13 year old to be met with an unimpressed grunt, such is to be expected from a teenager.
The next day I noticed he wasn’t using it, “its scratchy” he tells me… it is so soft to the touch because it’s made from recycled, well washed fabrics!
Finally he asked could it be made smaller, could I “cut a bit off all round” so it will fit on the chair better? I admit I made it to fit the cushion I had, rather than the chair. Back to the drawing board then, what does a girl have to do to get some appreciation around here?

finished cushion: back

Disappearing menswear

Problem… he will creep into my bedroom and take my lovely feather pillow in crisp white linen, to sit on!

I have recently had a little problem which I hope to have solved, with a little judicious stitchery.

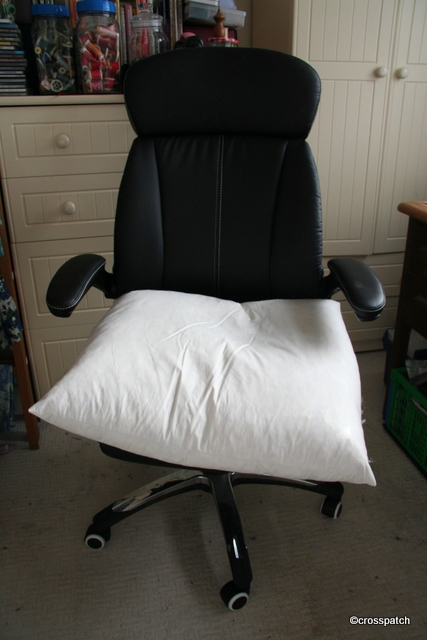
chair and unsullied cushion

The 13 year old is on holiday from school this week, when he isn’t at school or asleep he is generally in his room on his computer playing games either alone or with “virtual friends “ who might be anywhere in the waking world. He sits on a computer chair which he finds less than comfortable so he will creep into my bedroom and take my lovely feather pillow in crisp white linen, to sit on!
As you can imagine, I’m not impressed by having to sleep on a pillow which has been in close proximity to a 13 year old boy’s rarely washed, and flatulent nether regions only minutes before I retire to bed and for probably the preceding 12 hours.

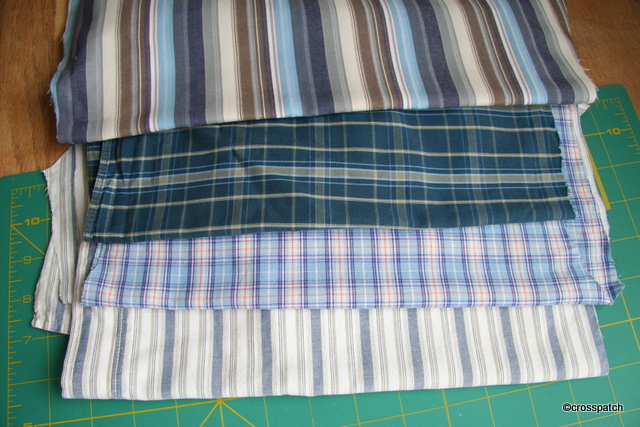
shirt, pajamas, and shorts

My solution is a feather cushion of his very own to sit on. I had one in my stash, but no cover for it.
Looking in my fabric stash, apart from my check shirts which are not negotiable, I have very little which isn’t rather too girly for a boy who does not countenance anything which might blight the tender shoots of his pubescent masculinity.
I found a shirt in cream and blue stripes, one of my early mistakes when buying shirts, it is striped not checked; two pairs of his father’s pajama bottoms, worn out at the seat but still plenty of wear in the legs (what does that tell you about my Dearest?) and a pair of his father’s boxer shorts size small from when he used to smoke 60 a day and had the hips of a racing snake, long time past.
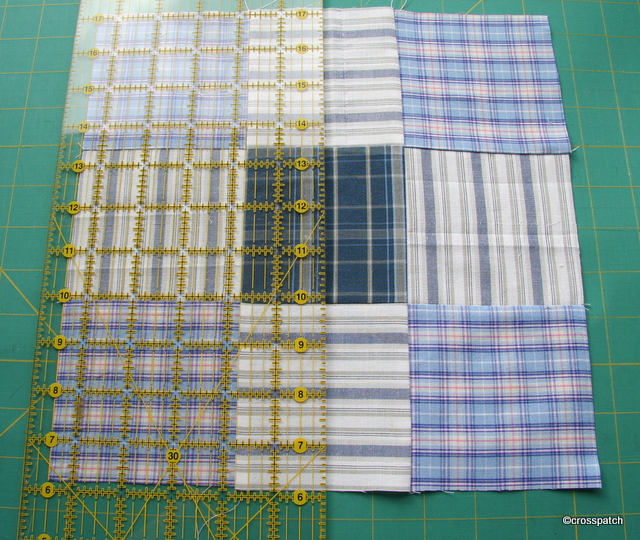
I had seen the disappearing nine patch block but had not yet had the opportunity to use it, given the proportion of fabrics I had ( 3;4;4;1) it seemed a good choice.

disappearing Nine patch

I used the darker check from the boxer shorts for the centre square I’d only need 8 4” squares. The cream shirt and blue checked PJ’s for the sides and corner squares, 32 of each, and the striped pair of PJ’s for the outer border.
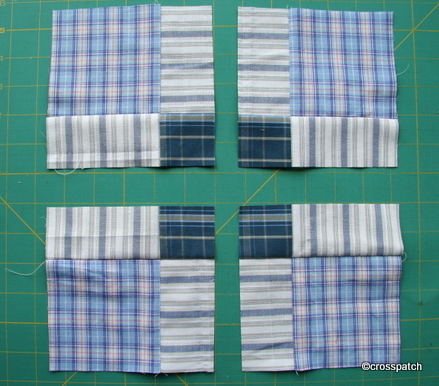
Make a nine patch, press it and slice it up again and across the centre in both directions to produce 4 blocks.

4 blocks from a nine patch

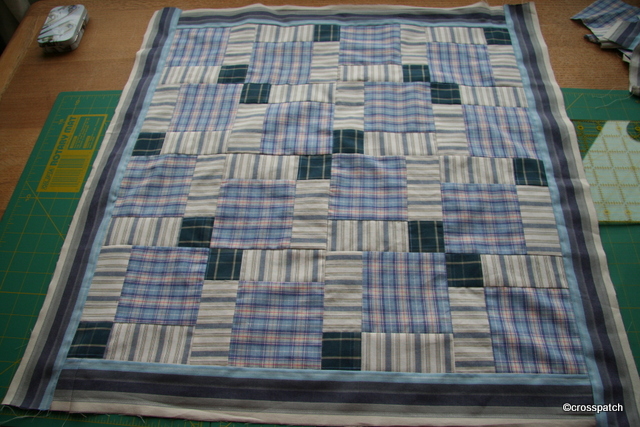
I tried two different placements of the resultant squares, so the two sides of the cushion are subtly different. It will need a zip, no doubt it will need washing frequently, and probably an inner cover to help keep the cushion clean. The 13 year old’s room is mainly blue and cream so this will blend in fairly well, by which I mean there is nothing here for him to take offence at, he may accept it without too much persuasion. We won’t need to consider “what people might think”, or any of those other concerns so particular to 13 year old’s.

This is the front
This is the front

Sunshine and Shadow

Imagine it in red and white, a striking alternative to the traditional double Irish chain. Perhaps it would work in black and red if you have a Goth in the household, or black and neon Brights if you want a stunner.

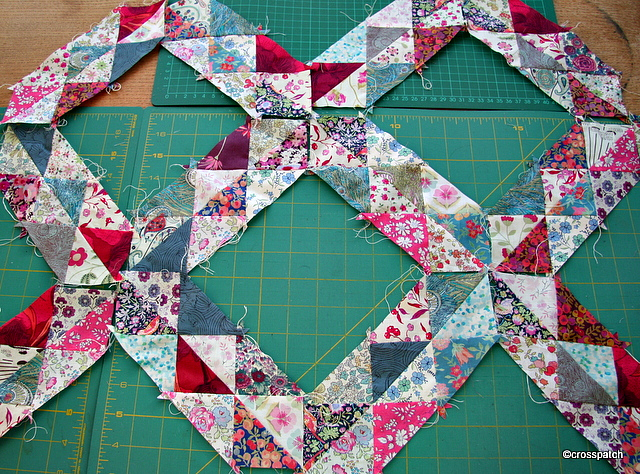
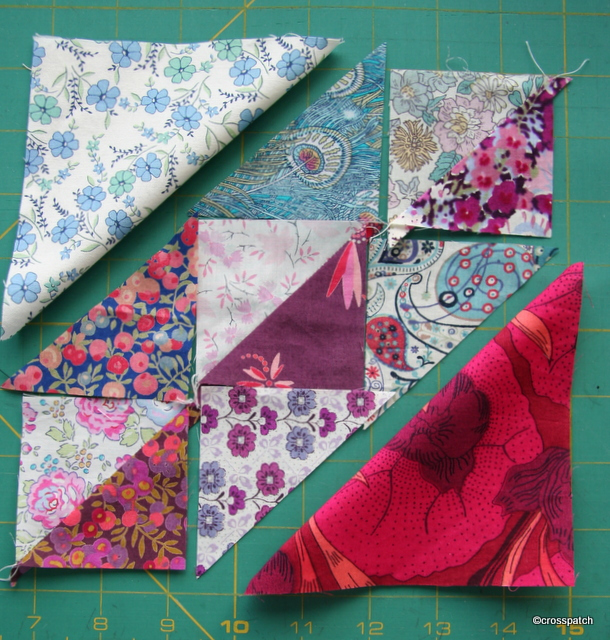
This is something I have been tinkering about with for months; I’m making a scrap quilt from all my Liberty lawns. I have many small pieces sometimes a quarter or half yard many with print errors which need to be carefully cut around, so scrappy quilts lend themselves to such a collection. All my Liberty prints are roll ends and misprints from the factory shop, but for a project like this they are perfect.

so far so good
so far so good

This block makes a wonderful scrap quilt but can just as easily be adapted to use only two fabrics or a carefully chosen mix of your favourite palette, the only stipulation I would make is that you need lights and darks to ensure clear definition, if you choose fabrics which are too close in shade or tone you will lose the pattern.

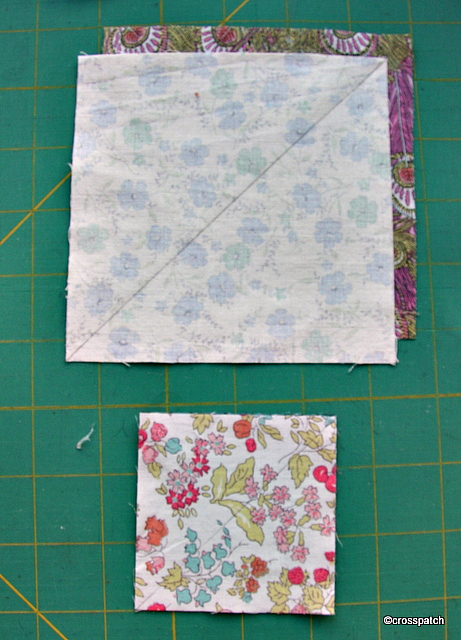
half lights half darks in two sizes

It would work with pastels on white or ivory, for a baby quilt; or two plains for the team colours of any keen supporter, claret and blue for a West Ham supporter perhaps. Imagine it in red and white, a striking alternative to the traditional double Irish chain. Perhaps it would work in black and red if you have a Goth in the household, or black and neon Brights if you want a stunner.

nearly finished block

I’ll explain how it’s made and give the dimensions when it is finished, but there is a long way to go yet; now that the nights are drawing in and the days getting colder and wetter my garden needs to be “put to bed “, and then the quilting can begin.

Another successful raid

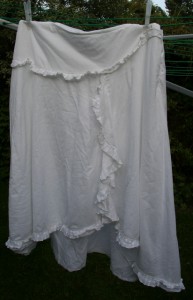
the ugliest white skirt imaginable, which isn’t even in my size, ruffles in all the wrong places, an asymmetric hem, down at the back and up at the front.

More Plaid
More Plaid

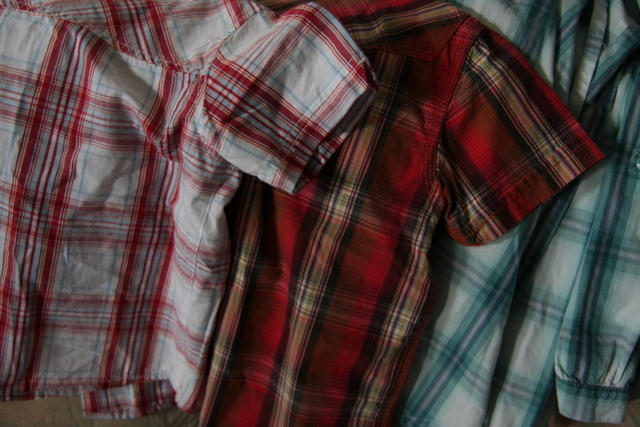
Another trip to my local charity shop, I’m light very little cash but I have 2 weenie little plaid shirts (age3) 50p each, and a ladies plaid shirt in a pretty lavender and cool green which will pretty up my planned plaid quilt with some more feminine colours.

ugly white skirt
ugly white skirt

A beautiful Monsoon Blouse for £2, and the ugliest white skirt imaginable, which isn’t even in my size, ruffles in all the wrong places, all so badly gathered and stitched in place, and an asymmetric hem, which hung down at the back and rose up at the front, a real horror. £1.50
Why?  You may well ask, although the skirt looked rather sad it was made of fine cotton lawn, and was lined in the same fabric, and edged in the some nice quality Guipure lace.

The skirt was a supermarket brand, the materials were good but it was badly made, and badly designed. Who on earth wants a ruffle around the hips adding inches at the very place you want it to skim? And why stitch on and edge the ruffle in polyester thread which either was cream or has yellowed so making the whole skirt look grubby. The one thing you want from white clothing is the fresh look of pure white, grubby white will never be a good look.

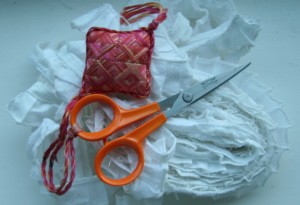
The lace alone was worth it
Only the ruffles went in the bin

So I bought it to cut up, and for £1.50 and a little work I got more than a yard of fine white cotton lawn, not suitable for patchwork, but perfect for foundation piecing, and linings where you don’t want what is underneath to show through; a white zip, a spare button, and 3 and a half yards of good white lace, which I’m sure I’ll find a use for. All I threw out was the ruffle.

Amish quilts
Amish quilts

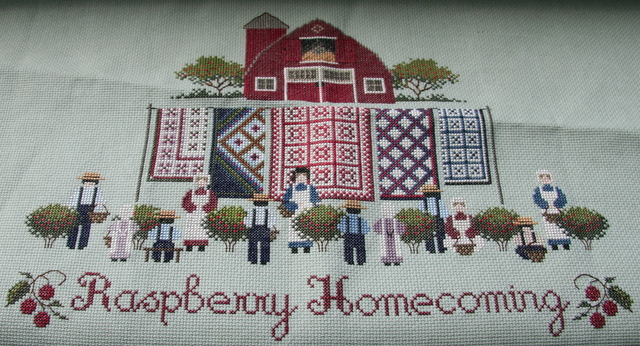
Lastly a completed embroidery, of an Amish scene with quilts! All I need now is to find a suitable frame for it, and it can hang in my workroom, 50p and there was another canvas in the bag with crewel wool, I might give that to a friend who does embroideries, as I doubt whether I will ever find time to stitch it myself.